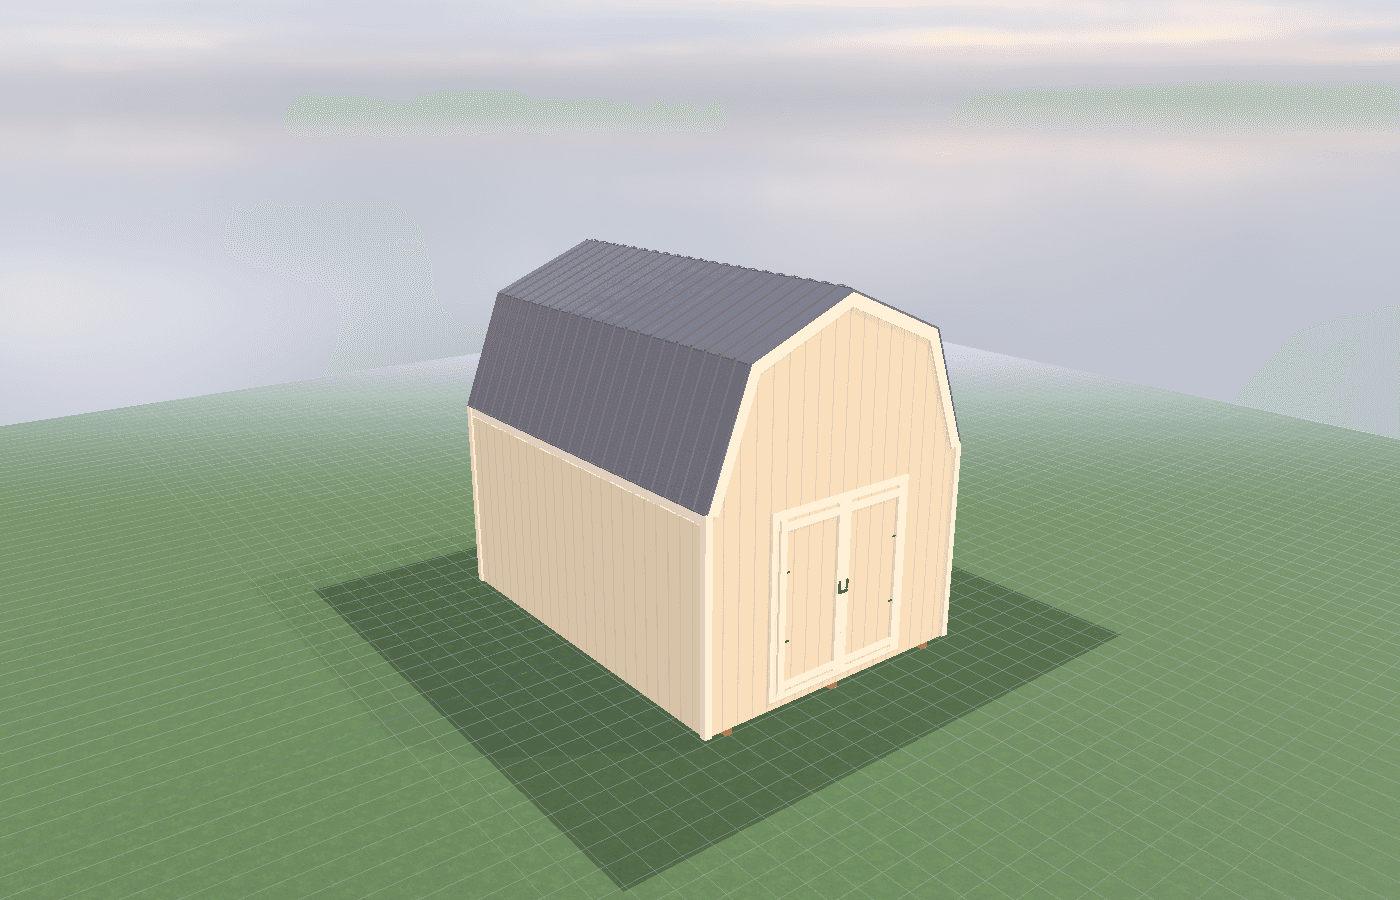
Boot and wader drying setup ideas for a dedicated gear room
Boots and waders do not need more hooks. They need a drying system. In North Idaho, a dedicated gear room works best when mud, water, odor, airflow, and scent control are treated as one layout problem instead of five separate purchases. Because NIOS builds on-site, the room can be positioned and framed around your entry path, power plan, and the wet-to-dry flow that hunting properties actually need.
Boot Wader Drying Setup Ideas in North Idaho
Boot and wader rooms fail when they are planned like closet storage. Wet rubber, neoprene, wool socks, muddy soles, and soaked suspenders create heat, odor, and humidity loads that ordinary shelves cannot solve. A real drying room has to move air, control moisture, and keep dirty gear from contaminating the rest of the space.
That matters even more in North Idaho, where people often come back from river bottoms, marsh edges, timber, or snow-covered ground with gear that is fully saturated and sometimes half frozen. If the room has no process, the boots end up upside down in a corner, the waders slump over a chair, and the whole building starts smelling like a wet truck floor.
A good hunting gear storage room solves that by separating intake, drying, and clean storage. It does not need to be fancy. It needs to be deliberate. The most useful setup usually follows this order:
- A dirty-side entry with a place to drop mud and water.
- A forced-air drying wall for boots and smaller gear.
- A hanging zone for waders and outerwear.
- Humidity control that actually matches the room conditions.
- A cleaner zone for scent-sensitive or season-ready gear.
That sequence complements hunting gear drying and scent control: shed design that actually helps and organizing by season: archery, rifle, waterfowl, winter. On-site construction helps because the room can be oriented around the driveway, mud path, and power layout that make the drying system easy to use instead of easy to ignore.
What size hunting gear storage do you need?
A 10x12 is enough for a one- or two-person drying setup if the room stays focused. It can support one entry bench, one boot-drying wall, one wader-hanging lane, and a compact dehumidification strategy. For many hunters, that is the right starting point because it solves the mess without creating a room that fills with unrelated storage.
A 10x16 is the stronger all-around option. The added length makes it easier to separate wet intake from clean gear staging and gives waders enough hanging depth to drip without soaking the rest of the room. It also makes it easier to combine hunting storage with dog gear, decoy bags, or a second season of equipment without losing the drying function.
A 12x16 works best when the room needs multiple zones or multiple users. If the building must dry boots, chest waders, packs, rain gear, and heavier winter layers at the same time, width becomes more important than people expect. This is also the better size when you want one side to stay clean and scent-managed while the opposite side handles the dirty recovery work.
The size decision is really about simultaneous drying. If only one set of gear is ever wet, you can stay compact. If two people return with full kits at once, or if the room has to reset between waterfowl, rifle, and winter seasons, extra wall and aisle space pay off immediately.
Best layouts and features for hunting gear storage
The most reliable boot-and-wader setup uses five working zones.
- Dirty drop zone: Put a bench, boot tray, grate, or durable mat right inside the entry. This keeps the worst mud and standing water from migrating through the room.
- Boot-drying wall: Use forced-air boot tubes or a boot rack near a grounded outlet so the room can dry footwear predictably instead of by hope.
- Wader-hanging zone: Hang waders where the legs can open, air can move, and drip water can be managed below.
- Airflow and humidity control: Keep moisture moving out of the room with ventilation and dehumidification sized to the actual load.
- Clean-storage zone: Reserve a separate area for dry layers, packs, optics, and scent-sensitive gear.
For the humidity side, simple rules work well. ENERGY STAR guidance says the optimum indoor relative humidity range is generally 30% to 50%, and it also notes that some portable dehumidifiers lose performance when the room falls below 65 degrees F. That matters in an unheated or lightly heated gear room. If the room stays cold in shoulder seasons, choose equipment and controls that still make sense at those temperatures instead of assuming any basement-style dehumidifier will perform the same way.
Drainage and placement matter too. If a dehumidifier or drip tray drains to a hose, keep the hose short, intentional, and away from cords and walking paths. ENERGY STAR also notes that portable units need good airflow and a properly grounded outlet. In practice, that means the drying wall, outlet placement, and drain plan should be laid out together rather than installed one purchase at a time.
A good drying room also protects scent control by keeping the dirtiest recovery work away from the finished storage side. Boots, waders, and dog gear belong near the intake and exhaust path. Dry layers, packs, and organized season bins belong farther from the moisture source. If the room lets clean gear absorb swamp odor every weekend, the layout is not finished yet.
Finally, use surfaces that want to be cleaned. Smooth wall finishes, durable flooring, open toe-kick space under benches, and simple racks beat soft finishes and decorative cabinetry in a wet room. A hunting gear room earns its keep by resetting quickly after ugly weather, not by photographing well on day one.
Cost, timing, and build-planning factors
The biggest cost swings usually come from power and moisture control. A simple hook wall is cheap. A room with dedicated outlets for boot dryers, a heat source, a dehumidifier, better insulation, and a washable finish package is a different build. The good news is that these upgrades are usually worth the money when they are planned early, because they keep the room from turning into a damp storage problem that never really dries out.
Timing matters because the best drying rooms are designed before the shell is finished. Outlet locations, wall strength for racks, drain direction, heater placement, and the distance between intake and clean storage all get easier to solve on paper. Once the room is full of gear, the mistakes become obvious but more expensive to fix.
North Idaho weather makes that especially true. During cold snaps, condensation can collect where warm wet gear meets a cool wall or window. During fall and spring, a room can feel mostly dry but still carry enough humidity to support odor and mold trouble. EPA guidance is blunt that there are no federal airborne mold standards, so the smart approach is prevention: move water out fast, keep the room cleanable, and keep humidity controlled before surfaces start staying damp.
This is another place where on-site construction helps. The building can be located where the entry route, power trench, and daily carry path actually support the system. If you want the room laid out around how you hunt instead of around leftover yard space, get a free estimate before the wet-zone plan is guessed at.
Popular sizes and layouts for hunting gear storage
For boot and wader drying, the most practical sizes are 10x12, 10x16, and 12x16.
A 10x12 works well for a disciplined two-zone plan: dirty entry plus drying wall on one side, cleaner storage on the other. It is the compact, efficient choice for one hunter, a small dog-gear load, and a property that needs the room to reset quickly between trips.
A 10x16 is the most balanced layout for many properties around St. Maries because it gives enough room for wader hanging, boot drying, seasonal bins, and one small bench for sorting gear without forcing every item into the same humid zone.
A 12x16 is the better answer when multiple hunters or multiple seasons overlap. It supports longer hanging space, wider aisles, and cleaner separation between wet recovery and stored gear.
The best layout is the one that makes the wettest gear the easiest gear to deal with. If muddy boots and dripping waders are still inconvenient, people will keep dropping them in the wrong place, and the room will never deliver on the promise of having a dedicated gear shed.
Frequently asked questions about hunting gear storage
What size hunting gear storage works best for boot and wader drying setup ideas for a dedicated gear room?
For many North Idaho buyers, 10x12 and 10x16 are the best starting sizes because they balance usable floor space with realistic placement on the property. We then size up or down based on snow load, storage volume, and how much dedicated work or seating area you need. Compare 10x12 and see 10x16.
What is the most common mistake people make when planning a hunting gear storage shed for my property?
Underestimating space needs is the most common error. Measure your equipment and add 25-30% for workspace and future growth. In North Idaho, also factor in snow gear and seasonal storage demands. Get a free estimate.
Frequently asked questions
What size hunting gear storage works best for boot and wader drying setup ideas for a dedicated gear room?
For many North Idaho buyers, 10x12 and 10x16 are the best starting sizes because they balance usable floor space with realistic placement on the property. We then size up or down based on snow load, storage volume, and how much dedicated work or seating area you need. Compare 10x12 and see 10x16.
What is the most common mistake people make when planning a hunting gear storage shed for my property?
Underestimating space needs is the most common error. Measure your equipment and add 25-30% for workspace and future growth. In North Idaho, also factor in snow gear and seasonal storage demands. Get a free estimate.
Ready to plan your build?
Tell us your site, your dimensions, and the use case. We'll come out and price it.