A workshop shed has to be planned differently than a basic storage building. It needs room to stand at the bench, move material through the door, store tools without burying them, and keep the building comfortable enough to use when North Idaho weather is not cooperating. The first question is not just how big the shed should be. It is what work needs to happen inside and what has to stay clear for that work to happen safely.
Our workshop sheds are built on-site so the layout can start with the bench, doors, windows, ventilation, and future power plan instead of trying to retrofit a generic shell later. The featured exterior image represents the site-fit decision: access for materials, natural light, roof runoff, and enough surrounding clearance to use the shop through mud season and winter.
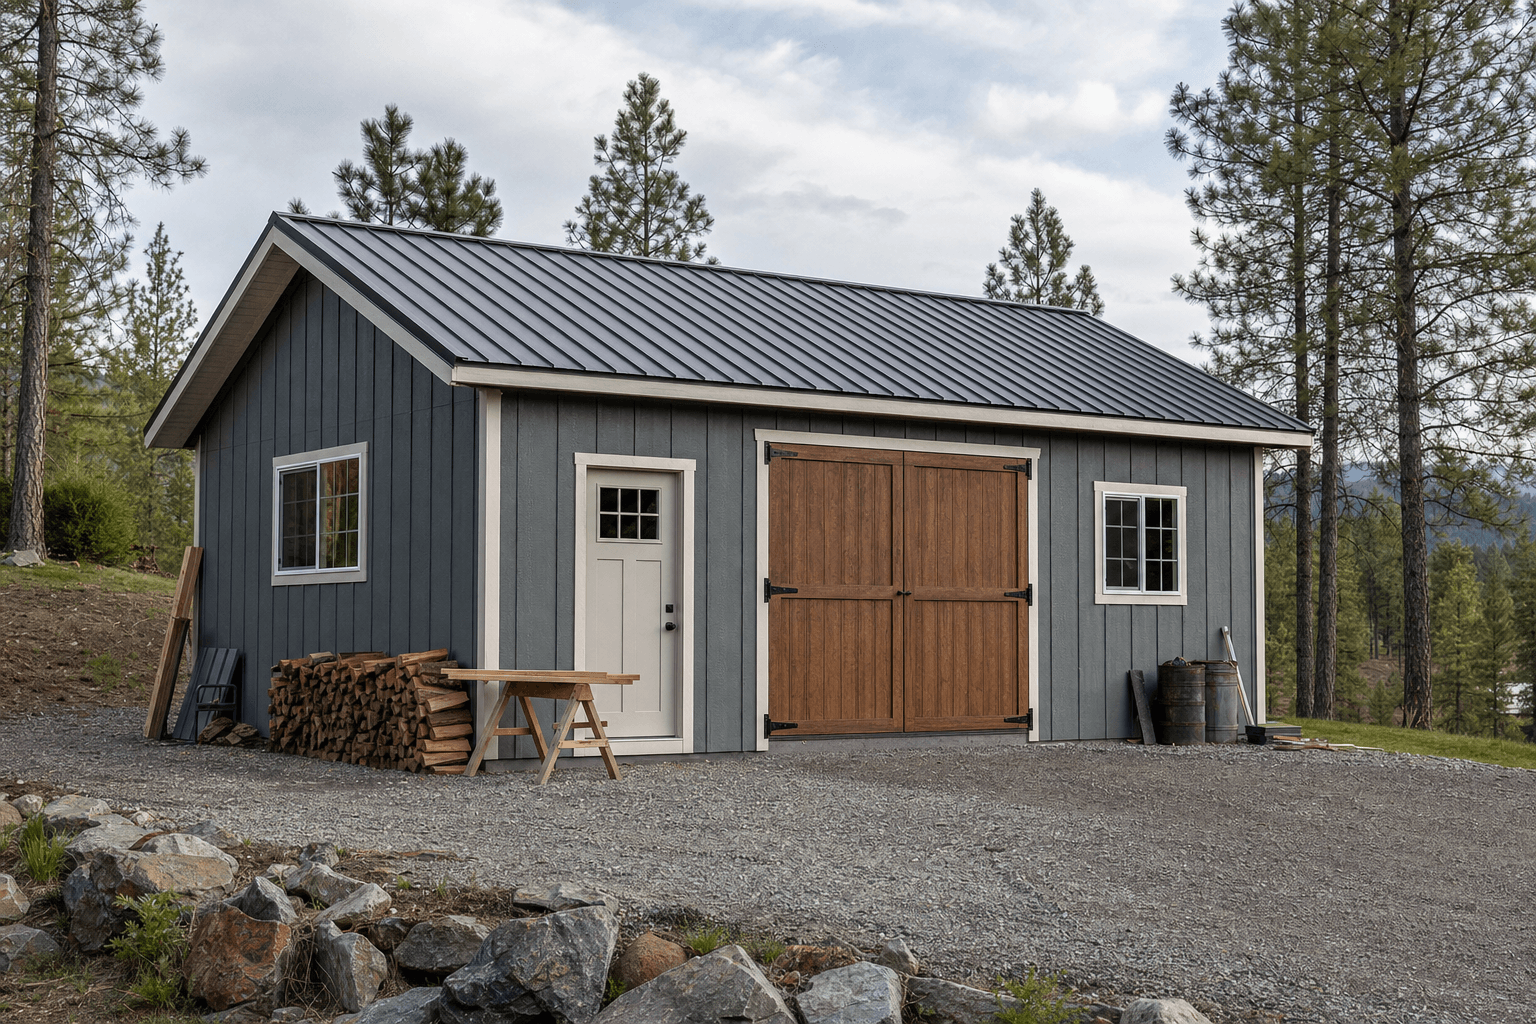
Use the exterior placement to think through material access, window orientation, roof runoff, and the path from driveway to bench.
Choose the footprint around the main bench, machine clearance, and the path needed to carry lumber, tools, or parts inside.
Even if electrical work happens later, the door, bench, and wall layout should leave a sensible path for outlets, lighting, and dedicated circuits.
Plan for fresh air, fumes, dust control, and window placement before the shop becomes crowded with permanent storage.
A workshop needs a clear approach in snow and mud because materials and tools are usually heavier than ordinary storage items.
A comfortable workshop usually starts with one primary bench wall and a protected open zone in front of it. A 12x16 shed can support a serious bench, wall storage, and a compact project area if tools are organized carefully. A 12x20 or 12x24 gives more room for lumber, rolling carts, clamps, and a second work surface. Larger shop shells make sense when the building needs heavier machines, project staging, or separate clean and dirty zones.
Door placement changes how the shop feels every day. Wide doors help when you move sheet goods, machines, bikes, or parts. A man door is convenient for quick access when the big doors are blocked by snow or a project. Windows should add daylight where it helps the bench, not steal the only wall that could hold tools, cabinets, or lumber storage.
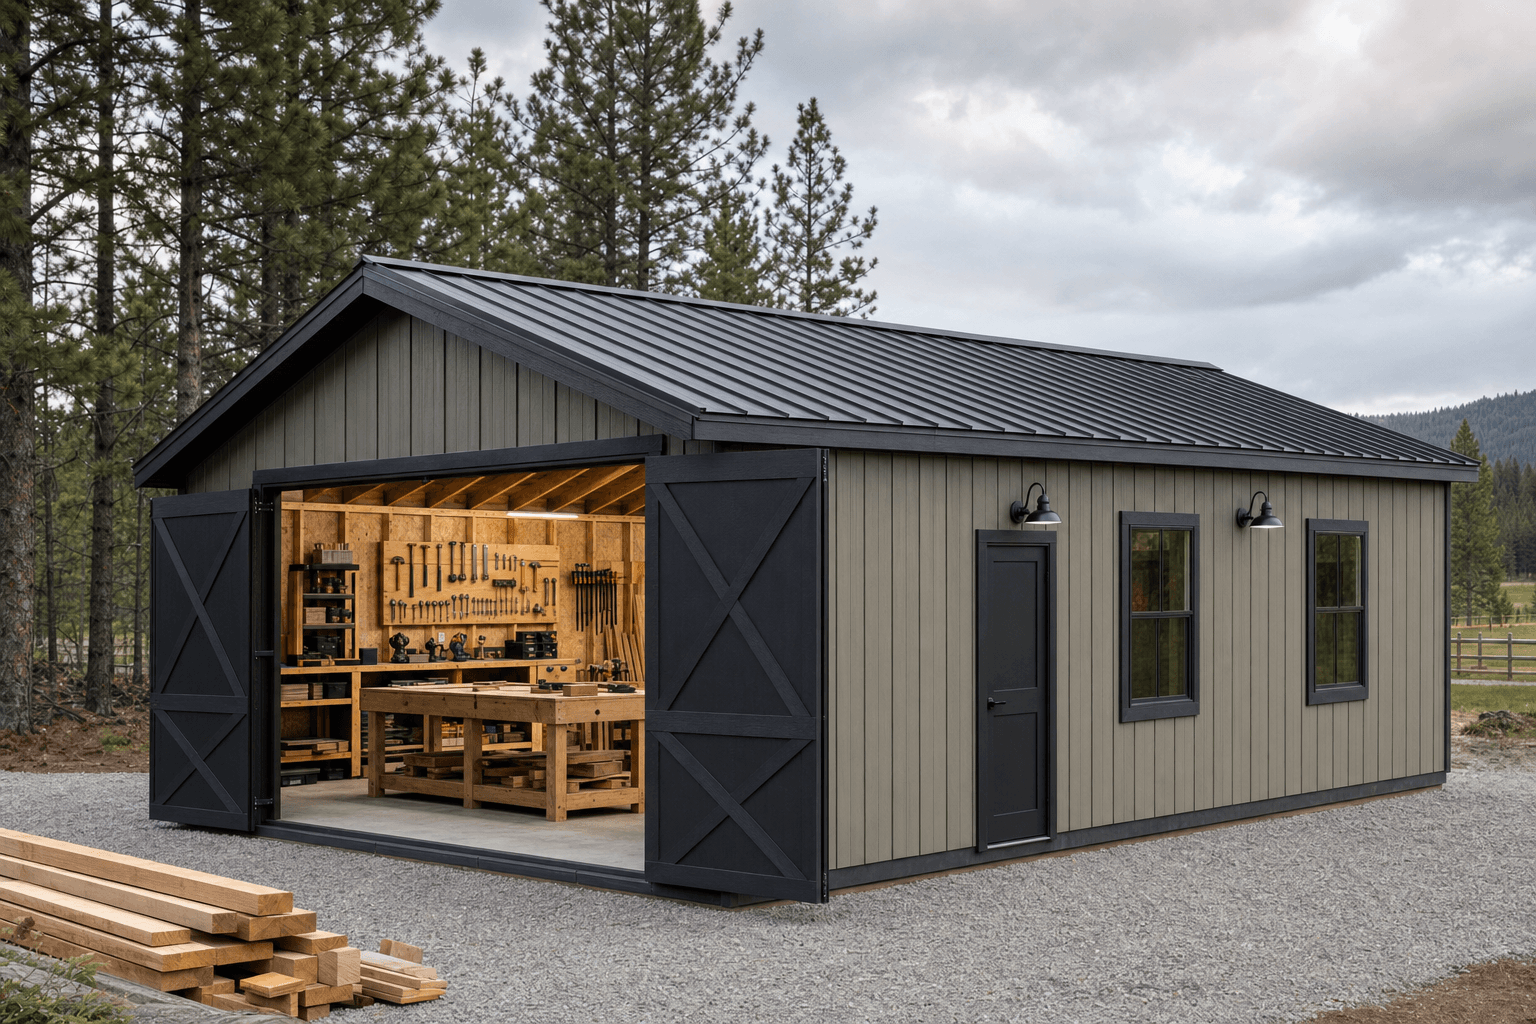
Use the interior workflow view to plan bench placement, walking clearance, tool walls, and the open project zone before the shed is built.
Start with the bench depth, standing room, and project size so the footprint does not feel crowded after tools arrive.
Wall storage, shelves, cabinets, and rolling carts should keep frequently used tools near the bench without blocking doors.
Ventilation, window placement, and finish choices help keep the shop practical for sawdust, finishes, repairs, and damp weather.
Outlet height, lighting zones, and 120v or 240v planning are easier when the bench and machine locations are known early.
A North Idaho workshop has to protect tools and materials while staying usable through wet springs, cold mornings, and heavy snow.
Roof and site placement should account for snow movement and safe access around work doors.
Drainage and ventilation help protect tools, lumber, batteries, and stored materials from damp conditions.
A shop layout should consider bench loads, wall storage, and the repeated movement of tools and materials.
Building on-site helps fit larger workshop proportions where delivery access or terrain would limit prefab options.
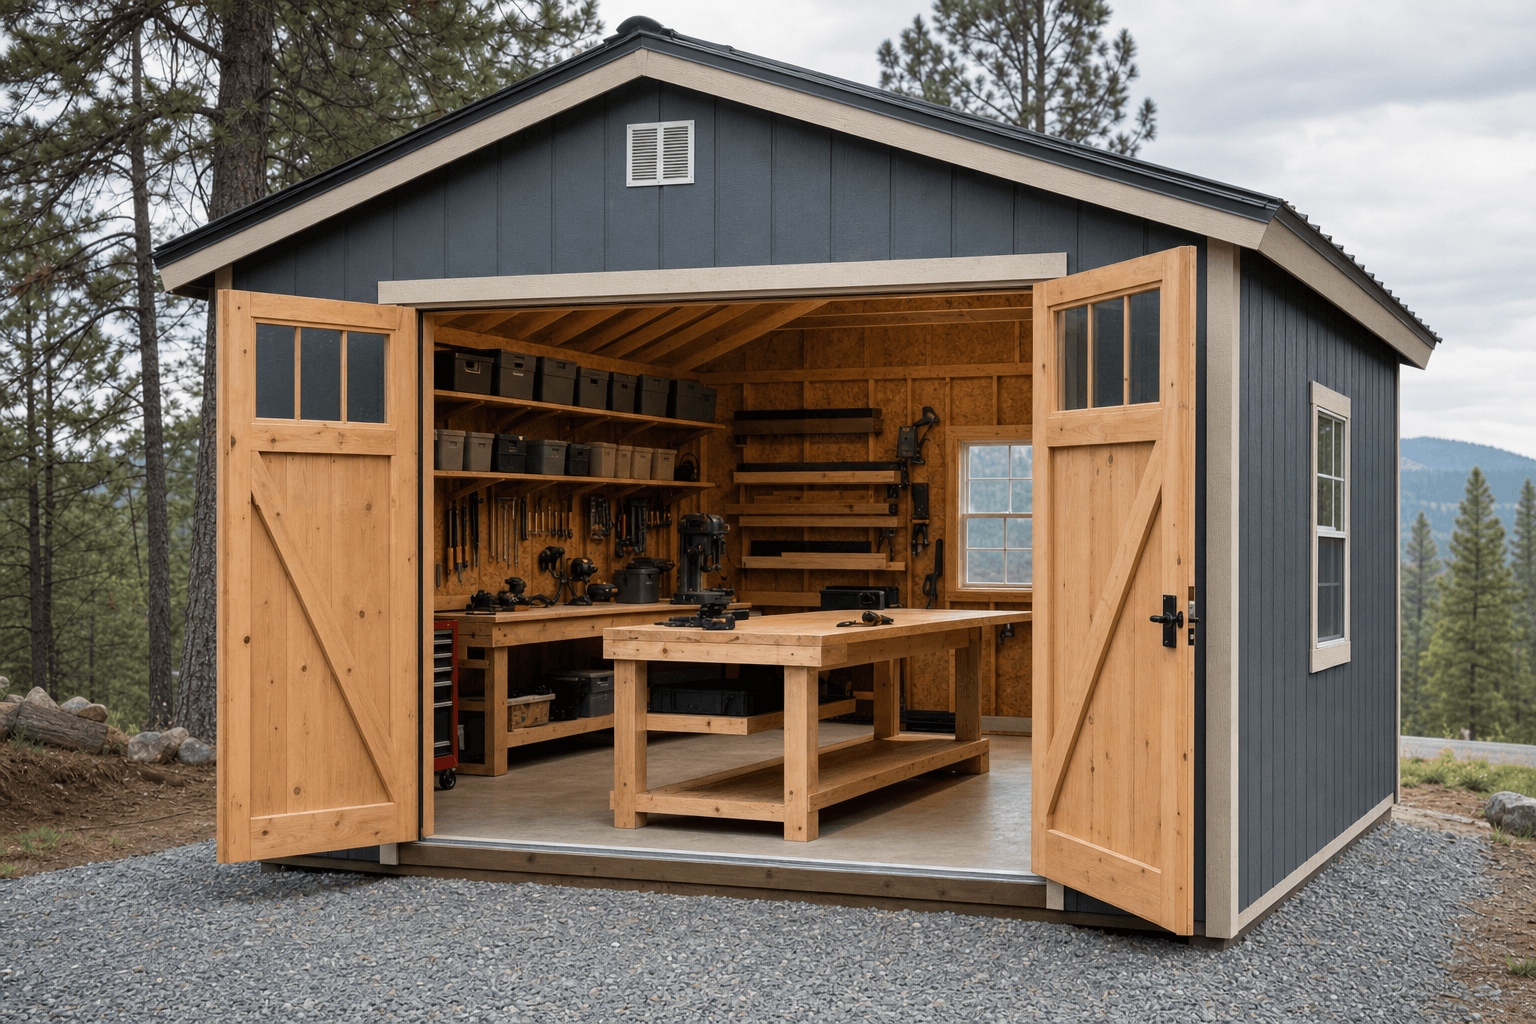
Use the work surface, wall storage, and material zones to decide what belongs within arm's reach and what can be stored overhead or along the side wall.
A workshop does not need to become a finished room to be useful, but it does need a smart rough plan. Decide where bright task lighting would go, where outlets make sense, and whether any tool might need a dedicated circuit. If you are thinking about a heater, dust collector, welder, compressor, or battery charging area, those choices should shape the wall layout before shelves and cabinets are placed.
Ventilation deserves the same early attention. Woodworking dust, small-engine fumes, finishes, adhesives, and damp materials all change how the shop should breathe. Some workshops need simple cross-ventilation and daylight. Others need a more intentional path for dust collection, fan placement, or future mechanical work. The building shell should leave room for those upgrades instead of boxing them out.
Storage still matters, but it should support the work rather than take over the room. Long lumber wants a different spot than fasteners, batteries, paint, clamps, and hand tools. A clean bench wall, a clear door path, and a defined dirty-work zone make the shed feel larger than its dimensions because the most important motions stay unobstructed.
A 12x16 can work for a focused bench, wall storage, and a compact project zone. A 12x20 or 12x24 is more comfortable when you need material staging, rolling carts, larger tools, or a second work surface.
Yes. Even if wiring happens later, the shed layout should leave sensible paths for lighting, outlets, charging, and dedicated circuits. Bench location, door placement, and wall storage all affect the electrical plan.
It can be planned for heavier use, but the floor system, foundation, and tool locations should be discussed early. Tell us about benches, machines, compressors, or material loads before the final footprint is chosen.
It depends on the work. Basic repair and assembly may need daylight and cross-ventilation, while woodworking, finishes, welding, or small-engine work may need more intentional dust, fume, and fresh-air planning.
Wide doors help with lumber, sheet goods, machines, and large projects. A separate man door can make daily access easier when the big doors are blocked by a project, snow, or stored material.
Yes, but future insulation, wall finish, heat, and electrical work are easier when the shell is planned for them. Window placement, stud layout, ventilation, and storage zones should leave room for upgrades you may want later.
Bring the project list, tool list, and rough site location. We will shape a workshop that works.
Every shed we make is built on site in North Idaho. Explore other uses we build for.
