A good ATV or UTV storage shed starts with the vehicle, the approach, and the way you use your property. A side-by-side that hauls firewood, plows snow, or runs trail loops around North Idaho needs more than a dry parking spot. The doors need to open wide enough for mirrors and tires, the floor needs to stay predictable under wet tread, and the gear storage has to be close enough that helmets, gloves, battery chargers, tow straps, and small tools do not end up scattered across the house or garage.
North Idaho On Site Sheds builds these sheds on your property, so the plan can respond to the driveway, slope, tree line, snow storage area, and the daily path your machine already takes. Instead of forcing powersports storage into a leftover corner, the shed can be sized for clearance, door swing, ramp angle, ventilation, and winter staging from the beginning.
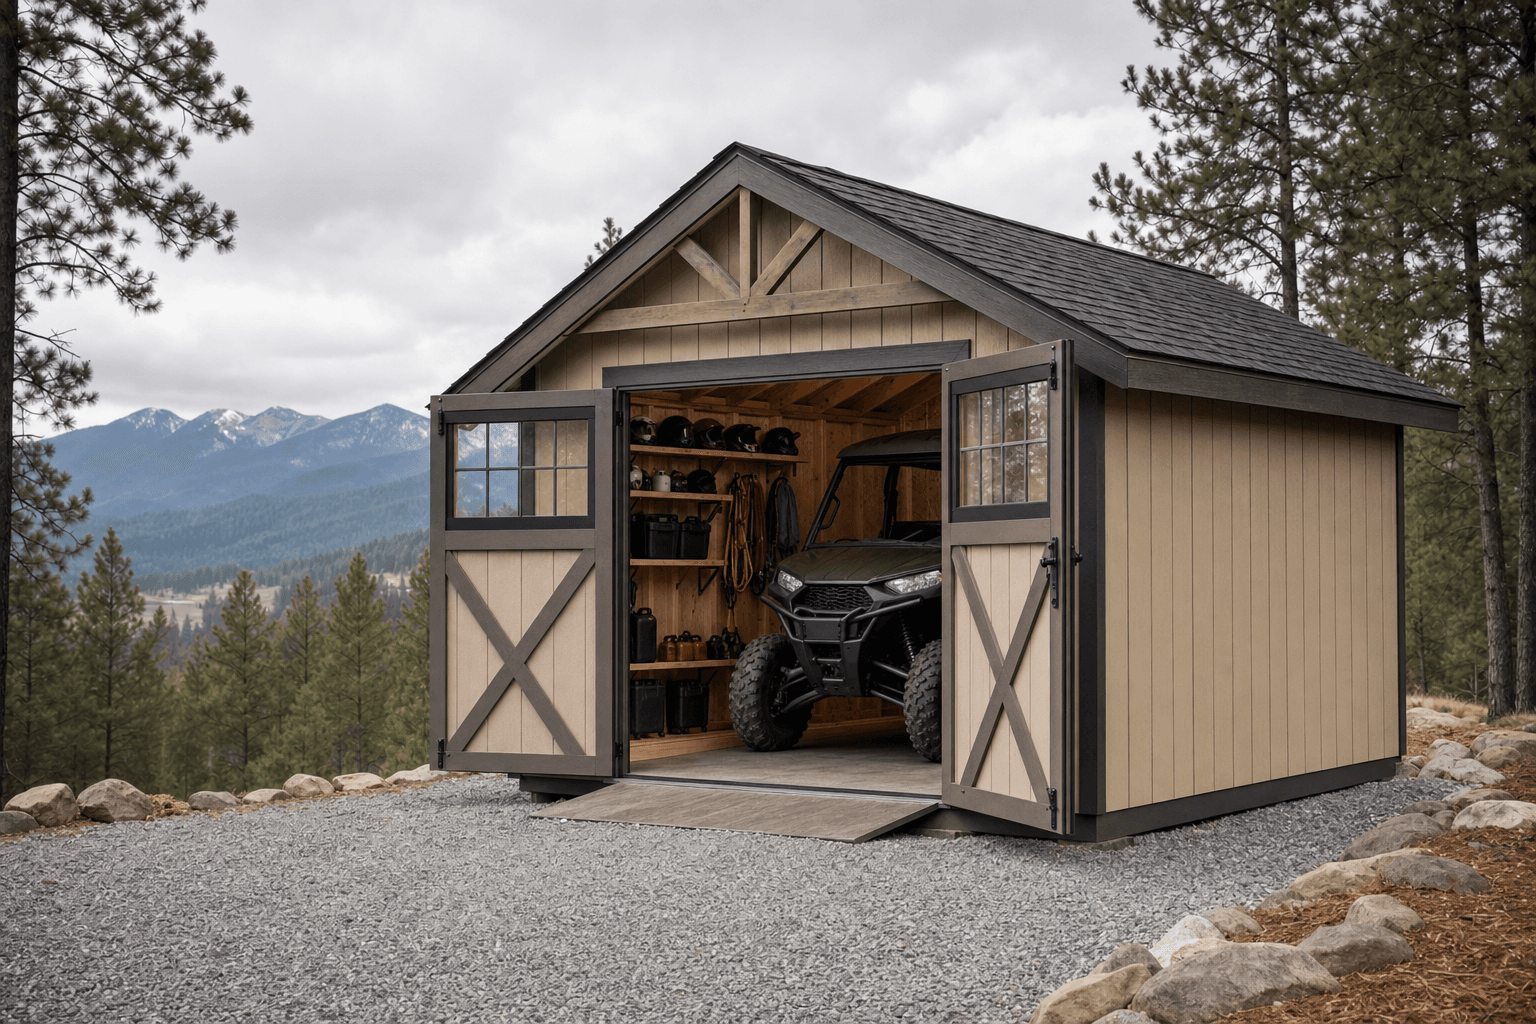
Wide doors, a clean gravel approach, and realistic rooflines help an ATV or UTV shed work through North Idaho weather.
The opening is where most ATV and UTV shed plans succeed or fail. Measure the widest point of the machine with mirrors, tires, racks, plow mounts, and roof accessories included, then add working room on both sides so entry does not become a careful squeeze every time the weather is bad. If you use the machine with gloves on, while carrying gear, or after dark, extra door clearance is not wasted space. It is what keeps the shed useful when conditions are less than ideal.
The approach matters just as much as the door. A compacted gravel pad gives wet tires a clean landing area, helps manage drainage, and makes it easier to shovel or plow a path in winter. A low threshold, beveled entry, or simple ramp plan should be discussed before the shed is built. That keeps the floor height, door jambs, and approach working together instead of creating a lip that catches tires, drags plow brackets, or turns icy after the first thaw-freeze cycle.
Plan from the exact ATV or UTV dimensions, including mirrors, tires, roof, racks, and attachments. The usable opening should give you room to enter without scraping trim or unloading gear first.
Discuss floor height, gravel slope, and any ramp before the build. A small threshold can feel large when tires are wet, the machine is loaded, or snow has drifted against the door.
A shelf or wall bay for chargers, helmets, fluids, straps, and tools keeps maintenance items off the floor and away from tire paths.
Leave space outside the doors for snow removal, trailer staging, and daily access. If the shed sits tight against a fence or tree line, the door plan needs to account for that.
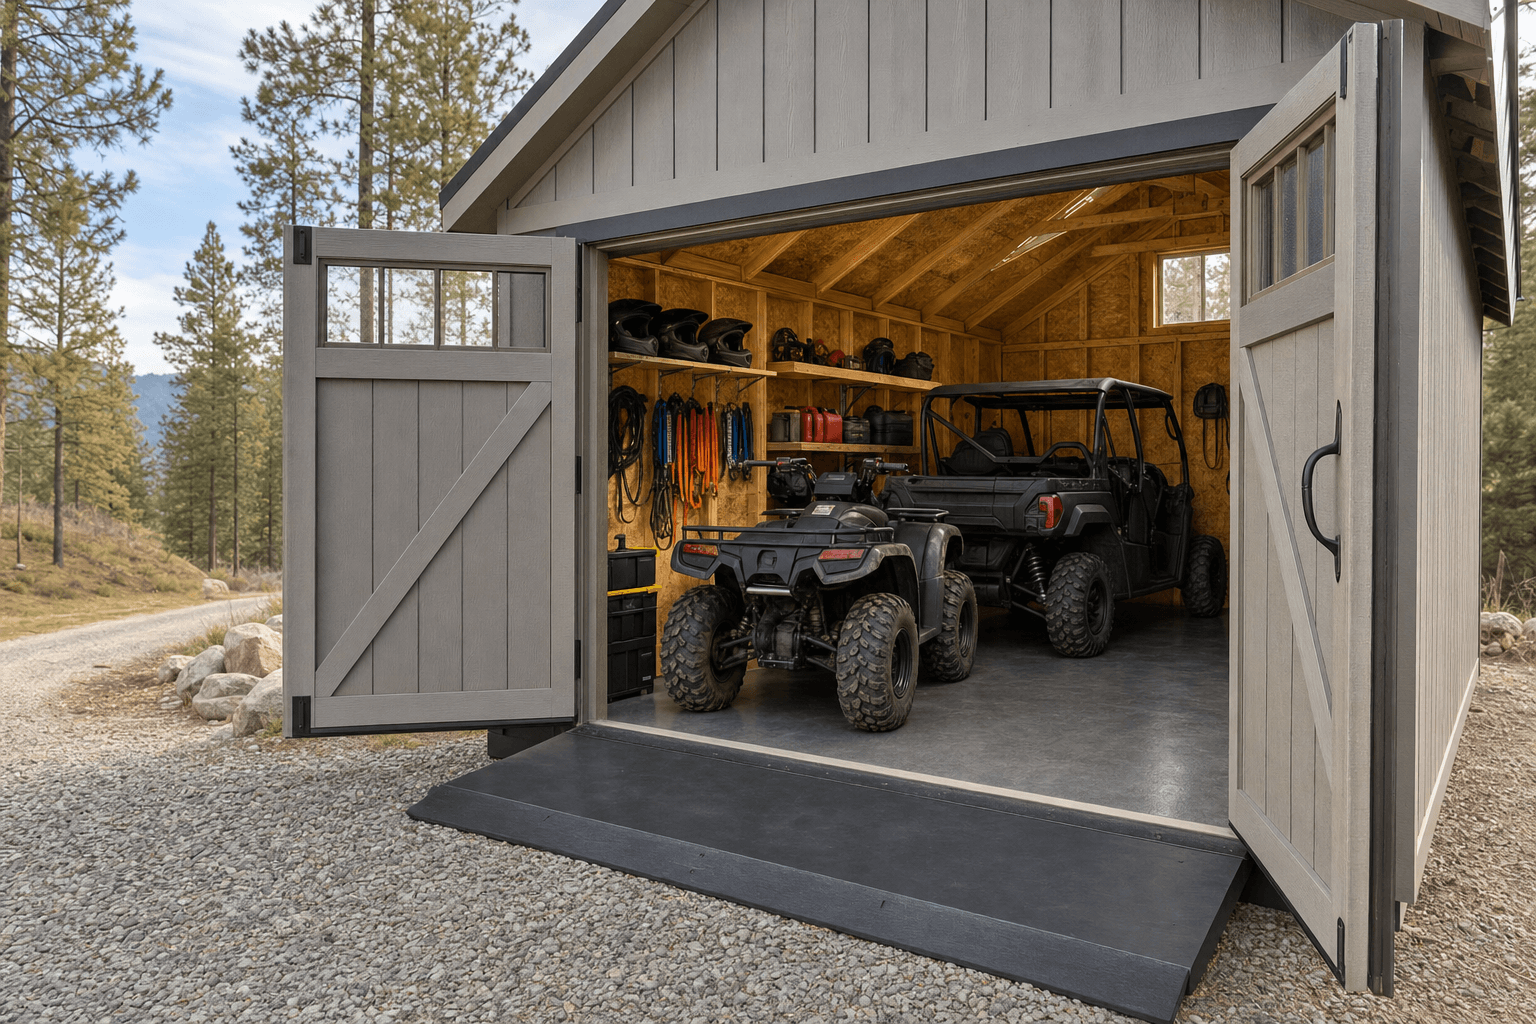
The body image shows how the door opening, threshold, and interior storage need to work together for trail equipment.
A powersports shed should be easy to use after a muddy ride, not only when it is clean and empty. The simplest layout is usually a straight-in bay with storage on one or both long walls. That keeps the center lane open for tires and gives helmets, outerwear, recovery gear, oil, battery equipment, and small tools a consistent place to land. If you expect to do light service work, leave room for a folding bench or compact work surface near the door where daylight and ventilation are better.
Ventilation and moisture control deserve attention because ATVs and UTVs bring in snow, mud, water, and fuel odor. Wall vents, a window that can crack open, durable lower-wall finishes, and a floor plan that lets wet gear dry without touching stored boxes all help. The goal is not to turn the shed into a mechanic shop; it is to keep the machine protected and make the first ten minutes before or after a ride less frustrating.
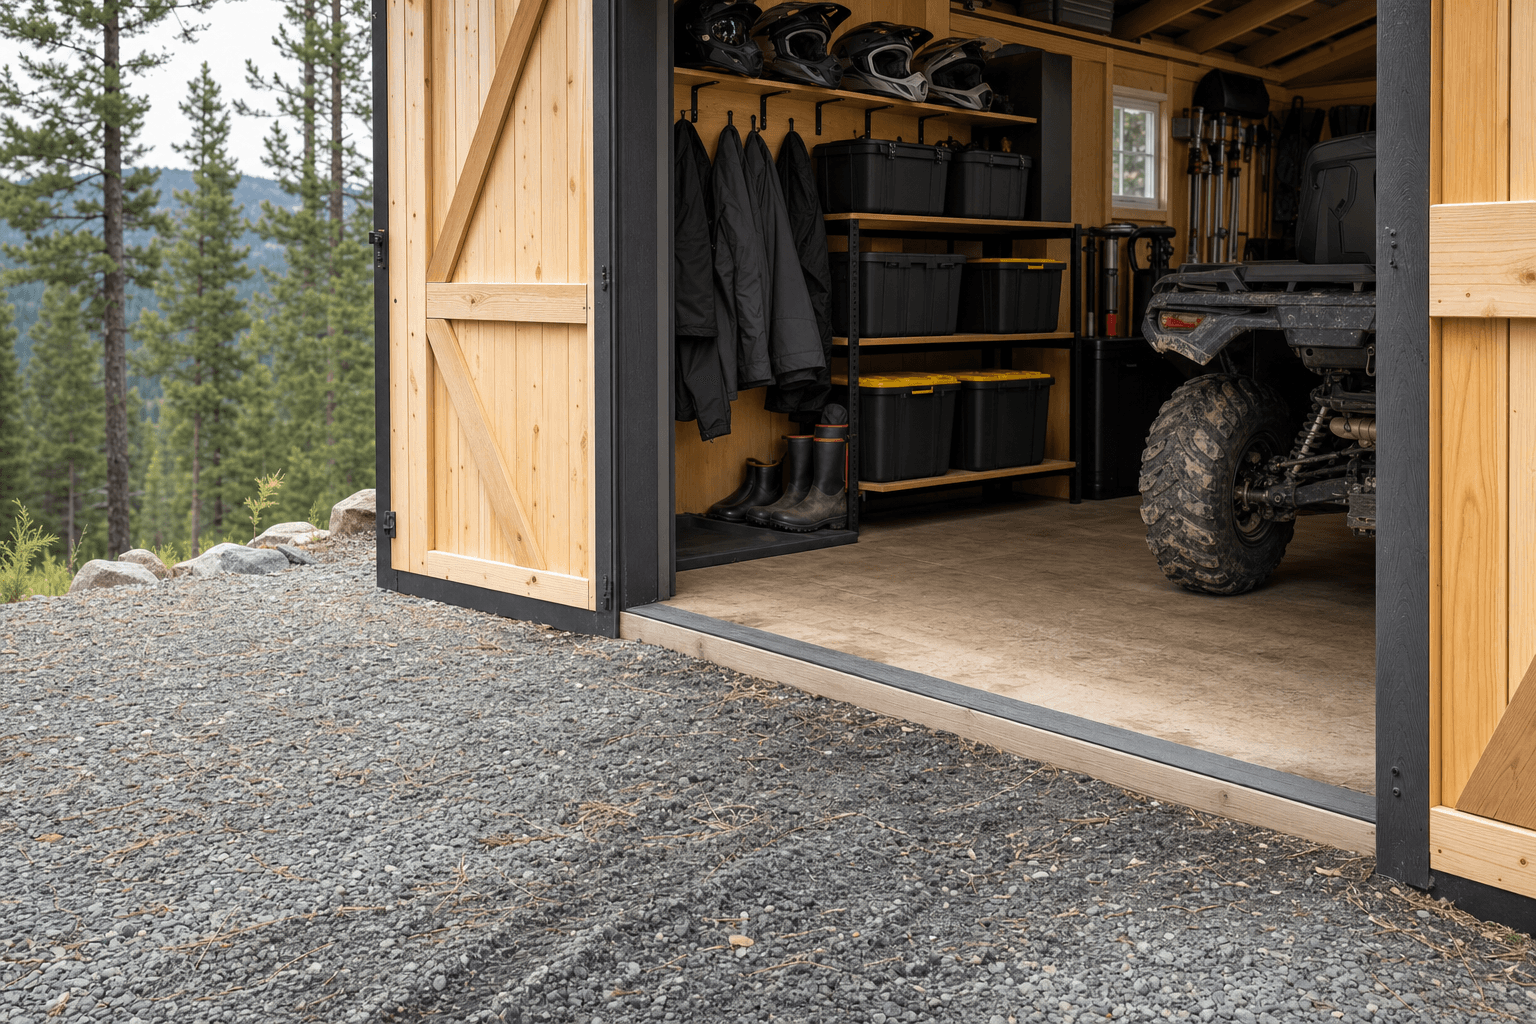
Threshold height, ramp angle, door width, and gear storage details keep the shed usable after wet rides and winter weather.
These sheds are planned for weather, access, and rural-lot realities instead of generic backyard storage.
Door placement should consider plowed paths, roof shedding, and where snow piles after a storm.
A gravel pad, raised floor, and wall storage help keep wet gear from taking over the whole shed.
A lockable shed keeps trail equipment, helmets, tools, and chargers out of the weather and out of casual view.
The plan should fit the current vehicle and leave room for common accessories or a future upgrade.
Bring the machine dimensions, photos of the driveway approach, and a short list of what else needs to live in the shed. If you use a trailer, snow blade, sprayer, chainsaw, tire set, fuel cans, or recovery kit, mention those items early. They may change the best door width, shelving depth, or whether the shed should be longer instead of simply wider.
Also think about how often the shed will be opened in winter. A building that is perfect in July can be annoying in January if the doors face the wrong drift zone or the approach turns into a skating rink. Planning the door orientation, pad, and drainage together gives you a cleaner daily workflow and a shed that earns its space all year.
The right size depends on the machine, attachments, and storage plan. Measure with mirrors, racks, and tires included, then leave room to walk and store gear.
Start with the vehicle width and add comfortable clearance on both sides. Accessories, wider tires, mirrors, and plow mounts all affect the usable opening.
Some sites work with a low threshold or flush gravel approach, while others need a ramp. Plan floor height, gravel, and entry angle together.
Yes. The shed can reserve a shelf, work surface, and wall zone for chargers and small tools. Licensed trades should handle any electrical installation.
Use compacted gravel outside, durable floor materials, wall storage for wet gear, and ventilation. Keep the tire path open so cleanup stays simple.
Place it near the natural entry and exit path, with room for door swing, snow removal, and trailer staging. Avoid low wet spots when possible.
Start with the machine, the access path, and the gear you need close at hand. We can build the shed on-site around your North Idaho property.
Every shed we make is built on site in North Idaho. Explore other uses we build for.
