A dirt bike shed works best when it matches the ride cycle: roll in, park with room to stand, hang wet gear, set the helmet where it can air out, and keep basic tools within reach. North Idaho trail season brings mud, dust, rain, and gear that should not take over the house garage.
North Idaho On Site Sheds can build a practical moto storage and light workshop space with familiar gable rooflines, usable wall height, and proportions that fit a gravel pad. The goal is a clean, durable, weather-aware shed for bikes, gear, tools, parts, and weekday maintenance.
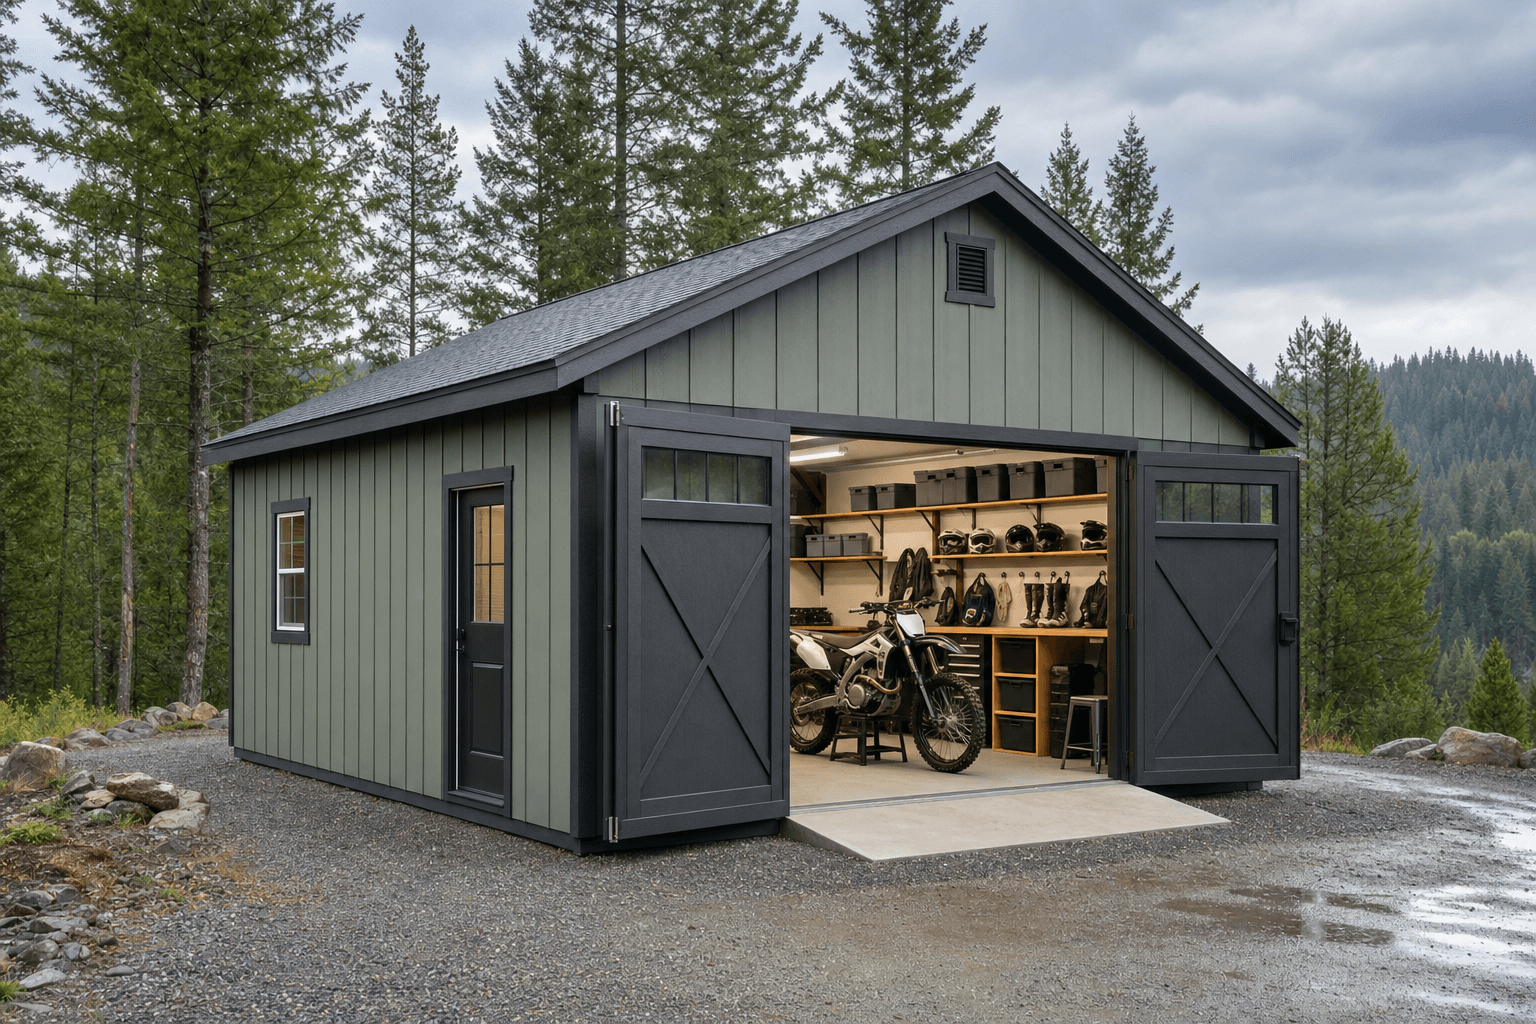
Wide doors, durable threshold planning, ventilation, and organized gear storage make a moto shed useful through North Idaho trail season.
Door width changes how useful the shed feels. Wide double doors make it easier to roll in straight, clear handlebars and handguards, set a stand, and move around the bike without scraping gear against the jamb. A low, planned threshold or compact ramp keeps the transition predictable when tires are wet.
The floor plan should separate parking, work, and storage. Many riders want one clear access lane, a bench on the long wall, a tool wall above it, and shelves or blank bins for goggles, gloves, fluids, and spare parts. Fuel and oil should be handled as separated, ventilated storage topics using approved containers and local disposal practices.
Plan opening width, interior aisle, and door swing around handlebars, pegs, stands, and roll-in angle.
Reserve a service side with bench space, tool organization, and parts staging that does not block the bike.
Use hooks, shelves, and blank bins so damp boots, helmets, gloves, and armor can dry off the floor.
Plan airflow cues and separated storage for odors, oils, and fuel containers without making code claims.
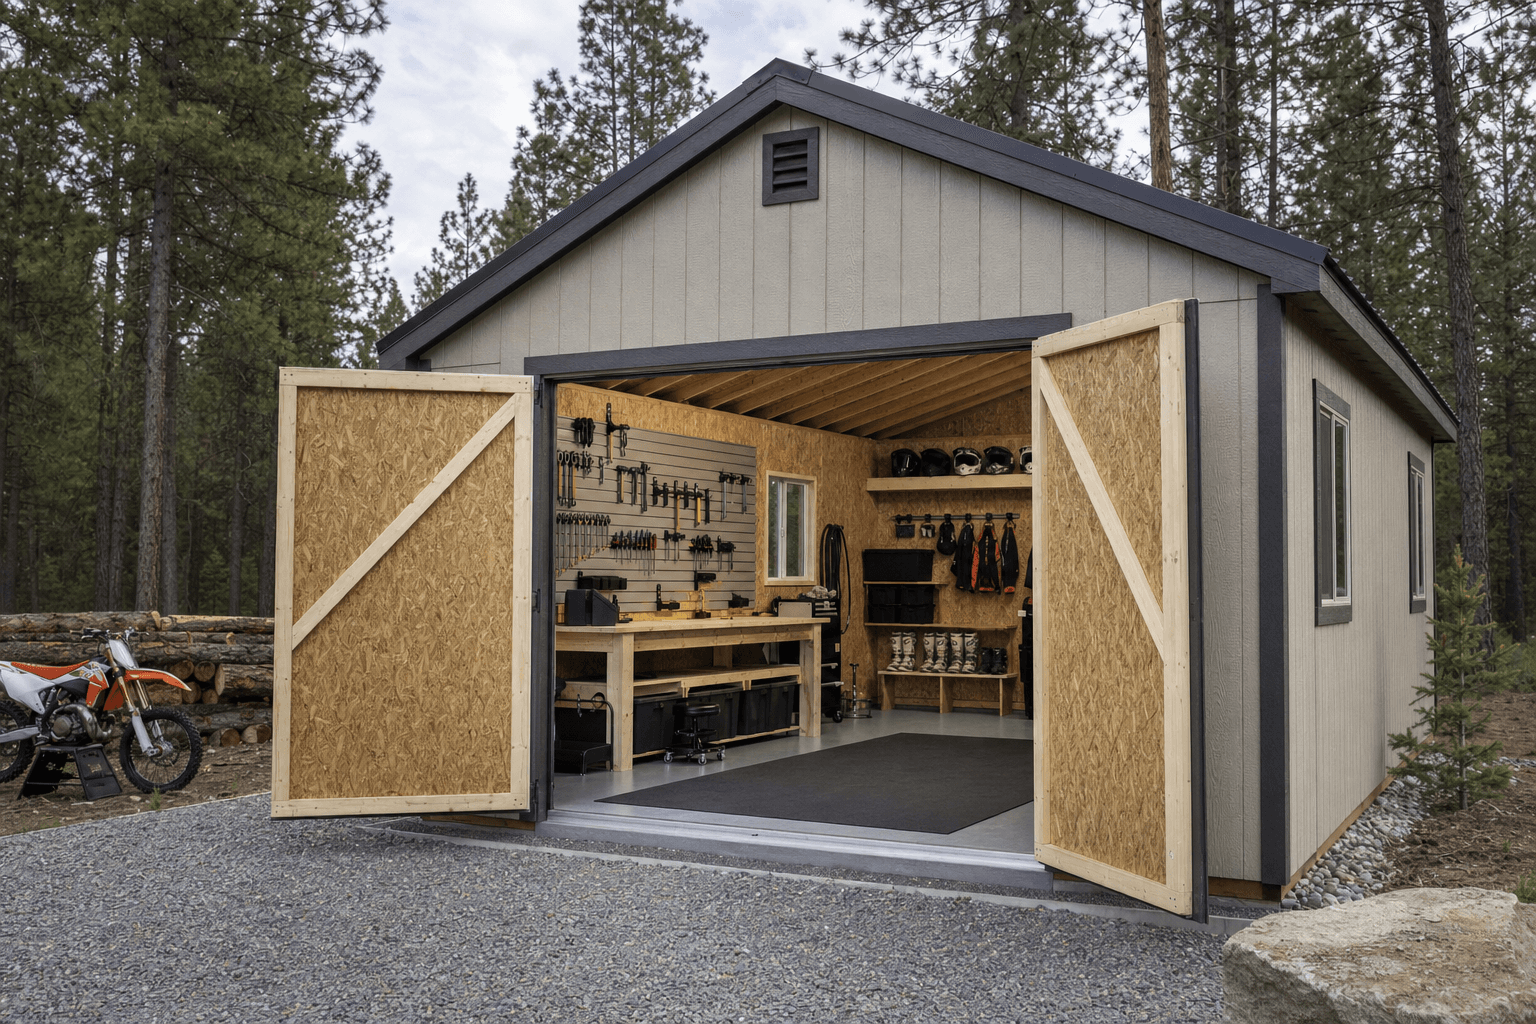
The body image shows how wide access, a maintenance bench, durable flooring, and organized moto gear can work together inside a shed.
A useful moto shed has zones that match the ride cycle. Leave a mud-ready entry and parking lane near the doors. Use one wall for helmets, boots, armor, hydration packs, and rain layers. Use another for a compact bench, blank bins, and the tools used every week.
Ventilation belongs in the planning conversation because riding gear, chain lube, wet boots, and small-engine odors can build up in a tight shed. That does not make the shed a fuel-safe room. It means thinking through airflow, separated containers, clear floor space, and responsible handling of oil and used fluids.
Keep a straight path from the doors to the parking spot so the bike, stand, and gear do not compete.
Use one wall for a compact bench, hooks, tool storage, and parts staging.
Open shelves, boot trays, and airflow help gear recover after muddy rides.
Plan oils, cleaners, and approved fuel containers away from heat sources and daily gear handling.
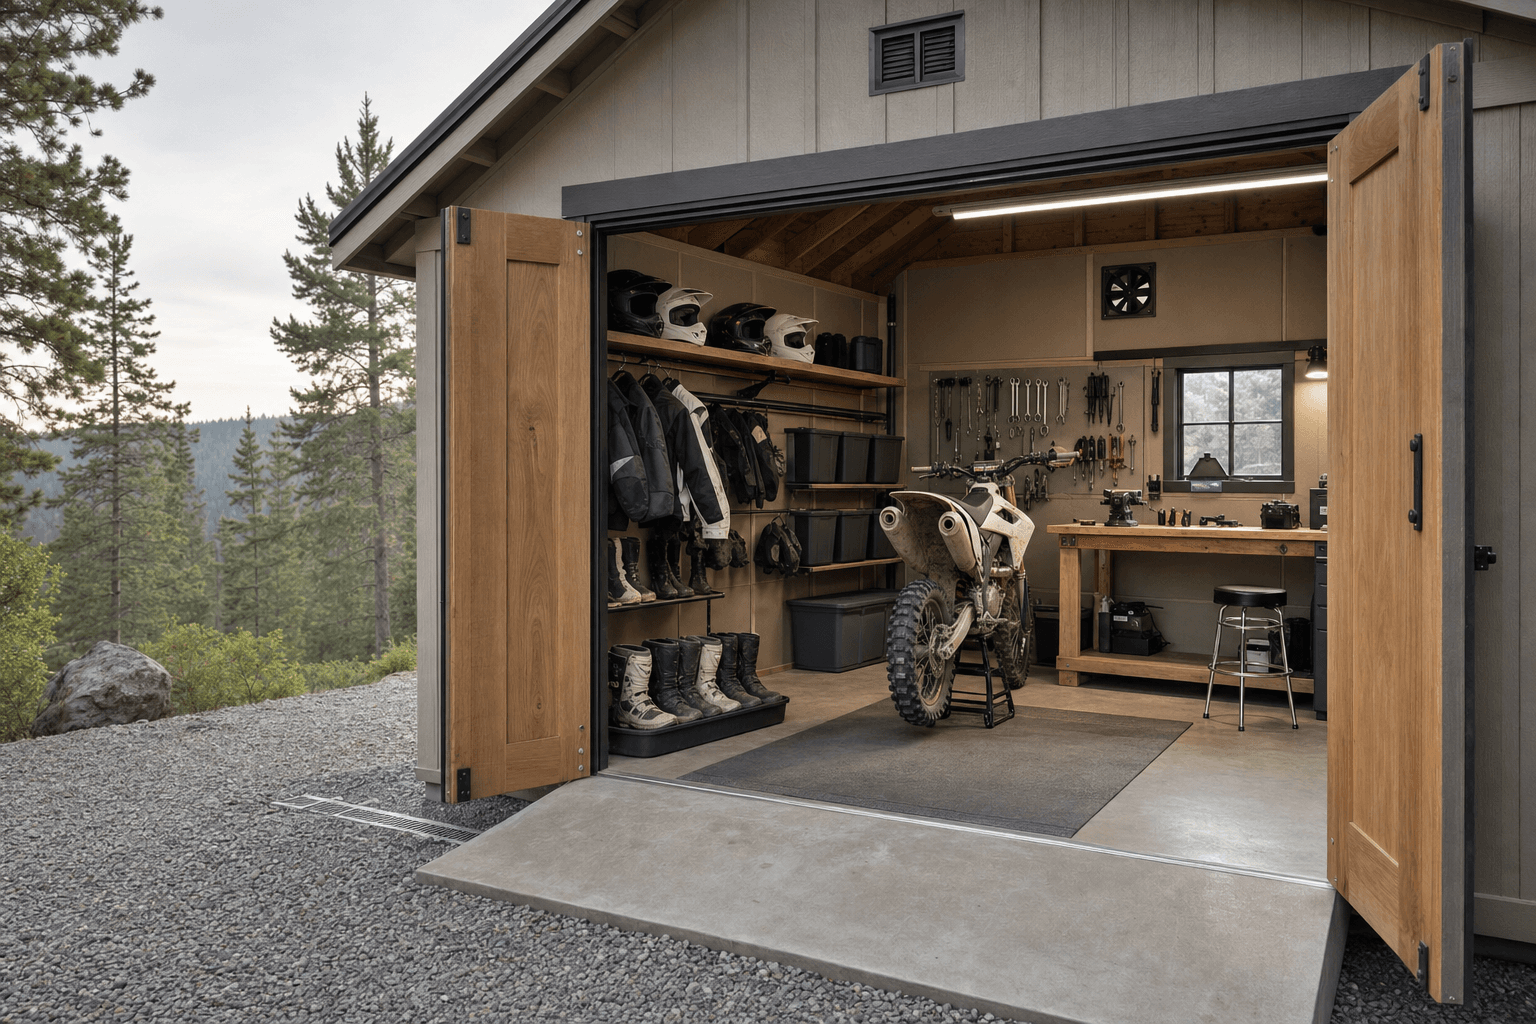
Detail planning matters around threshold durability, floor surface, ventilation, and storage for helmets, boots, tools, and wet trail gear.
| Popular layouts | |
|---|---|
| 10x16 | Compact single-bike storage with wall organization. |
| 12x16 | One bike plus service aisle, helmet shelves, and boot storage. |
| 12x20 | One to two bikes, workbench, tool wall, and trail gear zones. |
| 12x24 | More room for multiple bikes, stands, parts, and seasonal gear. |
Moto sheds benefit from a stable, well-drained pad because wet tires, stands, and rolling gear put repeated pressure at the doorway. Plan access, soil, snow movement, drainage, and how the threshold meets the approach.
Trail-season storage has to handle mud, dust, rain, freeze-thaw cycles, and quick access after work.
Roofline, pad drainage, and entry height matter when snow piles up.
Trail and commute seasons bring moisture, grit, and gear that needs a dry place.
Door orientation, sight lines, and lockable zones protect higher-value equipment.
Plan pad prep, door swing, and the path equipment takes in and out.
A moto shed may look simple, but placement still matters. Confirm setbacks, access, and local or HOA requirements before finalizing size and pad location. If the shed will support electrical work, heat, or special equipment, bring the right licensed trade into that plan.
Many riders start around 10x16 for one bike, but 12x16 or 12x20 is more comfortable for a stand, bench, tool wall, and gear storage. The best size depends on bike count, door approach, and clear maintenance space.
Double doors usually help because they give more room for handlebars, boots, stands, and awkward turns. Wide access also helps when the ground is wet or you are carrying gear after a ride.
Yes, if the layout gives them open, dry storage instead of trapping wet gear in closed bins. Hooks, shelves, boot trays, and airflow keep gear easier to inspect and grab.
Fuel, oil, cleaners, and used fluids should be separated from daily gear. Use approved containers, keep them away from heat or ignition sources, follow product directions, and use local disposal guidance.
Ventilation is worth planning because wet gear, small-engine odors, and stored maintenance supplies can make a tight shed unpleasant. The right approach depends on size, placement, and utility plans.
Yes. The shed can be planned for a prepared pad with door orientation, roofline, size, and access path matched to your property. Confirm site prep, setbacks, and utilities before final build planning.
Bring the bike count, gear list, access constraints, and site photos. We will turn that into a practical North Idaho shed plan.
Every shed we make is built on site in North Idaho. Explore other uses we build for.
