North Idaho On Site Sheds

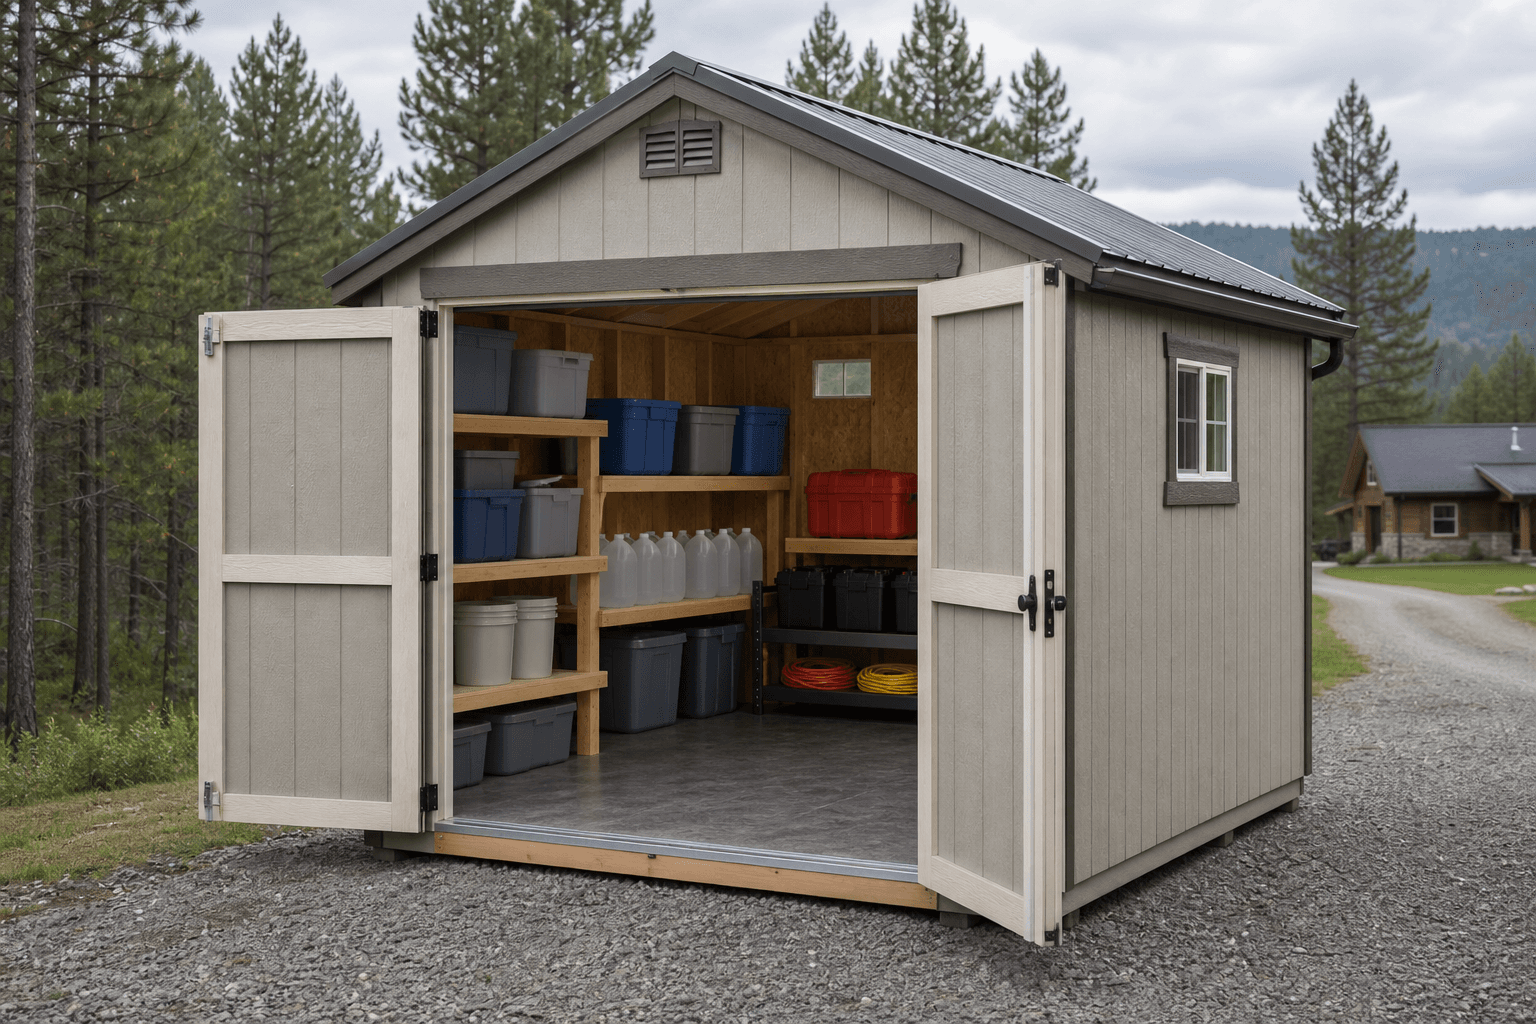
Emergency Preparedness Shed Built On-Site in North Idaho

Need a prepper storage shed in North Idaho? On-site builds with security upgrades, plus custom sizing made for North Idaho snow. Get a free estimate today.

An emergency preparedness shed needs to do more than hold extra boxes. It should keep critical supplies secure, organized, and ready when a storm, outage, or road closure hits North Idaho at the worst possible time. We build these sheds on-site so the size, climate-control details, access, and backup-power planning fit your property and the way your family actually prepares.

Emergency Preparedness Shed Built for North Idaho Weather

An emergency preparedness shed is different from a general storage shed because the contents actually matter when normal routines break down. Water storage, food reserves, medical supplies, radios, charging systems, fuel-related support gear, sanitation supplies, cold-weather clothing, and recovery tools all need to stay protected, easy to find, and ready to use. If those items end up in random garage corners, buried under seasonal clutter, or spread between the house and outbuildings, the whole system gets slower and less reliable the minute you need it most.

In North Idaho, preparedness planning is not abstract. Winter storms can knock power out. Rural properties can deal with blocked driveways and delayed services. Summer smoke and fire conditions can shift fast. That means a preparedness shed should be built for real local weather, not treated like a backyard novelty. Roof framing has to handle snow loads that commonly start around 40 psf and can go higher depending on county and elevation. Site drainage matters because freeze-thaw cycles, spring mud, and standing water are hard on both the building and the supplies inside. Once a project gets bigger or adds more utility features, the common 24-inch frost-depth conversation can matter too.

On-site construction is a major advantage for this type of building. A preparedness shed often wants a very specific location: close enough to the house for fast access, but positioned where it does not create driveway conflict, block snow removal, or crowd other utility structures. Some owners want it near the garage. Others want it beside a backup-power setup or tucked into a secure corner of the property. Building on-site means the footprint, door placement, and access path can be shaped around the lot instead of around prefab delivery limits.

Emergency Preparedness Shed Features & Build Options

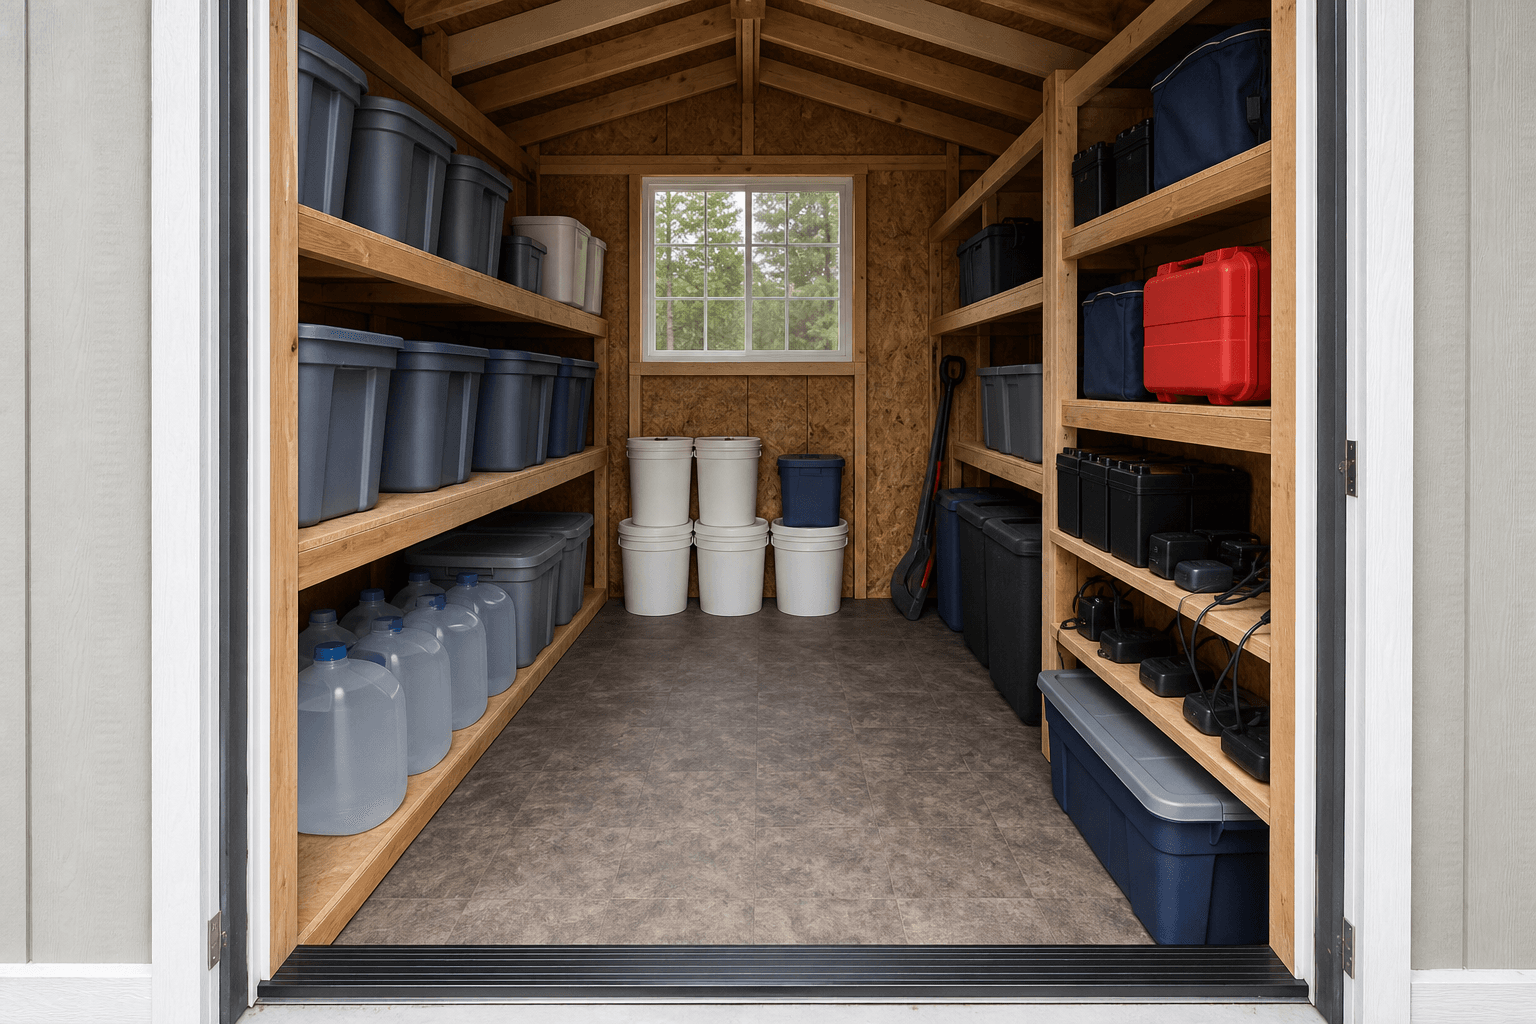
The best preparedness sheds are organized around zones, not piles. Water should not be stacked on top of medical gear. Radios and charging equipment should not disappear behind seasonal bins. Emergency lighting, sanitation supplies, backup heat accessories, food rotation, and family go-kits all work better when the building is laid out deliberately from day one.

Common options for this service include:

  • Secure, lockable doors and hardware that keep higher-value or more sensitive supplies protected.
  • Climate-control planning so food, batteries, medicines, and other gear are stored in more stable conditions.
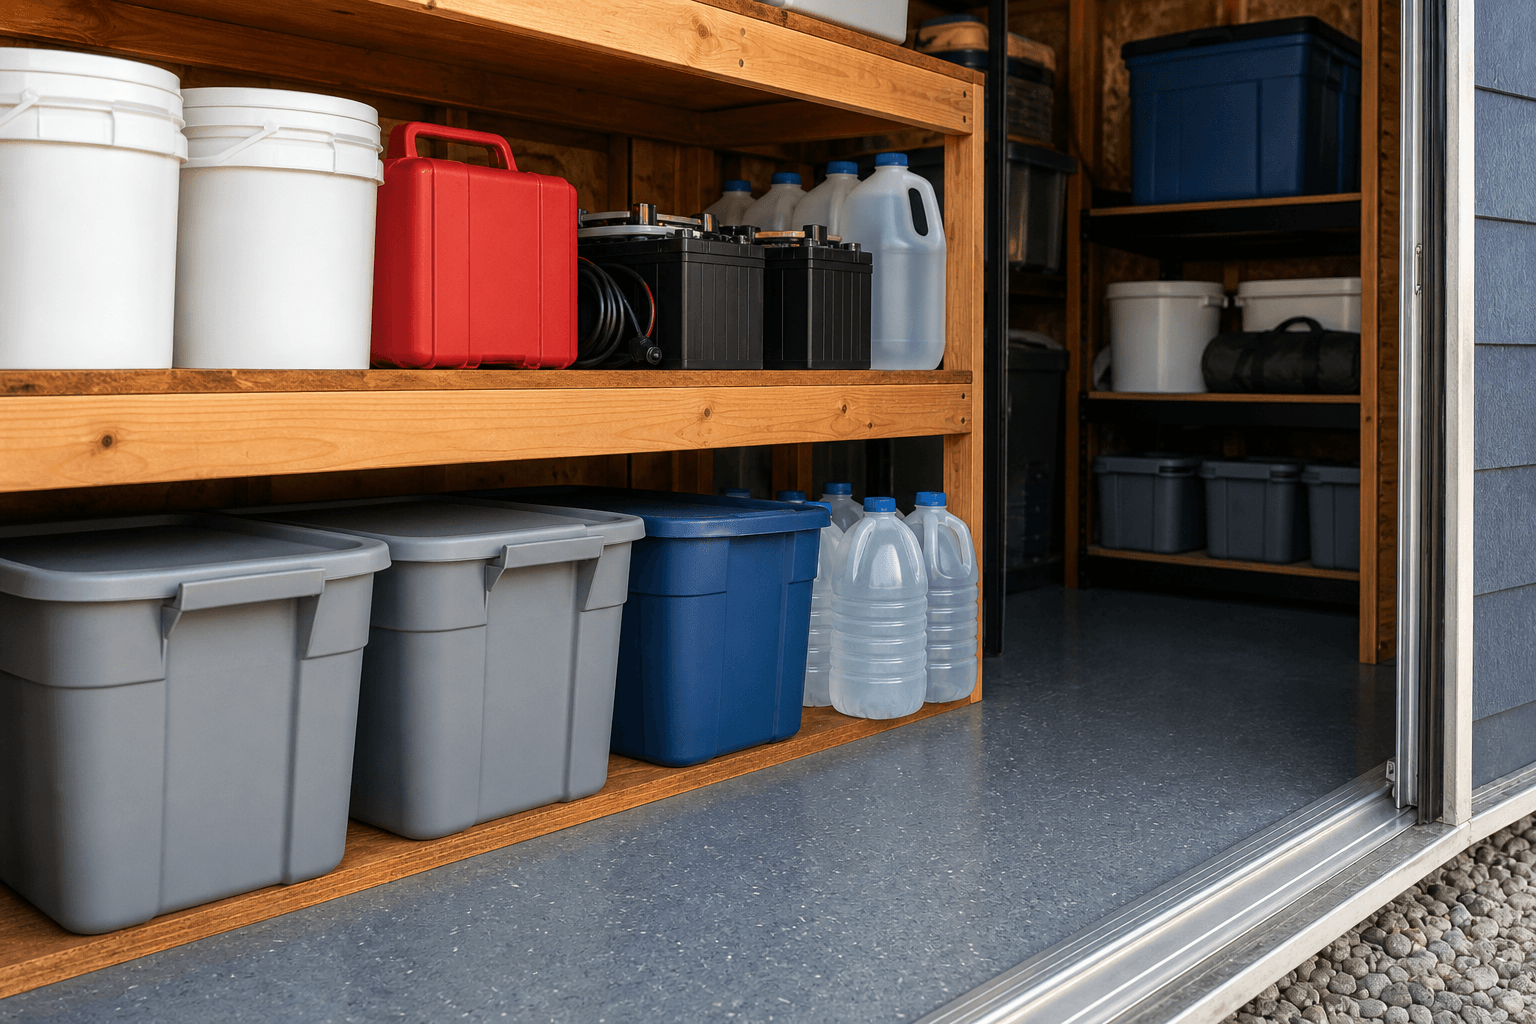
  • Organized storage zones for water, food, medical, comms, lighting, and seasonal response kits.
  • Generator-ready planning when the shed needs to support charging, backup circuits, or a nearby power strategy.
  • Shelving and aisle layouts that let you rotate supplies instead of burying old stock behind new purchases.

Building a prepper storage shed: zones for water, food, medical, and comms is worth reading because it helps turn a vague idea of preparedness into a layout that actually works under stress. Temperature stability matters too. Climate-controlled supply storage: keeping gear ready year-round explains why batteries, medicines, sealed foods, and sensitive electronics benefit from a steadier environment than a damp corner of a garage or a generic unplanned shed.

Some owners also want this building tied into a larger resilience setup. A nearby generator shed or clean-air shed can handle related but distinct needs. If the property is also preparing for smoke events or evacuation seasons, an adjacent wildfire readiness shed may make sense so wildfire-specific equipment does not compete with long-term supplies. That separation usually improves access and keeps the core preparedness shed cleaner and easier to manage.

Popular Emergency Preparedness Shed Sizes & Layouts

An 8x10 is a practical starting size for many families who mainly need organized shelving for food, water, first-aid supplies, radios, lighting, and a few seasonal response kits. This size works best when storage is disciplined and the building is not expected to carry every bulky household extra.

An 8x12 gives more room for clear zones and makes it easier to rotate supplies without unpacking half the shed. This is often a strong size when the owner wants separate water and food walls plus some floor space for larger bins or containers.

A 10x10 can feel more usable than an 8-foot-wide building when you want a stronger center aisle and more comfortable access to both walls. That extra width helps if the shed includes denser shelving or larger reserve storage.

A 10x12 or 10x16 makes sense when the preparedness plan is broader and includes more long-term food, more water storage, backup cooking or sanitation gear, and room for clean organization. A 12x16 can be a fit for larger properties or owners who want the shed to support a family-scale resilience plan without crowding.

What Size Emergency Preparedness Shed Works Best?

The right size depends on what you are actually storing and how fast you may need to access it. A family that wants a compact reserve for storms and outages has different needs than a rural property planning for extended disruptions. Start with categories, not square footage: water, shelf-stable food, medical, communications, lighting, heating support, sanitation, and mobility kits. Once those categories are listed honestly, the space requirement becomes much clearer.

Access speed matters just as much as storage volume. If the flashlight bins are behind the bottled water, or if the radios are under seasonal camping gear, the layout is already failing. That is why many owners compare 8x10, 8x12, and 10x10 first. Those sizes cover a lot of common household preparedness plans. Once you need more food rotation, more reserve volume, or more climate-sensitive storage, 10x12 and 10x16 become better choices.

On-site construction also helps because the best size is tied to the property. Some lots need a narrow building near the house. Others need a deeper building near utility infrastructure or behind a secure fence line. The goal is not just more square footage. It is a building that stays easy to reach in bad weather and easy to use when stress is high.

How Does On-Site Emergency Preparedness Shed Building Work?

We start with the property and the preparedness plan. That means looking at where the building should sit, how people will reach it during winter or outages, and whether it needs to connect practically to backup power, parking, or the main house. On-site construction is the main advantage because the shed can be placed where it works for real emergency access instead of where a delivered unit is easiest to unload.

From there we work through size, storage layout, climate-control considerations, security, and whether the building should be generator-ready from the start. Costs vary with footprint, site prep, snow-load requirements, utilities, and finish level, so the broad pricing guide is a good first reference. For a number tied to your actual lot and use case, request a free estimate.

Many preparedness sheds can be built quickly once the site is ready and materials are staged, but the real value is in planning the inside of the shed before it fills up. A clean layout on day one is what keeps the building useful five years later, after supplies have rotated and more categories have been added.

Emergency Preparedness Shed Service Areas Across North Idaho

We build emergency preparedness sheds across North Idaho, including Kootenai, Bonner, Boundary, Shoshone, and Benewah counties. These projects make sense in both town and rural settings because the basic need is the same: keep critical supplies dry, secure, and ready when local conditions get rough.

In Athol, for example, a preparedness shed may support a family on acreage dealing with winter outages, longer response times, and more dependence on self-contained utility planning. Similar needs show up across the region, especially where weather, distance, and smoke season all add pressure. On-site construction gives the owner the flexibility to place the shed where it supports the property’s real emergency routine.

Frequently Asked Questions About Emergency Preparedness Shed

How much does an emergency preparedness shed cost in North Idaho?

Most emergency preparedness shed projects in North Idaho start around $5,000 and can reach $10,000 depending on size, foundation, utilities, insulation, and finish level. Site access, snow loads, and feature upgrades can move pricing higher. See our pricing guide or request a free estimate.

What size emergency preparedness shed works best in North Idaho?

Most emergency preparedness shed builds land in the 8x10, 8x12, 10x10 range, while 10x12, 10x16 works better when you need more clearance, storage zones, or finished space. North Idaho lot layout, setbacks, and access matter as much as square footage. Compare 8x10, 8x12, and 10x10.

Do I need a permit for an emergency preparedness shed in North Idaho?

Sometimes. A simple emergency preparedness shed under 200 square feet may follow the common North Idaho permit-exempt path, but setbacks, HOA rules, utilities, and placement still need review. Once you go larger or add power, plumbing, or finished interiors, permitting becomes more likely. Review permit basics and request a site-specific estimate.

How long does it take to build an emergency preparedness shed on-site in North Idaho?

Most emergency preparedness shed projects take about 1-2 on-site days once the site is ready and materials are staged. Larger footprints, slab work, insulation, wiring, plumbing, and muddy or tight North Idaho access can extend the schedule. See how our build process works.

Built for North Idaho weather

  • Engineered for snow load

    Roofs framed for North Idaho's 70+ psf ground snow load.

  • Wind-rated

    Anchored and braced for the gusts that funnel down our valleys.

  • Sealed for freeze-thaw

    Detailed drip edges, sealed penetrations, and breathable wraps.

  • 12-year warranty

    Bumper-to-bumper coverage on materials and workmanship.

What you get

  • Secure/lockable

  • climate-controlled

  • organized zones

  • generator-ready

How it works

  1. Step 1Site visit

    We come to you, listen to how you want to use the shed, and read the site.

  2. Step 2Free estimate

    You get a single, all-in price — no surprises, no upsell.

  3. Step 3Build day

    We build it on your property in a single visit. No delivery permits, no crane fees.

  4. Step 4Walkthrough

    We hand it over with a walkthrough of materials, doors, and aftercare.

Frequently asked questions

  • How much does an emergency preparedness shed cost in North Idaho?

    Most emergency preparedness shed projects in North Idaho start around $5,000 and can reach $10,000 depending on size, foundation, utilities, insulation, and finish level. Site access, snow loads, and feature upgrades can move pricing higher. See our pricing guide or request a free estimate.

  • What size emergency preparedness shed works best in North Idaho?

    Most emergency preparedness shed builds land in the 8x10, 8x12, 10x10 range, while 10x12, 10x16 works better when you need more clearance, storage zones, or finished space. North Idaho lot layout, setbacks, and access matter as much as square footage. Compare 8x10, 8x12, and 10x10.

  • Do I need a permit for an emergency preparedness shed in North Idaho?

    Sometimes. A simple emergency preparedness shed under 200 square feet may follow the common North Idaho permit-exempt path, but setbacks, HOA rules, utilities, and placement still need review. Once you go larger or add power, plumbing, or finished interiors, permitting becomes more likely. Review permit basics and request a site-specific estimate.

  • How long does it take to build an emergency preparedness shed on-site in North Idaho?

    Most emergency preparedness shed projects take about 1-2 on-site days once the site is ready and materials are staged. Larger footprints, slab work, insulation, wiring, plumbing, and muddy or tight North Idaho access can extend the schedule. See how our build process works.

Ready to get started?

Get Your Free Estimate