A good feed storage shed is less about filling a room with bags and more about keeping daily chores predictable. On a North Idaho acreage, feed has to stay dry through wet springs, stay reachable after snow, and remain easy to inspect for spills, moisture, or pest activity.
NIOS can build the shed shell, doors, roofline, siding, trim, vents, gravel-ready access, and storage-friendly layout. The owner still chooses feed containers, rotation habits, sanitation routines, pest-control approach, and any animal-specific feed handling rules.
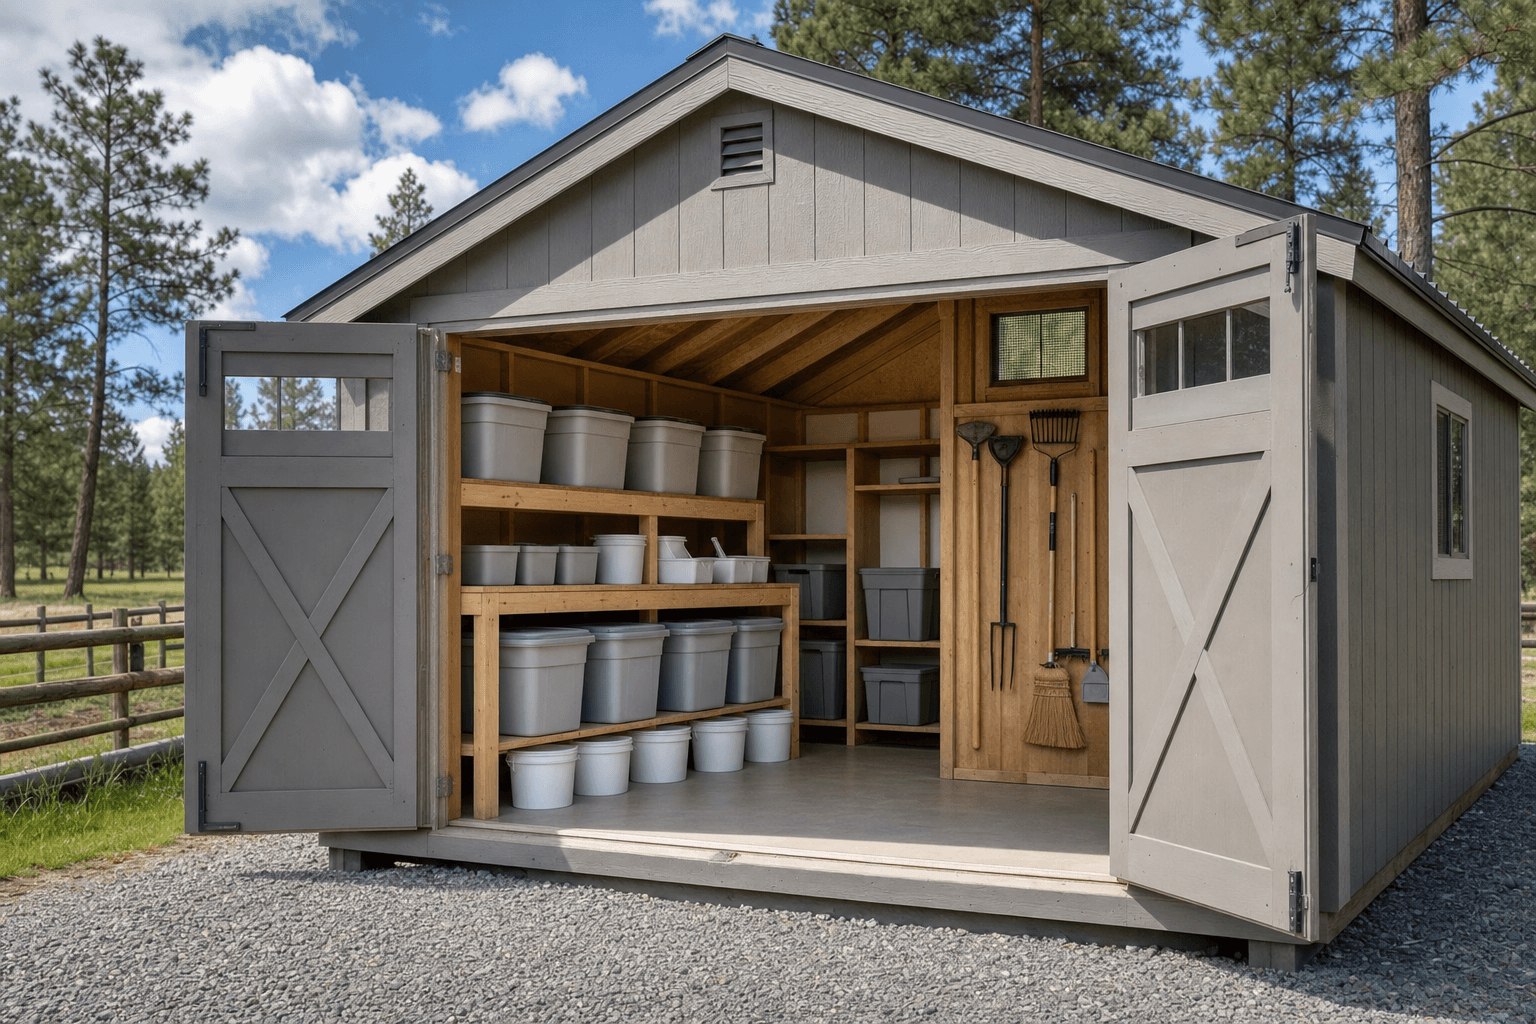
Open-door workflow views help buyers plan dry bins, raised shelving, clean aisles, separated tools, protected ventilation, and everyday access.
Keep sealed or tight-lid bins together on a raised, inspectable wall. Leave space behind and below storage so spills, moisture, or gnawing signs are easier to find.
Door width should match the heaviest feed bags, bins, carts, or delivery routine. A narrow threshold can make every restock harder than it needs to be.
Vents should help reduce stale air and condensation while staying screened and protected from wind-driven rain, snow, and pest entry.
A broom, scoop, and hand tools can belong in the shed, but wet tools, fuels, pesticides, and chemicals should not share the clean feed storage zone.
A dry threshold, sweepable floor, and gravel apron help limit mud and splash. Feed should not be planned around low corners or damp floor storage.
Tight doors, fewer hiding places, screened openings, organized bins, and inspection access can reduce risk. No shed should be sold as rodent-proof.
Think about how feed arrives, where older feed sits, and how a cart or dolly will move through the doorway before shelving fills the walls.
Keep fuels, pesticides, herbicides, solvents, and wet animal-care supplies away from feed storage. Product labels and local rules still govern risky materials.
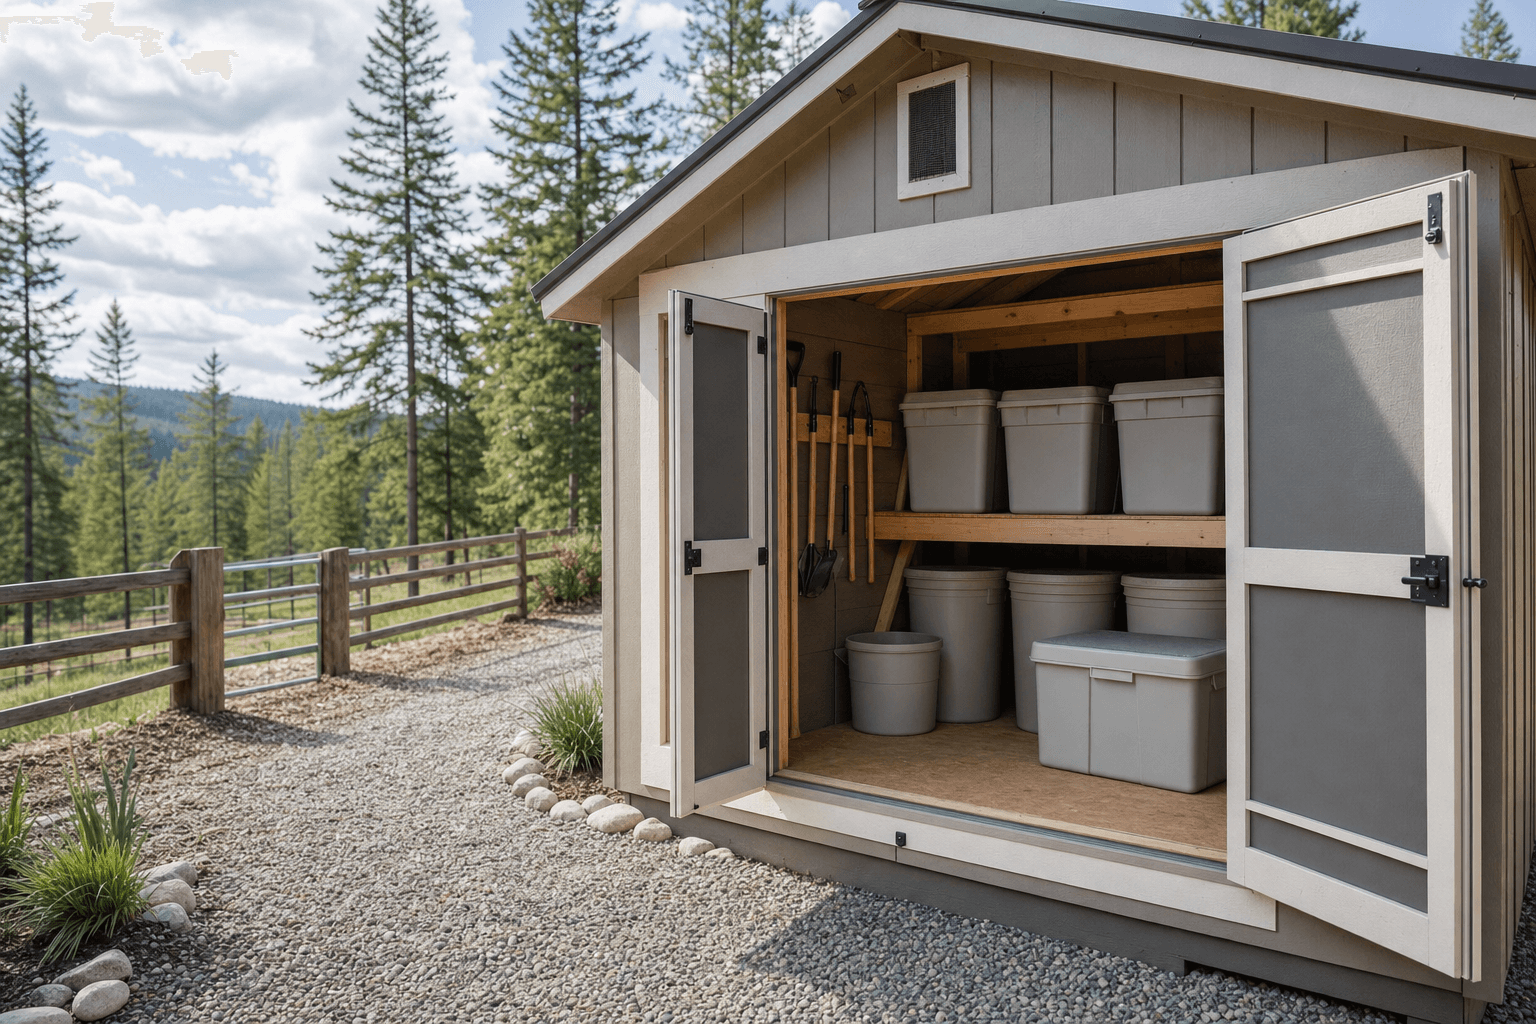
Detail views should reinforce blank bins, raised storage, separated tools, screened ventilation, dry thresholds, and clean gravel drainage.
Moisture is the first design problem. Feed that sits against a damp wall, under roof drip, or on a low floor is harder to protect. A practical plan uses a firm pad, a clean gravel approach, an overhang or door orientation that limits splash, and storage that is raised enough for sweeping and inspection.
Pest-aware planning is mostly about making problems visible early. Avoid wall-to-wall clutter, mystery corners, and permanent stacks of half-used bags. Blank bins, shelves, and a clear aisle make it easier to rotate feed, clean spills quickly, and notice when something changes.
The shed also needs to work in winter. Door swing, roof shed, plow piles, and feed delivery access should be considered before the building lands on the site. If a feed routine happens daily, the path to the door matters as much as the interior shelf plan.
A feed shed should be placed where water moves away from the building and where restocking does not require carrying bags through mud. Plan the pad, door side, and approach before finalizing shelf depth.
Feed storage has to stay useful during wet shoulder seasons, summer heat, and winter access constraints. The shed plan should protect feed without turning into a warehouse.
Door orientation, gravel drainage, raised storage, and ventilation all help limit condensation, splash, and damp corners.
Plan for plow piles, roof shed, and a firm path so feed can be loaded when chores do not wait for perfect weather.
Tight openings, screened vents, blank containers, and visible inspection space support the owner’s sanitation and pest-control routine.
Yes. NIOS can build a shed-scale feed storage building with doors, siding, trim, roofline, vents, and a layout that supports dry bins, shelves, gravel access, and daily loading. The owner chooses feed containers, sanitation routines, and animal-specific feed handling.
Many small-acreage feed sheds start around 8x10, 8x12, 10x12, or 10x16, then adjust for bin count, bag volume, delivery access, and aisle width. Door width and storage depth often matter as much as total square footage.
No. Tight construction, screened vents, raised storage, sealed containers, and clean inspection space can reduce risk, but no shed should be sold as rodent-proof. Pest control remains an owner-managed routine.
Start with a level pad, drainage, gravel access, roof runoff planning, raised storage, and protected ventilation. Avoid floor-level bag storage, damp corners, and door locations where snow or splash collects.
Avoid storing fuels, pesticides, herbicides, solvents, leaking containers, or wet tools in the clean feed zone. Risky materials should be handled separately according to product labels, regulations, and appropriate safety guidance.
Plan the door, threshold, aisle, and bin wall around how feed actually arrives. If bags, carts, or buckets move through the shed every week, leave a clear loading path and avoid shelves that block the turn into the doorway.
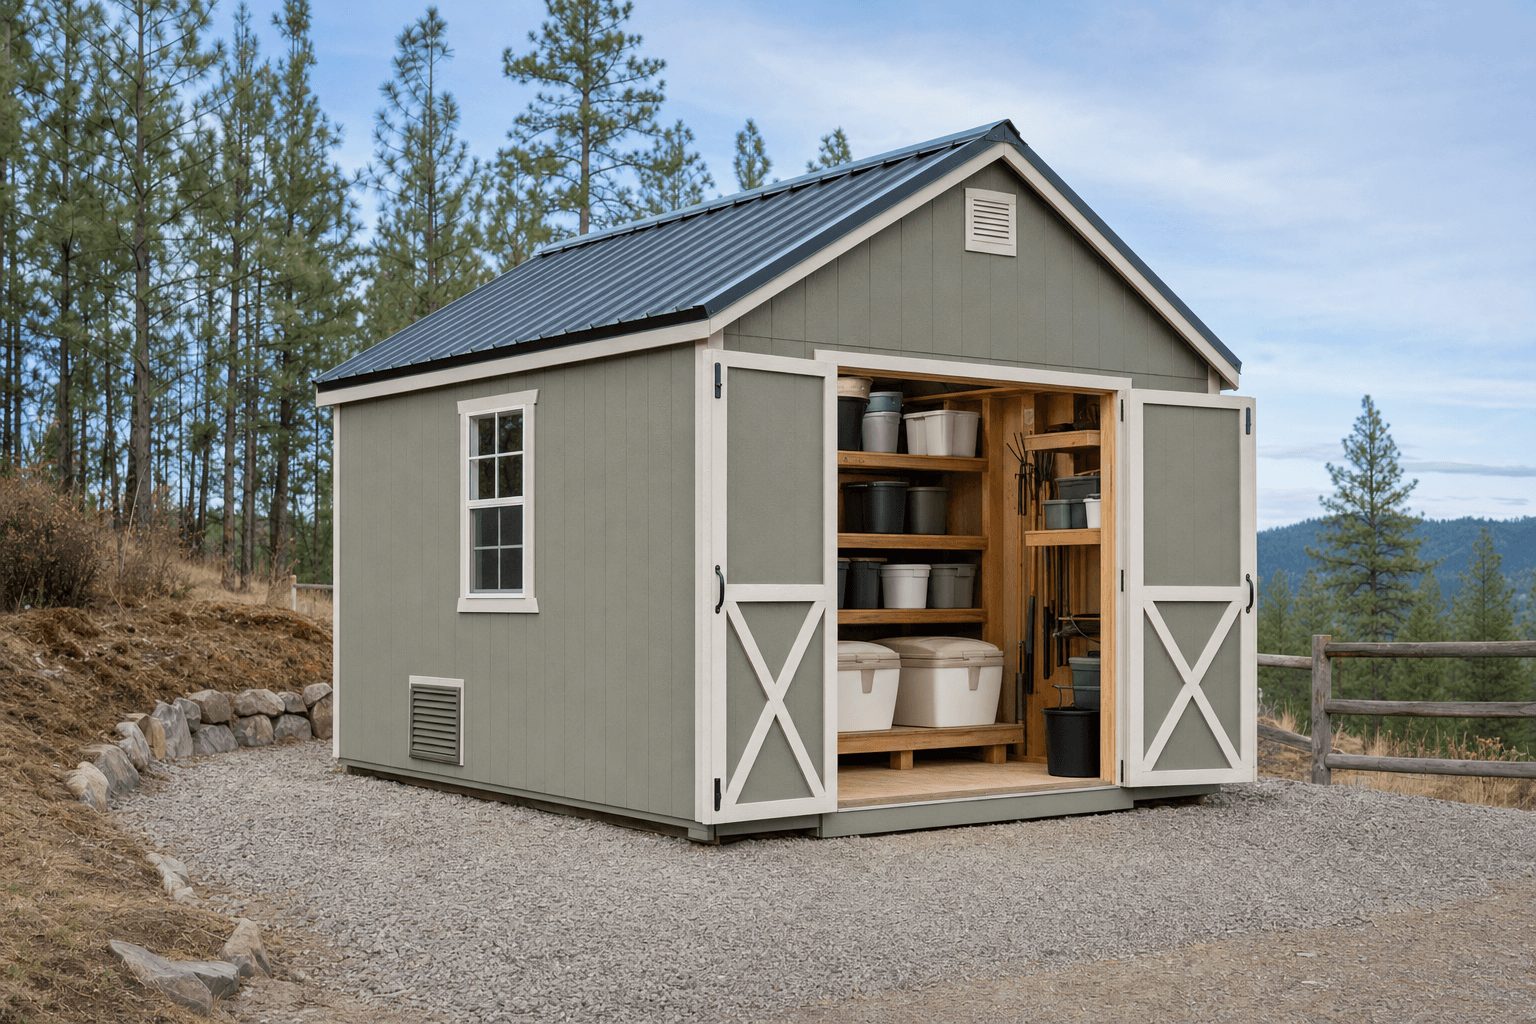
Tell us what animals you feed, how feed arrives, how many bins you need, and where snow or mud affects access so the shed can be planned around real chores.
Every shed we make is built on site in North Idaho. Explore other uses we build for.
