An e-bike shed is different from a normal bike shed because charging, battery storage, weather protection, and daily access all have to work together. North Idaho riders may come home wet, dusty, or cold, so the shed should make it easy to roll in, hang rain gear, and keep chargers off the floor.
The plan starts with bike count, charger locations, wall space, and the route from driveway to door. Electrical work should be planned with a licensed electrician, but the shed layout can still reserve clean wall zones, cable paths, ventilation cues, and a clear aisle before wiring decisions are made.
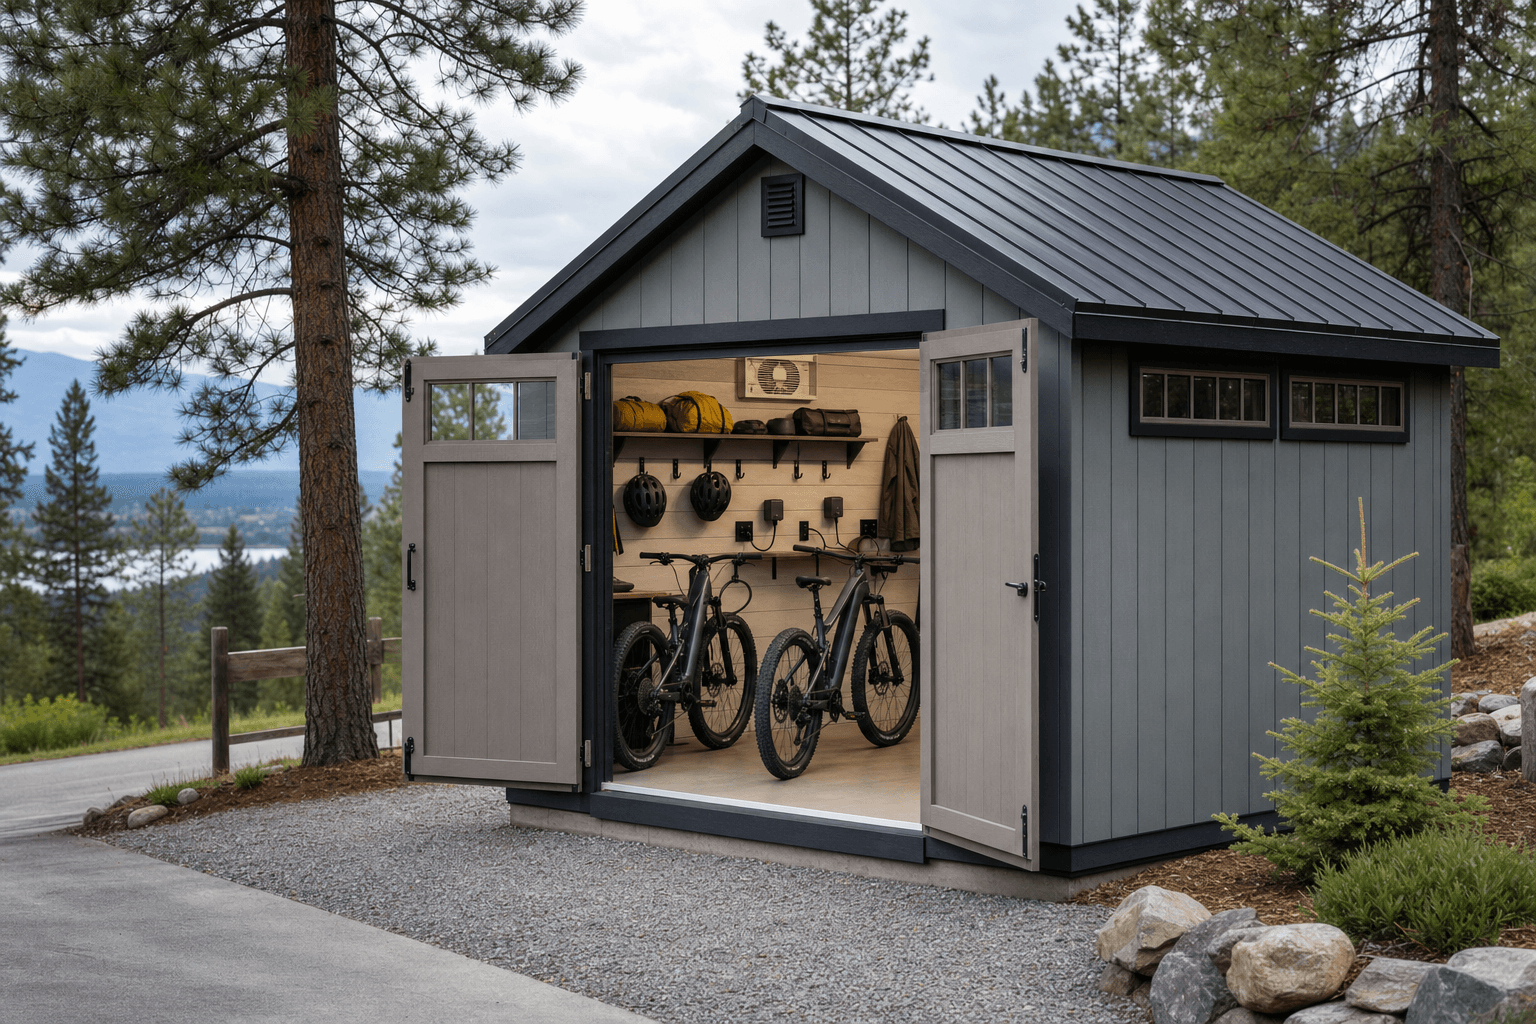
A secure e-bike shed should combine wide access, dry gear storage, charging organization, ventilation, and weather protection.
Good e-bike storage gives every charger, helmet, lock, and rain layer a deliberate place. A shelf near the wall keeps charging equipment off the floor, while hooks and trays keep wet clothing away from batteries and controls. Cable routing should reduce trip hazards and keep the center aisle open.
Fire-safety planning should be careful and plain. A shed page should not promise that a layout makes batteries safe. It can encourage spacing, airflow, dry storage, unobstructed exits, manufacturer-recommended chargers, and professional electrical review.
Place doors, locks, and windows around visibility from the house, driveway, and parking area.
Leave room to roll bikes in, turn handlebars, lift a battery, and reach chargers.
Reserve a clear wall for outlets, cable routing, and future licensed electrical service.
Plan airflow, hooks, and shelves so rain gear and helmets dry away from batteries.
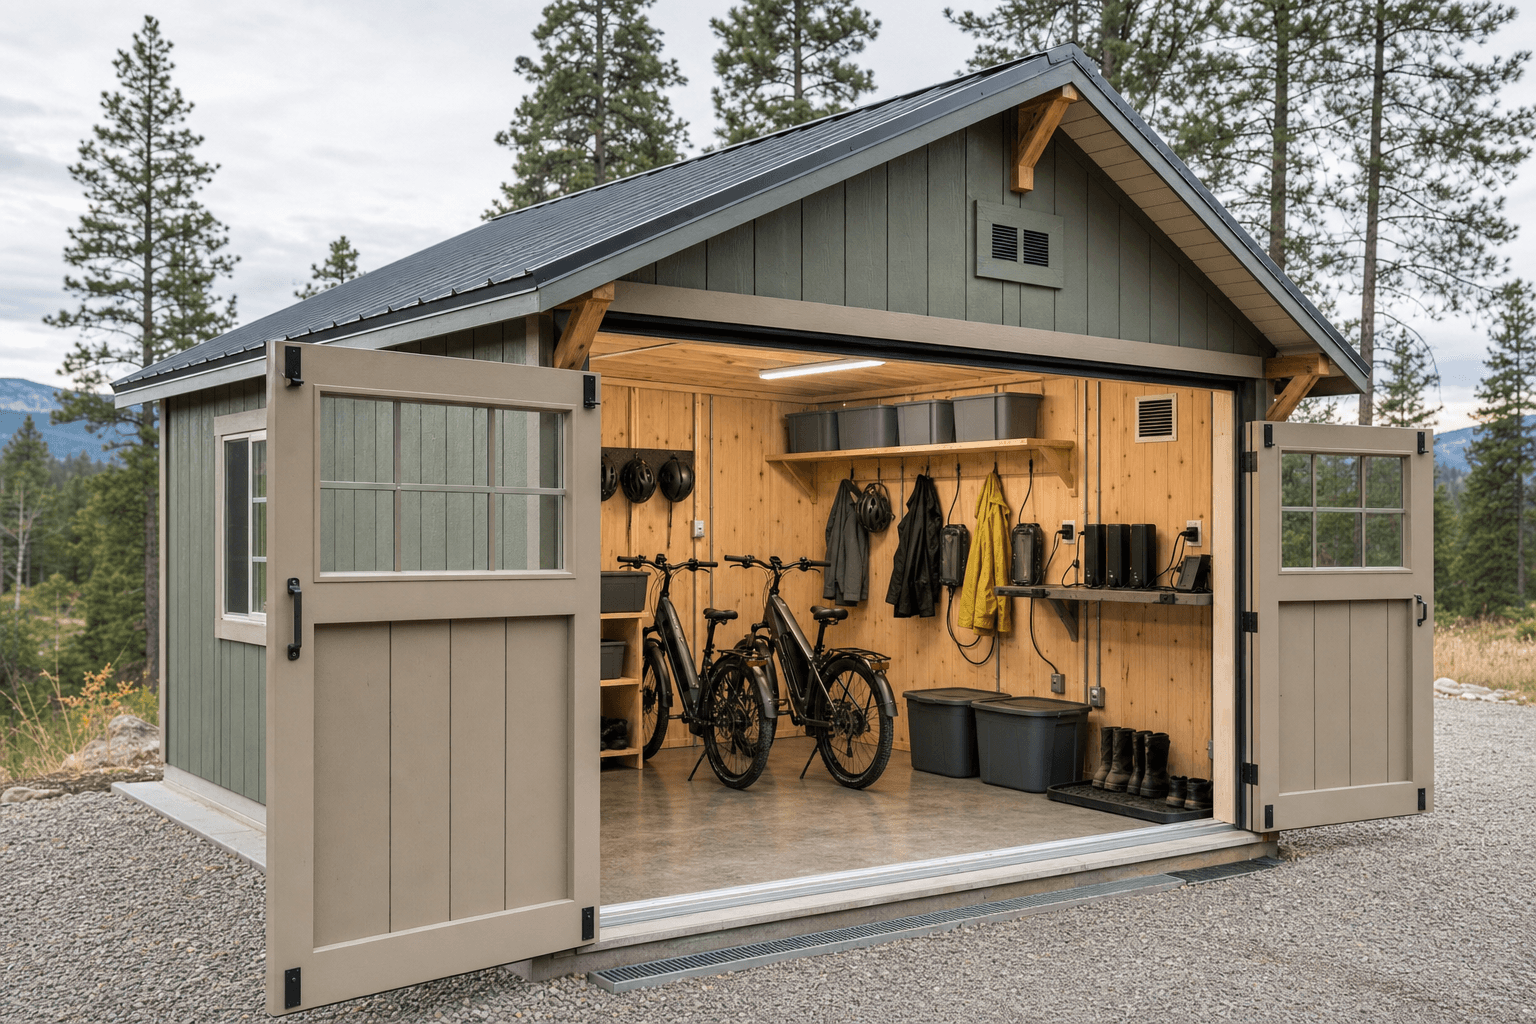
The body image shows a practical daily workflow for rolling in e-bikes, drying gear, organizing chargers, and keeping a clear aisle.
A useful e-bike shed has three zones: a clear roll-in area, a charging wall or shelf, and dry gear storage. When those zones stay separate, one rider can leave without unloading the whole shed, and cords do not cross the main aisle.
North Idaho weather affects the details. Snow needs somewhere to land without blocking the door. Spring runoff should move away from the pad. Summer dust and rain gear should not end up on the battery shelf. If batteries are removed, the shelf should be dry, visible, and spaced for inspection.
Use a shed size and door plan that lets bikes roll in cleanly while keeping locks easy to reach.
Reserve wall space for a professional electrical plan, charger shelves, and clean cable paths.
Keep batteries, chargers, helmets, and rain gear off the floor with shelves and hooks.
Plan spacing so one bike can leave without moving every other bike.
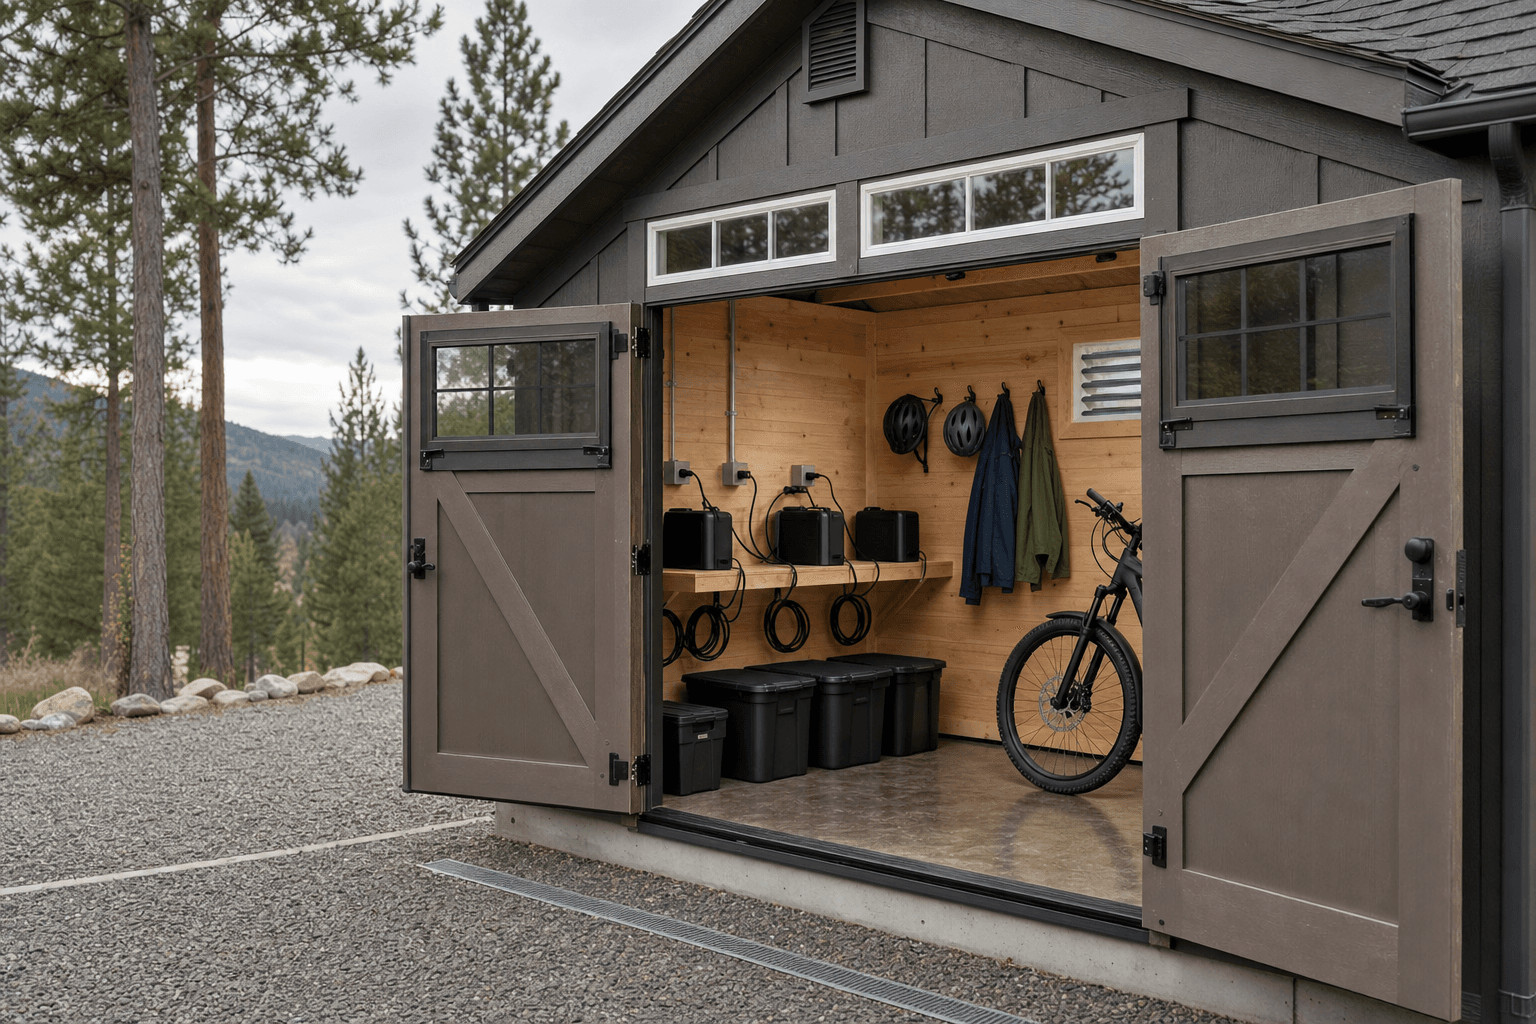
Detail planning matters around charger organization, cable routing, ventilation, dry gear storage, and durable floor space.
| Popular layouts | |
|---|---|
| 8x12 | One or two e-bikes with hooks and a small charging shelf. |
| 10x12 | Better daily access, gear hooks, and charger organization. |
| 10x16 | Family layout with multiple bikes, battery shelf, and dry gear storage. |
| 12x16 | More spacing for cargo bikes, wide doors, and seasonal gear. |
An e-bike shed should sit on a stable, well-drained pad with an approach that stays usable during rain and snow. Plan the pad, threshold, and roof overhang around daily rolling access and dry gear storage.
Commuting, trail riding, lake trips, and shoulder-season weather all shape the right e-bike storage layout.
Roofline, pad drainage, and entry height matter when snow piles up.
Trail and commute seasons bring moisture, grit, and gear that needs a dry place.
Door orientation, sight lines, and lockable zones protect higher-value equipment.
Plan pad prep, door swing, and the path equipment takes in and out.
Most e-bike shed planning starts with placement, size, and access. If you plan to add outlets, lighting, heat, or charging circuits, coordinate that work with a licensed electrician and confirm local requirements before finalizing the shed.
An 8x12 can work for one or two bikes if the layout is tight, but 10x12 or 10x16 is easier for daily access, chargers, helmets, locks, and rain gear. Cargo bikes often need wider aisles and doors.
The shed layout can reserve a clean wall for outlets, charger shelves, and cable routing, but electrical work should be planned and installed by a licensed electrician. That keeps the structure plan honest and useful.
Follow the battery and charger instructions from the manufacturer. In planning terms, keep batteries dry, visible, spaced from wet gear, and easy to inspect rather than hidden in clutter.
Ventilation is worth discussing because charging equipment, wet clothing, and enclosed storage can make a small shed stale or damp. The right amount depends on size, placement, and utility plans.
A shelf or wall area is usually better than the floor because it keeps chargers visible and helps keep cords away from the aisle. Cable routing should leave the door area clear.
Yes. The shed can be planned with wide access, roofline, drainage, dry gear storage, and secure placement in mind. Snow, rain, dust, and freeze-thaw cycles should shape the final location and threshold detail.
Bring your bike count, charger needs, gear list, and site constraints. We will help map the shed layout before the build starts.
Every shed we make is built on site in North Idaho. Explore other uses we build for.
