A canning kitchen shed works best as a support space for the rush that happens when tomatoes, berries, beans, apples, and cucumbers all need attention at once. The useful version is a clean, weather-protected shed with shelves, blank jars, washable prep support, clear walkways, and room to stage harvest bins before they take over the house.
For North Idaho homesteads, that means solving the path from garden or driveway to storage. Wide doors, a low threshold, a gravel approach, and a durable floor matter because harvest season overlaps with dust, rain, mud, and temperature swings. The shed can organize supplies, while actual canning still follows tested food-preservation guidance and utility rules.
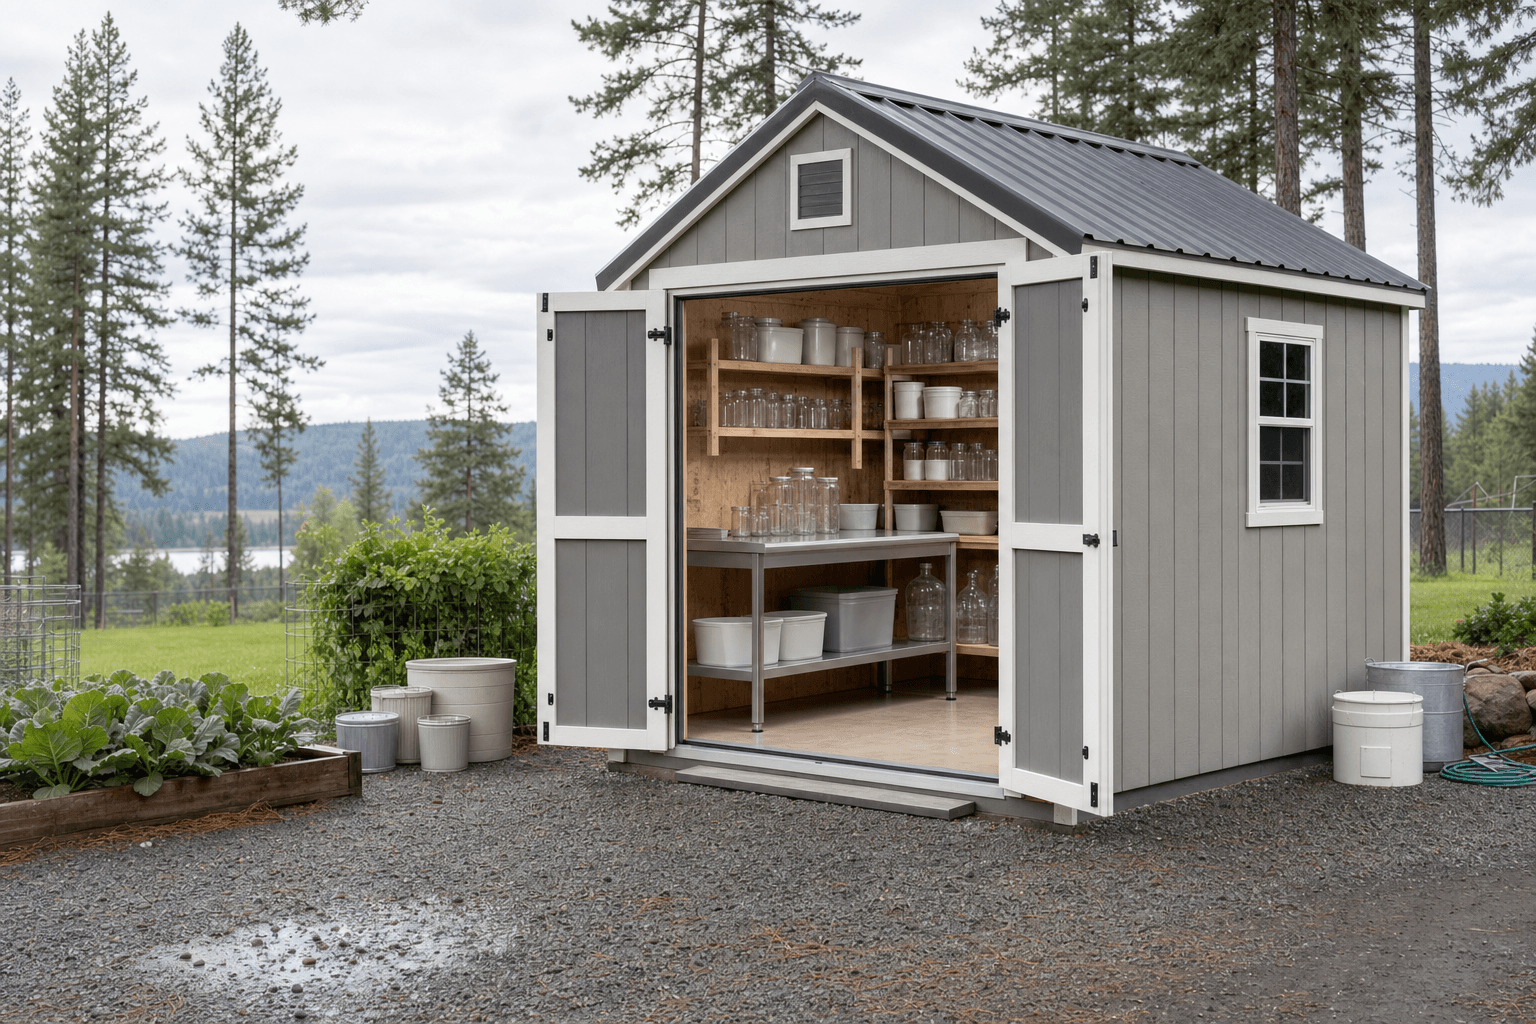
A canning support shed should make jars, prep surfaces, and pantry overflow easy to reach without pretending to be a commercial kitchen.
Place the door where harvest bins, empty jars, and supplies can move from garden, driveway, or porch without crossing soft ground every time.
Build shelf depth around the containers the owner actually uses so jars, rings, lids, and pantry overflow stay visible.
A durable counter or table gives you sorting and staging room, while sink, drain, and electrical decisions stay with the right trades.
The strongest canning resources focus on process safety, which is a useful signal for the shed design. A shed can organize equipment, dry containers, empty jars, and harvest flow, but it cannot make untested recipes safe, replace pressure-canning instructions, or guarantee stable conditions for every stored food.
Keep the shed focused on shell, floor, doors, windows, ventilation locations, shelving, access, and weather protection. Plumbing, electrical, water heating, drain design, and any food-code requirements belong to the homeowner and qualified professionals.
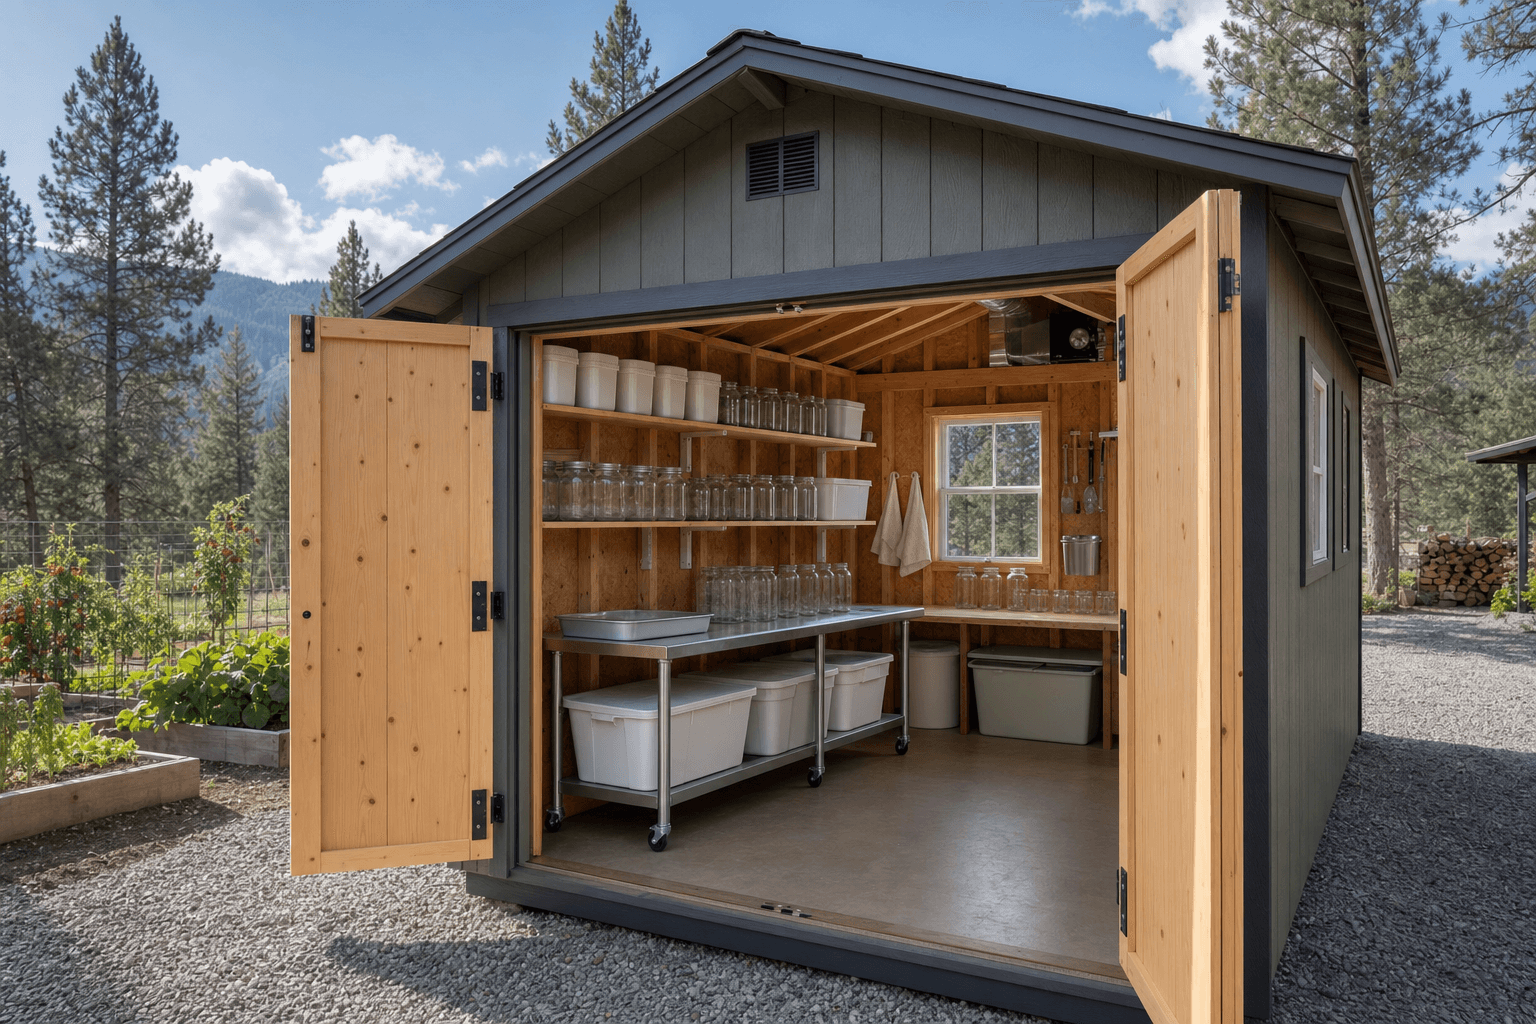
Open-door workflow views help buyers plan shelves, washable surfaces, ventilation, and clear aisle space before the shed is built.
| Access and staging | |
|---|---|
| Door opening | Plan for harvest totes, hand trucks, empty boxes, and occasional bulky equipment. |
| Threshold | A low, durable entry helps when bins are heavy and the ground is wet. |
| Counter clearance | Leave space to work at a table without blocking shelves or the exit path. |
| Storage and shell | |
| Jar shelves | Use sturdy shelves with easy visual checks for empty jars, rings, blank containers, and dry accessories. |
| Ventilation | Plan passive airflow without claiming climate control or food-safe storage for every item. |
| Utility readiness | Reserve clean wall and floor zones for future water or electrical planning by qualified trades. |
| Feature | NIOS shed-shell planning | Owner and trade planning |
|---|---|---|
| Structure | Roofline, siding, doors, windows, floor, trim, shelving layout, and gravel-pad coordination. | Health-department rules, food-processing approvals, plumbing, electrical, drains, and water heating. |
| Food storage | Dry, organized shelf space for empty jars, sealed containers, dry accessories, and pantry overflow. | Which foods require refrigeration, conditioned storage, tested recipes, or strict preservation guidance. |
| Moisture control | Vent locations, durable floor planning, raised shelves, and cleanable access paths. | Mechanical ventilation, dehumidification, sink drains, water supply, and code-specific utility work. |
The shed has to stay useful through wet harvest days, winter storage checks, and muddy restocking trips.
Gravel approach and threshold planning reduce mud tracking when produce, empty jars, and supplies move in and out.
Ventilation and shade awareness help the shed breathe, but sensitive foods may still need indoor or conditioned storage.
Raised storage, sealed containers, and sweepable corners make inspections easier without overpromising pest-proof performance.
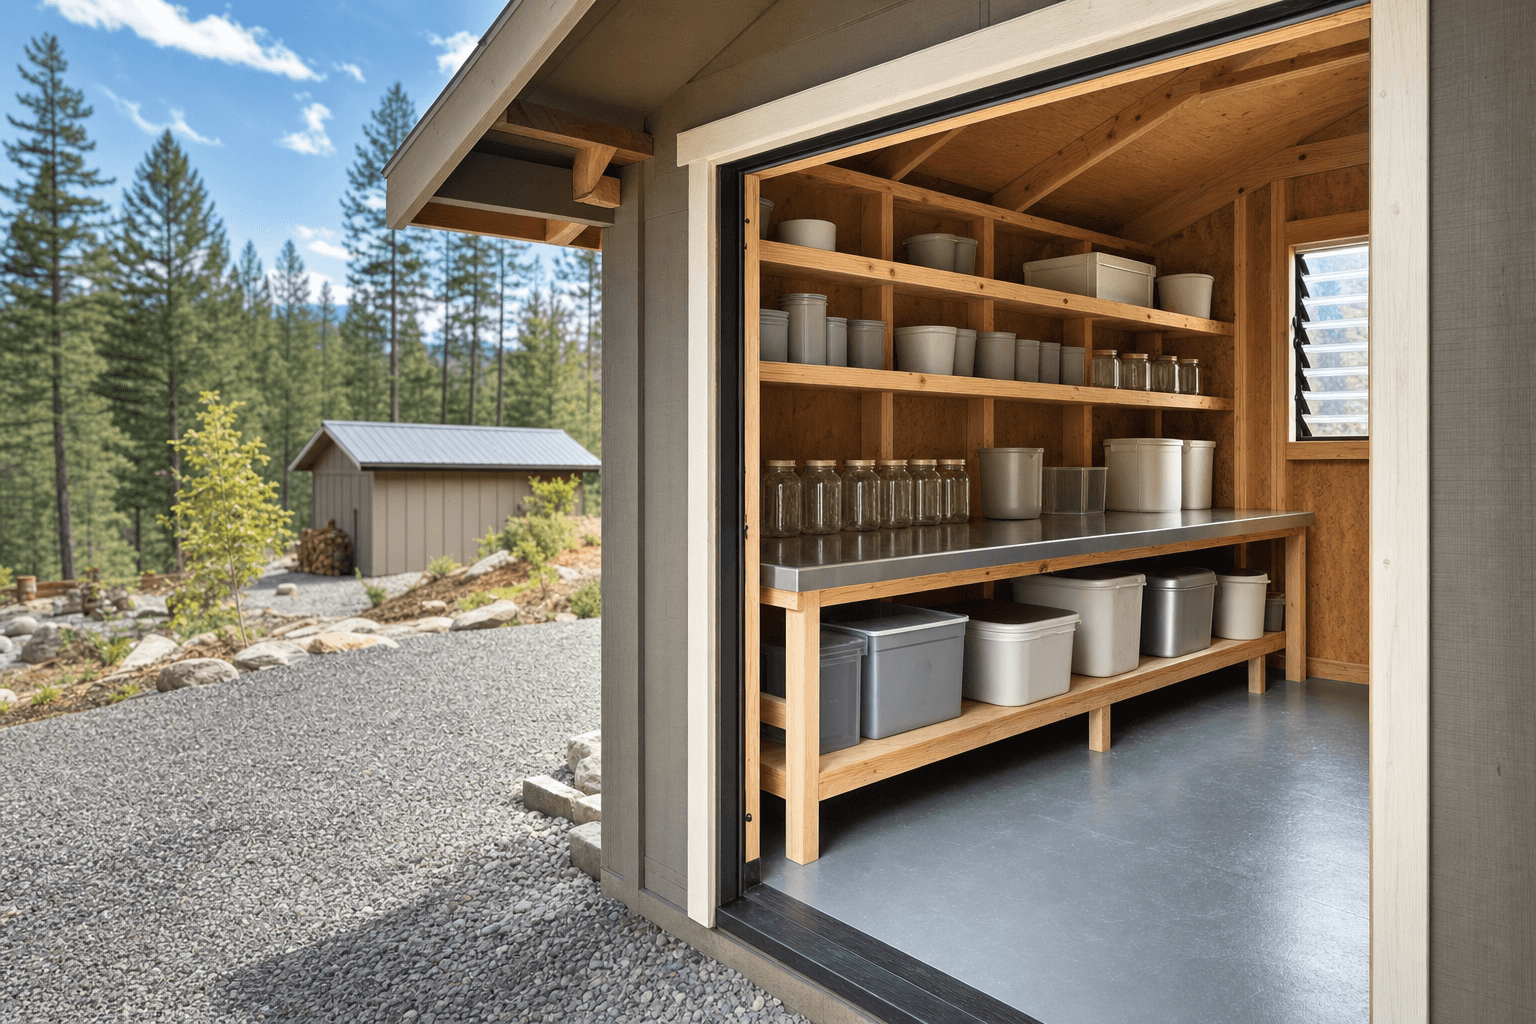
Raised shelving, cleanable surfaces, and weather-aware thresholds matter when garden-season storage meets North Idaho mud and rain.
The first mistake is making every wall a shelf. That creates capacity on paper but ruins the room on a busy day. Leave a center aisle wide enough for a tote, rolling cart, or person carrying a box of jars. Keep heavy containers low and keep a work surface near the door.
The second mistake is treating ventilation as a magic climate-control claim. Passive vents, windows, and shaded placement can help the structure breathe, but they do not turn an unconditioned shed into safe storage for every food. Water and power routes should be discussed before construction so the shell does not box in future trade work.
A basic shed shell should not be treated as a code-approved commercial kitchen. It can support storage, staging, washable work surfaces, and weather protection, while commercial food use, utilities, inspections, and approvals remain separate requirements.
Many buyers start around 10x12 or 10x16 for jar shelves and a work table, then move to 12x16 or larger if they want multiple shelf runs, harvest-bin staging, and a wider aisle.
The shed can be planned with space for future water and electrical routing, but plumbing, drains, fixtures, circuits, and code requirements belong with licensed trades where applicable.
Only if the storage conditions match reliable food-preservation guidance for the specific food and container. A detached shed helps organization, but it does not guarantee safe temperatures or humidity.
Place the door where harvest bins, empty jars, and supplies can move from the garden, driveway, or house without crossing mud. A gravel approach and low threshold help on busy harvest days.
Use raised lower shelves, sealed containers, sweepable corners, ventilation planning, and a clean gravel approach. Those choices improve inspection but do not replace good food-storage practices.
Tell us what you grow, what you store, and how you want to move through the space. We will help shape a buildable shed shell around that workflow.
Every shed we make is built on site in North Idaho. Explore other uses we build for.
