A garden shed earns its keep the day you can pot up a flat of seedlings, rinse the trowels, and hang the hose without tracking soil through the house. For a working gardener the building is half storage and half workspace, and the plan has to respect both. This guide walks through how to plan a garden shed for a North Idaho property: which roofline gives you headroom over a bench, what size actually fits a wheelbarrow plus a winter's worth of pots, how to lay out the interior, and the windows, venting, and surfaces that keep damp soil and amendments from souring the space.
North Idaho On Site Sheds builds every garden shed on your property, so the plan can answer to your real beds, your slope, and the path you push a loaded wheelbarrow along. Start with the one thing that separates a garden shed from plain storage — a potting surface you can stand at and work — then size and lay out the building around it, the light it needs, and the gear that lives within arm's reach. If your emphasis leans more toward propagation than storage, a dedicated potting shed layout pushes even more of the footprint toward the bench.
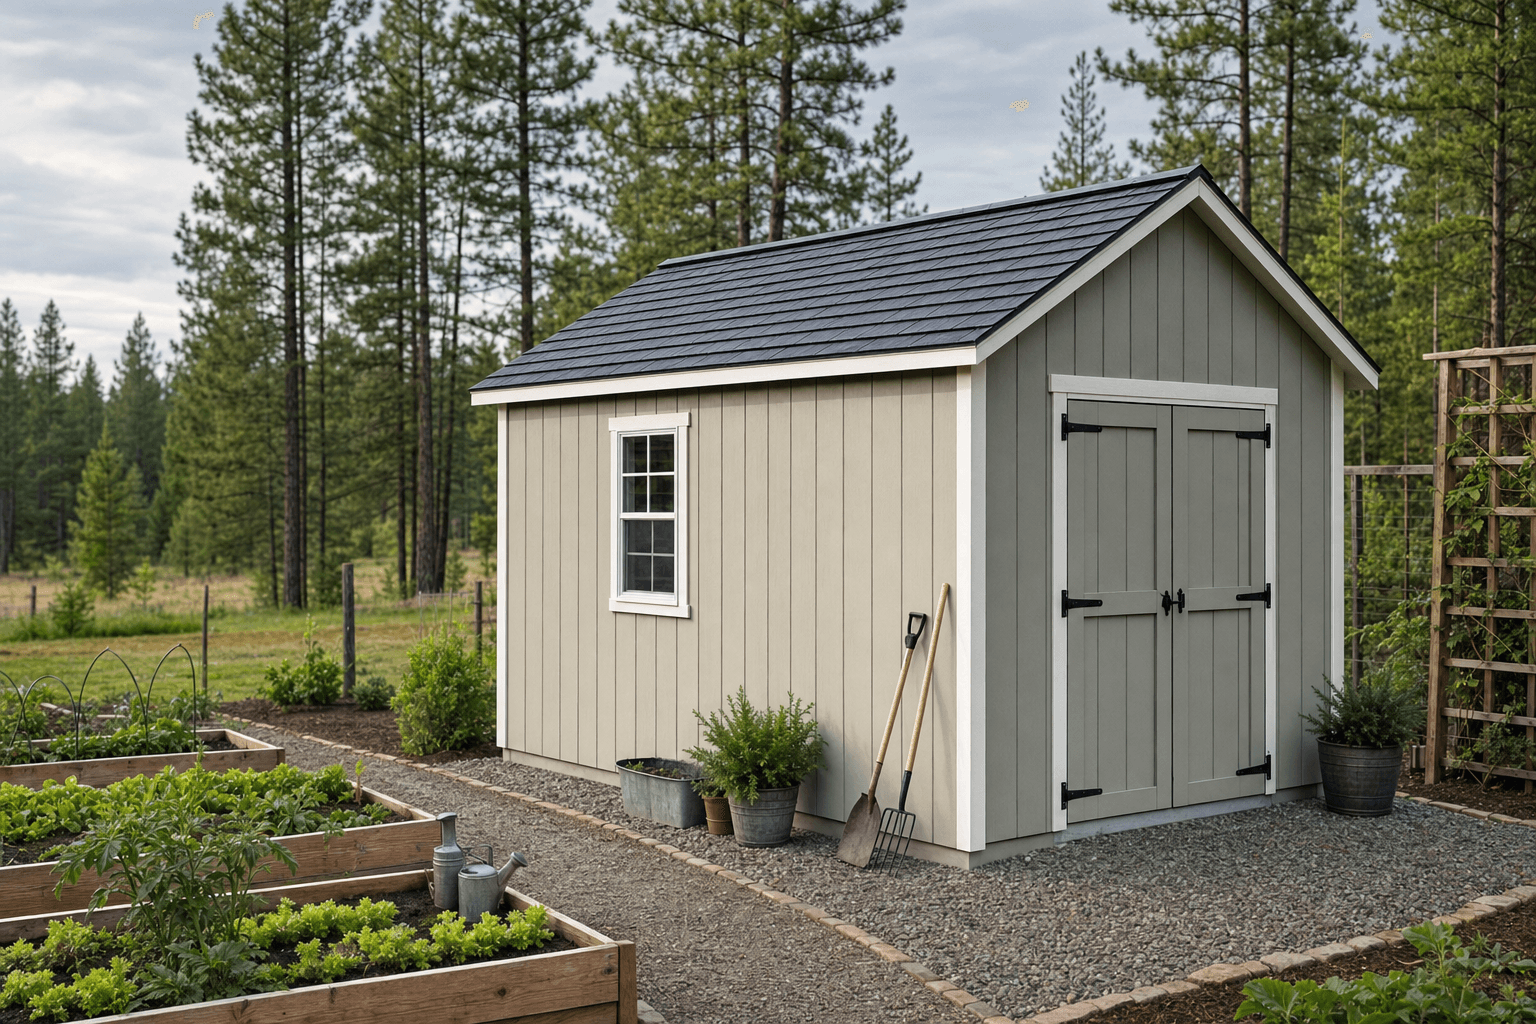
A garden shed plan starts with bench space, daylight, and a door wide enough for a loaded wheelbarrow.
Most garden sheds are happiest as a standard gable. The symmetrical roof is simple, sheds snow well, and gives even daylight through windows on both eaves — exactly what you want over a garden shed bench. A single window per side is the baseline; add a third on the gable end and the work surface stays bright on overcast days without you reaching for a switch.
A lean-to or modern single-slope reads cleaner against a fence and lets you run one tall wall of glass, which is ideal if the shed doubles as a propagation spot or sits alongside a greenhouse shed. The trade-off is less loft storage up high. A lofted barn (gambrel) goes the other way: the upper bay swallows empty pots, row cover, and frost cloth out of season, freeing the floor for the bench and wheelbarrow below. If you also wrench on a mower and string trimmer, lean toward a layout closer to a tool shed with a workbench wall, since engine work and potting want different surfaces. Add a small porch overhang and you get a dry spot to kick off muddy boots and stage trays before they come inside.
Reserve one full wall — 6 to 8 feet — for the potting bench before anything else. That single decision drives the whole footprint.
A wheelbarrow, bagged soil, and a stack of nursery pots eat floor fast. Measure the wheelbarrow's footprint and double it for a working aisle.
Gardeners accumulate. Size up one increment so next season's new tools, trays, and amendments have a home instead of the floor.
For one gardener with a bench, hand tools, and seasonal pots, an 8x10 garden shed is the honest minimum — enough for a bench on one wall and a wheelbarrow parked across from it, though storage gets tight by midsummer. An 8x12 adds a clear aisle so you are not shuffling the wheelbarrow every time you reach the shelves. The sweet spot for most serious gardeners is a 10x12: a deep bench, a soil-mixing zone, wall storage for long-handled tools, and room to actually turn around with a full flat in hand.
If you start seeds at scale, overwinter tender plants, or want a potting zone plus a separate clean-tool wall, step up to a 10x14 or 10x16. The extra length lets you give propagation its own end of the building — a seed starting shed really wants that dedicated, draft-free corner — while keeping muddy boots, hoses, and bagged amendments near the door. The deeper footprint also leaves a natural spot for a heated mat and shelf lights without crowding the everyday bench.
These three overlap, and choosing well saves you from buying the wrong building. A garden shed is the generalist: bench, tools, hoses, wheelbarrow, and seasonal storage under one roof. A potting shed tilts the same footprint toward propagation and bench work — more counter, a built-in soil bin, open slat shelving for drying — and less bulk storage. A greenhouse shed is for growing under glass, with light and humidity tuned for plants rather than people, and is best paired with, not instead of, a working shed.
If most of your time goes to fixing equipment and sharpening blades rather than potting, a tool shed build with a heavier workbench and a pegboard wall fits better. Many North Idaho gardeners land on a garden shed precisely because it does the everyday jobs — pot, store, rinse, organize — without committing the whole structure to one specialty.

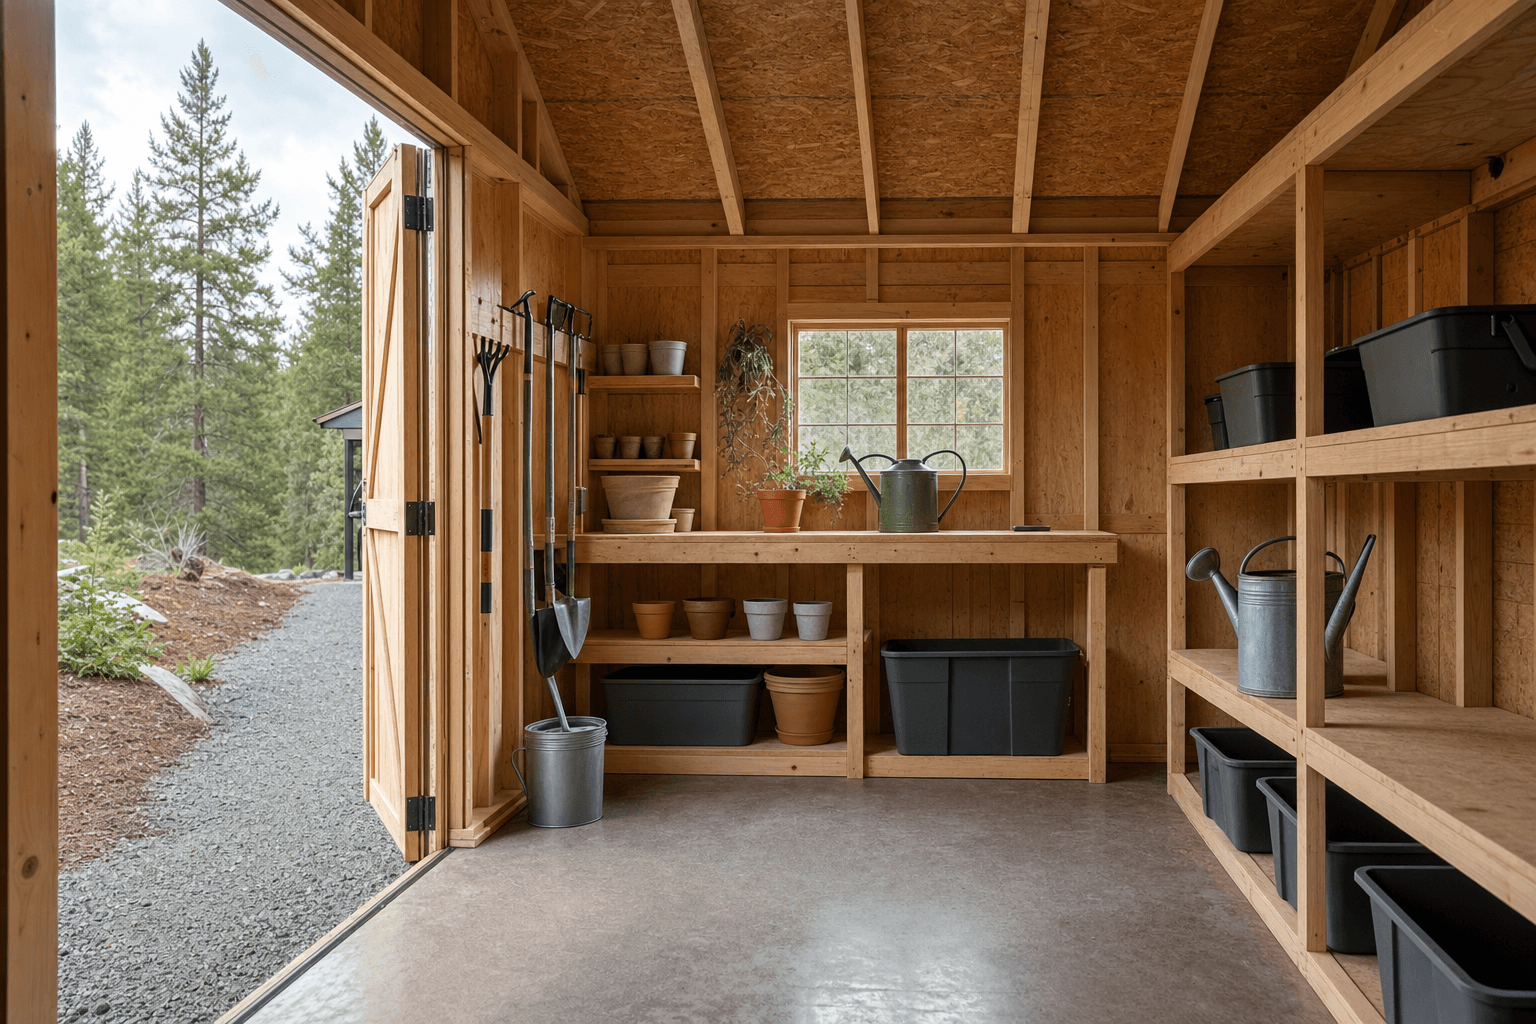
Zoning the interior keeps the wet potting work, dry tools, and bulky storage from colliding.
A garden shed works when wet, dry, and bulky jobs each get their own territory. Build it around four zones. The potting zone is the heart: a bench at counter height (about 36 inches) along the brightest wall, with a soil bin or tub underneath and a lip or back-splash to corral spills. The tool wall lives next to it — long-handled rakes, hoes, and shovels on a French cleat or tool rail, hand tools on a pegboard above the bench so the trowel, pruners, and twine are an arm's reach from where you work.
The wet-and-bulky zone belongs by the door: the wheelbarrow, watering cans, coiled hose, and bagged soil and amendments, all on a surface you can hose down and let drain. The seasonal zone goes up high or in a loft — empty nursery pots, seed trays, frost cloth, and row cover that you touch a few times a year. Keep an open lane from the door to the bench so you can wheel a full load straight in. Plan the door wide; a 4-foot or double door clears a wheelbarrow and a flat of starts without a fight, where a single narrow door turns every trip into a three-point turn.
A sturdy bench at 36 inches with a sealed or stainless top, a soil tub below, and a slatted lower shelf for drainage. This is the one surface the whole shed is built around.
French cleats or a tool rail for long handles, plus a pegboard for hand tools. Getting rakes and shovels off the floor reclaims the aisle and protects the blades.
Open shelving sized to nest nursery pots and stack seed trays, with a bin system for labels, ties, and amendments so small supplies never migrate onto the bench.
A rubber mat or sealed floor by the wet zone and a hose bib or rinse tub nearby. Soil and water are constant here; plan for cleanup instead of fighting it.
The accessories are where a garden shed actually earns the name, so plan storage for the specific things you reach for. On and around the bench: hand trowels, transplanters, hori-hori knives, bypass pruners and loppers, hand cultivators, dibbers, plant labels, twine and plant ties, and a soil scoop. Bagged and binned: potting mix, seed-starting mix, compost, perlite and vermiculite, lime, bone meal, and granular fertilizer — kept dry and, where it matters, sealed against rodents.
The propagation kit needs its own shelf: seed packets in a sorted box, heat mats, humidity domes, plug and cell trays, 4-inch and 1-gallon nursery pots, and a shelf or two of grow lights for the long North Idaho winter — the same gear a seed starting shed is built around. By the door, plan for the bulky watering and hauling kit: a wheelbarrow or garden cart, watering cans, a coiled hose on a reel, sprinklers, and a watering wand. Hang a slat or wire rack high for drying herbs, garlic, and onions where air moves freely. Round it out with stakes and trellis netting, row cover and frost cloth, harvest baskets, and a gloves-and-kneeler hook by the exit. Sort tools by how often you grab them: daily items at the bench, seasonal gear up high.
Keep daily tools at the bench and seasonal gear up high so the work surface stays clear.
| Garden shed planning checklist | |
|---|---|
| Best all-round size | 10x12 for a bench, soil-mixing zone, tool wall, and room to turn with a full flat |
| Potting bench | 6 to 8 feet of counter at 36 inches, sealed top, soil tub below, back lip to catch spills |
| Natural light | Windows on two or three sides over the bench; a skylight or clear roof panel if the site is shaded |
| Ventilation | Operable window plus a gable or ridge vent to move damp, soil-laden air and clear chemical fumes |
| Door | 4-foot single or double door so a loaded wheelbarrow and flats clear without maneuvering |
| Floor and cleanup | Washable, draining surface and a hose bib or rinse tub in the wet zone by the door |
Light and air are not extras in a garden shed — they decide whether the space is pleasant to work in and whether your stored gear survives. Plan windows over the bench on at least two sides; a gable-end window or a skylight rescues a shaded site. For winter seed starting, run power for shelf lights and a heat mat, and add a couple of LED fixtures so the bench is usable on short, gray North Idaho days. Even a single exterior outlet near the bench changes how the shed works.
Ventilation matters more here than in a dry storage shed. Damp potting mix, watering, and amendments push humidity up fast, and that invites mildew on tools, labels, and the structure itself. Pair an operable window with a passive gable or ridge vent so moist, soil-laden air can escape and fresh air crosses the bench — the same airflow also clears the fumes when you mix fertilizers or use any garden chemicals. If you overwinter tender plants or store bulbs, plan a corner you can keep above freezing with a small heater or by insulating that bay; the goal is a frost-free pocket, not a heated room. Good airflow plus a frost-free corner is the combination that gets pots, bulbs, and tools through the season intact.
Because we build on your property, the pad and placement are part of the plan. A level, well-drained gravel pad is the standard base: it keeps the floor framing off wet ground, drains snowmelt away, and matters even more for a garden shed where you will track in water and soil. Set the building where a gravel driveway or garden path can reach the door so a loaded wheelbarrow or a soil delivery rolls right up, and orient the bench wall and its windows toward the sun so the work surface gets daylight.
North Idaho weather drives the structure. We build for local snow load, so the roofline and framing carry a heavy winter without sagging, and we use treated and pine materials suited to freeze-thaw swings. Site the shed so snow sliding off the roof clears the door and any windows rather than burying them, and keep it off the lowest, soggiest spot in the yard. Permitting depends on the size and your jurisdiction in Kootenai County or your city — most smaller garden sheds fall under the threshold, but always confirm setbacks and any HOA rules before the build. When you are ready, get a free estimate or build and price a shed to see your size, roofline, and window options come together.
Run the bench along the brightest wall, usually under a window, at about 36 inches so you can stand and work without stooping. Give it a sealed or stainless top, a back lip to keep soil from spilling behind it, and a soil tub or bin underneath for mixing. Add a slatted lower shelf for drainage and pots, and mount a pegboard above for trowels, pruners, twine, and labels. In a 10x12 you can give the bench 6 to 8 feet and still keep a clear aisle to the door.
Aim for windows on at least two sides over the bench so the work surface stays bright on cloudy days. A single window per eave is the baseline; a third on the gable end or a skylight makes a real difference on overcast North Idaho days and on shaded sites. A standard gable roof spreads daylight evenly, and a lean-to lets you run one tall wall of glass. If the shed will see winter seed starting, plan for shelf grow lights too, since daylight alone is short here from November through February.
Pair an operable window with a passive vent — a gable vent or ridge vent — so moist, soil-laden air can escape and fresh air crosses the bench. Potting mix, watering, and amendments push humidity up fast, which invites mildew on tools and the structure, so cross-flow is the fix. The same airflow clears fumes when you mix fertilizers or use garden chemicals. Store any chemicals sealed and off the floor, and keep that ventilation passive so it works even when the shed is closed up.
Yes, if you plan a frost-free pocket rather than relying on the whole shed. Dedicate a corner or one bay you can keep above freezing with a small thermostatically controlled heater, and insulate that section so it holds heat through a cold North Idaho night. Tender plants need that spot plus some light; dormant bulbs and tubers mainly need cool, dry, and frost-free, stored in breathable crates or mesh with good airflow so they do not rot. A 10x14 or larger leaves room to set this zone apart from the wet potting area.
Give each its own system so nothing migrates onto the bench. Keep seeds in a sorted, lidded box by type or sow date on a shelf near the bench, ideally cool and dry. Size open shelving so nursery pots nest by diameter and seed trays stack flat. Use labeled bins for ties, labels, and amendments. Put the propagation gear — heat mats, domes, plug trays — on one dedicated shelf near power, the way a seed starting shed is laid out, and reserve a loft or high shelf for empty pots and row cover you only touch seasonally.
Mice and voles target seeds and bulbs, so plan for it. Store seeds in sealed metal or hard plastic containers rather than paper packets left open, and keep bulbs in metal mesh or hardware-cloth-lined crates that breathe but bite-proof. A tight building helps most: seal gaps where walls meet the floor, screen any vents with metal mesh, and keep the door sweep snug. Set the shed on a level gravel pad so there is no easy burrow path underneath, and avoid storing pet food or birdseed in the same space, since that is what draws rodents in to begin with.
The North Idaho growing season is compressed — hard frost can run into mid-May and return by late September — which means a garden shed needs to protect tools and supplies through the shoulder months, not just summer. A building framed for this climate uses roofing and wall construction that handles wet springs, keeps interior humidity from warping shelving, and holds together through the freeze-thaw cycles that follow a Kootenai County winter.
On-site construction makes a real difference for garden placement. The door can open toward your beds rather than wherever a delivered shed happened to land. In Coeur d'Alene and Post Falls, many residential lots have narrow side yards or sloped terrain where a crew building in place can fit a structure that no delivery crane could reach. A gravel pad set correctly at the site prevents the settling that causes door-frame racking over time.
A potting bench built into the shed from the start — with a window above it for natural light — is far easier to frame in during construction than to retrofit into a delivered box. The same goes for a utility outlet, a small sink rough-in, or a loft for bagged soil and amendment storage. Garden sheds built in Rathdrum, Hayden, and Athol often need a bit more roof pitch to shed heavy spring snow before it adds weight.
See how finished garden sheds are built or price your configuration in the shed builder before committing to a footprint.
Size your bench, light, and storage, then get a free estimate or price it in the configurator.
Keep planning your build with related North Idaho shed guides.