North Idaho On Site Sheds

Seed Starting & Propagation Shed Built On-Site in North Idaho

Need a seed starting shed in North Idaho? Built on-site with insulation and grow-light power, custom sizes, and snow-ready details. Get a free estimate today.

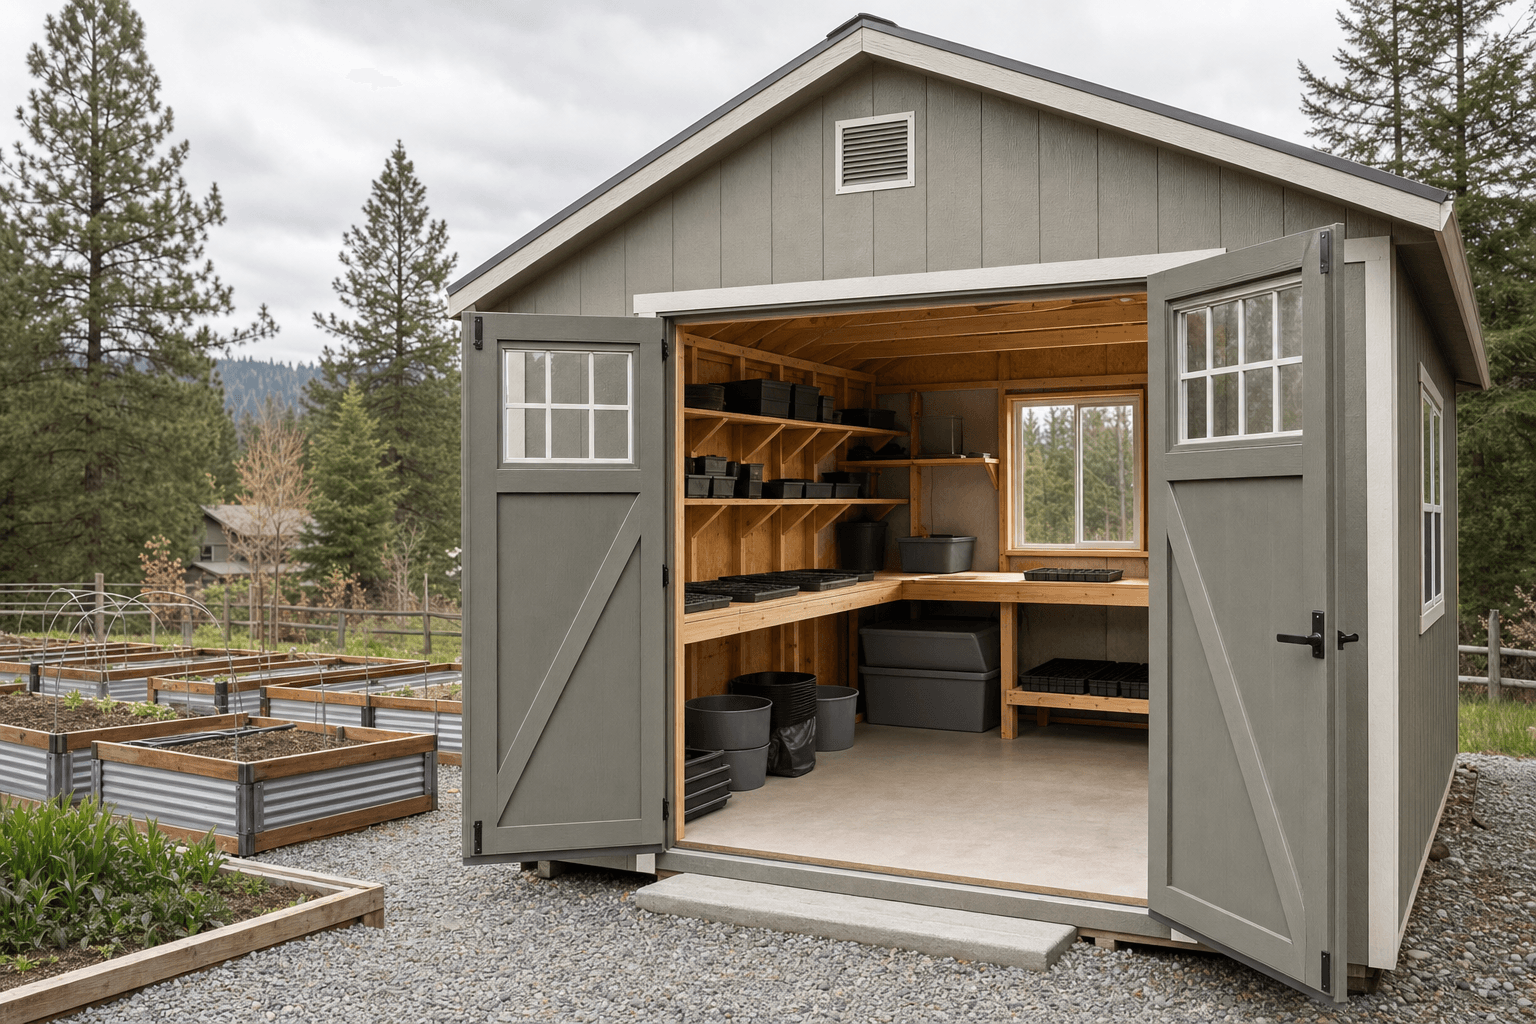
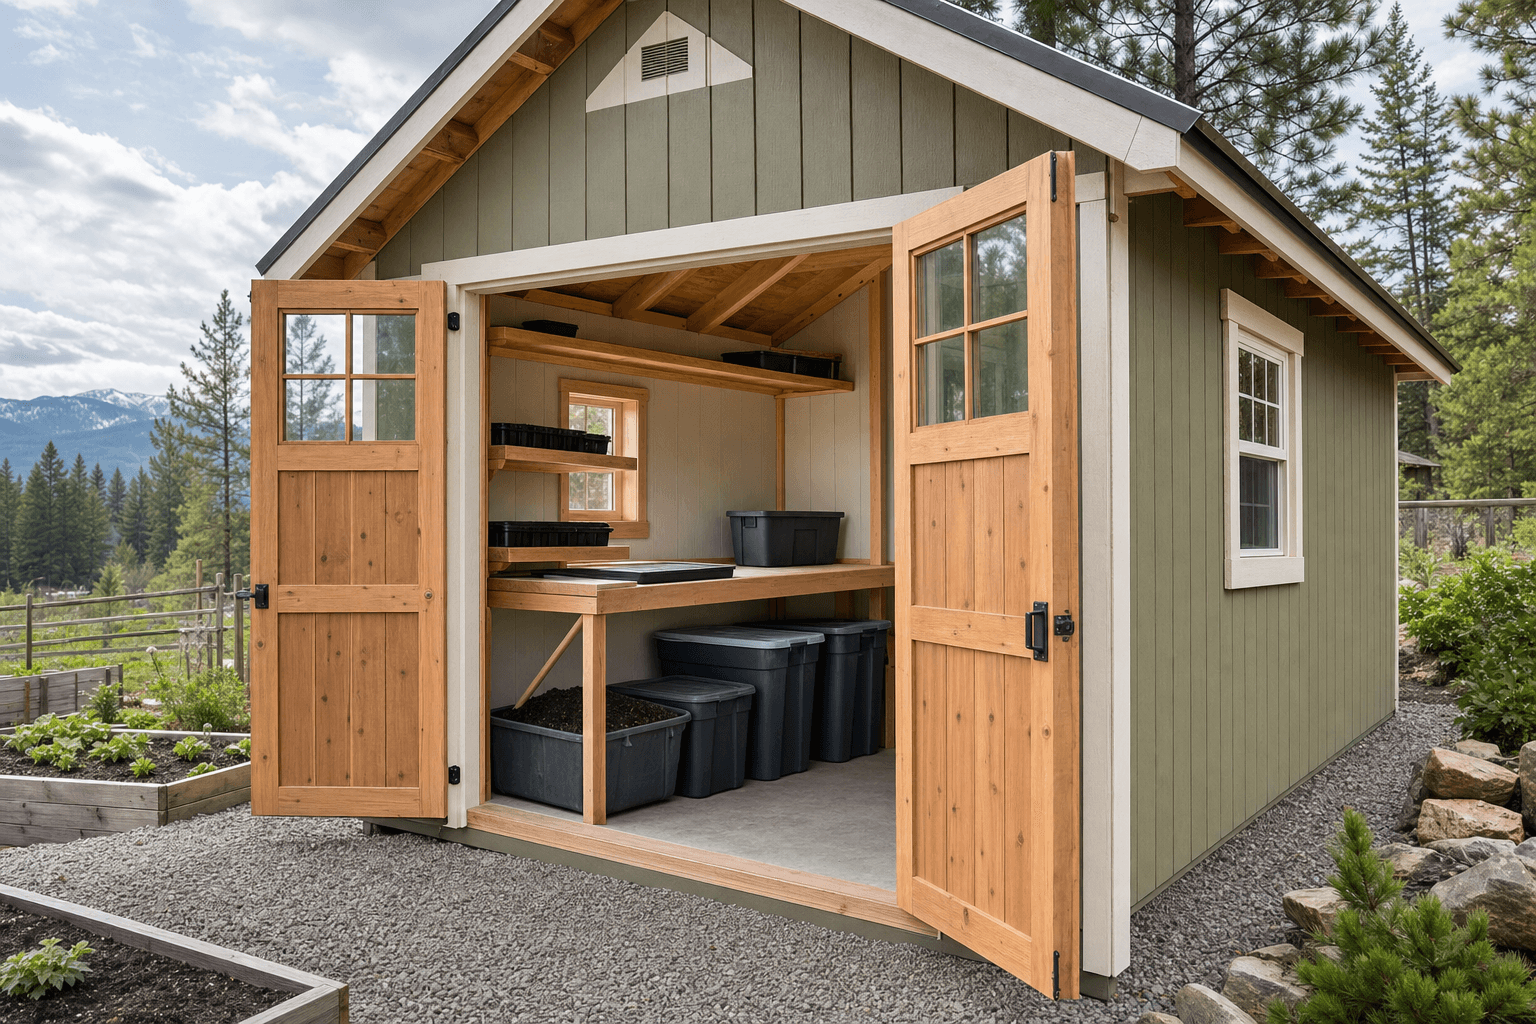
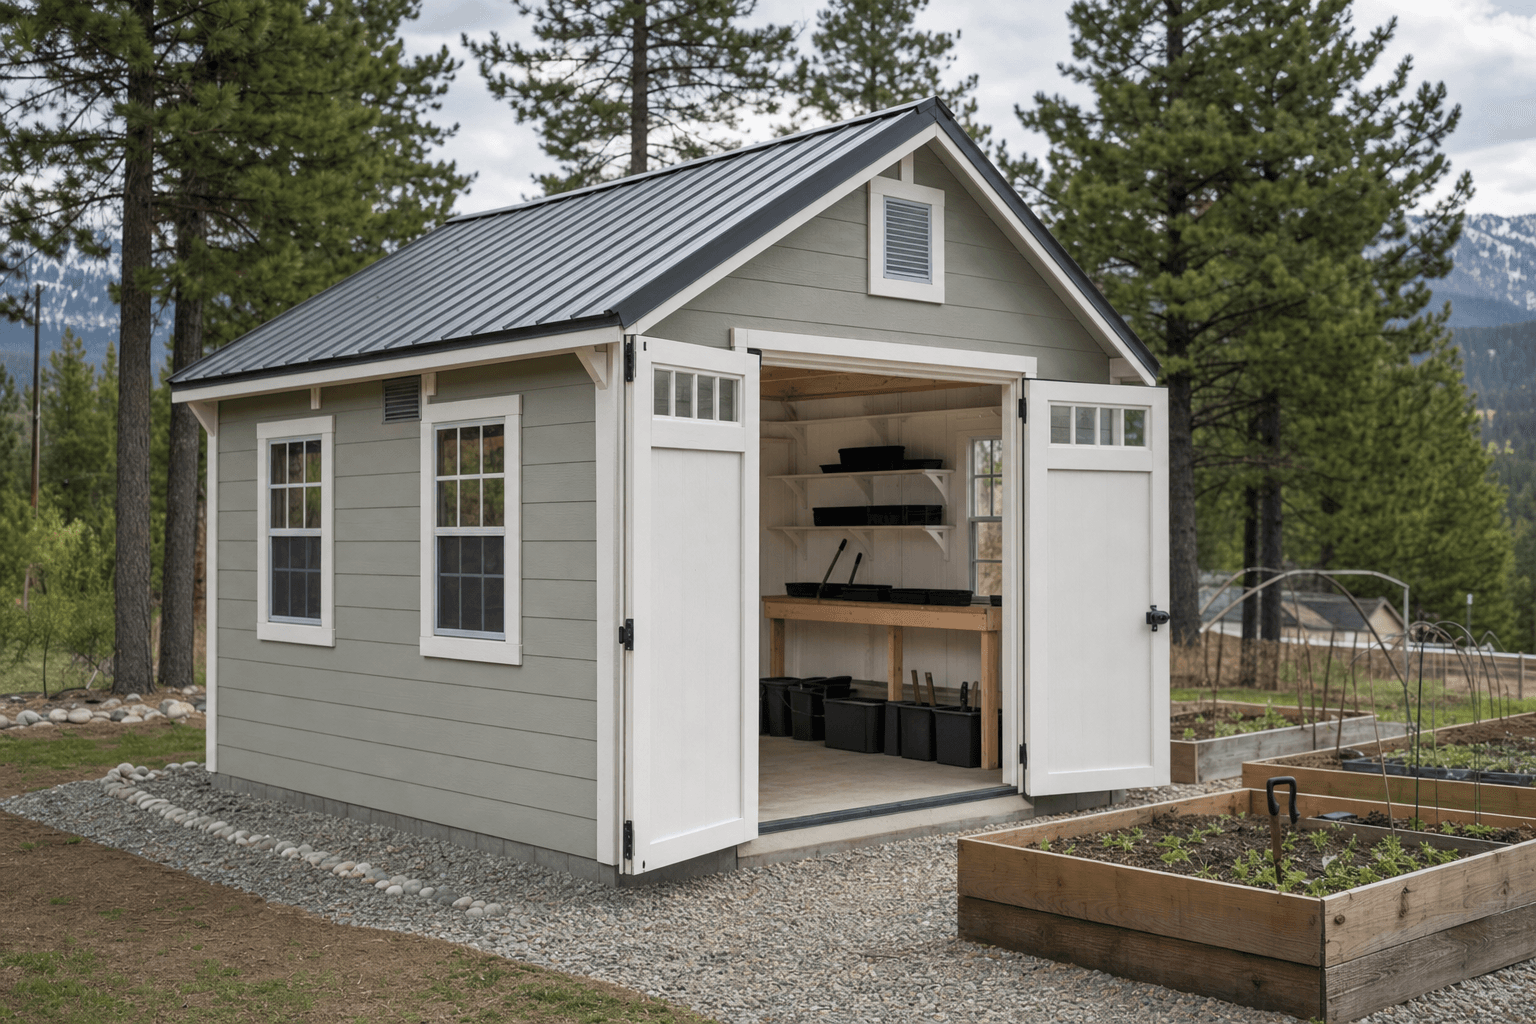
A seed starting shed only works when it can hold stable light, warmth, moisture, and airflow through the exact months North Idaho growers are trying to get ahead of spring. We build these sheds on-site so insulation, power layout, benches, and humidity control can be matched to your property, your crop plan, and the real climate swings on your lot.

Seed Starting & Propagation Shed Built for North Idaho Weather

A seed starting shed in North Idaho is really about buying time. When outside conditions are still cold, variable, and risky, the right shed creates a controlled place to start trays, root cuttings, and harden the early season workflow before the garden is ready. That only works if the building behaves much differently than a generic storage shed. Propagation rooms care about temperature stability, electrical planning, moisture, and light in a way most outbuildings never have to.

The shell still has to meet the same North Idaho structural realities as everything else we build. Snow loads can range from around 40 psf to much higher depending on where the property sits. The base needs to stay stable through freeze-thaw cycles, and if the room uses water, heavier shelving, or more permanent utilities, the normal 24-inch frost-depth discussion becomes relevant quickly. A propagation shed also needs to avoid turning into a condensation trap, which means insulation and air movement matter together, not as separate afterthoughts.

Placement changes the usefulness of the room too. A seed shed often needs to sit where power, water, and daily access make sense, especially during the part of the year when the ground may still be wet, icy, or sloppy. On-site construction helps because the footprint, window strategy, and utility path can be fitted to the actual property rather than to what a prefab delivery can handle.

Seed Starting Shed Features & Build Options

The most important difference between a seed starting shed and a general garden shed is environmental control. Seeds and starts need consistent light, stable warmth at the bench, and enough humidity control that the room does not grow mold while you are trying to grow plants. That means the feature list is built around production rather than storage.

Insulation is the base layer because without it the room becomes expensive to manage and hard to stabilize during late winter and early spring. Grow light outlets are another major planning item, since seed racks often use more power than people expect. Heat mats, fans, timers, and watering tools all compete for outlet space too. Seed starting in cold climates: lighting, heat mats, and insulation is worth reading because it frames the shed around North Idaho timing instead of generic gardening advice. Power planning for grow lights: circuits and outlet layout is just as useful because electrical layout mistakes are hard to fix once racks and benches are in.

Common seed starting shed features include:

  • Insulated shell design that makes the room easier to heat and control.
  • Dedicated grow light outlet planning that supports real bench layouts.
  • Heat-mat-ready work zones for propagation without cord chaos.
  • Humidity-control details that help starts thrive without encouraging mold.
  • Water access and cleanup planning that make tray work less messy.

A lot of these builds overlap with potting sheds when transplanting and bench work are a major part of the routine. Others lean toward a greenhouse shed when the owner wants more seasonal growing overlap. The right answer depends on whether the room is mainly for starting plants, growing them longer, or both. Bench height, tray depth, and rack spacing matter more than people expect too. A room can have enough square footage and still work poorly if every tray change requires awkward bending, cords crossing the aisle, or lights mounted so low that routine plant care becomes annoying. Those details are worth thinking through early because they drive how productive the room feels day after day.

Popular Seed Starting Shed Sizes & Layouts

An 8x10 is a practical starting point for a compact propagation room. It can support bench space on one or two sides and still leave a center aisle if the tray count is modest.

An 8x12 is often the first size that feels comfortably usable for a serious home gardener. The extra length makes it easier to separate a propagation rack area from a potting or staging area.

A 10x12 is one of the strongest all-around sizes for this category. It gives enough room for more than one rack run, better circulation, and a cleaner distinction between active starts and supply storage.

A 10x14 works well when the room needs more trays, more bench depth, or a stronger transplanting zone. It can also support more seasonal crossover with potting and light storage.

A 10x16 usually makes sense when the owner has a larger garden plan, a bigger tray count, or wants a room that can support propagation without feeling packed all spring.

What Size Seed Starting Shed Works Best?

The right size depends on tray count, crop mix, and how much of the growing season the room is expected to carry. A compact room may be enough if you are starting a modest number of vegetables and flowers for one household. If the shed needs multiple light racks, seed storage, potting space, and room to move flats around without constantly reshuffling, the footprint grows quickly.

Bench depth and aisle width matter as much as square footage. It is easy to underestimate how much space trays, fans, timers, seed bins, domes, potting mix, and watering tools take once they all live in one room. If the shed is too tight to inspect starts, rotate trays, and clean up properly, it stops being efficient and starts being frustrating.

Another factor is how much the room overlaps with other uses. If the shed also needs to support transplanting, potting, or a little warm-weather overflow growing, it usually makes sense to choose a size that gives the workflow some flexibility instead of aiming at the smallest possible footprint. It also helps to account for hardening-off gear, empty trays, seed inventories, labels, soil blocks, and the cleanup supplies that keep propagation from turning into chaos. Once those support items are counted honestly, most growers realize they need a little more wall and shelf space than expected. A propagation room that stays tidy is usually the one that actually gets used every day during the short North Idaho spring.

How Does On-Site Seed Starting Shed Building Work?

Seed starting sheds follow the same basic NIOS project flow as other smaller service pages, but environmental planning has to happen earlier in the process.

  1. Crop and tray planning We start by reviewing what the shed needs to support, including rack count, bench use, tray volume, and whether the room is strictly for starts or part of a larger propagation workflow.
  2. Site, power, and water review We look at where the shed should sit so daily access, electrical runs, and water needs are practical during the wettest and coldest part of the starting season.
  3. On-site framing and shell construction Building on-site lets the footprint, window placement, and access route fit the real property instead of prefab delivery limits.
  4. Light, heat, and humidity planning This is where the seed-starting-specific value shows up: bench layout, outlet placement, insulation strategy, fans, and the humidity-control plan that keeps the room productive.
  5. Final walkthrough and propagation check Before the job wraps, we make sure the room supports the actual starting routine and not just an empty-room assumption.

On-site construction matters here because the room has to sit where it is convenient to use every day during a short, time-sensitive window. A seed shed that is awkward to access or poorly connected to utilities becomes frustrating fast.

Seed Starting Shed Service Areas Across North Idaho

We build seed starting sheds across the five counties we serve. Around Hayden, Athol, Coeur d'Alene, and other properties with active garden programs, these sheds are often about extending the season and making spring less chaotic.

In neighborhood settings, the challenge is usually fitting a useful propagation room onto the lot without crowding the yard. On larger rural properties, the bigger issues may be utility runs, wet ground, and how the building works alongside gardens, greenhouses, and other growing structures. On-site construction gives more freedom to solve both types of problems correctly.

If you want to compare typical ranges, see our pricing guide. If you want help sizing the room around your seed-starting routine, request a free estimate. The earlier that planning happens, the easier it is to match the shed to your real tray count and spring schedule. That matters because the propagation calendar gets unforgiving fast once sowing starts. A room that is easy to reset each evening is usually the room that keeps the schedule on track. That matters when missed watering, bad airflow, or a crowded bench can set trays back faster than most growers expect. A little extra planning usually shows up in healthier starts.

Frequently Asked Questions About Seed Starting Shed

The FAQ section below covers the most common questions we hear about cost, sizes, permits, and build timing. If you want a propagation room that makes North Idaho's short season easier to manage, request a free estimate and we can help plan it properly.

Built for North Idaho weather

  • Engineered for snow load

    Roofs framed for North Idaho's 70+ psf ground snow load.

  • Wind-rated

    Anchored and braced for the gusts that funnel down our valleys.

  • Sealed for freeze-thaw

    Detailed drip edges, sealed penetrations, and breathable wraps.

  • 12-year warranty

    Bumper-to-bumper coverage on materials and workmanship.

What you get

  • Insulated

  • grow light outlets

  • heat mats

  • humidity control

  • water

How it works

  1. Step 1Site visit

    We come to you, listen to how you want to use the shed, and read the site.

  2. Step 2Free estimate

    You get a single, all-in price — no surprises, no upsell.

  3. Step 3Build day

    We build it on your property in a single visit. No delivery permits, no crane fees.

  4. Step 4Walkthrough

    We hand it over with a walkthrough of materials, doors, and aftercare.

Frequently asked questions

  • How much does a seed starting shed cost in North Idaho?

    Most seed starting shed projects in North Idaho start around $5,000 and can reach $11,100 depending on size, foundation, utilities, insulation, and finish level. Site access, snow loads, and feature upgrades can move pricing higher. See our pricing guide or request a free estimate.

  • What size seed starting shed works best in North Idaho?

    Most seed starting shed builds land in the 8x10, 8x12, 10x12 range, while 10x14, 10x16 works better when you need more clearance, storage zones, or finished space. North Idaho lot layout, setbacks, and access matter as much as square footage. Compare 8x10, 8x12, and 10x12.

  • Do I need a permit for a seed starting shed in North Idaho?

    Sometimes. A simple seed starting shed under 200 square feet may follow the common North Idaho permit-exempt path, but setbacks, HOA rules, utilities, and placement still need review. Once you go larger or add power, plumbing, or finished interiors, permitting becomes more likely. Review permit basics and request a site-specific estimate.

  • How long does it take to build a seed starting shed on-site in North Idaho?

    Most seed starting shed projects take about 1-2 on-site days once the site is ready and materials are staged. Larger footprints, slab work, insulation, wiring, plumbing, and muddy or tight North Idaho access can extend the schedule. See how our build process works.

Ready to get started?

Get Your Free Estimate