A good snow-removal shed is not just a place to park a machine. It is the station you reach when the driveway is drifted in, the plow berm is hardening, and every minute spent hunting for a shovel makes the storm harder to handle. For North Idaho properties, that means planning around the snowblower path, roof-rake length, traction bins, wet boots, gloves, and the way snow piles up around the door.
Start with access before square footage. Wide doors, a low threshold, and a stable gravel or compacted approach matter more than a generic storage footprint. The shed should let you roll the snowblower straight out, grab shovels and roof rakes without moving the machine, and keep salt or sand contained near the entrance instead of scattered across the floor.
We plan the shell, roofline, doors, pad, and interior zones around real winter behavior: fast driveway clearing, wet tools, freeze-thaw cycles, and storage that still works after the third storm of the week. The result is a shed that feels like part of the snow-removal routine, not another obstacle to dig out.
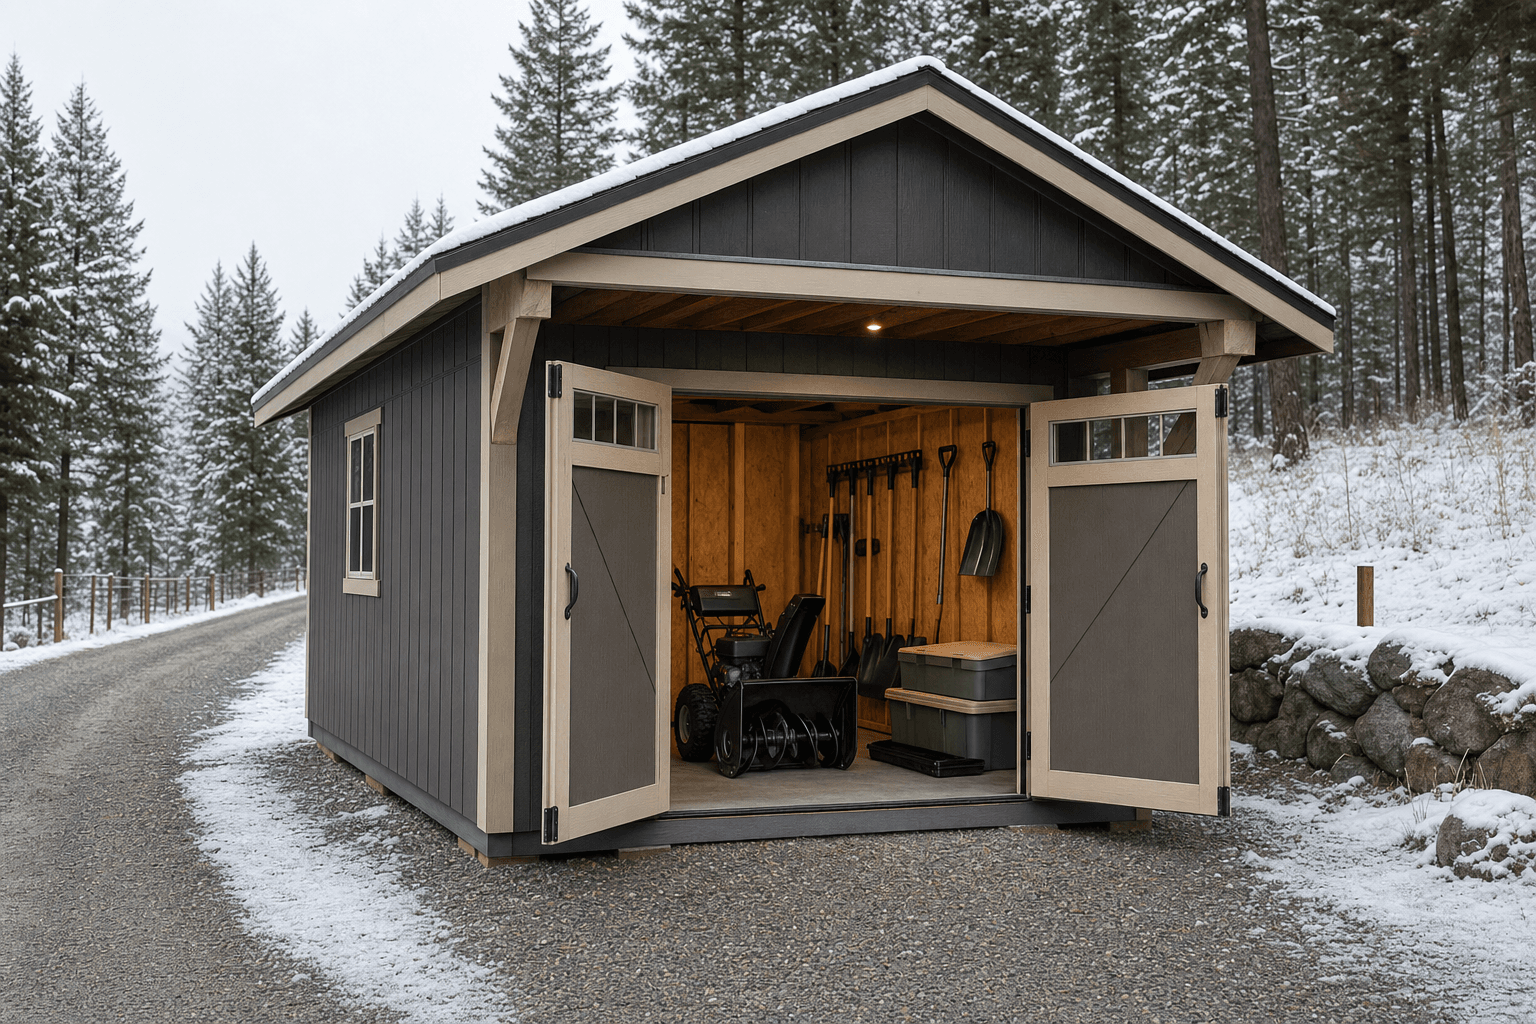
Wide doors, a low threshold, gravel approach, and organized winter tools make snow-removal gear easier to reach when the driveway needs clearing.
Snowblowers, roof rakes, and shovel handles need swing room. The opening should feel easy when you are wearing boots and working before daylight, not just when the shed is empty.
Blank bins, mats, and a washable entry corner keep salt, sand, and wet tools near the door without turning the whole shed into a dirty utility closet.
A small bench or shelf for scraper bars, belts, spare parts, batteries, and hand tools prevents last-minute fixes from happening in the snow.
Different snow-removal setups need different clearances. A compact electric snowblower, a two-stage gas unit, and a small tractor attachment all ask for different door width, turning space, and wall storage. Measure the actual machine, including handles and chute controls, then leave room to walk beside it with gloves on.
The threshold should be treated as a durable transition. A raised lip that looks harmless in October can become a frozen ledge in January. A low transition, stable approach, and mat or drip zone at the entry make it easier to roll equipment out while keeping meltwater from spreading into stored tools.
Inside, the cleanest layout keeps a center machine lane open. Long-handled tools belong on a wall, traction material belongs in low contained bins, and small repair parts belong on a shelf or bench that does not block the exit. Fuel, oil, and battery-maintenance decisions should follow manufacturer guidance, and equipment should not be run inside the shed.
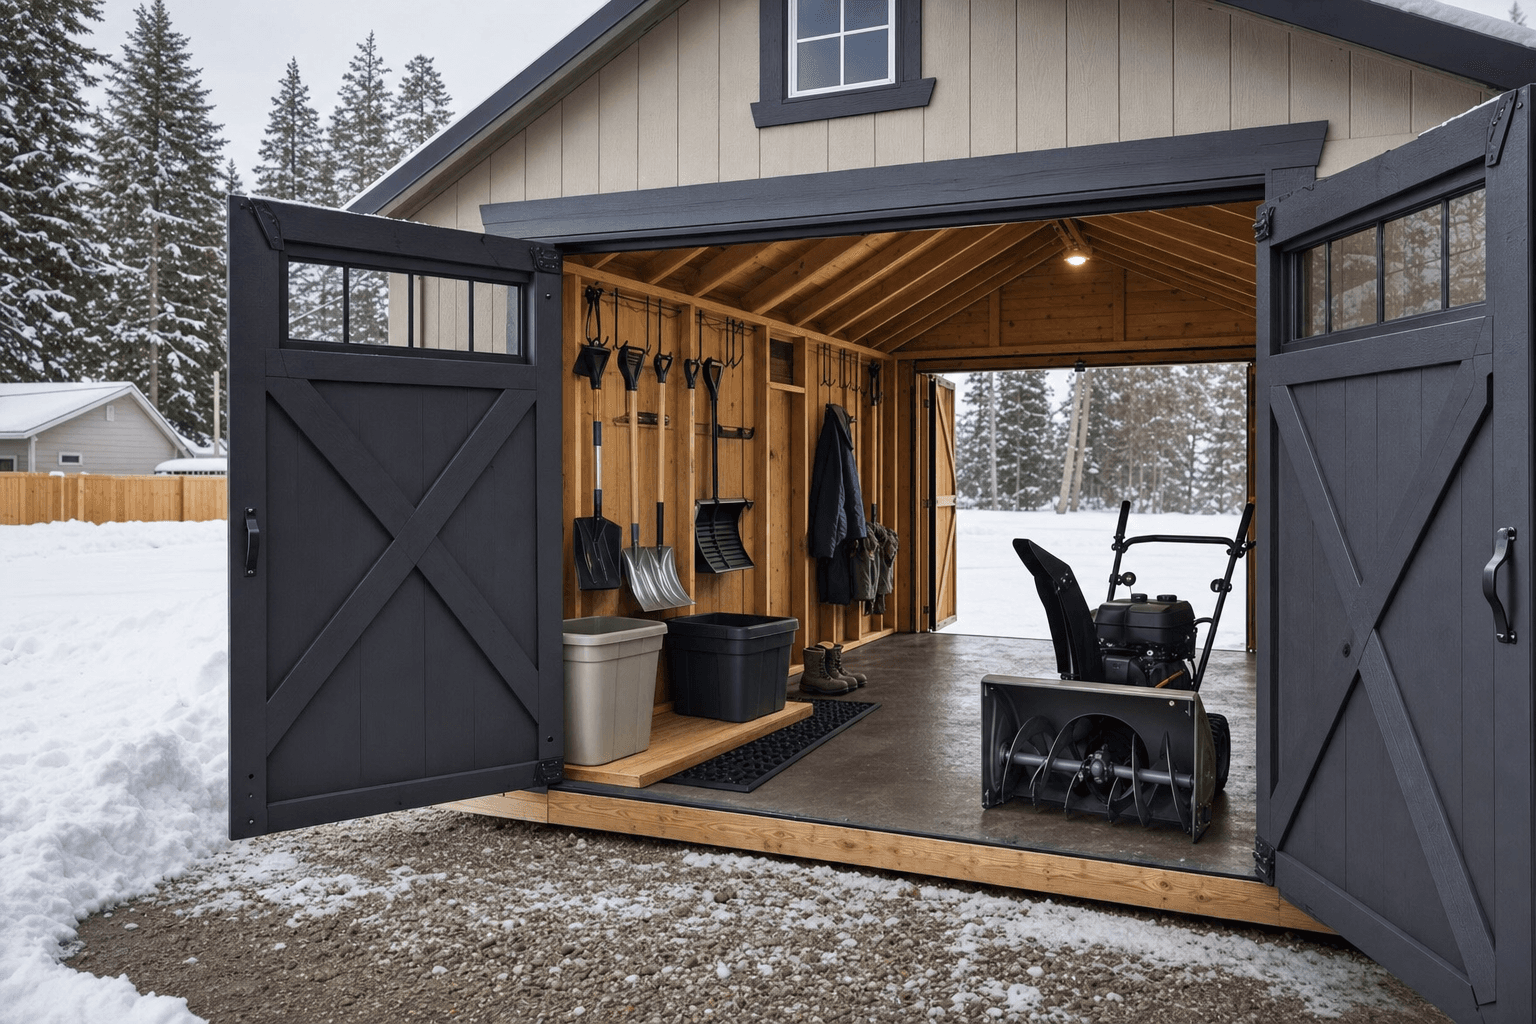
Open floor access, wall-mounted tools, and contained traction bins keep winter gear reachable without crowding the snowblower path.
Keep the path clear from door to parking spot, with enough room to reach handles, chute controls, batteries, and pull-start areas.
Place salt, sand, boot trays, and wet tools near the door on a durable surface so moisture and grit do not migrate through the entire shed.
Use a shelf or small bench for common parts, gloves, scraper tools, and chargers. It should be easy to reach without moving the machine first.
| Access | |
|---|---|
| Door opening | Wide double doors or a large single opening sized around the actual snowblower and handle clearance. |
| Threshold | Low, durable transition with a stable approach so wheels or tracks do not catch on ice or a raised lip. |
| Pad approach | Gravel or compacted prep with room to shovel, sweep, and keep the door path open after plowing. |
| Interior | |
| Tool wall | Hooks for shovels, roof rakes, ice chippers, brooms, and extension handles out of the travel lane. |
| Traction bins | Contained low storage for sand or ice melt, kept away from moving parts and dry gear. |
| Ventilation cues | Passive airflow and moisture planning for wet tools and meltwater, without implying equipment operation inside. |
North Idaho winter storage needs more than a dry box. Door placement, roofline, pad prep, and interior zones all need to work when snow piles up and temperatures swing above and below freezing.
Place doors where you can keep the approach open after plowing and drifting.
Plan mats, floor durability, and drainage conversations before wet tools soak stored gear.
Size the door and open floor lane around the snowblower, not just the shed footprint.
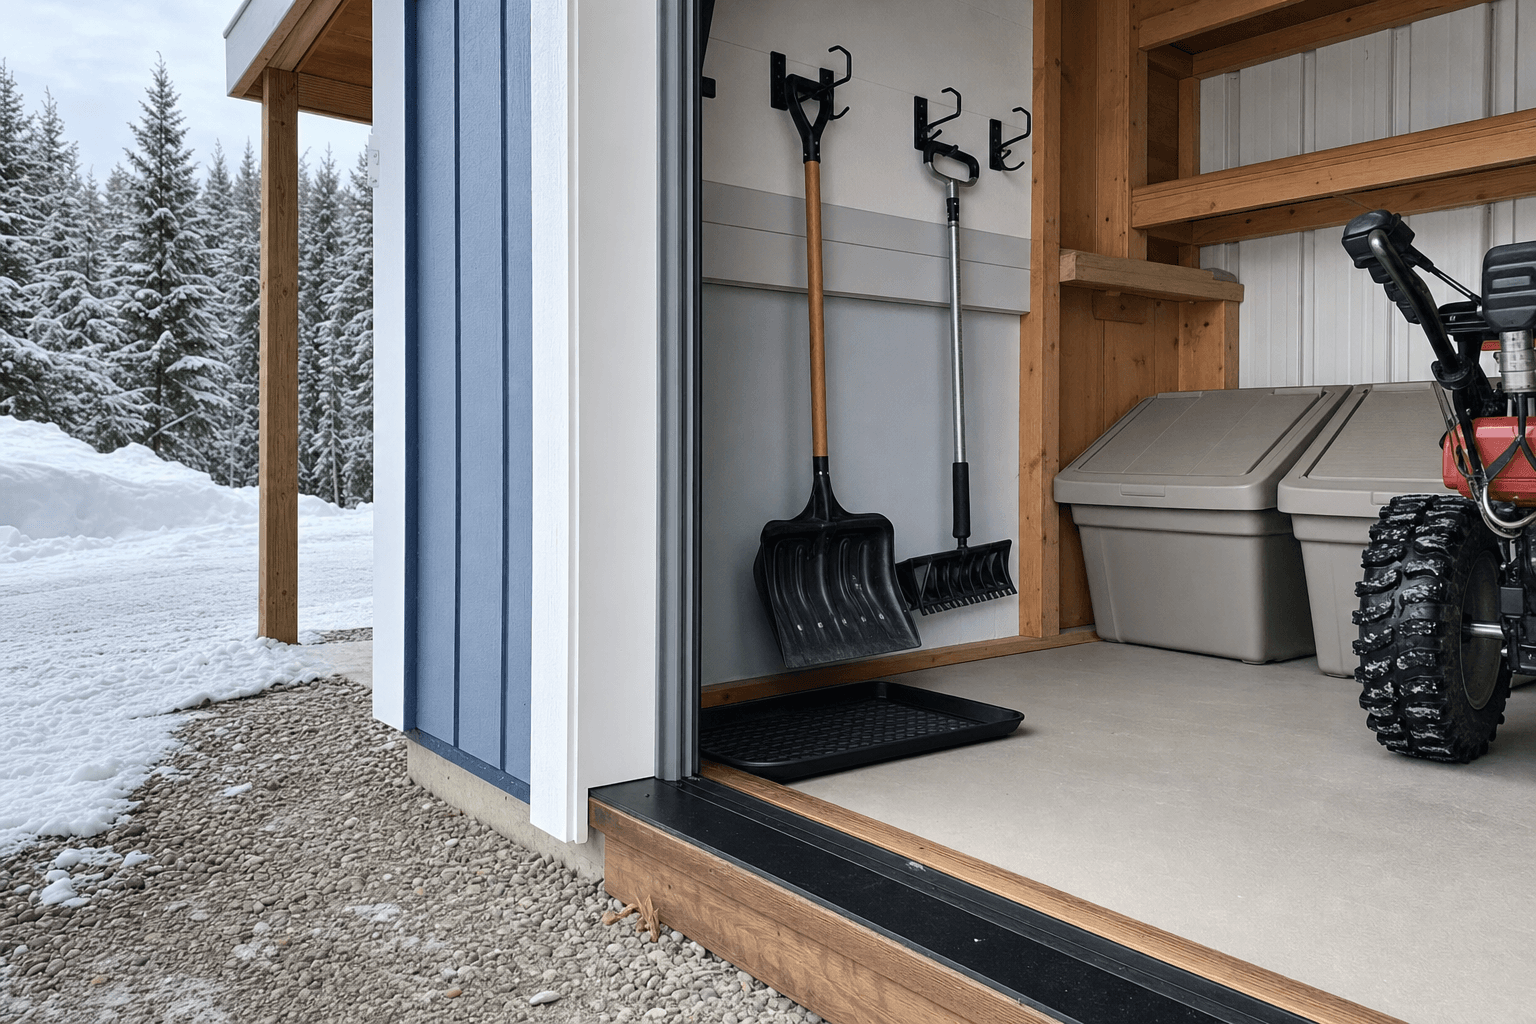
A low threshold, durable floor, and organized shovel and bin storage support quick winter access without blocking the machine lane.
Many snow-removal setups start around 8x10 or 8x12, but the right size depends on snowblower width, handle clearance, traction bins, roof-rake length, and whether you want a small service shelf. Measure the equipment path before choosing the footprint.
Double doors are usually easier for snowblowers and long-handled tools because they create a straighter exit path. The goal is to roll the machine out without angling around shelving, bins, or a raised threshold.
Keep salt, sand, or traction material in contained, blank bins near the door and away from the snowblower path. That keeps grit where it belongs and helps prevent wet material from spreading across the floor.
No. This page is about storage and access planning. Gas-powered equipment should not be run inside a shed unless all manufacturer instructions, ventilation requirements, and safety requirements are met by qualified guidance.
Place it where you can reach it during a storm and keep the door approach clear after plowing. Driveway-edge placement often works better than a back-corner location that becomes buried or icy.
Plan a durable floor surface, low threshold, mat area, and drainage conversation around the door. Wet shovels, tires, and boots need a landing zone before moisture spreads to stored tools.
Tell us what snowblower, shovels, roof rakes, bins, and driveway approach you need to plan around. We will help size the shell, doors, threshold, and storage zones for North Idaho winter use.
Every shed we make is built on site in North Idaho. Explore other uses we build for.
