A good tool shed is not just extra square footage. It is a small work zone that keeps rakes, shovels, ladders, hoses, battery tools, fasteners, and seasonal equipment close to the place where you use them. For North Idaho properties, that usually means a shed with wide access, a dry floor, enough wall height for vertical storage, and a layout that still feels simple when the weather turns wet.
North Idaho On Site Sheds builds tool sheds on your property, so the plan can respond to the way your driveway, garden, fence line, and equipment access actually work. The best result starts with what needs to go inside, how often you reach for it, and whether the shed needs a small bench for sharpening, charging, repairs, and maintenance.
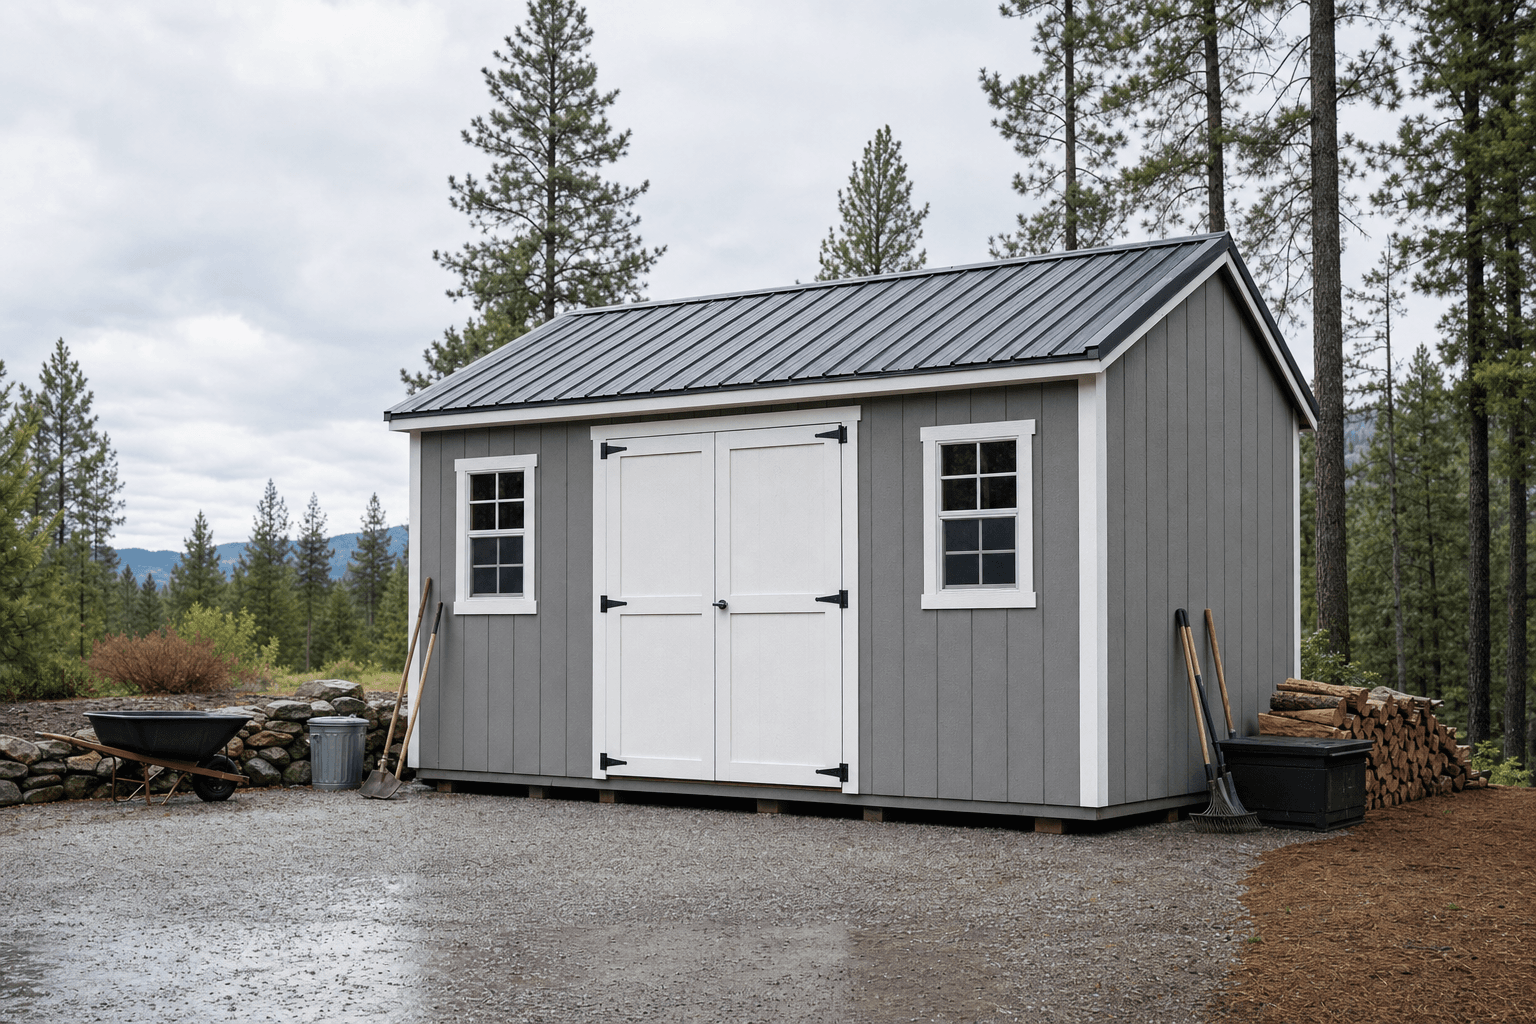
A clean gable tool shed on a gravel pad gives the page a simple starting point: weather-ready storage with wide access.
Many tool sheds feel too small because the door plan is wrong, not because the footprint is wrong. Long-handled tools want a wall rack near the entrance. Mowers, carts, spreaders, pressure washers, and compressors need a clear path through the doors. If those pieces have to be lifted over thresholds or moved around a stack of bins, the shed becomes frustrating after the first busy weekend.
A 10x12 shed can work well for hand tools, shelves, and a compact mower. A 10x16 or 12x16 gives you room to separate daily-use tools from less-frequent equipment, add a workbench, and keep a center aisle open. Larger footprints make sense when you want battery charging, ladder storage, a snowblower, or contractor-grade tools in the same building.
Door width matters as much as the footprint. Double shed doors are usually the practical choice for mowers and bulky tools. A side man door can be useful when you want quick access to small items without opening the main doors every time.
Place the main opening where equipment can roll straight in from the driveway, garden, or side yard. A clean approach is easier to keep usable in snow and mud.
Hooks, shelves, and vertical racks keep the floor open. That makes the shed easier to sweep and easier to use when several tools are needed at once.
A shallow workbench on the long wall can handle sharpening, repairs, and battery charging without turning the whole shed into a workshop.
Ventilation, a raised floor system, roof overhangs, and a properly prepared pad all help protect steel tools, batteries, and wood handles from moisture.
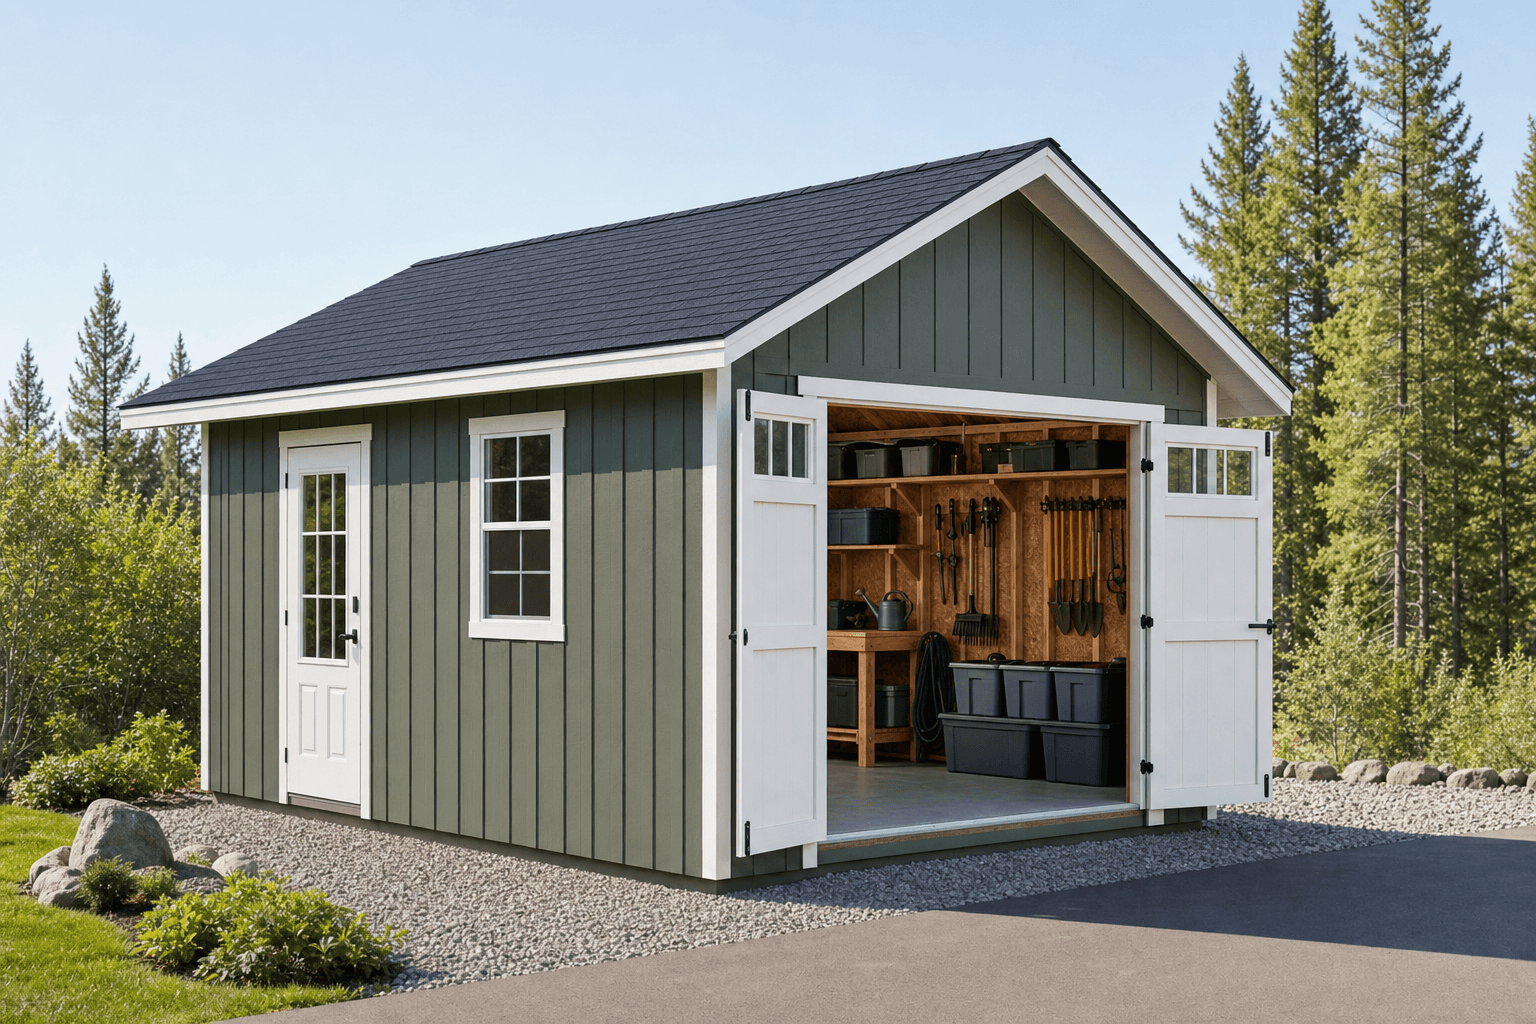
Open-door storage cues help show how wall racks, shelves, and a clear aisle can work together.
The most useful tool sheds are organized by tasks. Put garden tools and soil supplies near the garden side. Keep snow shovels, ice melt, and winter equipment near the door used in cold weather. Store extension cords, chargers, lubricants, and small parts near the bench so repairs do not spread across the floor.
If the shed will hold battery tools, plan the charging zone carefully. You want a protected shelf, an outlet location that does not invite cord clutter, and enough ventilation that the shed does not trap heat on sunny afternoons. For gasoline tools, keep fuel storage, ventilation, and separation from electrical items in mind.
Security is also a design choice. Fewer windows can be right for a tool-heavy shed. A window near the bench adds daylight, but expensive tools often belong on the less visible wall. Door hardware, pad placement, and line of sight from the house can all make the shed easier to manage.
Shelving keeps chemicals, parts, and bins off the floor, while hooks make long tools visible instead of buried behind equipment.
A simple bench gives you a place to sharpen blades, repair handles, clean filters, and stage small projects without using the garage.
Air movement and sensible exterior details help control moisture, which is especially important for steel tools and battery storage.
Daylight helps with small repairs, but the window placement should balance visibility, security, and the wall space needed for storage.
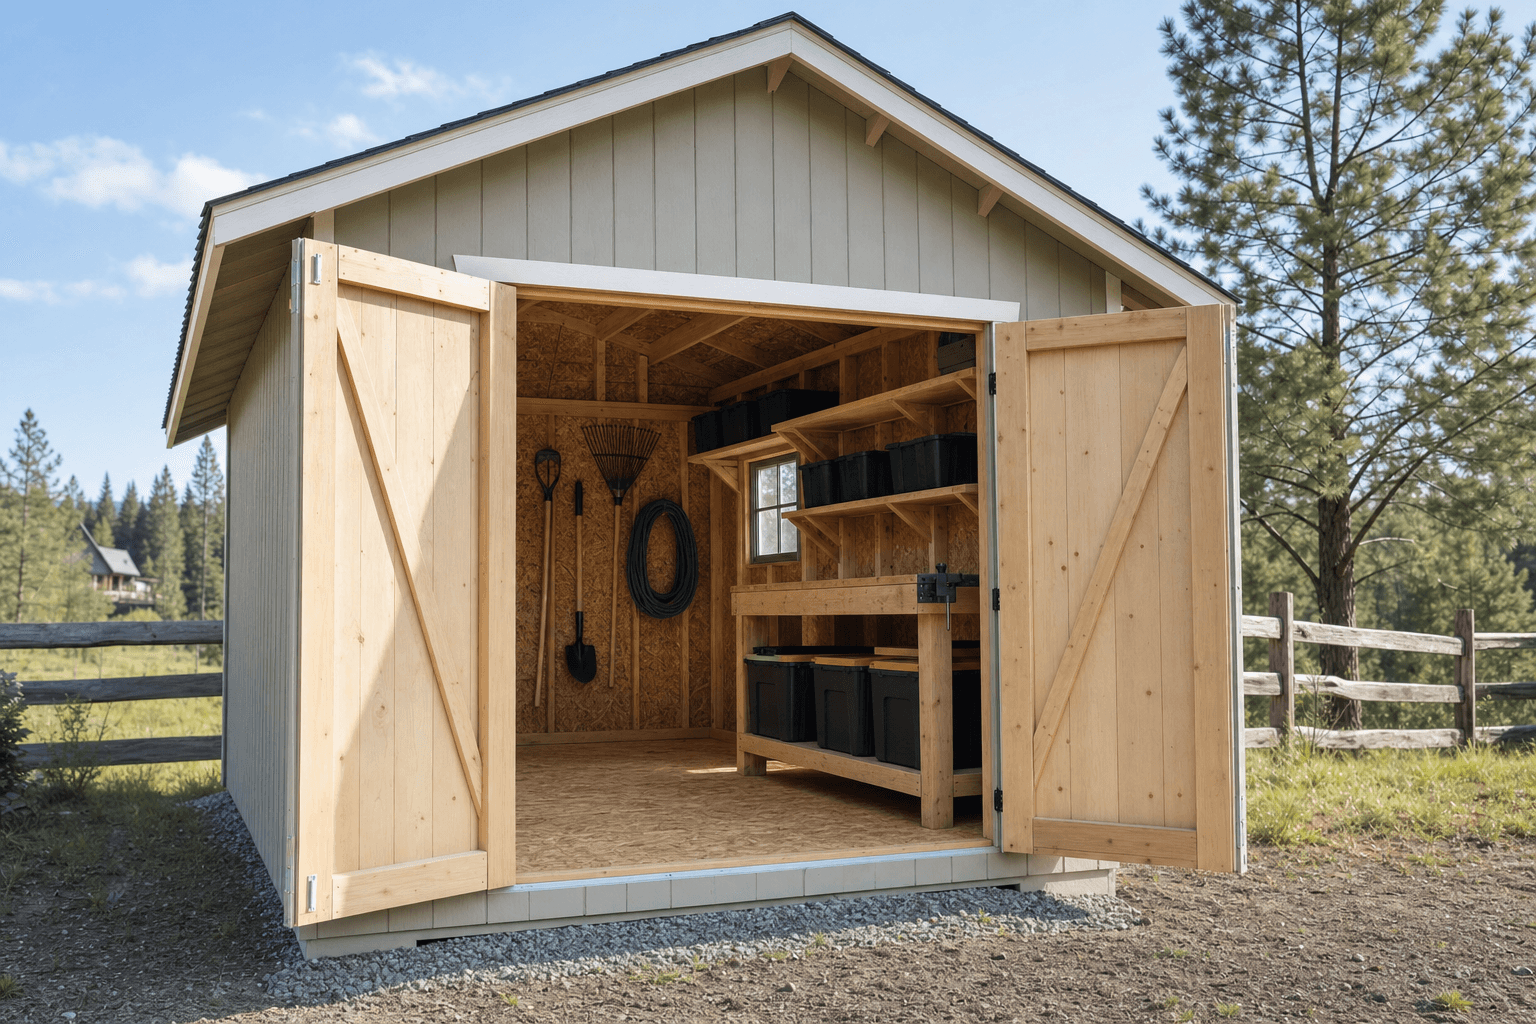
A compact bench and wall-storage detail shows how a shed can stay practical without becoming crowded.
A level gravel pad is the usual starting point for a tool shed because it drains well, gives the shed a stable base, and can be placed where the work happens. The path to the doors matters too. If a mower, cart, or snowblower has to turn sharply on soft ground, the shed will be harder to use.
A tool shed has to handle wet springs, winter snow, freeze-thaw cycles, and hot summer afternoons without making daily storage harder.
A practical roof pitch, durable roofing, and clean overhang details help the shed shed weather instead of collecting problems.
Ventilation, drainage, and material choices help protect hand tools, batteries, and stored supplies.
A stable pad and clean door approach reduce shifting, puddling, and ruts around daily access points.
Small sheds may avoid building permits in some North Idaho situations, but county rules, setbacks, HOA requirements, anchoring needs, and electrical work can change the answer. Check the site before ordering, especially if the shed will be larger, wired, or close to a property line.
For hand tools, shelves, and a push mower, many buyers start around 8x12 or 10x12. If you want a riding mower, workbench, ladders, or battery-tool storage in the same shed, a 10x16 or 12x16 usually gives a better aisle and wall layout.
Yes. Shelves, hooks, and a compact bench are often what make a tool shed work. Plan those items before choosing window and door locations so the storage walls stay useful.
Double doors are usually the best main opening for mowers, carts, ladders, and bulky tools. A side man door can help when you want quick access to small tools without opening the full front.
Start with a level, well-drained pad and keep roof runoff moving away from the shed. Ventilation, durable roofing, overhangs, and a floor kept above splashback all help protect metal tools and wood handles.
Many tool sheds benefit from vents and anchoring even when a permit is not required. Permit rules depend on size, location, electrical work, and local jurisdiction, so confirm setbacks and county requirements before final placement.
Yes. A compacted gravel pad is a common choice because it drains well and gives the shed a clean, stable base. The pad should be level, slightly larger than the shed, and placed where equipment can reach the doors easily.
Tell us what you need to store and where the shed should sit. We will help size the building, door layout, and site prep around your property.
Every shed we make is built on site in North Idaho. Explore other uses we build for.
