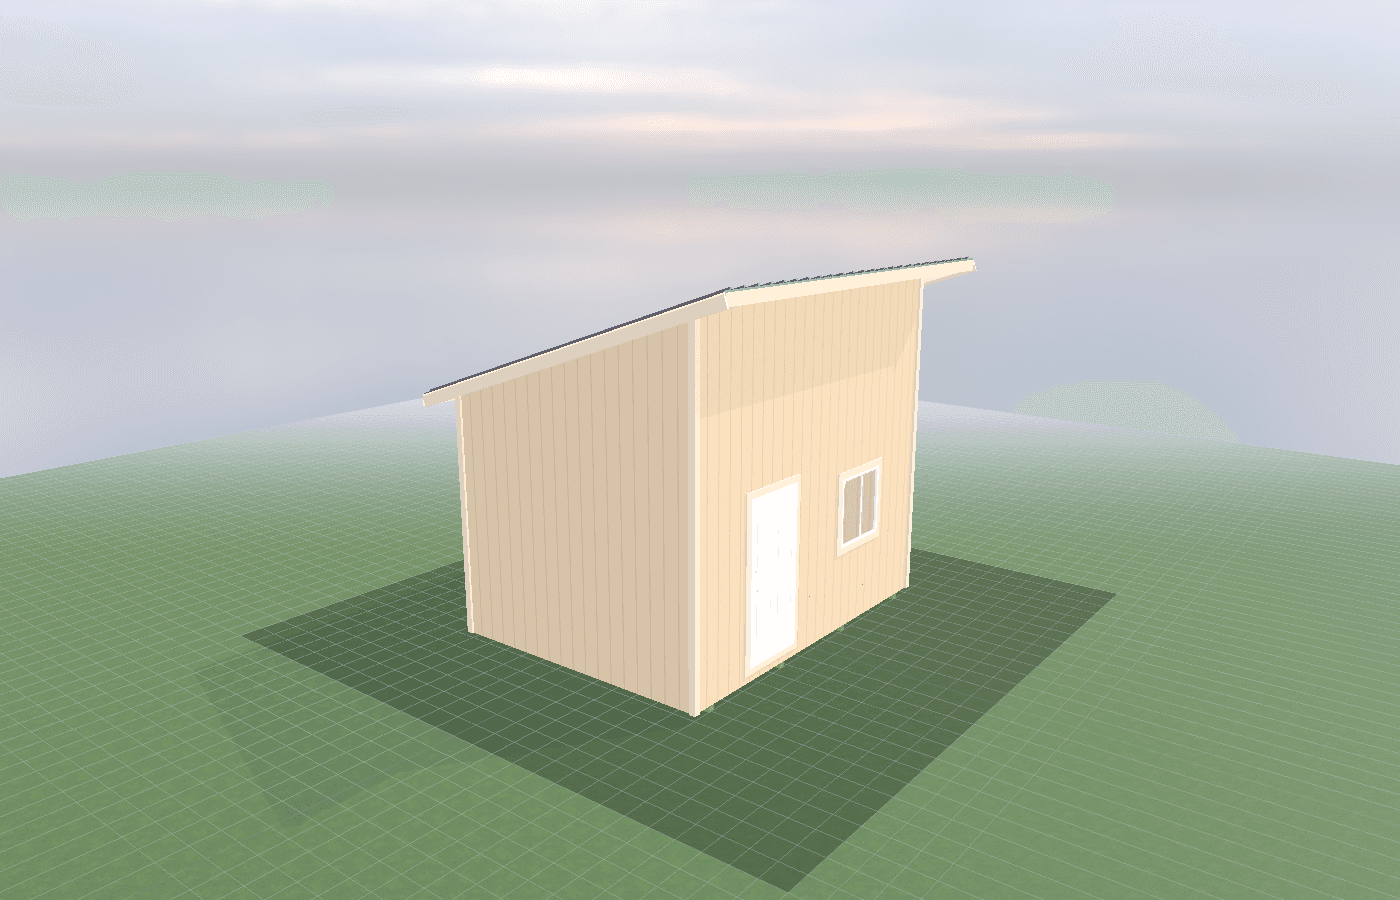
Canning kitchen design: surfaces, sinks, and workflow
A canning kitchen works best when the room is laid out for washing, prep, hot processing, cooling, and cleanup in that order. In North Idaho, the right shed plan also needs washable surfaces, a sink that actually helps the workflow, and enough counter and cooling space that jars, lids, produce, and hot equipment are not all competing for the same few feet.
Canning Kitchen Design in North Idaho
A canning kitchen is not just a shed with a burner. It is a workflow room. Produce comes in dirty, then gets washed, trimmed, cooked, jarred, cooled, labeled, and stored. If those steps all happen on the same crowded counter, the room feels chaotic fast. When the layout is right, the work moves in one direction and cleanup gets easier instead of worse as the day goes on.
The food-safety sources behind home canning make that workflow more important than it first sounds. The National Center for Home Food Preservation and USDA keep repeating the same point in different forms: home canning is safest when you use science-based recipes, prepare ingredients exactly as directed, and process jars according to researched times and pressures. That means the room needs space for the actual procedure, not just the idea of preserving food. University of Minnesota Extension's current botulism guidance also reminds home preservers that low-acid foods must be pressure canned and that the process removes oxygen and seals food in an airtight environment. In other words, sloppy workflow is not only inconvenient. It is how people start improvising steps they should not improvise.
In North Idaho, the building itself adds another layer. Harvest season often collides with smoke, rain, muddy boots, and the first colder nights. A detached canning kitchen shed needs washable surfaces, enough power, a realistic sink plan, and a layout that keeps the hot processing zone from fighting with the wet prep zone. On-site construction is a major advantage here because Justice can place the room where produce arrives efficiently from the garden, orchard, or driveway instead of where a delivered prefab happens to fit.
North Idaho weather matters structurally too. The shell still has to handle snow loads in the 40 to 60+ psf range depending on site conditions, and the base still needs to account for the common 24 inch frost-depth conversation once the room becomes more utility-heavy. Those are building realities. The design challenge is making that shell behave like a real harvest workroom once the tomatoes, beans, broth, and jars all hit the counter at the same time.
What size canning kitchen shed do you need?
A 10x12 is the smallest honest size for many canning kitchens. It gives enough room for one main work wall, one sink zone, and one decent cooling or staging area if the layout is disciplined. For lighter seasonal use, this size can work extremely well.
A 10x16 is often the most practical starting point for serious preserving. That extra length lets you separate produce washing from the hot canning zone. It also makes it easier to keep the cooling jars out of the traffic lane. If two people work harvest season together, 10x16 is where the room usually starts feeling cooperative instead of crowded.
A 12x12 is attractive when the lot wants a squarer footprint or when you prefer an island or center-table feel. The room can still be efficient, but the layout needs to be thought through so the traffic loop stays clear and the hot jars have a dedicated landing zone.
The real size question is not just How many square feet? It is How many simultaneous tasks can happen without overlap? Dirty produce, washed produce, boiling water, pressure canning, and jar cooling all need distinct places. If the room cannot support that, the next size up is usually justified.
Best layouts and features for canning kitchen shed
Start with the sink. In a practical canning kitchen, the sink belongs near the entry or the produce-prep side so dirt, rinsing, and trimming happen early in the sequence. If the sink is buried behind the canner, the workflow fights itself all season. A deep utility sink is usually more useful than a shallow decorative one because buckets, colanders, and harvest tubs need room.
Counter surfaces should be chosen for cleaning and moisture tolerance, not only appearance. Stainless worktops, sealed solid-surface counters, and high-pressure laminate used in the right locations are usually easier to live with than porous or heavily textured finishes. The same goes for walls. Washable finishes and trim details that do not trap steam or sticky residue make the room faster to reset between batches.
Workflow should move one way if possible: produce in, wash and sort, prep, fill jars, process, cool, then move finished jars to storage. The room should not force hot jars to travel back across the wet sink area. NCHFP's current canning guidance says hot jars should be removed with a jar lifter and placed with at least one inch between jars during cooling, then left undisturbed for 12 to 24 hours. That means the design needs a real cooling zone. A narrow leftover counter is not enough if you are processing several canner loads in a day.
This guide pairs naturally with pressure canning safety basics: what equipment needs space because pressure canning needs more than a burner. It needs room around the canner, room to vent safely, room for jars and tools, and room for a calm workflow. It also connects to jar storage: organizing by size, lid type, and season, because empty jars, rings, lids, funnels, and boxes occupy real square footage year-round.
Useful features often include open shelving for active-season gear, closed storage for dry goods and labels, a durable floor that handles water and dropped produce, simple task lighting, and an entry sequence that does not drag mud straight into the hottest work zone. On-site construction helps because those features can be arranged around your actual routine instead of copied from a generic backyard kitchenette plan.
Cost, timing, and build-planning factors
Most of the cost in a real canning kitchen comes from utilities and work surfaces, not from the idea of having a shed. Once the room needs water, drainage, dedicated circuits, better ventilation, insulated walls, and washable finishes, it behaves more like a utility workspace than a simple outbuilding. That is why getting the layout right early matters so much.
Idaho DOPL's current FAQ says permits are required when electrical, plumbing, or HVAC work is performed, and Kootenai County's current building page says the county reviews residential storage buildings over 200 square feet and may require permits for site disturbance, grading, or runoff work. Those rules matter because many canning kitchens involve sinks, additional power, and more site prep than a basic storage shed.
Timing matters too. These rooms are most useful during harvest, which means the worst time to start planning one is when the tomatoes are already ripening. Utility coordination, foundation work, and finish choices all take time. In North Idaho, snow, mud, and spring scheduling can easily push a rushed project into the wrong season.
The cheapest time to decide where the sink goes is before the water line is set. The cheapest time to decide where jars cool is before the counters are installed. If you want the room designed around your actual preserving routine, get a free estimate while the project is still on paper.
Popular sizes and layouts for canning kitchen shed
A 10x12 works best for smaller preserving operations that still need a real sink, real counter, and a dedicated cooling zone. It can be efficient and highly functional if the room stays focused on canning.
A 10x16 is the best all-around answer for many North Idaho homesteads because it supports two clear work zones and gives enough room for shelving without swallowing the whole floor. This is often the most balanced footprint for active seasonal use.
A 12x12 makes sense when the property or visual style favors a square room and the owner wants more central standing space. It can work very well if the sink and hot-processing wall are still separated logically.
The best layout is the one that keeps the wet zone, hot zone, and cooling zone from colliding. If the room supports the preserving sequence instead of interrupting it, the design is doing its job.
That balance matters even more for acreage and homestead setups around Athol, where produce may be arriving from several beds, greenhouses, or orchard rows at once. A slightly larger room can save huge frustration because it gives harvest tubs, wash bins, and finished jars somewhere to land without invading the hot-processing path. If the space will handle tomatoes in August, apples in September, and stock or meat processing later in the year, plan for those peak days instead of the smallest batch. The best canning kitchen feels oversized on a quiet Tuesday and exactly right during harvest.
Frequently asked questions about canning kitchen design
What size canning kitchen shed works best for canning kitchen design: surfaces, sinks, and workflow?
For many North Idaho buyers, 10x12 and 10x16 are the best starting sizes because they balance usable floor space with realistic placement on the property. We then size up or down based on snow load, storage volume, and how much dedicated work or seating area you need. Compare 10x12 and see 10x16.
What is the most common mistake people make when planning a canning kitchen shed shed?
Underestimating space needs is the most common error. Measure your equipment and add 25-30% for workspace and future growth. In North Idaho, also factor in snow gear and seasonal storage demands. Get a free estimate.
Frequently asked questions
What size canning kitchen shed works best for canning kitchen design: surfaces, sinks, and workflow?
For many North Idaho buyers, 10x12 and 10x16 are the best starting sizes because they balance usable floor space with realistic placement on the property. We then size up or down based on snow load, storage volume, and how much dedicated work or seating area you need. Compare 10x12 and see 10x16.
What is the most common mistake people make when planning a canning kitchen shed shed?
Underestimating space needs is the most common error. Measure your equipment and add 25-30% for workspace and future growth. In North Idaho, also factor in snow gear and seasonal storage demands. Get a free estimate.
Ready to plan your build?
Tell us your site, your dimensions, and the use case. We'll come out and price it.