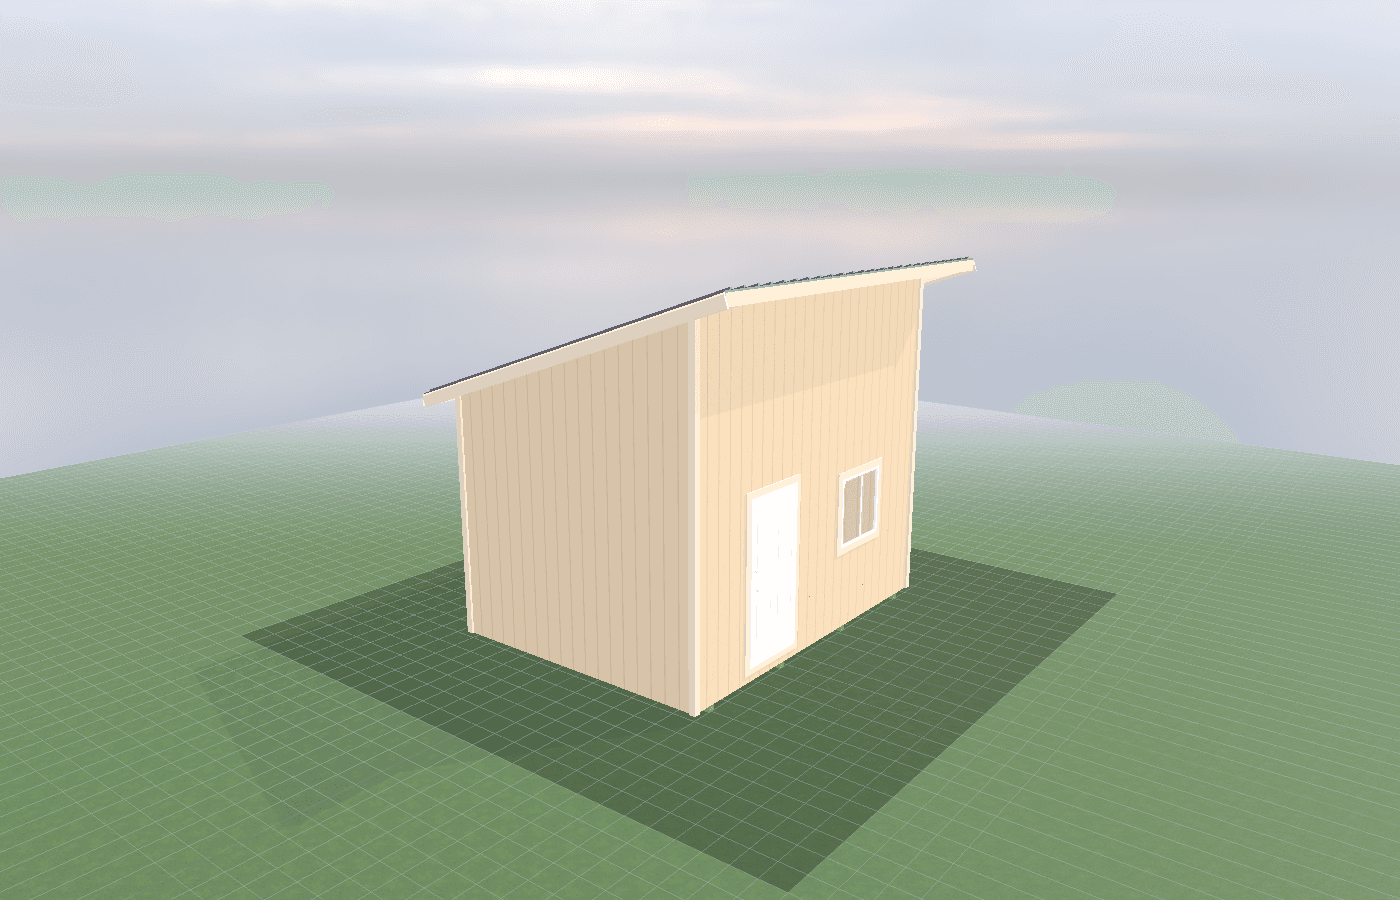
Fermentation temperature control: why HVAC matters
Fermentation gets harder the moment the room temperature starts chasing North Idaho weather instead of staying steady for the yeast. A brewery shed only works well if the shell, insulation, air sealing, and HVAC are planned around batch stability instead of treated like afterthoughts. On-site construction matters here because the mechanical layout, washdown areas, and fermentation zone can be matched to your actual brewing process and your actual property.
Fermentation Temperature Control in North Idaho
Fermentation is one of the first places a backyard brewery either starts feeling professional or starts fighting you. You can brew good wort on a hot side setup that is a little improvised, but yeast is less forgiving. If the room swings hot in the afternoon, drops hard overnight, or traps humidity around your fermenters, the batch starts reflecting the building instead of the recipe.
In North Idaho, that problem shows up faster than many people expect. Detached sheds deal with freezing nights, hot summer afternoons, shoulder-season dampness, and wildfire-smoke periods when you may want the room closed up tighter than normal. Those seasonal swings are exactly why HVAC matters in a brewery shed. The shell has to be stable enough that your fermentation control is not constantly rescuing the room. That is especially true if the brewing space is near Coeur d'Alene, where tighter lots and sun exposure can make small rooms heat up quickly.
Brewing also adds internal loads. Kettles throw heat and moisture. Fermentation chambers, fridges, freezers, and pumps add heat or draw power. Washdown adds moisture again. If the room is not designed to recover after brew day, the next fermentation cycle starts in a damp shell. This is why the best home brewery shed plans think about process flow, not just square footage. A room that can be cleaned, dried, and conditioned back to target is a room that supports repeatable beer.
On-site construction is a real advantage here. A delivered shell can give you roof and walls, but it cannot intelligently decide where the mini-split should land, how the washdown zone should be separated from fermentation storage, or whether the sunniest wall is the wrong place for the cold side. Building on-site lets the room be framed around the actual brewing routine.
How does shed size affect heating and airflow?
Size changes how easy it is to keep the brewery stable. A 10x12 is the compact starting point for a serious brew shed. It can work very well, especially for small-batch systems, but the room needs discipline. The hot side, fermentation side, and storage side are all competing for the same air volume. If you brew and ferment in the same compact room, the HVAC and ventilation plan needs to recover quickly after a brew day or the fermenters inherit that heat.
A 10x16 gives the room more breathing room. That extra length helps separate the brew wall from the fermentation zone so the cold side is not sitting directly in the warmest, wettest part of the shed. It also gives you more choices for placing a mini-split head where it can condition the whole room without blowing directly at fermenters, wall shelving, or the main cleaning area.
A 12x12 creates a squarer room, which often helps airflow more than people expect. Square layouts can make it easier to keep a clean center aisle and avoid long hot corridors where the brew side dominates the entire room. They also give you more flexibility in setting one wall aside for ingredient or package storage, which matters if grain and bottles should stay out of the main humidity zone.
Bigger is not always better, but a room that is too small makes every other decision harder. Warm brew-day air mixes with cool fermentation needs, wet cleanup competes with dry grain storage, and the HVAC system has less margin to create separate zones. The right size gives the building room to behave predictably instead of forcing all the loads into one box.
Systems planning for brewery sheds
The mechanical plan starts with the brewing schedule. If the room is mainly used as a fermentation and packaging space with occasional brew days, the HVAC target is stable temperature with moderate moisture control. If the room hosts full brew days, frequent kettle use, or multiple fermenters, the system has to deal with more spikes in heat and humidity. That is why it helps to pair this guide with water and washdown planning for brew sheds and storage design for kegs, bottles, and grain - pest considerations. HVAC is only one part of a room that also has to clean up well and store ingredients intelligently.
Ductless mini-splits are usually the most practical whole-room answer. DOE guidance points to mini-splits as strong solutions for spaces without existing ductwork, and that fits brewery sheds well. They can cool and heat, they avoid running bulky ducts through a compact room, and modern inverter systems can maintain steadier conditions instead of bouncing between full blast and off. For fermentation stability, that smoother behavior matters. The goal is not just comfort for the brewer. The goal is a room that does not swing wildly around the target.
Fermentation itself often wants narrower bands than people first assume. The FAQ temperatures are a good shorthand: ales generally live around 60-72 F, while lagers want colder ranges around 45-55 F. Even if a fermenter has its own temperature-control hardware, the room still matters. When the whole shed is overheated in summer or left near freezing in winter, every appliance works harder and every batch becomes more annoying to manage.
Electrical and permit planning belong here too. Idaho DOPL states that permits are required when electrical, plumbing, or HVAC work is performed, and brew sheds often end up touching all three. That means it is smarter to choose the HVAC wall, condensate route, drain strategy, and subpanel concept before finishes rather than after the room is already crowded with gear. On-site construction makes that coordination simpler because the shell can be built around those decisions instead of patched later.
Cost, timing, and build-planning factors
Cost in a brewery HVAC plan usually rises in four places: shell quality, system capacity, electrical support, and moisture management. A cheap unit in a leaky room is not really a savings. Likewise, heavy insulation without enough ventilation or a cleanup plan can create a room that stays damp after every brew day. The useful budget is the one that treats fermentation stability, cleanup, and storage as one package.
Timing matters because the best HVAC decisions happen before walls are closed. You want backing where the indoor head belongs, a line-set route that does not interfere with shelving, and a condensate plan that works with the wet side of the room. If the project includes trenching or upgraded power, North Idaho ground conditions can change the schedule. Mud season and frozen ground do not kill projects, but they can complicate utilities and pads if the work is not staged thoughtfully.
Kootenai County's building guidance also matters when a brewery shed crosses normal thresholds. Residential storage buildings over 200 square feet typically need permits in county jurisdiction, and trade permits come into play once HVAC or electrical systems are added. If you are drilling into the schedule too late to think about permits, you are already behind. Brewery sheds are easier when the shell, utilities, and workflow are planned together at the front end.
There is also a practical timing issue after brew day. A well-planned shed dries faster, returns to target faster, and gets back to being a fermentation room sooner. That may sound minor, but it is often the difference between a room that sees regular use and one that feels like work every time you want to start a batch. If you want help dialing in that balance for your property, get a free estimate.
Popular sizes and layouts for brewery sheds
The 10x12 layout is the compact favorite for brewers who want one organized room without overbuilding the footprint. It works best when the hot side is disciplined and the fermentation side is clearly protected from cleanup splash and ingredient clutter. Done right, it is enough room for a serious hobby setup that still fits comfortably on many lots.
The 10x16 layout is the all-around workhorse. It gives enough length to separate brewing, fermentation, and storage so the room feels like a process space instead of one big compromise. For many owners, this is where HVAC begins to make noticeably more sense because the room has enough internal separation to support different functions without constant overlap.
The 12x12 layout is a strong choice when you prefer a squarer work zone and cleaner circulation. It also makes it easier to carve out a wall for grain and bottle storage while preserving a more open center aisle for moving carboys, buckets, or kegs.
In all three sizes, the strongest layouts keep the wettest and hottest work near the cleanup side, the most temperature-sensitive work in the calmest zone, and the storage system integrated into the room instead of piled wherever it fits. That kind of deliberate layout is exactly why on-site building works so well for brewery sheds.
Frequently asked questions about brewery sheds
What size brewery shed works best for fermentation temperature control: why hvac matters?
For many North Idaho buyers, 10x12 and 10x16 are the best starting sizes because they balance usable floor space with realistic placement on the property. We then size up or down based on snow load, storage volume, and how much dedicated work or seating area you need. Compare 10x12 and see 10x16.
What temperature range does a home brewery shed need for fermentation?
Ales ferment best at 60-72°F; lagers need 45-55°F. A mini-split with cooling and heating modes maintains stable temps year-round in a North Idaho brew shed. Insulate well. See brewery options.
Frequently asked questions
What size brewery shed works best for fermentation temperature control: why hvac matters?
For many North Idaho buyers, 10x12 and 10x16 are the best starting sizes because they balance usable floor space with realistic placement on the property. We then size up or down based on snow load, storage volume, and how much dedicated work or seating area you need. Compare 10x12 and see 10x16.
What temperature range does a home brewery shed need for fermentation?
Ales ferment best at 60-72°F; lagers need 45-55°F. A mini-split with cooling and heating modes maintains stable temps year-round in a North Idaho brew shed. Insulate well. See brewery options.
Ready to plan your build?
Tell us your site, your dimensions, and the use case. We'll come out and price it.