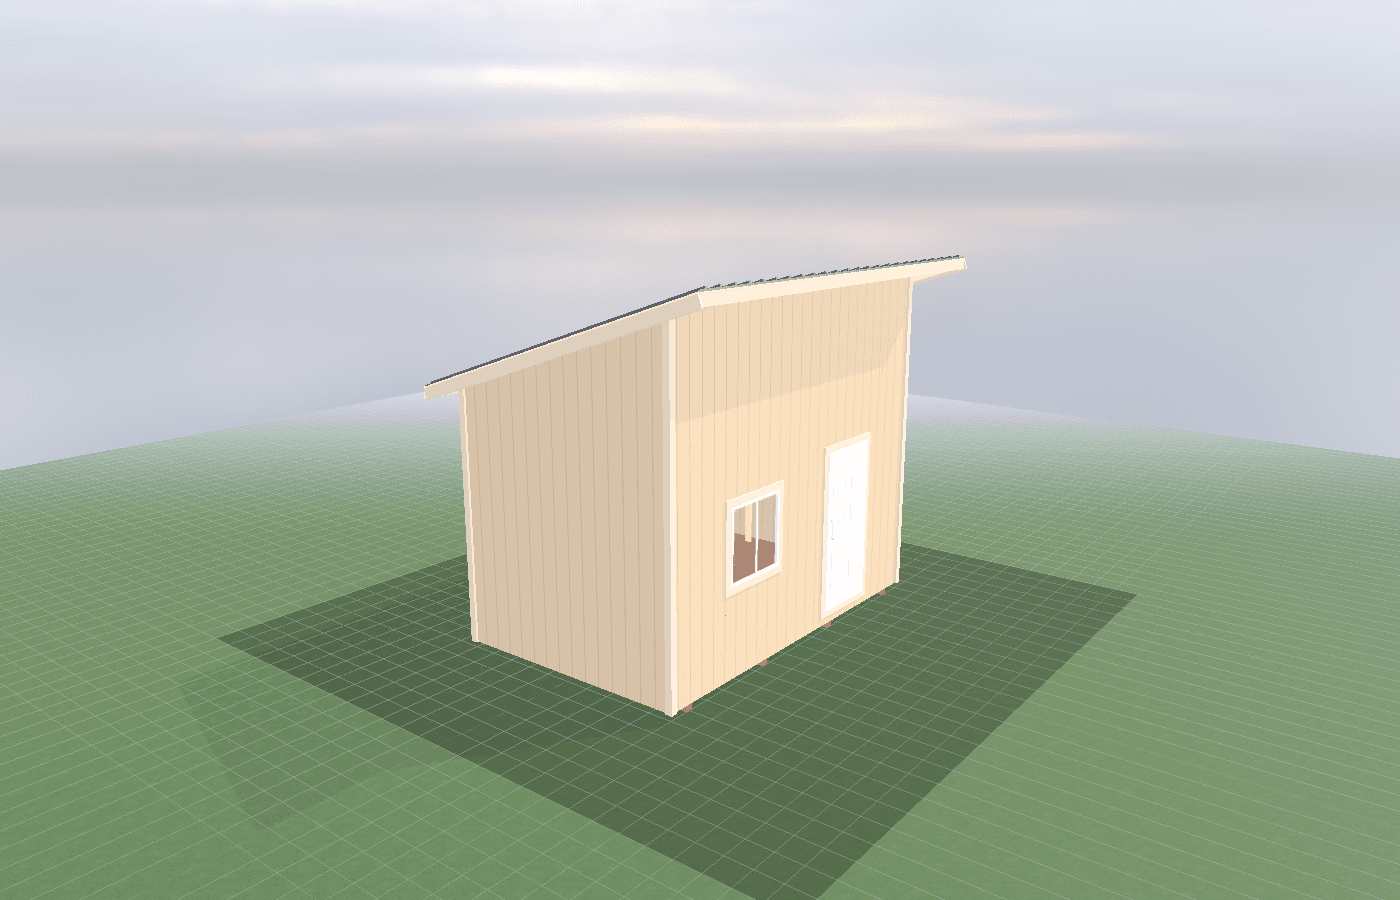
Microgreens room setup: shelving, lighting, and sanitation plan
A microgreens room has to be organized around repeatability: tray flow, lighting height, drainage, and sanitation all need to work the same way every day. In North Idaho, that matters even more because cool weather, shoulder-season humidity, and improvised wash areas can make a small grow room inconsistent fast. Because NIOS builds on-site, the shed can be laid out around tray racks, wash-up routines, and airflow instead of treating food-growing space like ordinary storage with lights added later.
Microgreens Room Setup in North Idaho
A microgreens room is not just a seed-starting room with denser trays. It is a short-cycle production space, and that means layout consistency matters more than decoration. Trays move from seeding to blackout to lighting to harvest quickly, and every weak decision around shelf spacing, sanitation, or humidity control shows up fast in crop quality.
Utah State Extension's current microgreens guide is useful because it treats the crop like a defined system. It recommends shallow trays with drainage, 1020 trays as a common format, a growing medium pre-moistened to the feel of a wrung-out sponge, and a lighting cycle of 18 hours on and 6 hours off. It also gives temperature targets around 74 F during germination, 72 F during lights-on, and 68 F during lights-off. Those are not just growing notes. They are layout notes. They tell you the room needs a stable rack system, predictable light placement, and air movement that keeps one corner of the room from acting like a different climate than the other.
Sanitation is the other half of the room. University of Minnesota Extension's current sanitation guidance says sanitizing only works on clean surfaces and that food-contact areas need visible soil removed and detergent residue rinsed before sanitizer does its job. That matters in a microgreens room because trays, tables, harvest tools, and wash areas are all part of the crop environment.
A practical setup sequence looks like this:
- Decide the tray format and rack spacing first.
- Lay out the room so dirty and clean tasks do not overlap.
- Place the light rows and timers so they follow the shelves.
- Keep the wash or rinse side separate from the dry harvest and packaging side.
- Design the room so surfaces can actually be cleaned instead of only looking clean from a distance.
A purpose-built microgreens / hydroponics shed supports that kind of repeatable workflow much better than a garage corner or spare room. It can also be placed where site access, utility routing, and North Idaho weather exposure make sense instead of where an off-the-shelf shed happened to fit.
What size microgreens shed do you need?
An 8x12 is the compact starting point for a serious microgreens room. It gives enough linear wall and shelf room for a modest rack system while still leaving an aisle and one small clean work surface.
A 10x12 is often the best all-around answer because it creates more room to separate the seeding side from the lighted grow side. That makes daily flow easier and keeps harvest, rinse, and sanitation tasks from colliding with the racks.
A 10x16 makes sense once the room needs more than one active rack bank, a stronger wash-and-sanitize workflow, or enough open floor to move trays without brushing against every shelf. This size also gives more flexibility if the owner wants part of the room dedicated to media prep or packaging.
The right size depends on tray count and workflow, not just shelf count. A room can hold a lot of trays on paper and still be a poor microgreens room if there is nowhere to clean trays, nowhere to move harvested product, or nowhere to keep dirty tools separate from clean ones.
Best layouts and features for microgreens sheds
The strongest microgreens layouts usually divide the room into four practical zones: seeding, blackout or early germination, lit grow racks, and harvest or clean-up.
The shelf system should follow the tray format. USU's guide assumes 1020-style thinking, which is useful because it encourages standard rack spacing, standard light spacing, and simpler crop rotation. The more standardized the shelves are, the easier it is to keep irrigation, lighting, and cleaning consistent.
Useful features often include:
- smooth, washable wall and work surfaces
- enough rack spacing that lights can be adjusted without crowding the aisle
- a dedicated clean table for seeding or harvest tasks
- airflow that moves around the racks instead of only above them
- a drain or wash strategy that does not spray the whole room
- a storage zone for seeds, media, labels, and clean tools separate from damp trays
Sanitation has to be practical. If trays cannot be washed and sanitized without soaking the rest of the room, the layout will fight the crop. UMN's food-production sanitation guidance is helpful here because it emphasizes cleaning first and sanitizing second. That points to simple room design: fewer dust-catching ledges, easier-to-wipe shelves, and a workflow where dirty trays move toward the wash side and clean trays return toward the seeding side without crossing paths.
This is where water and drainage basics for a grow shed and humidity, mold, and airflow: keeping production consistent become part of the same plan. Microgreens are quick crops, and quick crops punish inconsistent rooms.
On-site construction helps here because the shed can be set where plumbing, drainage, or simple utility access works best on the property. That is a major advantage on a North Idaho acreage where one side of the lot stays wetter or colder than another.
Cost, timing, and build-planning factors
Microgreens rooms usually get more expensive when the workflow is ignored, not when the square footage is. Retrofitting better sanitation, better drainage, and better rack layout after the room is already finished is where projects waste money.
Trade permits matter here too. Idaho DOPL's electrical FAQ says electrical, plumbing, or HVAC work requires permits. Kootenai County's building page says storage buildings over 200 square feet in county jurisdiction need building permits and notes that site-disturbance work can require review. If the room adds a feeder, water line, drainage improvements, or climate-control equipment, it is worth coordinating those early instead of pretending the room is still just a dry storage shed.
Timing matters because crop consistency depends on testing the room before it is full. If the room will run in cooler months near Athol, a short pre-season test with lights, fans, and tray racks in place can catch weak airflow, bad condensation spots, or awkward shelf spacing before they become lost harvests.
Spend money first on the parts that preserve consistency: good shelves, good lights, good airflow, and a cleaning routine the room actually supports. Those are what make a microgreens room productive. If you want the shell and utility plan aligned with your tray flow and sanitation routine, get a free estimate before the rack layout is locked.
Popular sizes and layouts for microgreens sheds
An 8x12 is the compact, disciplined microgreens room with one main rack system and a modest clean-work area.
A 10x12 is the common sweet spot because it gives better separation between racks and clean handling space without making the room much harder to condition.
A 10x16 is the better fit when the owner wants more production or a more complete wash, sanitize, and harvest sequence inside the same shell.
The best layouts keep tray movement simple. Seed in one zone, blackout or early germination in one zone, lit grow racks in one zone, and harvest or cleanup in another. If those moves are short and obvious, the room stays cleaner and the crop stays more consistent.
Rack spacing deserves more attention than most first-time growers give it. If shelves are too tight, light height becomes hard to adjust and harvest gets awkward. If shelves are too far apart, the room wastes conditioned air and wall length. Standardized tray spacing is what makes the room predictable. It also makes sanitation easier because every shelf, tray, and light bar can be cleaned the same way instead of each level having its own improvised hardware and awkward corners.
Another practical choice is deciding where damp tools and cleaned trays wait to dry. If washed trays drip beside seeded trays or if harvest knives and scales live next to rinse tubs, the room quickly loses the clean-dirty separation it needs. A simple dedicated drying rack, a clean shelf for tools, and one wall reserved for harvested product flow usually matter more than adding another full shelf tier. Microgreens rooms work best when the handling rhythm is boring, repeatable, and easy to sanitize.
The North Idaho angle matters here too. In shoulder seasons, a detached grow room can swing between cool nights and warmer daylight quickly, so a little extra aisle room around the racks helps airflow do its job instead of trapping damp air in a tight shelf maze. That is one more reason an on-site build is useful: the shell can be sized around the real rack geometry and wash routine instead of forcing food production into a room that was shaped for storage first.
Frequently asked questions about microgreens room setup
What size microgreens shed works best for microgreens room setup: shelving, lighting, and sanitation plan?
For many North Idaho buyers, 8x12 and 10x12 are the best starting sizes because they balance usable floor space with realistic placement on the property. We then size up or down based on snow load, storage volume, and how much dedicated work or seating area you need. Compare 8x12 and see 10x12.
What layout maximizes usable space in a microgreens / hydroponic shed?
Start with your largest item and build the layout around it. Wall-mounted storage, overhead racks, and French cleat systems make the most of vertical space. Get a free estimate.
Frequently asked questions
What size microgreens shed works best for microgreens room setup: shelving, lighting, and sanitation plan?
For many North Idaho buyers, 8x12 and 10x12 are the best starting sizes because they balance usable floor space with realistic placement on the property. We then size up or down based on snow load, storage volume, and how much dedicated work or seating area you need. Compare 8x12 and see 10x12.
What layout maximizes usable space in a microgreens / hydroponic shed?
Start with your largest item and build the layout around it. Wall-mounted storage, overhead racks, and French cleat systems make the most of vertical space. Get a free estimate.
Ready to plan your build?
Tell us your site, your dimensions, and the use case. We'll come out and price it.