A microgreens or hydroponics shed is not a promise of automatic harvests. It is a buildable support shell that gives the owner a cleaner place to organize trays, blank containers, shelving, and setup equipment. The result depends on lighting, crop choice, water management, sanitation, temperature, and how the owner runs the space.
For North Idaho properties, the useful question is less about turning a shed into a commercial grow room and more about whether the building can support a tidy, washable, well-ventilated workflow through spring, fall, and the colder edges of the season. The shed should be planned around access, drainage, airflow, and clear separation between water handling and electrical planning.
Shallow trays need level shelves, clear reach, and space to move without brushing neighboring racks. A narrow aisle can work, but only if the shelf depth and door swing are planned before the build.
Microgreens and small hydroponic setups create moisture, splash, spent media, and cleanup needs. Smooth benches, sealed surfaces, and washable storage zones make the space easier to maintain between cycles.
A support shed can reserve one zone for capped water containers, mixing, or reservoir staging while keeping outlets, timers, and controls away from splash-prone work areas.
The structure still has to look and behave like a practical shed: buildable rooflines, doors that clear the aisle, ventilation that can be serviced, and a gravel approach that handles mud.
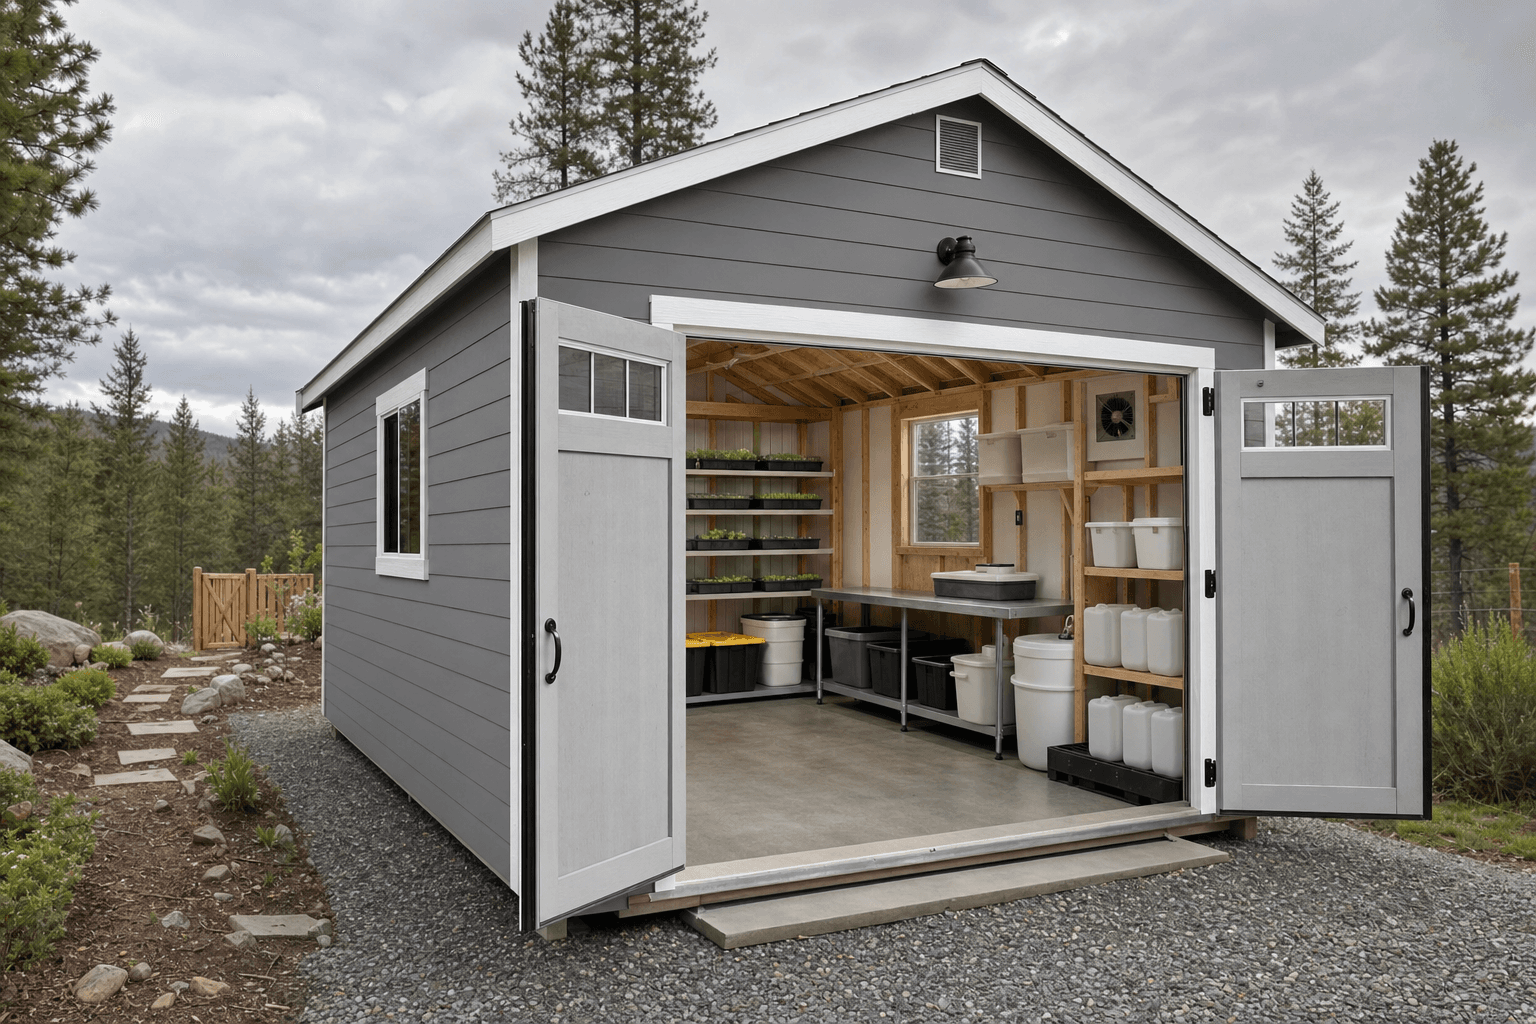
An open-door view helps plan shelving, blank trays, washable bench space, ventilation, and water storage without turning the shed into a commercial grow room.
Tray crops and small hydroponic systems tend to push moisture into a compact room. That makes ventilation part of the layout, not an accessory. Operable windows, screened vents, fan-ready locations, and the ability to move humid air away from shelves all matter. So does restraint: too much direct draft can dry trays unevenly, while too little air movement can make mold and condensation harder to manage.
The shelf plan should keep the room easy to inspect. Leave enough clearance to remove trays, wipe benches, check water containers, and clean spills without crawling around racks. If the shed will support a seed starting shed workflow too, the plan may need separate shelves for propagation trays, finished greens, supplies, and cleanup tools.
Plan dedicated splash-aware water handling away from outlets, cords, timers, and controls. NIOS can build the shell and layout around clear zones, but electrical design should follow applicable code and qualified installer guidance.
Keep tray filling, used media, washing, and storage from overlapping. A simple bench, capped containers, and covered bins can prevent the room from becoming a catch-all shed.
Plant performance depends on the owner’s lighting, heat, crop timing, and monitoring. The shed can support a better setup, but it does not replace active temperature and humidity management.
Food-adjacent growing supplies should be stored in sealed, blank containers with clean thresholds, screened vents, and no easy gaps around doors where rodents or insects can settle in.
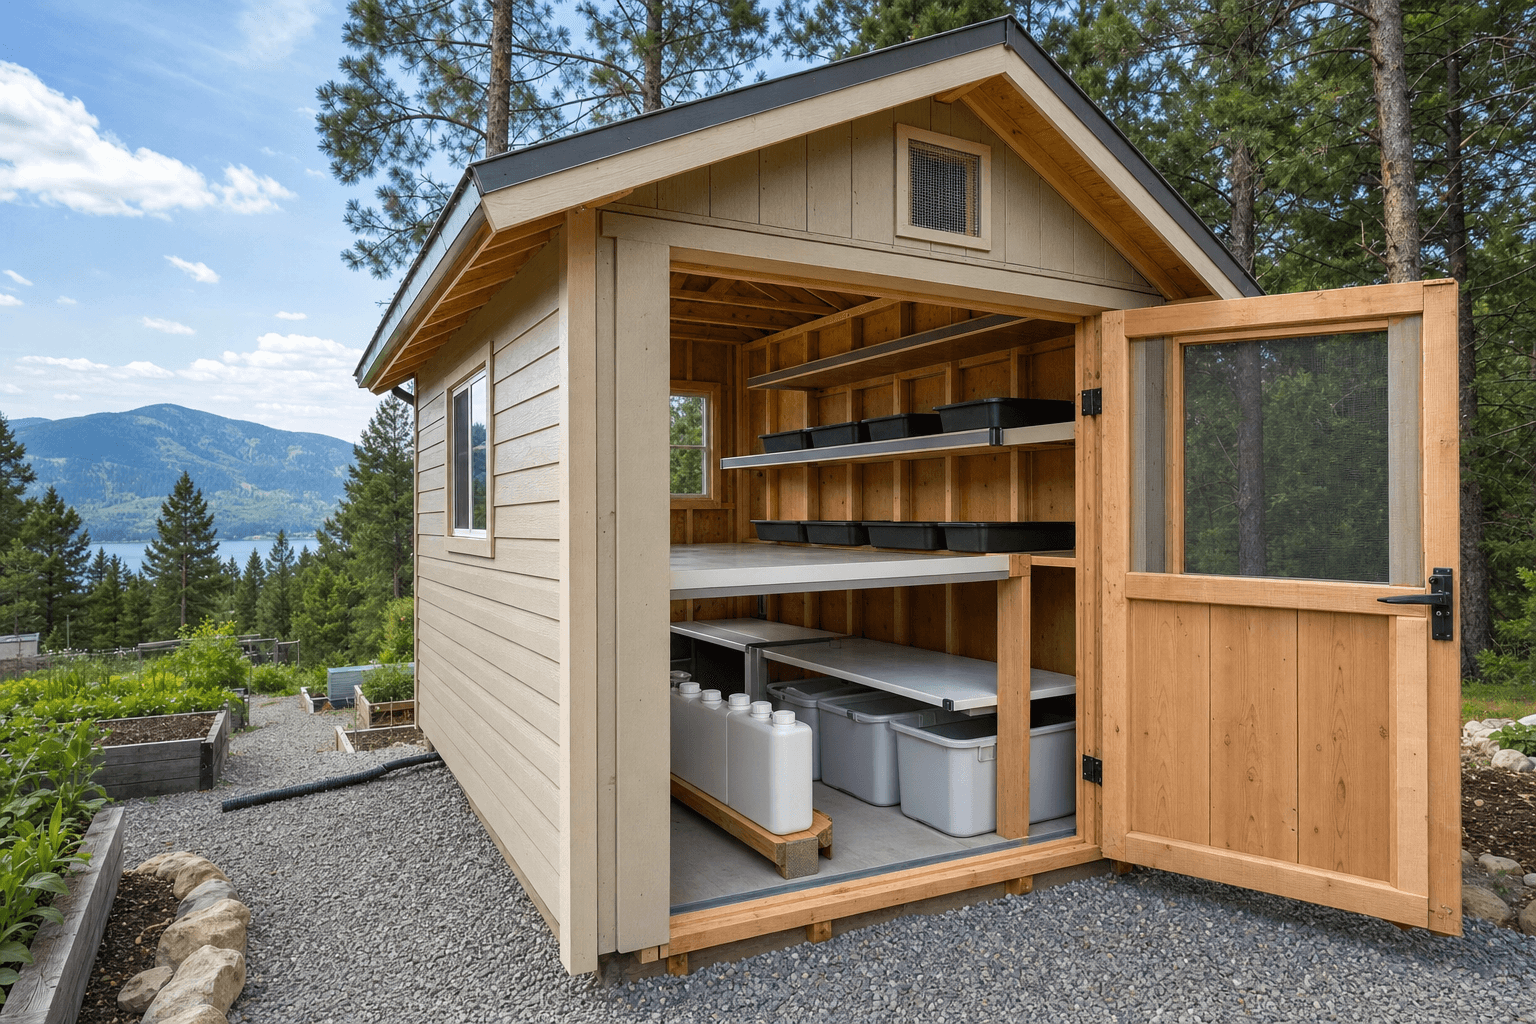
A detail view should keep the focus on blank trays, capped containers, airflow, clean surfaces, a dry threshold, and clear separation between water and power planning.
| Interior workflow | |
|---|---|
| Shelf zones | Tray shelves, supply shelves, and a small staging bench should be sized together. |
| Cleanup | Choose smooth bench surfaces and storage that can be wiped down between cycles. |
| Aisle clearance | Leave room to carry trays through the doors without twisting around racks. |
| Building shell | |
| Ventilation | Use vent, window, and fan-ready locations to manage moisture and stale air. |
| Site prep | A gravel pad and dry approach help control mud and splash around the threshold. |
| Utilities | Plan water and electrical questions early; final hookups depend on qualified trade work and local rules. |
A microgreens support shed should not sit where spring runoff, roof drip, or garden mud works its way back through the doors. The pad and threshold are part of the sanitation plan because they affect how often dirt and moisture get carried inside.
Designed as a support building for North Idaho conditions, not a regulated production facility or guaranteed growing system.
North Idaho spring and fall weather can make mud, condensation, and wet thresholds the real maintenance problem.
Roofline, overhangs, and access should stay realistic for winter loads and plowed paths.
Natural light helps usability, but crop performance depends on the owner’s lighting setup and daily management.
NIOS builds the support structure; sanitation, crop choices, equipment, and yields remain owner-managed.
The strongest microgreens shed plans start with the shell: door width, shelf-wall length, window and vent placement, washable bench location, dry storage, and a place for water containers that does not fight the rest of the room. If you want a broader protected-growing structure, compare this page with a greenhouse shed. If the main job is soil work and seed trays for the garden, a potting shed may be the simpler fit.
We can help plan the shed proportions, roofline, door access, windows, vents, trim, siding, and gravel-ready placement. We do not certify crop output, food production, plumbing, electrical work, or regulated commercial use. That boundary matters because a successful growing setup depends on the owner’s equipment, sanitation, water quality, lighting schedule, temperature control, and site conditions.
Yes. NIOS can build the shed shell around tray shelving, washable bench space, blank storage containers, vents, windows, and access planning. The owner is responsible for crop equipment, sanitation practices, water management, and any electrical or plumbing work.
No. A better shed layout can make the workflow cleaner and easier to manage, but plant performance depends on crop choice, lighting, water quality, humidity, temperature, sanitation, and the owner’s daily setup.
Treat water handling and electrical planning as separate zones. Keep splash-prone work areas away from outlets, cords, timers, and controls, and use qualified trade guidance for any permanent electrical or plumbing work.
Many owners start by comparing 8x12, 10x12, 10x16, and 12x16 footprints. The right size depends on shelf depth, tray count, aisle clearance, water storage, and whether the shed also stores garden supplies.
Most microgreens and hydroponic support sheds benefit from planned airflow. Operable windows, screened vents, and fan-ready locations can help manage humidity, stale air, and condensation, but the exact setup depends on owner equipment and site conditions.
This page is about a shed-scale support building, not a certified commercial production facility. Any sale, food handling, electrical, plumbing, sanitation, or business requirements depend on applicable guidance and local rules.
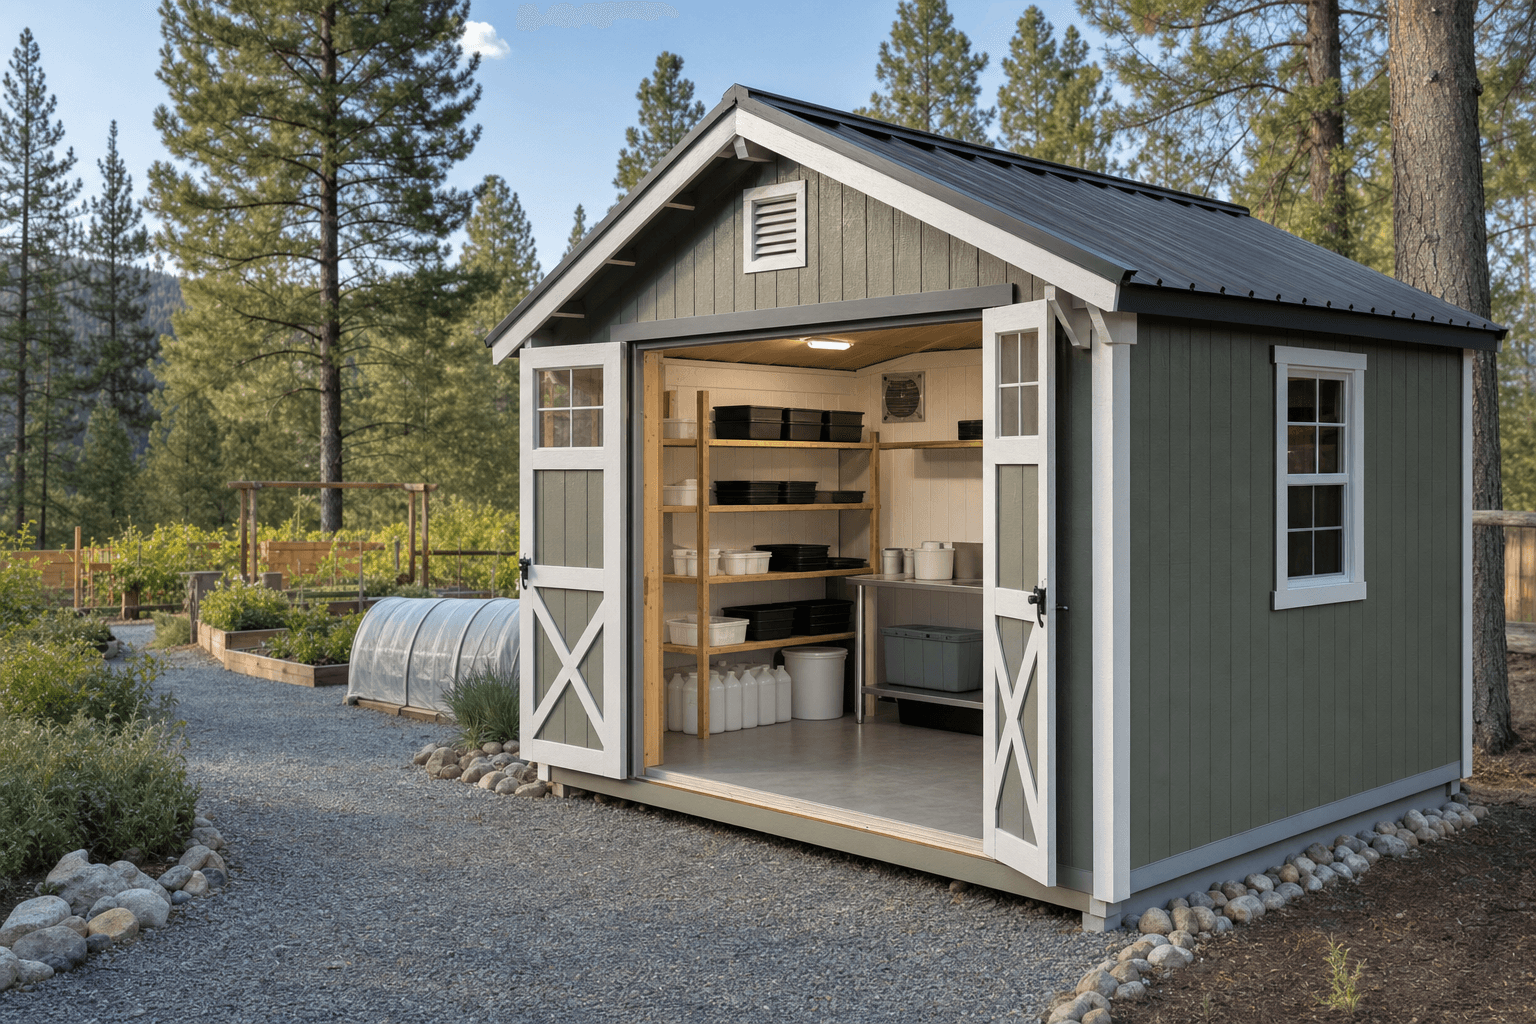
Tell us how many shelves, trays, water containers, and storage zones you need, and we will help shape a buildable shed around the workflow.
Every shed we make is built on site in North Idaho. Explore other uses we build for.
