A mountain bike shed works best when it is designed around the ride routine, not just the number of bikes. On a North Idaho property, that routine usually includes wet tires, muddy shoes, helmets, hydration packs, tools, spare parts, and a bike that needs a quick adjustment before the next trail day. A purpose-built shed gives that workflow a clean place to land without taking over the garage or dragging trail grit into the house.
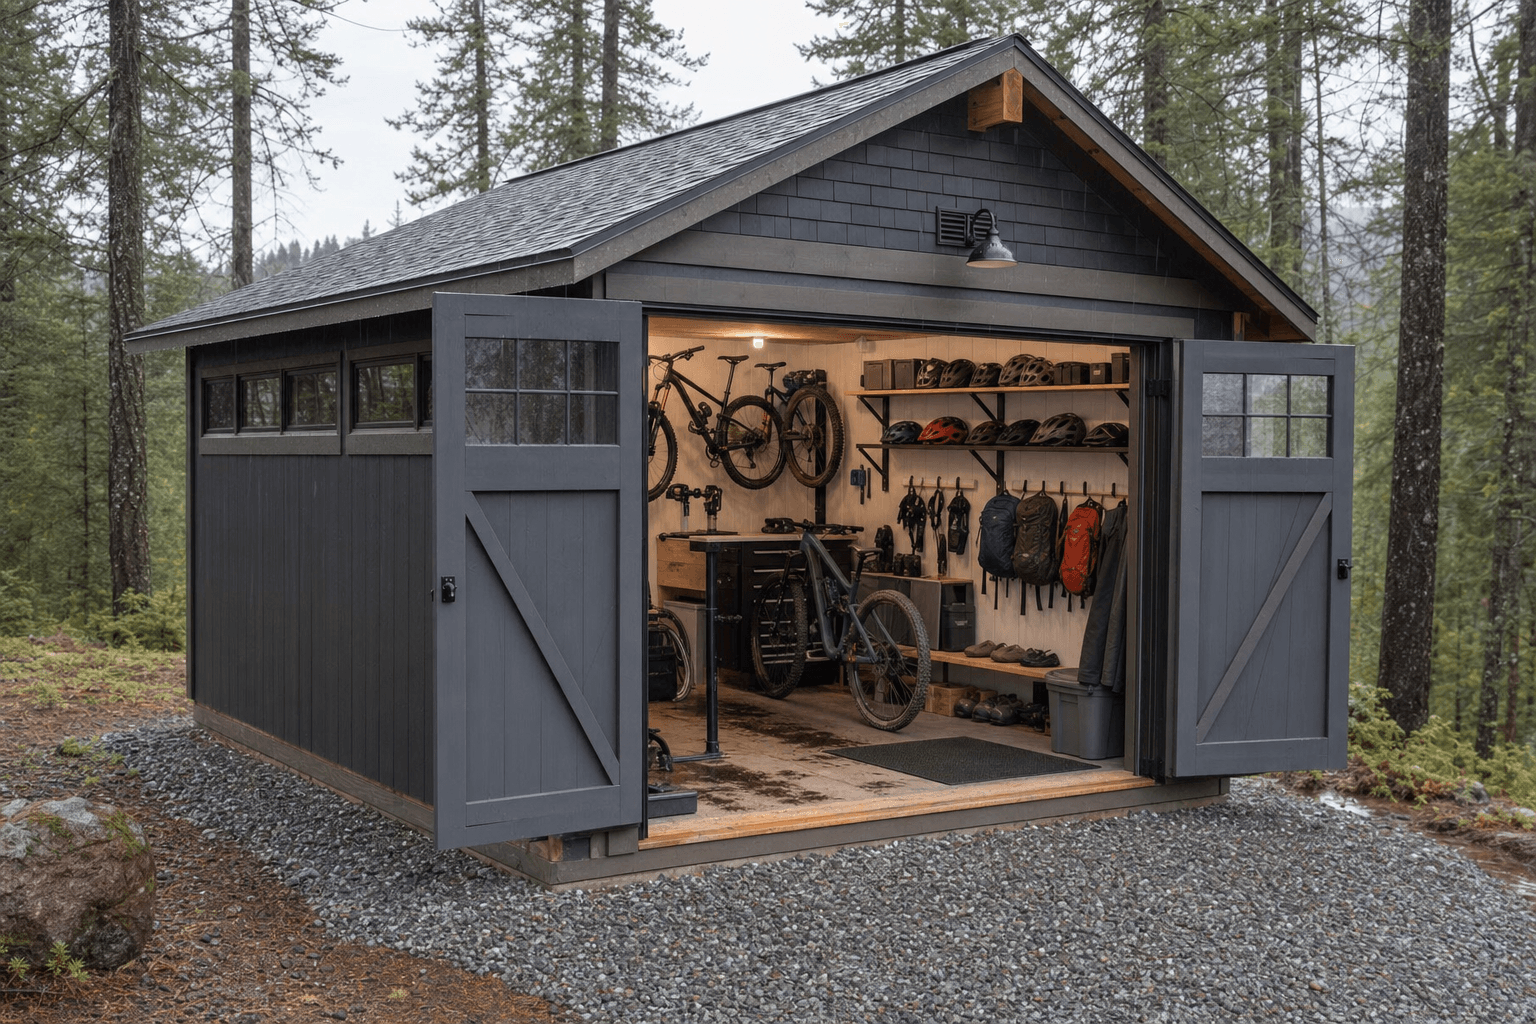
Wide access, wall racks, a repair bench, ventilation, and organized helmet and shoe storage help a mountain bike shed work through North Idaho trail season.
The door plan is the first decision. Wide double doors make it easier to roll bikes in without turning handlebars into the jamb, and they help when two bikes, a repair stand, or a child trailer need to move at the same time. If the shed sits near a driveway or trail approach, a gravel landing outside the threshold keeps the wettest mess outside while still giving you a stable place to load and unload.
Inside, wall racks usually beat random floor parking. Vertical racks save floor space, while horizontal rails can work when the shed is wider and you want bikes at shoulder height. The right answer depends on handlebar width, tire size, ceiling height, and whether kids need to reach their own bikes. We plan that spacing before construction so the wall backing, aisle width, and door swing support the way the bikes will actually move.
Plan rack layout around tire width, handlebar sweep, and the number of bikes that need daily access.
Leave open floor beside the stand so pedals, wheels, and drivetrain work do not collide with stored gear.
Pair solid doors and quality hardware with interior anchor points and smart placement away from easy street visibility.
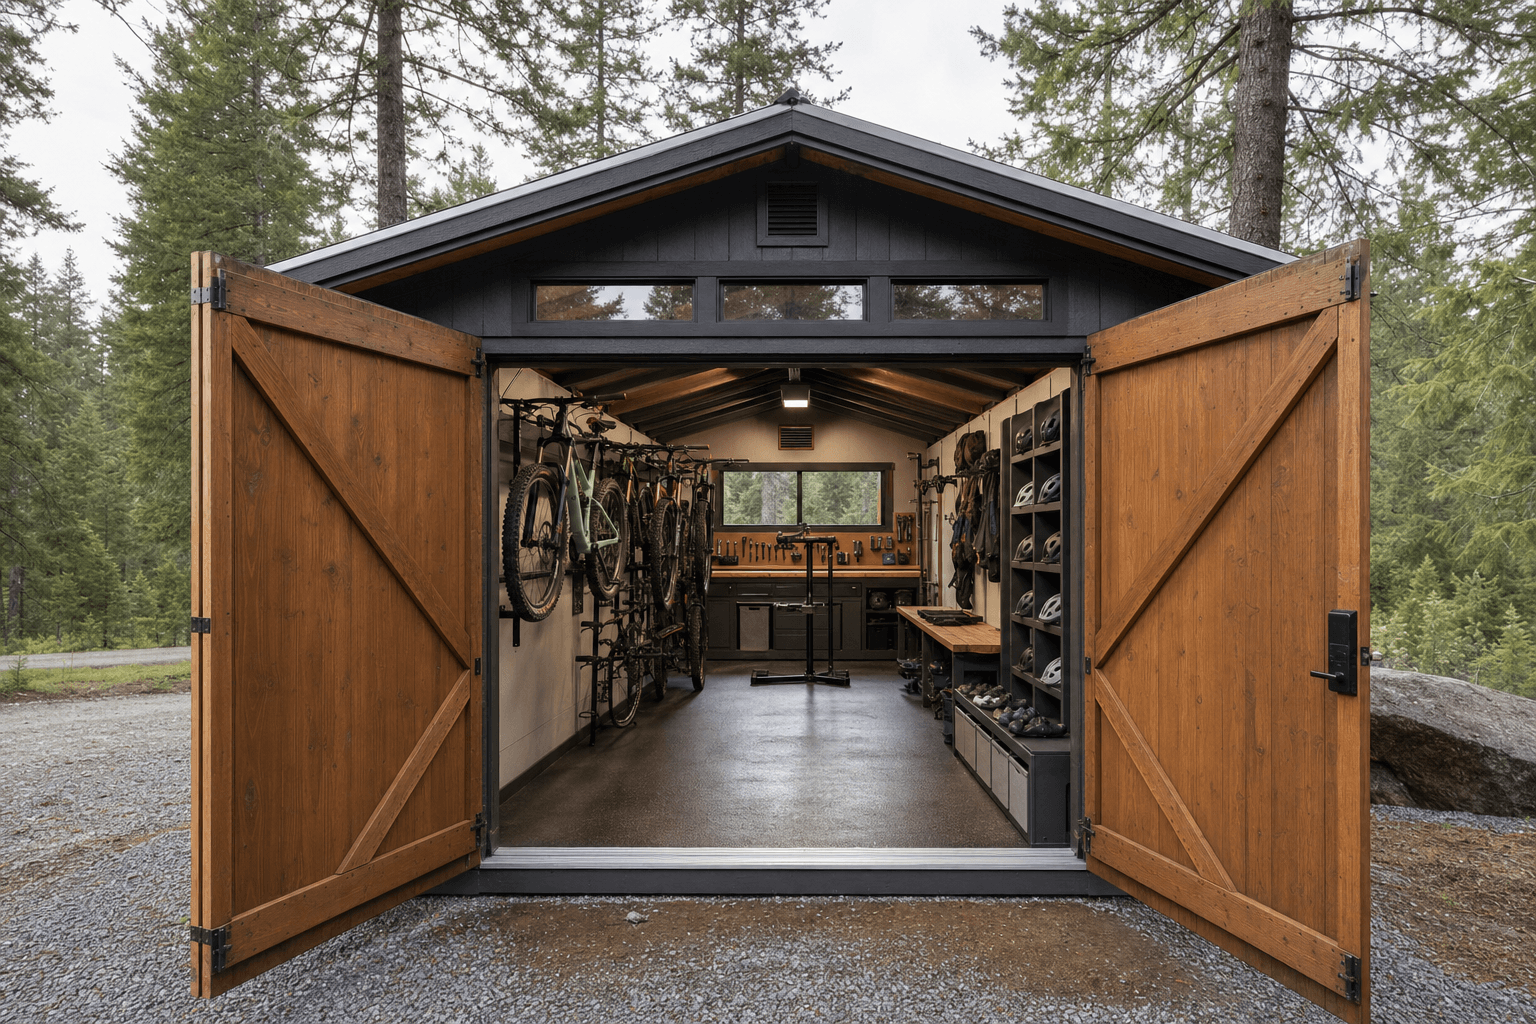
The workflow view shows how bike racks, a repair stand, bench space, and gear hooks can keep muddy trail gear organized without blocking the aisle.
A small repair station does not need to turn the shed into a full bike shop. A compact workbench, a clean tool wall, and a fold-out or freestanding repair stand are often enough. The important part is keeping that area close to the bikes but out of the main aisle. If you tune brakes, swap tires, or wash mud off drivetrains after work, the layout should let you open the doors, roll the bike in, clamp it, and still move around the stand.
Helmet, shoe, glove, and pack storage should be visible and easy to reset. Shelves above the bench work well for helmets. Low cubbies or a slatted shoe zone help wet soles dry without trapping grit. Hooks for packs and jackets keep straps from tangling with handlebars. If the shed is also handling muddy shoulder-season rides, ventilation becomes part of the design rather than an afterthought. Passive vents, operable windows, and future-ready electrical planning can help move air without promising climate control the building has not been designed to deliver.
A clean threshold, stable floor surface, and mud-friendly entry path help protect the shed from grit and repeated wet gear traffic.
High-value bikes, lights, computers, tools, and helmets can be grouped so security planning is simple instead of scattered.
Windows and vents can make the shed easier to use while helping wet gear dry between rides.
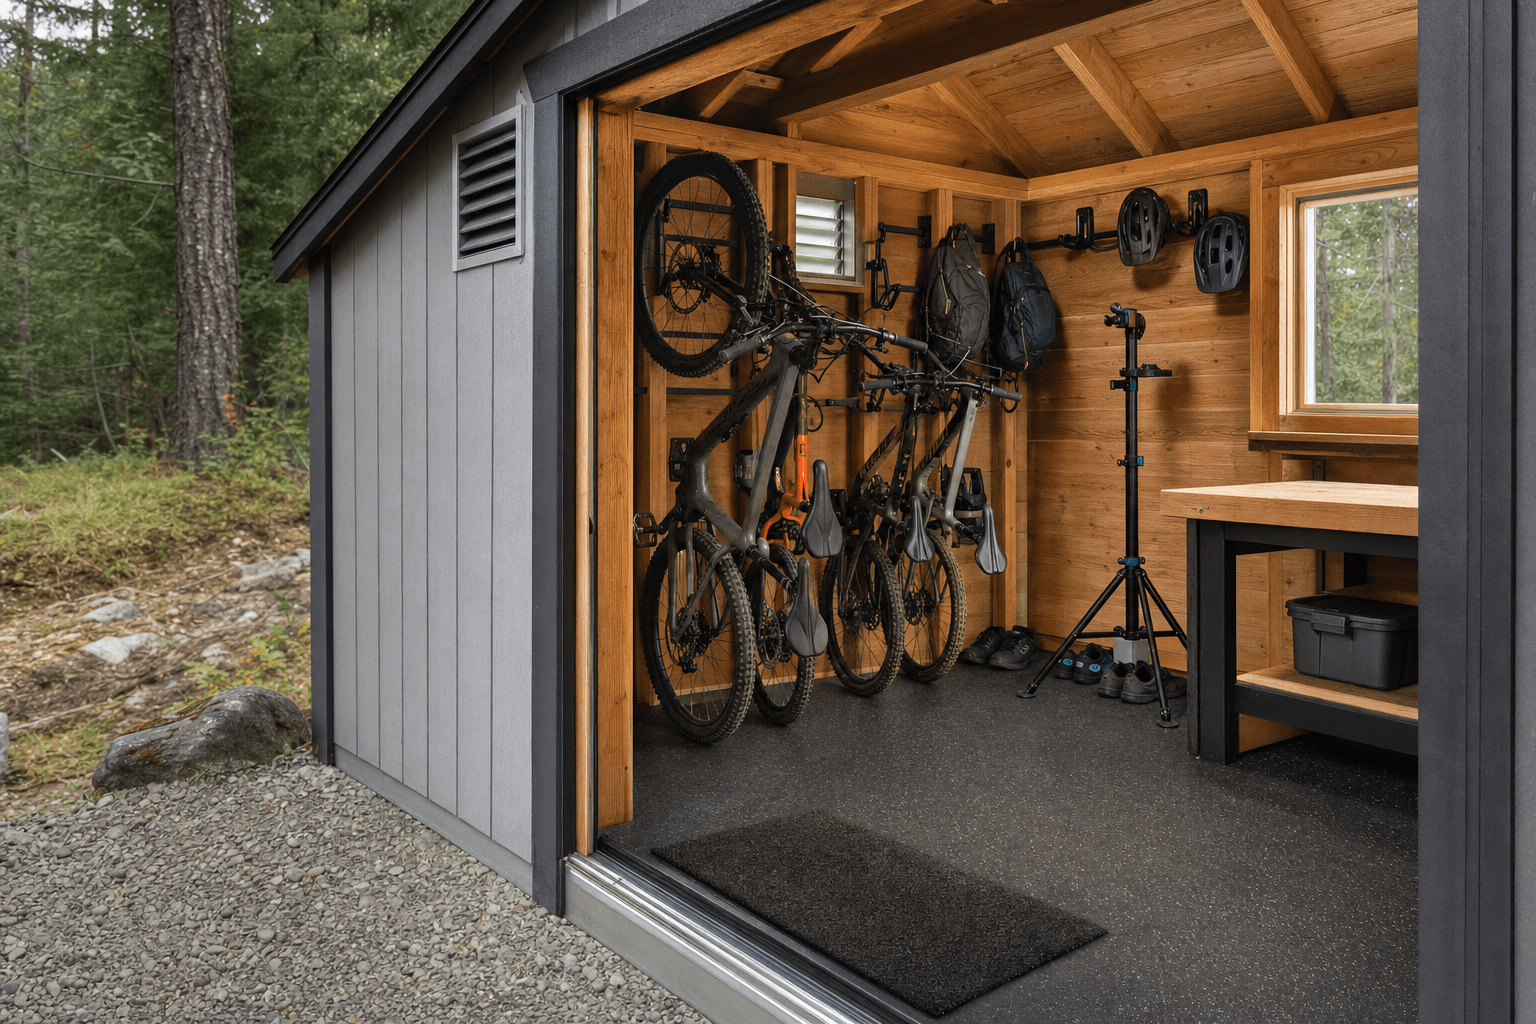
Detail planning matters around the threshold, floor surface, rack spacing, repair workflow, and drying spots for shoes, helmets, packs, and muddy gear.
Trail use here changes with the season. Spring rides bring mud and sand. Summer rides bring dust, heat, and more frequent maintenance. Fall rides often mean wet leaves, cooler air, and gear that needs to dry before the next morning. A good mountain bike shed handles those changes with a practical shell: a roofline that sheds weather, enough overhang at the entry, a gravel pad that drains, and interior storage that does not collapse into a pile after the first busy weekend.
Size should follow the number of bikes and the repair routine. An 8x12 can work for a few bikes and a compact bench when the wall plan is disciplined. A 10x16 or 12x16 gives more breathing room for families, spare wheels, seasonal tires, or a stand that stays set up. If you want the shed to double as general outdoor gear storage, start larger rather than forcing packs, tools, and bikes into the same aisle.
Plan the shed shell around wet shoulder seasons, snow load conversations, freeze-thaw cycles, and the access path you will use when the weather is not clean.
Use entry mats, shoe zones, and airflow so wet trail gear has a place to dry before it touches finished spaces.
Think through snow shedding, door swing, and the path from driveway to shed before choosing the final location.
Place the shed for convenient use while limiting casual visibility of bikes, tools, and accessories.
For a few bikes and a compact bench, an 8x12 or 10x12 can work when wall racks are planned carefully. Families, spare wheels, and a repair stand that stays set up usually benefit from 10x16, 12x16, or larger.
Vertical wall racks save floor space and can work well for mountain bikes when the wall backing, tire width, and handlebar clearance are planned. Floor stands are easier to use but consume more aisle space.
Yes. The key is leaving open floor around the stand and keeping the bench close enough for tools without blocking the doors. We plan that workflow before deciding the final footprint.
Plan a dedicated gear reset zone with hooks, shelves, shoe cubbies, and a durable entry surface. Ventilation and an easy-to-clean floor matter more than decorative storage in wet trail season.
Start with solid doors, quality hardware, and smart shed placement. Interior anchor points, lighting, and keeping bikes away from easy street visibility can add useful layers without turning the shed into a vault.
Ventilation is strongly worth planning when wet shoes, packs, pads, and bikes are stored inside. Passive vents, operable windows, and smart layout help reduce trapped moisture, though they do not replace a designed conditioned space.
Tell us how many bikes you store, how you maintain them, and where the shed should sit. We will help shape the footprint, doors, racks, and trail-season workflow.
Every shed we make is built on site in North Idaho. Explore other uses we build for.
