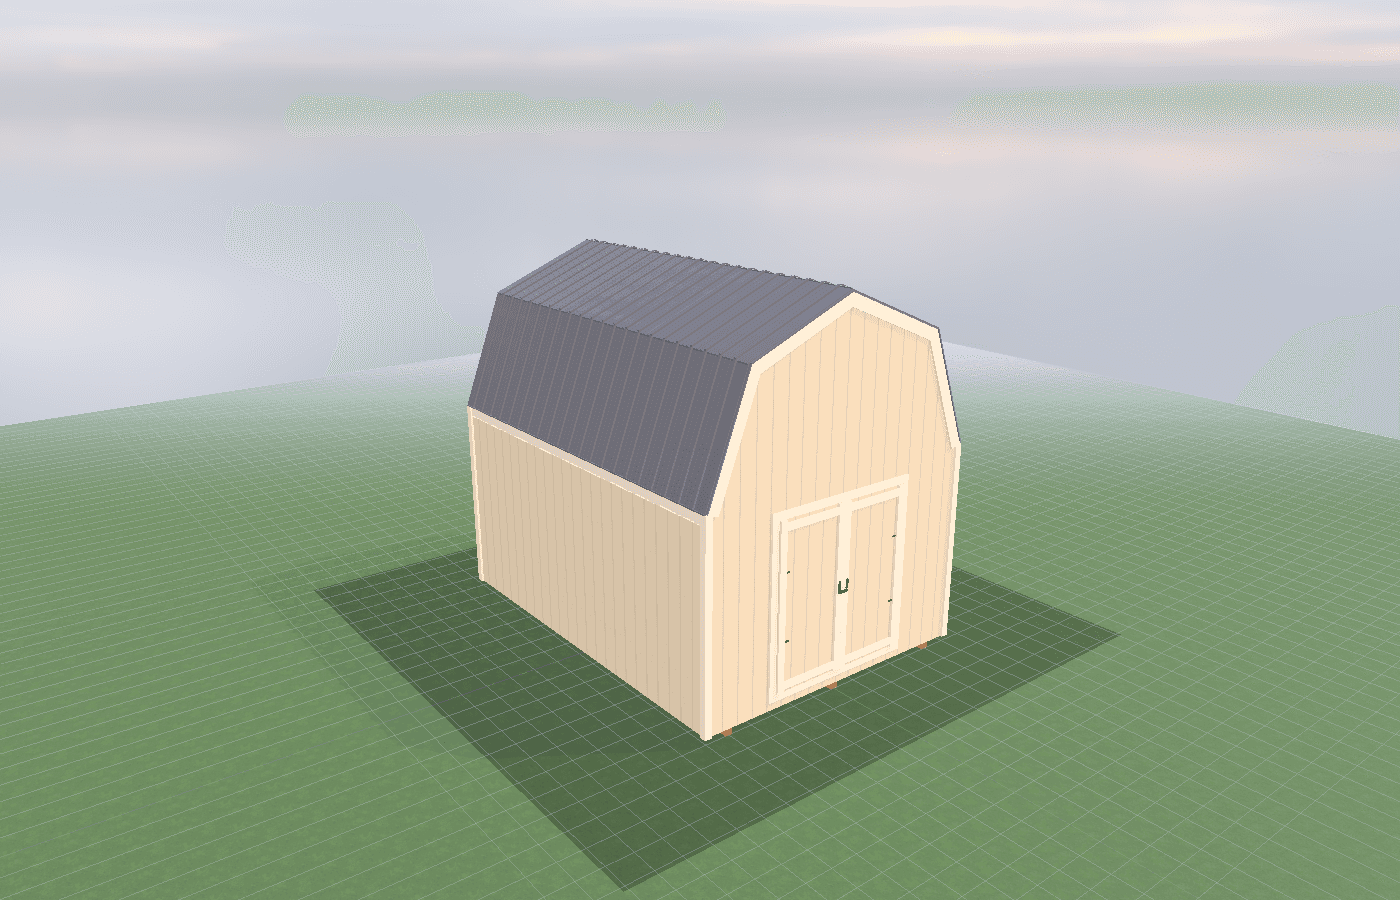
Mud season entry systems: lockers, benches, and drip zones
A good mud-season entry system is less about decor and more about traffic control. In North Idaho, the sheds that stay useful through thaw, rain, and slush are the ones that give boots, coats, dogs, packs, and dripping gear a clear landing pattern before the mess spreads any farther.
Mud Season Entry Systems in North Idaho
Spring in North Idaho can be harder on an entry space than winter. Snow season is messy, but mud season is relentless. Boots come in coated, dogs shake at the threshold, rain gear never fully dries, and every load of yard, lake, or trail gear seems to leave another stripe across the floor. That is why a real gear drying shed should be planned like a transition system instead of a generic storage room.
The room needs to do three jobs well. First, it has to stop grit, meltwater, and mud from spreading into the house or shop. Second, it has to give wet items a place to pause long enough to sort, drain, and dry. Third, it has to stay easy to reset after a hard week of shoulder-season weather. If any one of those jobs is missing, the whole room starts acting like an expensive coat pile.
North Idaho properties also create different kinds of mud. Some homes are dealing with gravel drives and snowmelt runoff. Others are dealing with rural acreage, dog yards, side-by-sides, fishing access, or spring construction work. A useful entry system near Athol often needs to handle all of those patterns in one modest footprint. That is why the best rooms are organized by movement: where the dirty gear arrives, where people sit or swap shoes, where items hang to dry, and where the cleaner storage begins.
This guide also works best alongside the rest of the moisture-control plan. If the room still needs a true drying strategy, read designing a gear-drying room: airflow, heat, and dehumidification. If you are choosing finishes next, pair it with best wall and floor finishes for wet, dirty gear. Entry systems are not separate from the room performance. They are the front edge of it.
What size gear drying shed gives you enough usable room?
An 8x10 is often the smallest size that can still behave like a true mud-season room. It is enough for one bench, one locker or hook wall, and one drip lane near the door if the layout stays disciplined. In this footprint, every inch has to support a real behavior: sitting, hanging, draining, or walking through without stepping on gear.
An 8x12 is a better starting point for many households because it gives more distance between the threshold mess and the drier side of the room. That extra length is often what makes it possible to have a boot zone, a bench, and a vertical storage wall without the whole room feeling like one damp strip of floor.
A 10x12 works better when more than one adult, several kids, or multiple activity types use the same room. If the shed has to handle ski gear one week, muddy dog towels the next, and wet hunting or lake gear after that, the additional width and depth help the room stay organized instead of collapsing into one all-purpose pile.
The right size is the one that still works at the busiest moment of the week. If everyone can come in, sit, swap footwear, hang the wettest items, and leave a path clear, the room is sized honestly. If the floor becomes the default storage zone, it is not.
Best layouts and features for gear drying sheds
The best entry systems begin with a real drip zone at the door. That means an area where the dirtiest boots, shoes, dog paws, and dripping outer layers can stop first. Mats help, but mats alone are not a system. The room should make it obvious where the wettest gear belongs and keep that gear from bleeding into the rest of the space.
Benches matter because they slow the chaos down. A room with no place to sit forces people to balance, pile gear, or step deeper into the room before they are ready. Even a compact bench creates a pause point where muddy footwear comes off before the clean side gets ruined.
Lockers and cubbies work best when they are open enough to dry but defined enough to prevent mix-ups. Families do not need fancy millwork as much as they need predictable vertical zones: one for coats, one for boots, one for helmets or hats, one for gloves, one for dog gear, and one for overflow. The more obvious the assignment, the less likely items get dumped wherever there is an empty hook.
Overhead racks, slatted shelves, and hook spacing matter too. Wet gear should not be crushed together. Air needs to move around it, and the room should be easy to wipe down after the worst days. That is one reason the entry sequence should always connect back to the drying system. If the wettest items stop at the door but never truly dry, the room still fails. A planning pass through designing a gear-drying room: airflow, heat, and dehumidification usually helps owners decide how much airflow and heat support the entry system really needs.
The most successful rooms also include a small amount of deliberate overflow space. Mud season never stays tidy. There needs to be one place for the unexpected tote, muddy bucket, dog crate, or wet bag that shows up without wrecking the main circulation line.
It also helps to distinguish between "drop" storage and "live" storage. Drop storage is temporary and messy by nature: boots drying out, coats waiting for a wipe-down, a dog leash that is still muddy. Live storage is the equipment that belongs there full time. When a room fails to separate those categories, the temporary mess slowly takes over the permanent systems.
Cost, timing, and build-planning factors
Entry-system sheds usually cost more than simple storage rooms because the value is in the details. Bench depth, wall durability, floor resilience, airflow support, door placement, and the relationship to the outside path all matter. Those are not glamorous upgrades, but they are the difference between a room that feels under control and one that is just a nicer mess.
Build timing matters too. Mud season exposes weaknesses quickly, so owners often discover the need for this kind of room after a wet spring. But the room performs best when the pad, entry path, and drainage are planned before the wettest season begins. If the approach puddles, the threshold holds snowmelt, or the walkway remains soft and rutted, even a smart interior layout will work harder than it should.
Permit and site review should happen early. Kootenai County's building division notes that permit needs depend on use, square footage, and site conditions, and that site disturbance can trigger its own review. Even if the shed is modest, setbacks, drainage, and utility routing still affect where it belongs. That is why it usually makes sense to get a free estimate before finalizing the footprint. The room works better when the outside approach and inside landing zones are planned together.
Another cost driver is how much the room is expected to be a true mudroom versus a broader family gear room. The more the room needs to combine entry, drying, storage, and overflow utility, the more valuable the next size up becomes.
Popular sizes and layouts for gear drying sheds
An 8x10 works best when the room serves one or two adults and the routine is straightforward: boots, coats, bags, and a modest amount of seasonal gear. It can work very well if the bench wall and the drip zone are clearly defined.
An 8x12 is often the strongest all-around choice because it lets the messy front edge and the calmer back edge coexist without constant friction. Many homeowners find this is the size where the room starts to feel dependable every day instead of merely workable.
A 10x12 is ideal for more family use, multi-sport overlap, or a room that has to absorb dog gear, utility clutter, and recurring wet-weather traffic without breaking down. It gives the entry system more tolerance, which matters more than people expect.
The best layout is the one that preserves the walking path, keeps wet gear near the real drying zone, and makes cleanup automatic. If the room helps people do the right thing when they are tired, muddy, and in a hurry, it is doing its job.
That kind of ease is what turns a shed into a real habit change. When the room absorbs the mess quickly, the rest of the property stays cleaner with far less effort.
Frequently asked questions about mud season entry systems
What size gear drying shed works best for mud season entry systems: lockers, benches, and drip zones?
For many North Idaho buyers, 8x10 and 8x12 are the best starting sizes because they balance usable floor space with realistic placement on the property. We then size up or down based on snow load, storage volume, and how much dedicated work or seating area you need. Compare 8x10 and see 8x12.
What layout maximizes usable space in a gear drying shed shed?
Start with your largest item and build the layout around it. Wall-mounted storage, overhead racks, and French cleat systems make the most of vertical space. Get a free estimate.
Frequently asked questions
What size gear drying shed works best for mud season entry systems: lockers, benches, and drip zones?
For many North Idaho buyers, 8x10 and 8x12 are the best starting sizes because they balance usable floor space with realistic placement on the property. We then size up or down based on snow load, storage volume, and how much dedicated work or seating area you need. Compare 8x10 and see 8x12.
What layout maximizes usable space in a gear drying shed shed?
Start with your largest item and build the layout around it. Wall-mounted storage, overhead racks, and French cleat systems make the most of vertical space. Get a free estimate.
Ready to plan your build?
Tell us your site, your dimensions, and the use case. We'll come out and price it.