Staging for trailers: placement and access planning
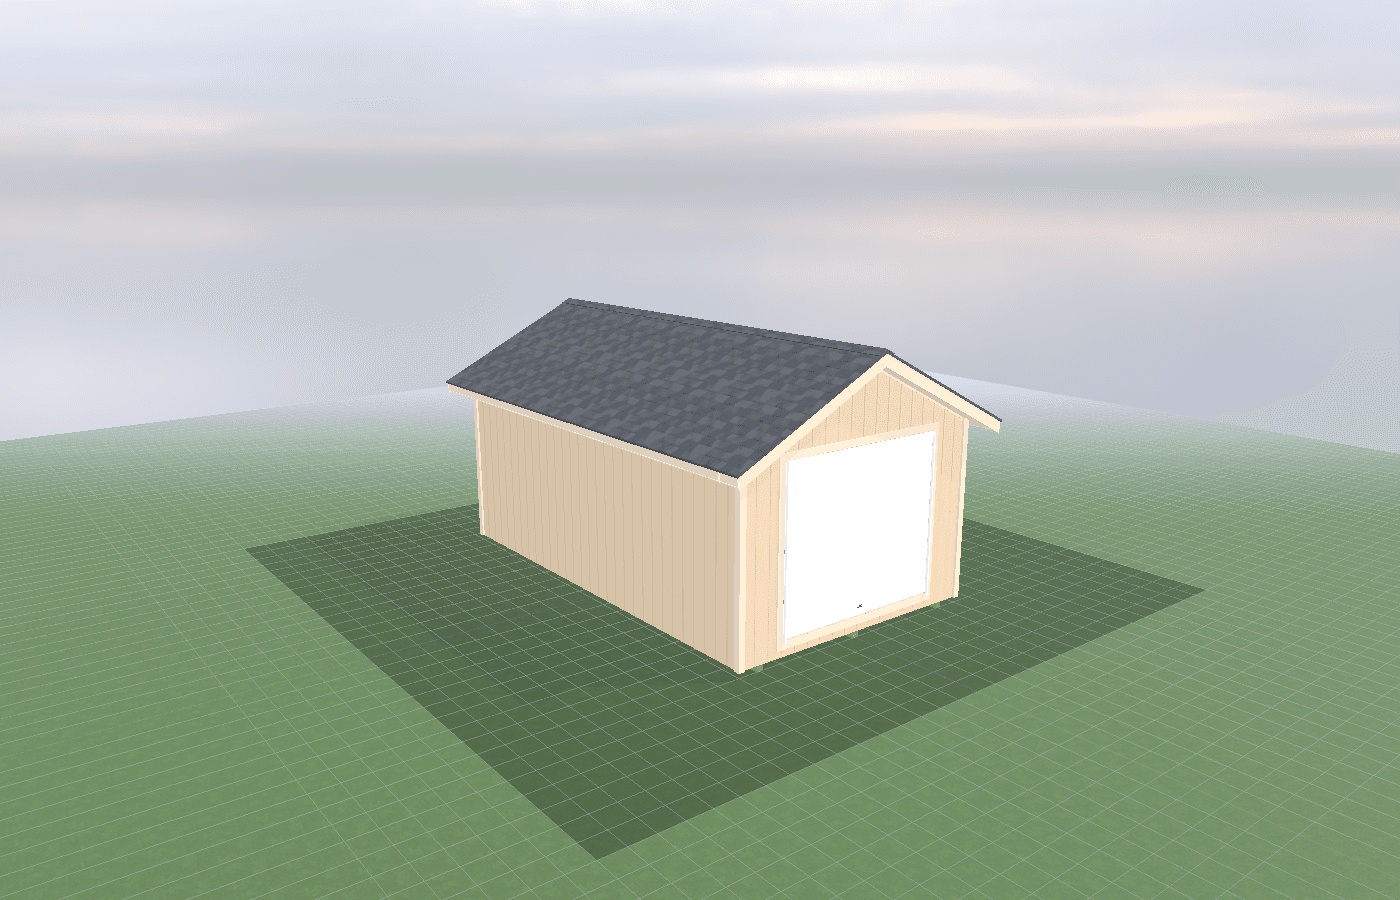
A contractor shed only solves staging problems when the shed, trailer, and driveway all work together. In North Idaho, the challenge is rarely just storage volume; it is backing space, tongue clearance, winter snow piles, and getting loaded gear on the road without wasting time. Because NIOS builds on-site, a tool-crib shed can be placed and sized around the actual trailer path, loading side, and jobsite routine instead of being dropped wherever it happens to fit.
Staging Trailers Placement in North Idaho
The biggest mistake in trailer staging is treating the shed and the trailer as separate problems. They are one system. If the trailer door ends up facing the wrong way, if the tongue jack blocks the shed swing, or if snow storage eats the turning area, the building will technically exist and still make the job harder.
A good staging plan starts outside, not inside. Before you think about shelving, sketch these five things on the property:
- The approach path your truck actually uses.
- The place where the trailer sits when loaded and ready.
- The side of the shed that needs to face the trailer for fast loading.
- The place snow gets stacked in winter.
- Any trench routes, overhead wires, setbacks, easements, or utility conflicts.
That sequence matches real planning better than starting with a floor plan. Kootenai County's site plan guidance asks applicants to show items like property lines, roads, driveways, easements, utilities, slopes, and proposed structures. That is exactly the right mindset for trailer staging. The shed should be placed where truck access, door swing, trailer alignment, and snow management can all coexist.
For many owners, a contractor tool crib shed is not only a storage room. It is a transfer point between the yard and the next job. That changes the layout. The door that faces the trailer matters more than the prettiest elevation. Exterior lighting matters because early departures and winter loading are normal. A shallow exterior apron often matters more than another decorative overhang.
North Idaho conditions make these tradeoffs sharper. Mud season can turn a short walk between trailer and shed into a mess. Snow drifts can block the wrong doorway. Rural properties may have more room, but they also have longer backing distances and softer shoulder conditions. In tighter neighborhoods around Post Falls, the issue is usually the opposite: less room to maneuver, more need for privacy, and less forgiveness if the trailer ends up parked where it bothers the street view or the neighbor.
The goal is simple: one smooth move from shed to trailer, and one smooth move from trailer back to shed, without three-point turns, blocked doors, or gear scattered in the weather.
What size contractor shed gives you enough usable room?
Trailer staging does not require an oversized building, but it does require the right depth and wall length. The size should be based on the number of jobsite categories you stage at once and whether the room also needs a bench, charging area, or secure lockup for higher-value tools.
A 10x12 is the compact answer. It works when the shed functions as a high-discipline staging room: labeled shelves, tool cases, consumables, and small equipment arranged by trade. This size works best if the trailer does the bulk of the hauling and the shed acts as the organized stock room behind it.
A 10x16 is the most flexible middle ground. It gives enough wall length to separate electrical, plumbing, framing, or landscaping kits by zone without forcing everything into one stack of shelves. It also makes it easier to keep one section near the door dedicated to next-job staging so items can be loaded directly into the trailer in order.
A 12x16 starts to feel like a true job-staging room. The extra width makes it easier to keep a center aisle open, fit deeper shelving, or add a secure cage, worktop, or battery-charging corner without giving up circulation. This is the size to consider if the shed must support active restocking and not just passive storage.
One practical rule: if the same tools are always getting pulled out just so someone can reach other tools, the room is undersized or poorly zoned. Trailer staging depends on speed. The right footprint is the one that preserves a clear loading path from shelf to doorway to trailer.
Best layouts and features for contractor sheds
The best staging layouts group gear by how it leaves the property. That means organizing by crew, trade, or task rather than by random shelf availability. If one shelf holds PPE, fasteners, extension cords, and tile spacers simply because there was room, the room is not staged. It is stacked.
A reliable staging layout usually follows this order:
- Put the most frequently loaded gear closest to the trailer-facing door.
- Reserve one wall for labeled shelving by trade or job type.
- Keep heavier items lower and near the shortest path to the exit.
- Separate daily-load items from back-stock items.
- Keep battery charging and higher-value tools in a secure, visible zone.
That is why shelving systems for contractors: how to zone by trade is a natural companion to this guide. Shelving strategy drives trailer speed. Likewise, tool crib security: doors, locks, lighting, and visibility matters because trailer staging often happens when it is dark, early, or rushed. Good visibility and deliberate lock placement keep the room usable without advertising valuable gear.
Door placement matters more than many owners expect. If the trailer parks parallel to the building, the main door should usually be on that loading side, not on the opposite face that looks best from the driveway. If the trailer backs straight toward the shed, a centered or slightly offset door may work better. The building should be arranged so the loading move is short, direct, and repeatable.
A few layout features pay off quickly:
- exterior lighting at the trailer side
- a firm apron or pad at the loading door
- labeled shelf zones instead of generic open shelving
- enough headroom and wall length to keep long tools out of the aisle
- a snow-storage plan that does not block the loading side in winter
The hidden feature is empty space. Every good staging room needs at least one short-term holding zone near the door where tomorrow's load can be built without disassembling the rest of the room. Without that space, the trailer gets packed from all corners of the shed and the efficiency gain disappears.
Cost, timing, and build-planning factors
Trailer staging costs are usually driven more by site work and access than by fancy interior finishes. Gravel, grading, apron work, lighting, trenching, and door placement often matter more than cabinetry. That is useful because it helps set priorities: first make the approach and loading path work, then refine the room.
In practical terms, plan these items early:
- truck and trailer turning path
- shed orientation relative to the trailer parking spot
- drainage and snow-plow pattern
- lighting and electrical needs
- trench routes for power, with an 811 call before digging
- local setback or site-plan review requirements
Kootenai County building review and site-plan requirements, plus Idaho DOPL permitting for new electrical work, are exactly why placement decisions should be handled before the shell is committed. If the shed needs exterior lighting, battery charging, or a powered security setup, settle that wiring plan before the pad and access pattern are finalized.
Timing matters too. Many owners realize they need better staging after a busy season, then try to fix it in the middle of winter or during peak work months. The better move is to design the room when you can still observe the trailer path, the snow-storage area, and the loading side under ordinary conditions.
If the property is tight or the trailer arrangement is awkward, a quick sketch and free estimate usually saves more money than guessing wrong and living with a clumsy loading pattern for years.
Popular sizes and layouts for contractor sheds
A 10x12 works best as a compact staging room for organized crews that use the trailer as the main rolling inventory and need the shed for high-turnover stock, consumables, and secure backup storage.
A 10x16 is the strongest all-around choice for many contractors because it adds real wall length for trade zones without demanding a large footprint on the property. If you want a clear next-job staging area plus deeper shelving, this is often the sweet spot.
A 12x16 is the upgrade for owners who want a true tool-crib feel with a loading zone, secure storage, and room for active restocking. It is especially useful when the shed also needs a charging area, paperwork shelf, or worktop.
Across all three sizes, the best layout usually puts the loading side closest to the trailer, the back-stock farther from the door, and the highest-value items where lighting and sightlines are best. Trailer staging succeeds when the building reduces steps, reduces searching, and reduces bad weather exposure.
Frequently asked questions about staging trailers placement
What size contractor shed works best for staging for trailers: placement and access planning?
For many North Idaho buyers, 10x12 and 10x16 are the best starting sizes because they balance usable floor space with realistic placement on the property. We then size up or down based on snow load, storage volume, and how much dedicated work or seating area you need. Compare 10x12 and see 10x16.
How do I choose the best placement for a contractor tool crib shed on my lot?
Consider setbacks, sun exposure, access paths, and neighbor sightlines. In North Idaho, also account for snow drift patterns and prevailing wind direction. Check county permits.
Frequently asked questions
What size contractor shed works best for staging for trailers: placement and access planning?
For many North Idaho buyers, 10x12 and 10x16 are the best starting sizes because they balance usable floor space with realistic placement on the property. We then size up or down based on snow load, storage volume, and how much dedicated work or seating area you need. Compare 10x12 and see 10x16.
How do I choose the best placement for a contractor tool crib shed on my lot?
Consider setbacks, sun exposure, access paths, and neighbor sightlines. In North Idaho, also account for snow drift patterns and prevailing wind direction. Check county permits.
Ready to plan your build?
Tell us your site, your dimensions, and the use case. We'll come out and price it.