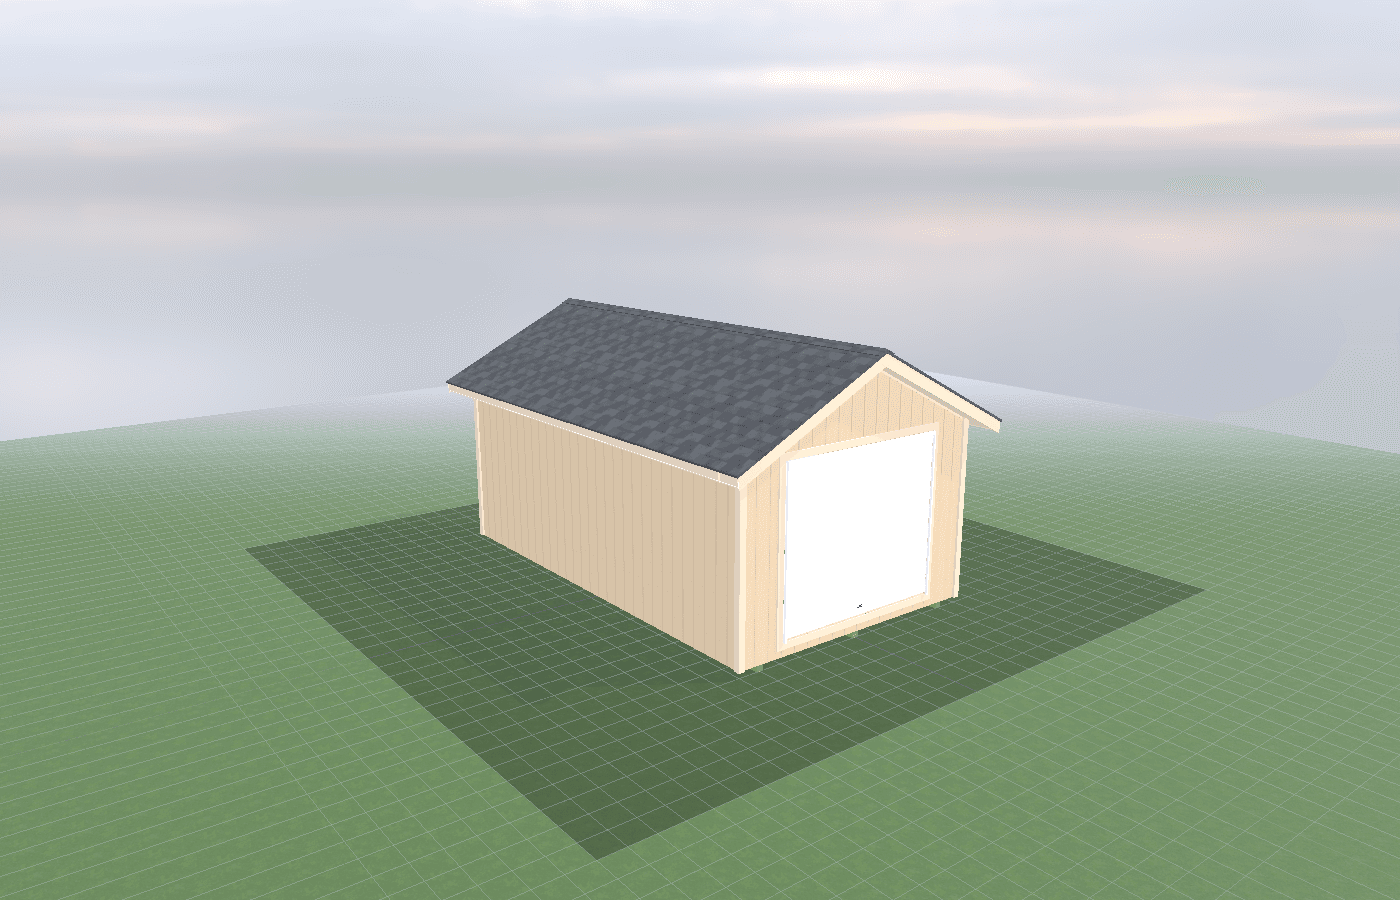
Boat winterization checklist: building a shed that makes it easier
A good boat winterization setup is less about square footage alone and more about having the right sequence: clean-down, drain-down, battery care, cover drying, and organized storage before the first hard freeze. In North Idaho, that sequence happens faster than many owners expect, especially around lake properties where damp gear, cold nights, and shoulder-season weather pile up at the same time. Because NIOS builds on-site, a boat gear shed can be laid out around your trailer lane, bench space, cover storage, and real winter workflow instead of forcing all of that into a generic delivered shell.
Boat Winterization Checklist in North Idaho
Boat winterization goes smoother when the shed is set up as a work zone instead of just a place to pile life jackets and dock lines. Around North Idaho, the real challenge is not remembering that winter is coming. It is having a clean, dry place to work before freezing nights, wet fall leaves, and shorter daylight turn a simple checklist into a cold driveway project. A purpose-built boat gear shed gives you one place to clean, inspect, drain, charge, label, and store everything before the weather closes in.
Discover Boating's current winterization guidance is a good reminder that the details change by engine type. Outboards, stern drives, and inboards do not all winterize the same way. Their guide notes that outboards, stern drives, and inboards have different drain and antifreeze needs, and it specifically points owners back to the engine manual before guessing. That is the right mindset for this page too. The shed should support the process, but the engine maker's procedure still wins.
Use this North Idaho checklist before your first real freeze:
- Start with the engine manual and service supplies. Gather the correct oil, lower-unit or gearcase lubricant, filters, fogging oil if your engine requires it, fuel stabilizer, drain plugs, and labeled bins before you start.
- Unload everything that can trap moisture. Pull life jackets, ropes, dock bumpers, canvas, towables, and soft gear out of the boat. Muddy or damp equipment should go straight to a drying zone instead of into sealed totes.
- Handle fuel and fluids while the boat is still warm enough to work on comfortably. Discover Boating's winterization guide points owners toward fuel treatment and fresh lubricants before storage, and that timing is easier when you have a bench and good light.
- Drain or antifreeze the water systems the right way for your setup. Stern drives and inboards need special attention to trapped water. That is one of the biggest reasons to avoid doing this in a rushed, dark driveway session.
- Test batteries and set up off-season charging. A shed with protected outlets, shelving, and a labeled charging shelf keeps batteries off cold concrete and keeps chargers from getting buried under other gear.
- Dry covers and soft goods completely before storage. If canvas, ropes, or seat cushions go away damp, you start spring with mildew instead of a head start.
- Store by spring-launch order, not by whatever fits. Safety gear, lines, fenders, spare parts, and tools should be arranged so spring recommissioning is a pull-out process, not a treasure hunt.
This is where on-site construction helps. On a lake-access lot near Bayview, the right location may be a narrow side yard, a pull-through lane by the driveway, or a back work area that would be awkward for a prefab delivery. NIOS can build the shed where the winterization workflow actually happens instead of where transport limits force it.
If humidity is always part of your off-season headache, pair this guide with humidity control for lake gear, dehumidifiers, vents, and storage. If your real problem is awkward long gear, poles, paddles, and trailer accessories taking over the walls, long-item storage for rods, paddles, skis, and covers is the better companion read.
What size boat gear shed do you need?
For many owners, the right size comes down to whether the shed is only storing marine gear or also supporting real fall service work. A pure storage room can be narrower and more shelf-heavy. A winterization room needs better aisle space, a bench, room for bins to stay open during work, and enough wall length for awkward items that do not store well in a square room.
A 10x20 works when the goal is one honest workbench wall, one long-gear wall, and one open aisle for moving around coolers, covers, batteries, and service tubs. It is a strong starting point for owners who want a true checklist shed without trying to park large equipment inside.
A 12x20 is usually the better all-around choice when the shed has to do two jobs at once: maintenance support and organized off-season storage. The extra width matters more than people expect because a winterization bench gets crowded fast once oil, chargers, drain pans, spare filters, and labeled bins all show up on the same day.
A 12x24 becomes the practical answer when the owner wants separate wet and dry zones. That might mean one end for draining and service, a middle aisle for cart movement, and a cleaner wall for batteries, electronics, lines, and spring-launch boxes. It also makes life easier if the property stores boating gear plus paddles, skis, towables, or other long pieces that need open wall length.
The useful test is simple: can you unload the boat, open the bins, dry the cover, and service the engine items without constantly moving something out of the way? If not, the shed is undersized for the real checklist, even if the floor area sounds generous on paper.
Best layouts and features for boat gear sheds
The best boat winterization shed layouts are built around sequence. If the room makes you backtrack from dirty gear to clean storage and then back to the bench again, it will feel cramped and sloppy no matter how nice the finishes are.
A practical layout usually includes these zones:
- Drop zone by the main door. This is where wet ropes, vests, dock lines, and coolers land first. Rubber matting, easy-clean wall finishes, and a boot tray help keep lake grime from traveling deeper into the room.
- Drying wall or hanging rail. Boat covers, life jackets, and towels need moving air and space between them. Ceiling rails, wall hooks, or retractable lines work better than stuffing them into totes right away.
- Bench and service zone. Give yourself one hard-use work surface with outlets, task lighting, shelving for fluids, and enough room for checklists and manuals. This is where oil changes, battery work, and fall inspection make the most sense.
- Long-item wall. Paddles, transom savers, support poles, wash brushes, and trailer accessories need a full-length wall, not random corners.
- Labeled spring-launch storage. Use shelves or cabinets for drain plugs, safety gear, registration paperwork, spare bulbs, fenders, straps, and fasteners so you are not rebuilding the system every March.
Features that usually pay off are wider double doors, better exterior lighting for short fall afternoons, dedicated charging outlets, a dehumidifier circuit, and one clean aisle that stays open year-round. If the property uses the shed heavily in wet weather, a modest hose bib or utility sink may help, but any plumbing should be planned with Idaho trade permits and local wastewater rules in mind rather than treated like a casual add-on.
Avoid these common mistakes:
- Treating cover storage like dry storage. Canvas and soft gear need air movement first.
- Planning only shelf depth and forgetting aisle width.
- Putting the bench at the dark end of the building with no exterior access.
- Mixing fuel, cleaners, chargers, and soft goods into one undifferentiated wall.
- Choosing a prefab footprint that fits delivery instead of the trailer lane and work sequence.
Cost, timing, and build-planning factors
Cost moves fastest when the building shifts from simple storage to true service support. The biggest jumps usually come from added width, electrical work, insulation, upgraded doors, concrete or slab work, and site prep that creates a clean trailer-friendly approach.
Timing matters just as much. Kootenai County's building page currently says residential storage buildings over 200 square feet fall under the county building-division permit path in county jurisdiction, and the same page points plumbing, electrical, and septic questions to state inspectors and Panhandle Health. Idaho DOPL's current electrical FAQ also says a permit is required when electrical, plumbing, or HVAC work is performed. In plain terms, a simple dry shed and a powered winterization workspace do not move through planning the same way.
North Idaho weather changes the schedule too. Fall is the sweet spot for many of these projects because owners want the building ready before the freeze-and-drain season. Wait too long and you are trying to pour concrete, trench power, or frame around muddy access and cold-weather setbacks. On-site construction is useful here because the shed can be built to the property and workflow without the extra complication of figuring out how a large delivered structure reaches the lot in late-season conditions.
Budget honestly for the items that actually save time every year: the right door width, good bench lighting, battery outlets, cover-drying hardware, and a floor plan that keeps dirty and clean tasks apart. Those are the features that make the checklist easier instead of just more expensive. If you want to pin the design to your actual boat routine and property access, start with a free estimate.
Popular sizes and layouts for boat gear sheds
The most common North Idaho boat-gear layouts in this category are long rectangles, not square rooms. That shape gives you the wall length and aisle order a winterization checklist needs.
A 10x20 is the compact workhorse. It fits one serious bench wall, one long-storage wall, and a central aisle if the owner stays disciplined about bins and soft goods.
A 12x20 is the most balanced choice for many lake users because it gives enough width to dry gear, charge batteries, and work comfortably without turning every fall task into a shuffle.
A 12x24 is the easy answer when the shed needs more breathing room, cleaner zone separation, or enough length for larger gear loads and a stronger spring-launch organization system.
If the lot is tight but the storage needs are not, on-site construction is the real advantage. The footprint, door placement, and bench wall can be tuned to the driveway and side-yard approach instead of compromised by delivery limits.
Frequently asked questions about boat gear sheds
What size boat gear shed works best for boat winterization checklist: building a shed that makes it easier?
For many North Idaho buyers, 10x20 and 12x20 are the best starting sizes because they balance usable floor space with realistic placement on the property. We then size up or down based on snow load, storage volume, and how much dedicated work or seating area you need. Compare 10x20 and see 12x20.
What should I decide before starting a boat gear & winterization shed project?
Settle on primary use, budget range, desired size, and timeline first. Then consider site location, foundation type, and features like electrical and insulation. Start with a free estimate.
Frequently asked questions
What size boat gear shed works best for boat winterization checklist: building a shed that makes it easier?
For many North Idaho buyers, 10x20 and 12x20 are the best starting sizes because they balance usable floor space with realistic placement on the property. We then size up or down based on snow load, storage volume, and how much dedicated work or seating area you need. Compare 10x20 and see 12x20.
What should I decide before starting a boat gear & winterization shed project?
Settle on primary use, budget range, desired size, and timeline first. Then consider site location, foundation type, and features like electrical and insulation. Start with a free estimate.
Ready to plan your build?
Tell us your site, your dimensions, and the use case. We'll come out and price it.