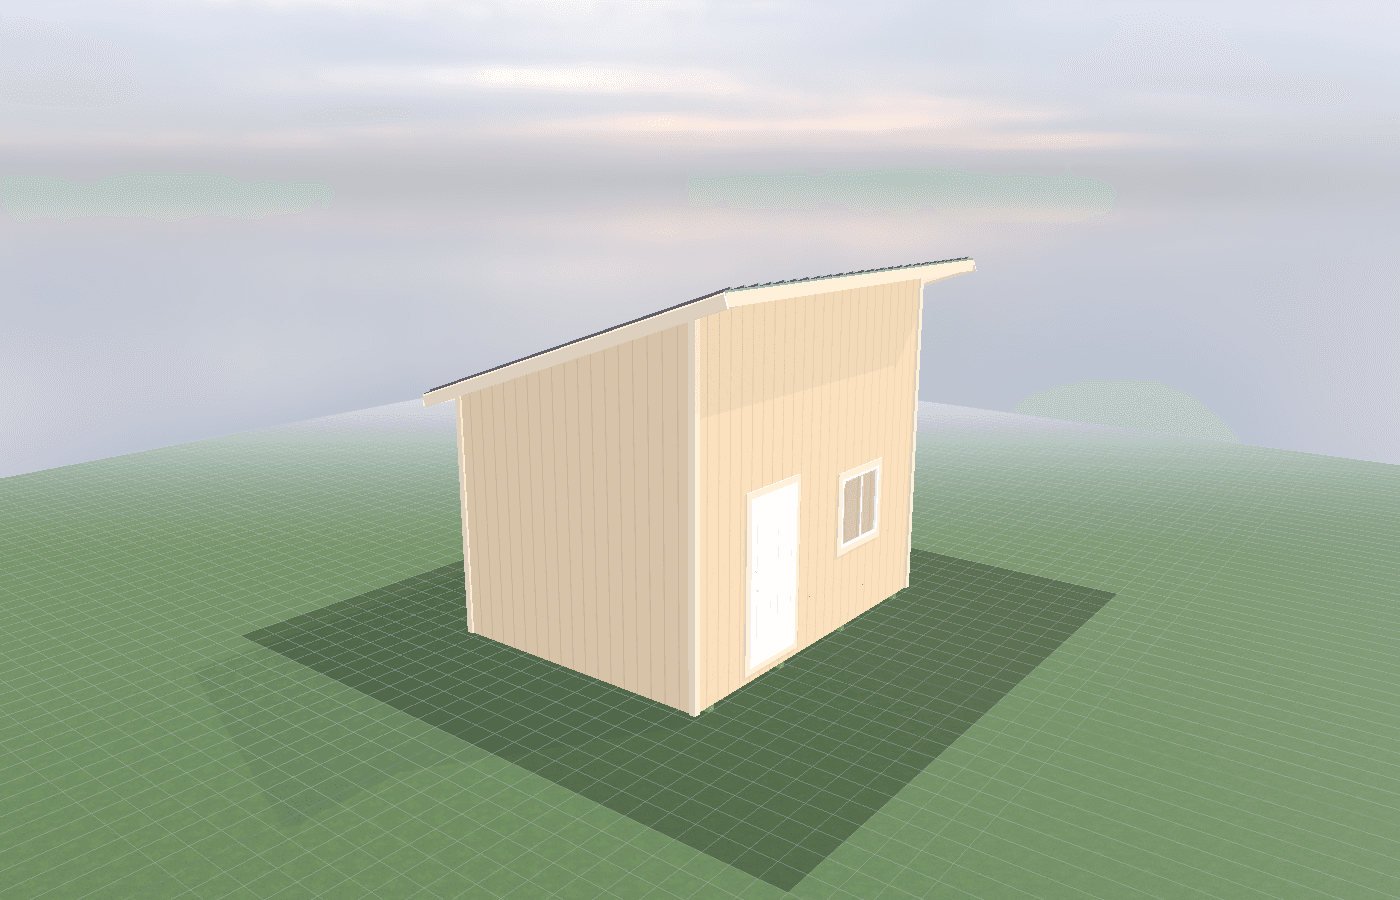
Building a contrast-therapy space: sauna + plunge + changing flow
A contrast-therapy shed works best when the sauna, plunge, changing bench, and towel reset area are treated as one sequence instead of four disconnected features. In North Idaho, that sequence also has to survive snow, wet boots, freezing walkways, humidity spikes, and the real utility constraints on your lot. On-site construction matters here because the room flow, drain locations, privacy, and weather exposure can be tuned to the actual property rather than forced into a delivered shell.
Building Contrast-Therapy Space in North Idaho
A good contrast-therapy room is really a movement problem before it is a finish problem. You are moving from heat to cold, from wet to dry, and from bare feet to winter ground conditions if the room is not planned carefully. That is why the best cold plunge shed projects start by mapping the sequence of use: enter, change, heat up, cool down, towel off, reset, and leave without turning the whole building into one damp slip zone.
North Idaho adds a few realities that change the design. Snow loads commonly run in the 40-60+ psf range depending on location. Frost-depth planning around a 24-inch standard influences foundations and utility routing. Wet gear, frozen paths, and shoulder-season mud mean the transition area matters almost as much as the plunge tub itself. On a compact in-town lot near Coeur d'Alene, privacy and setbacks may drive the door and window layout. On acreage, the bigger issue is usually walking distance from the house and how the room behaves during wind, snow, and dark winter evenings.
Contrast therapy also creates two moisture events instead of one. The sauna raises temperature and humidity in one direction. The plunge introduces splash, dripping clothing, wet floors, and cold surfaces that can collect condensation in another direction. If those loads are mixed into one open room without a plan, the space starts to feel clammy instead of restorative. That is why it helps to review cold plunge at home: water, drainage, and humidity planning together with safety and maintenance basics for cold immersion setups before you settle on the footprint.
The builder's advantage with an on-site project is that the room can be tailored to the routine. A delivered prefab might fit on the lot, but it cannot solve where the drain exits, where winter runoff goes, or which wall should stay dry enough for robes, hooks, and a bench. An on-site build lets the shell, path, utility wall, and privacy angle work together.
What size cold plunge shed do you need?
For a true contrast-therapy routine, size is less about the tub dimensions and more about how many dry moves the room supports. An 8x10 is the compact option. It can work well when the plunge is the star, the sauna is elsewhere, and you only need a narrow bench, wall hooks, and enough floor to step out safely. It is efficient on tighter lots, but the layout has to be disciplined because every inch taken by doors, utility chases, or storage comes out of the landing zone.
An 8x12 is usually the better starting point for a combined plunge-and-changing room. That extra two feet often means one end of the shed can stay meaningfully drier. You gain room for a bench deep enough to sit on while changing, a hook rail that does not drip directly over the tub zone, and a cleaner path for moving in and out without crowding the door swing. For many homeowners, this is the size where the building starts feeling like a wellness room instead of a weather enclosure around a cold tub.
A 10x10 makes sense when you want a square plan with more balanced circulation. Square rooms are often easier to divide into a wet side and a dry side without forcing everyone to sidestep around the tub. That format can also work well when the contrast routine includes a nearby sauna, deck plunge, or covered exterior connection and the shed itself is acting as the calm transition space between them.
The hidden sizing issue is always support space. You need a place for towels, sandals, a mat, perhaps a floor drain zone, and the time it takes a user to stand still without blocking the doorway. Owners routinely underestimate that support area by focusing on the plunge footprint alone. The prompt's rule of thumb about adding 25-30% for workspace and future growth is useful here because the room rarely gets simpler after first use. People add robe storage, a stool, a small heater in the changing zone, or a safer landing surface. Planning that margin up front is cheaper than wishing for it later.
Best layouts and features for cold plunge sheds
The strongest layouts separate wet and dry functions, even in a small room. That can be as simple as placing the plunge on one end, then giving the opposite end the bench, hooks, towel storage, and a small standing area. If you are pairing the room with a sauna, the cleanest flow is often heat source to plunge to recovery bench, not plunge crammed directly in front of the entrance. People need a pause point.
Floor behavior matters more than decorative finishes. A cold plunge room should assume splash, drips, and wet feet. That usually means slip-resistant flooring, planned drainage, and trim details that do not trap water. If the plunge drains or overflows into a floor drain, the drain route needs to be coordinated with frost, slope, and where water can legally and safely go on the property. If there is no permanent drain, you still need a realistic filling and dump routine that does not turn the doorway into an ice patch in January.
Ventilation and drying are just as important. EPA moisture guidance is basic but still relevant: if you do not control the moisture problem, the mold problem returns. In a contrast space, that means drying the room quickly after use instead of hoping the wood and wall paint will sort it out later. Exhaust, dehumidification, operable drying habits, and surfaces that can actually recover between sessions all matter. If the plan includes a sauna compartment, sauna manufacturer guidance from Finnleo and Harvia is also useful because it calls for real ventilation, outward-swinging doors, and layouts that do not block airflow around the heater.
Feature choices should support the routine rather than imitate a spa catalog. A sturdy bench, robe hooks in a truly dry zone, dimmable lighting, GFCI-protected electrical planning, and easy-clean wall surfaces often do more for day-to-day use than expensive decorative upgrades. For North Idaho, I would add one more practical feature: a winter-competent entry. That may be a mat well, a covered stoop, or at minimum a door layout that does not dump snow directly into the changing area every time someone comes through.
Cost, timing, and build-planning factors
The base shell is only part of the budget on this kind of guide topic. Costs move when you add waterproof detailing, plumbing or water service, electrical, drains, exhaust, dehumidification, upgraded insulation, and a more finished changing area. Exterior work matters too. A basic shed with no thought to path clearance is cheaper on paper but often disappoints in winter. If you need steps, a platform, a protected landing, or utility trenching, those are real planning items, not afterthoughts.
Permitting can matter sooner than buyers expect. Kootenai County notes that residential storage buildings over 200 square feet need a building permit in county jurisdiction, and the county distinguishes its authority from city limits. Idaho DOPL also states that permits are required when electrical, plumbing, or HVAC work is performed, including related outbuildings, and reminds permit holders to call 811 before excavation activity tied to permitted work. So even a modest wellness shed can leave the simple no-utilities category quickly if you add power, heat, lighting, or water handling.
Timing is easiest when the flow is resolved before framing begins. Drain locations, bench wall backing, line-set routes, lighting zones, and the dry-versus-wet boundary are all cheaper to solve before insulation and finish layers go in. Seasonal access is another North Idaho variable. Mud season can complicate trenching and finish work. Deep winter can make path construction or concrete work less desirable depending on the site. If the build includes a plunge system that needs water management outside the room, the exterior grading plan should be reviewed alongside the shed plan, not after the room is standing.
This is where on-site construction pays off. You can match the room to the actual utility route, the actual winter path, and the actual privacy line instead of paying to retrofit those realities around a generic structure. If you want help sorting that scope before you lock in a layout, get a free estimate.
Popular sizes and layouts for cold plunge sheds
The compact 8x10 layout works best as a plunge-plus-reset room. Think tub on one wall, narrow bench on the opposite side, hooks in the driest corner, and the door opening onto a protected landing. This setup is most successful when the sauna is somewhere else on the property or when the shed is mainly supporting plunge use and recovery seating.
The 8x12 layout is the all-around favorite because it gives you a cleaner split between wet and dry functions without asking much more from the lot. One end can hold the plunge and utility wall, while the other end stays usable for changing, robe storage, and towel management. If the room is near the house or a separate sauna building, this footprint usually feels balanced.
The 10x10 layout appeals to buyers who want a more centered room with flexible circulation. Square rooms can support a plunge on one side, a bench on the opposite side, and enough floor space for one or two people to move through the contrast sequence without constantly trading places. It is also a smart choice when the shed has to tuck into a specific site corner but still feel more composed than a narrow rectangle.
In all three cases, popularity is not just about square footage. It is about whether the layout respects the routine. The best room is the one that lets you move from heat to cold and back to dry clothes without puddles underfoot, towels hanging over the plunge, or a door that opens into the only safe standing zone.
Frequently asked questions about cold plunge sheds
What size cold plunge shed works best for building a contrast-therapy space: sauna + plunge + changing flow?
For many North Idaho buyers, 8x10 and 8x12 are the best starting sizes because they balance usable floor space with realistic placement on the property. We then size up or down based on snow load, storage volume, and how much dedicated work or seating area you need. Compare 8x10 and see 8x12.
What is the most common mistake people make when planning a cold plunge shed shed?
Underestimating space needs is the most common error. Measure your equipment and add 25-30% for workspace and future growth. In North Idaho, also factor in snow gear and seasonal storage demands. Get a free estimate.
Frequently asked questions
What size cold plunge shed works best for building a contrast-therapy space: sauna + plunge + changing flow?
For many North Idaho buyers, 8x10 and 8x12 are the best starting sizes because they balance usable floor space with realistic placement on the property. We then size up or down based on snow load, storage volume, and how much dedicated work or seating area you need. Compare 8x10 and see 8x12.
What is the most common mistake people make when planning a cold plunge shed shed?
Underestimating space needs is the most common error. Measure your equipment and add 25-30% for workspace and future growth. In North Idaho, also factor in snow gear and seasonal storage demands. Get a free estimate.
Ready to plan your build?
Tell us your site, your dimensions, and the use case. We'll come out and price it.