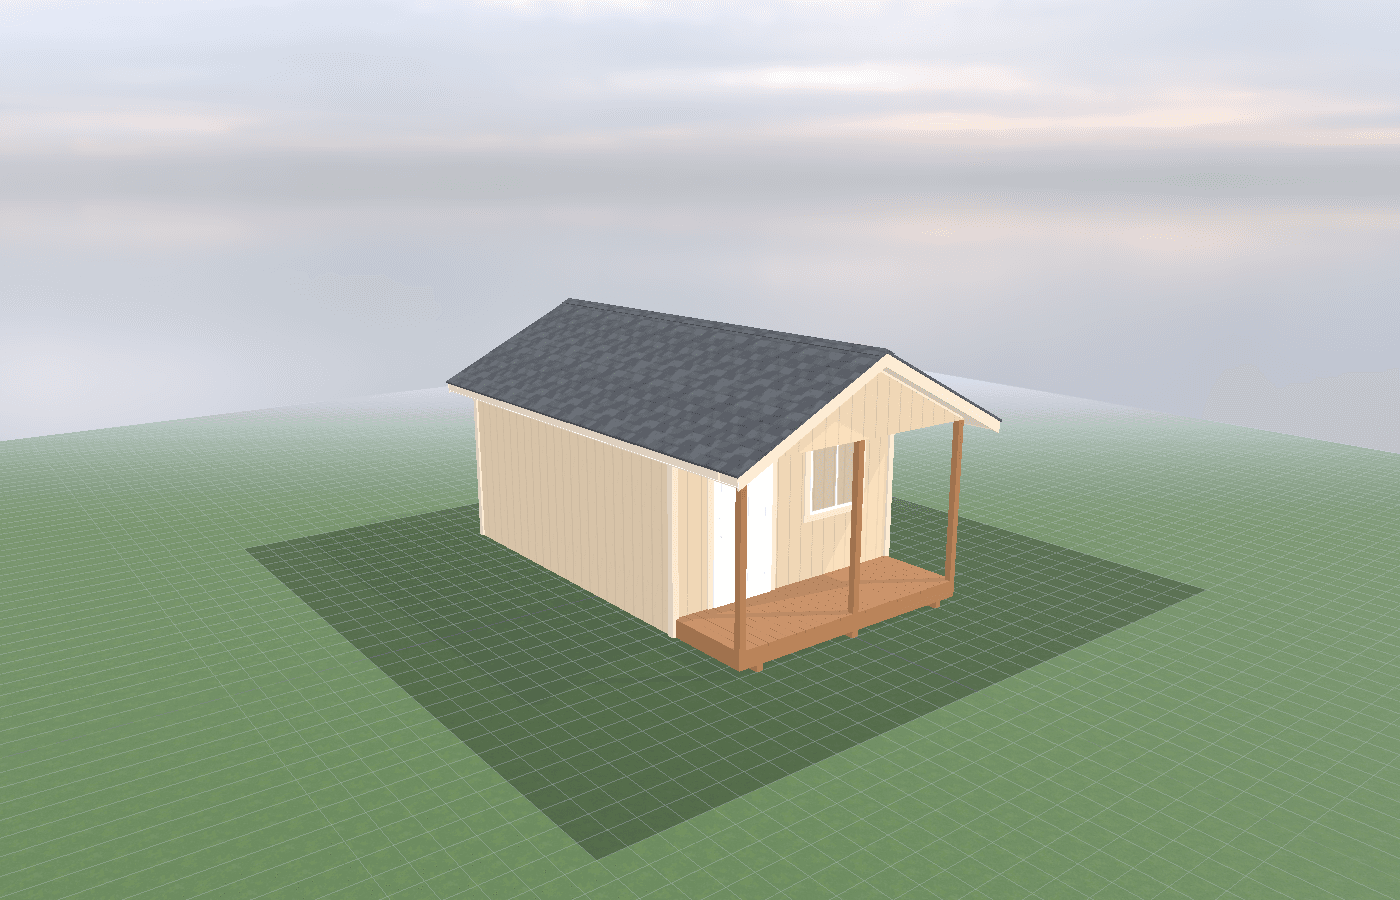
Designing a game processing shed: workflow from hang to wrap
A game processing shed works best when the room follows the order of the job instead of forcing every step onto one table. In North Idaho, that workflow also has to survive wet boots, washdown, cold weather, and the compressed timing of hunting season.
Designing a Game Processing Shed in North Idaho
A purpose-built game processing shed should feel less like a generic outbuilding and more like a sequence of stations. The moment an animal arrives, the building either supports a clean progression or it creates traffic jams. If the only open floor space has to handle hanging, trimming, packaging, cooler access, and cleanup all at once, the room becomes slower, dirtier, and more frustrating with every animal.
North Idaho conditions make workflow even more important. Hunting season often means cold mornings, muddy approaches, wet outerwear, and vehicles arriving after dark. A shed that looks adequate on a sunny summer walkthrough can break down fast when the operator is carrying quarters through snow, the floor is wet, and the wrap table is fighting for space with coolers and tubs. That is why layout should be decided by task order first, not just square footage.
On acreage around St. Maries, workflow also has to reflect real site access. If the truck or side-by-side stops on one side of the building, that should usually be the dirty arrival side. If the freezer or packaging supplies are loaded from another side, the clean end should be oriented there. On-site construction matters because the shed can be positioned around the actual approach, slope, and drainage instead of around delivery limits.
The practical sequence is simple: arrival, hanging, breakdown, cut and wrap, cold storage, and reset. The building does not need a separate room for each one, but it should make those steps feel logical. If you have to backtrack from the dirtiest part of the job through the cleanest work zone, the building is asking for trouble before you even sharpen a knife.
What size game processing shed do you need?
A 10x12 is the honest starting point for a single-lane workflow. It can work for one hanging point, one primary table, shelving, and chest-freezer or cooler support if the room stays disciplined. This size is usually best for the owner who processes a limited number of animals each year and is willing to keep storage lean.
A 10x16 is often the better value because it allows the room to separate functions instead of stacking them. One end can stay dedicated to hanging and initial breakdown while the other end handles the cleaner cutting and wrapping zone. That extra four feet often decides whether people are constantly turning sideways around tubs and tables or actually moving comfortably.
A 12x16 starts to feel like a true dedicated processing room. It gives enough width for a real aisle, better wall storage, and more flexibility around cool-room or freezer placement. If the owner wants a processing table plus a packaging station plus gear storage that does not constantly invade the work path, this is usually where the layout starts getting easier instead of merely possible.
Ceiling height matters too. Hanging quarters, overhead rail ideas, and even bright task lighting all compete for the same vertical space. A small shed with too low a working clearance can feel worse than a slightly smaller shed with a smarter open center aisle.
The right size is not the one that barely fits the equipment list. It is the one that still leaves enough room to wash down, turn around with gloves on, and move meat from one step to the next without touching every surface on the way.
Best layouts and features for game processing shed
Plan the room from dirty to clean
The strongest layouts treat entry and hanging as the dirty side and wrapping and packaging as the clean side. That does not require two full rooms. It just means the first contact zone should be closest to the main arrival door, with the cleanest work surface farthest from splash, hide debris, and wet boots. Even a compact footprint can do this if the owner resists the temptation to scatter tools everywhere.
A center aisle works well when the table and storage hug the walls. A one-wall workbench can also work if the hanging point and tub staging stay at the opposite end. What usually fails is the island-table layout in a room that is not big enough. It looks flexible until cleanup starts and every path to the door goes through the mess.
Build in cold strategy instead of improvising it
Cold management changes the entire workflow. Some owners only need refrigerators, chest freezers, or insulated cooler support. Others need room for a dedicated cool-room strategy or an isolated freezer zone. That is why cold storage options: cool room vs freezer zone vs passive winter use belongs in the planning stage, not after the shed is framed.
If the building will include any cold room or cooling equipment, leave real clearance for service access, airflow, and door swing. It is common to budget floor space for the cooler itself and forget about the room needed to load it, clean around it, and keep the warm work zone from constantly spilling into it.
Choose features that shorten cleanup time
The room should reset quickly after the job. That means washable wall finishes, durable trim, lighting that lets you see residue, and a floor strategy that does not punish you for using water. Cleanability: wall/floor materials that handle washdown is one of the most useful companion guides in this cluster because material choices determine whether sanitation stays realistic two seasons from now.
Stainless tables, removable bins, protected lighting, and simple wall-mounted storage usually beat clever cabinetry in this kind of room. The more seams, open shelves above splash, and hard-to-reach corners you create, the more the room starts collecting yesterday's work.
Keep support items out of the primary work lane
Packaging rolls, gloves, vacuum sealers, grinders, totes, and sharpening gear need homes, but they should not live on the same surface used for the messiest stages. Wall-mounted racks, a dedicated packaging shelf, and one protected power zone can make a modest room feel far more organized than its square footage suggests. Workflow is often lost by support clutter, not by the main table itself.
Cost, timing, and build-planning factors
The biggest budget drivers are usually size, insulation level, foundation type, cold-storage choice, plumbing or utility work, and finish level. A simple shell with one good table and basic power is a different project from a processing shed with full washable interior finishes, refrigeration equipment, and a more permanent year-round setup. The cost conversation is really about how self-contained the workflow needs to be.
Timing matters because this kind of shed is easiest to get right before hunting season pressure shows up. North Idaho snow-load design still applies, often in the 40 to 60+ psf range depending on site exposure, and the common 24-inch frost-depth conversation still shapes the base and drainage plan. If the site will be muddy during shoulder season, the path from vehicle to door deserves as much attention as the floor inside the shed.
Permitting and regulation deserve honesty. A private-use shed is one conversation. Any plan involving commercial processing, resale, or more formal food handling is a different regulatory world. Even for a private-use building, larger footprints, electrical work, plumbing, and more permanent foundations can trigger additional review depending on jurisdiction. Kootenai County routes permit review through its Building Division, and Bonner County notes that larger detached accessory structures often require more formal location review. Benewah-area buyers should expect the same basic due diligence before building.
If the goal is a room that actually works from arrival through wrap day, request a free estimate before locking in the footprint. Workflow mistakes are much cheaper to fix on paper than after refrigeration, tables, and doors are already installed.
Popular sizes and layouts for game processing shed
A 10x12 works best as a compact single-operator room with one clear line from hanging point to table to freezer support. It is efficient when the owner is disciplined and the animal volume is modest. A 10x16 is often the sweet spot because it gives the dirty and clean ends enough separation to feel intentional. For many owners, that extra length is where the room stops behaving like a crowded utility shed and starts behaving like a dedicated process space.
A 12x16 is the better choice when the owner wants a processing table plus packaging zone plus more stable cold-storage planning. It also gives more room for two people to work without constant collision. That matters if the shed will be used for multiple animals in a season, or if the owner wants some future flexibility for freezer, sink, or utility upgrades.
The most successful layouts are usually boring in a good way. Straight path in. Dirty work closest to arrival. Clean work farthest from splash. Cold support that is easy to reach but not blocking the aisle. Lighting where the knife work happens. Enough open floor to clean without dragging everything outside first. That is the workflow that lasts.
Frequently asked questions about game processing shed
What size game processing shed works best for designing a game processing shed: workflow from hang to wrap?
For many North Idaho buyers, 10x12 and 10x16 are the best starting sizes because they balance usable floor space with realistic placement on the property. We then size up or down based on snow load, storage volume, and how much dedicated work or seating area you need. Compare 10x12 and see 10x16.
What is the most common mistake people make when planning a game processing shed shed?
Underestimating space needs is the most common error. Measure your equipment and add 25-30% for workspace and future growth. In North Idaho, also factor in snow gear and seasonal storage demands. Get a free estimate.
Frequently asked questions
What size game processing shed works best for designing a game processing shed: workflow from hang to wrap?
For many North Idaho buyers, 10x12 and 10x16 are the best starting sizes because they balance usable floor space with realistic placement on the property. We then size up or down based on snow load, storage volume, and how much dedicated work or seating area you need. Compare 10x12 and see 10x16.
What is the most common mistake people make when planning a game processing shed shed?
Underestimating space needs is the most common error. Measure your equipment and add 25-30% for workspace and future growth. In North Idaho, also factor in snow gear and seasonal storage demands. Get a free estimate.
Ready to plan your build?
Tell us your site, your dimensions, and the use case. We'll come out and price it.