Drying tents and sleeping bags after wet trips: shed setup ideas
Wet camping gear does not need a bigger pile in the garage; it needs airflow, hanging room, and a storage system that keeps moisture from getting trapped. In North Idaho, damp tents, sleeping bags, waders, and camp tubs can mildew fast after shoulder-season trips if they are packed away too soon. Because NIOS builds on-site, an overlanding gear shed can be laid out around drying rails, fan placement, bins, and separate fuel storage instead of relying on whatever leftover corner the house gives you.
Drying Tents Sleeping Bags After in North Idaho
Wet-trip recovery is one of the most overlooked reasons people end up wanting a dedicated gear shed. The camping part is fun. The unpacking part is where things go wrong. A wet tent gets left in its sack for “just a day,” sleeping bags stay compressed in the truck, camp tubs come home dirty, and fuel canisters or stove bottles end up piled in the same space as damp soft goods. In North Idaho, with cool nights and long shoulder seasons, that is how mildew, odors, and ruined insulation start.
Manufacturer care guidance backs up the common-sense version of this. MSR's tent manual says to dry tents thoroughly after every trip and store them outside the stuff sack in a dry area out of direct sunlight. Big Agnes says long-term sleeping-bag storage should be loose or hanging, not compressed, and NEMO notes that its sleeping bags ship with mesh storage bags specifically so the bag can be stored loose. The takeaway is simple: wet or compressed camping gear should not go straight into long-term storage.
A practical North Idaho drying routine looks like this:
- Unload the wet gear the day you get home. Do not leave tents or bags in the rig if the trip ended wet.
- Shake out dirt and pine needles outside first. The less debris you bring in, the cleaner the shed stays.
- Hang tent body, rainfly, footprint, and guy lines separately. They dry faster when spread out, not layered.
- Open sleeping bags fully and let insulation loft. Never leave them stuffed in compression sacks after a wet trip.
- Use moving air instead of brute-force heat. Fans and a dehumidifier beat blasting gear with high direct heat.
- Store only when fully dry. If the item still feels cool, clammy, or heavy, it probably needs more time.
- Keep wet-gear recovery separate from propane and liquid fuels. That is one of the easiest ways to keep the room safer and less chaotic.
A dedicated overlanding gear shed makes that sequence repeatable. It gives you enough hanging room, enough aisle space, and enough wall organization that drying gear does not take over the whole building every time you return from a wet trip around Athol, Priest Lake, the Selkirks, or the St. Joe.
What size overlanding / camping gear shed do you need?
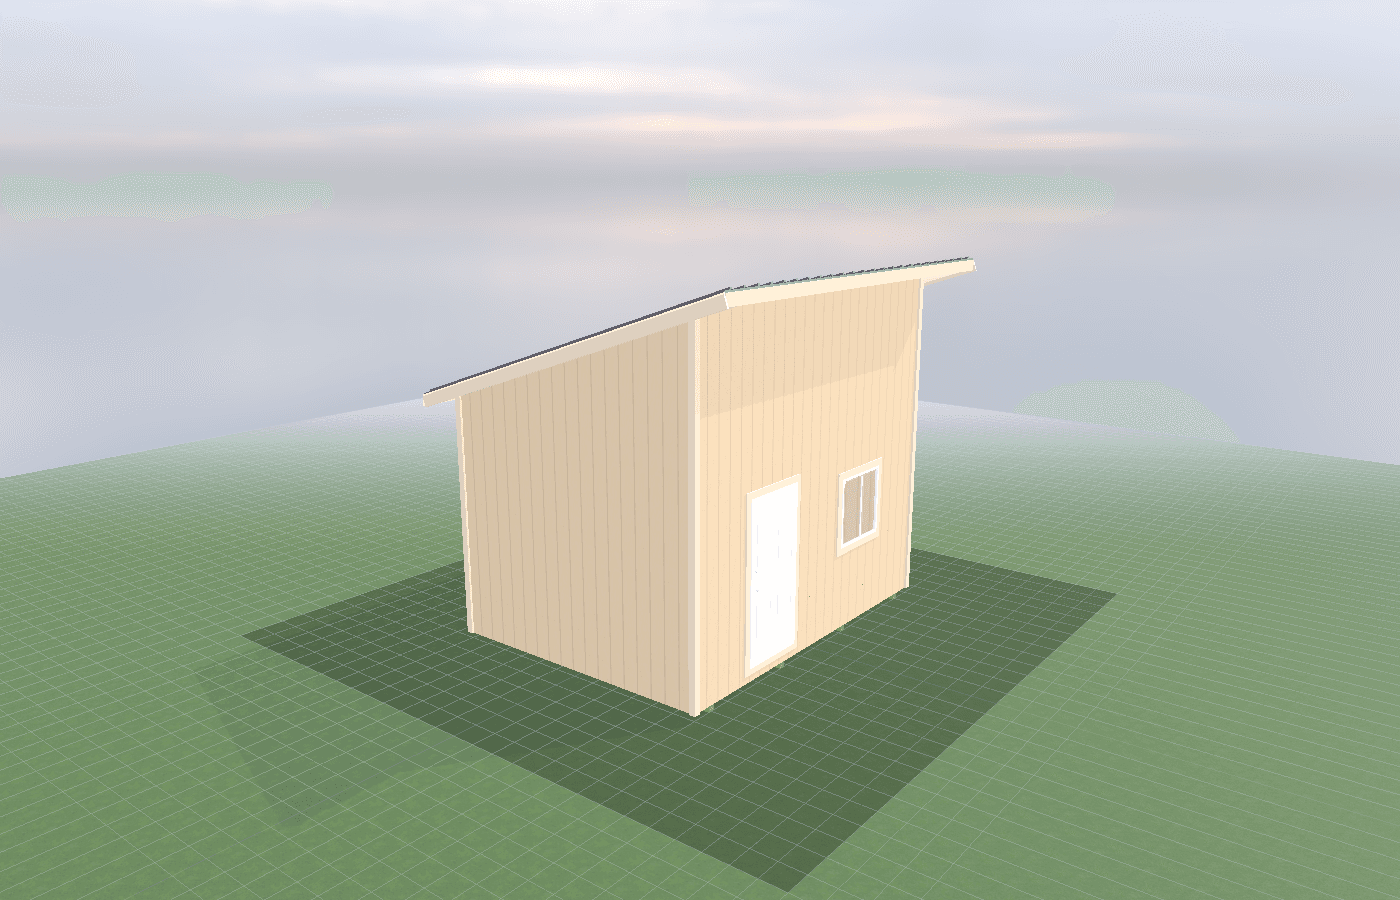
A 10x12 is the compact starting point if the shed's main job is unloading, drying, and organized storage for one or two campers. It can support one hanging line or rail, one shelving wall, and a modest floor area for camp bins if the layout stays disciplined.
A 10x16 is usually the better all-around fit because it gives more lineal hanging room and a clearer split between wet gear and dry storage. If you regularly come home with a tent body, rainfly, sleeping bags, camp chairs, tarps, and muddy bins all at once, this extra length makes the system much easier to live with.
A 12x16 becomes the practical choice when the shed serves family camping loads, overlanding gear, or multi-season storage. The extra width helps you keep one side of the room dedicated to bins and shelving while the other side stays open for drying racks, folding tables, or temporary unpacking.
The real question is whether the room can dry gear without sacrificing storage access. If a wet weekend means every tote has to come out before anything can be hung, the room is too small or the layout is backwards.
Best layouts and features for overlanding / camping gear shed
The best drying shed layouts start at the door and move inward from wet to dry.
A strong layout usually includes:
- A drop zone just inside the entry. This is where muddy tubs, boots, and wet duffels land first.
- A hanging zone with real airflow. Ceiling-mounted pipe, retractable line, or wall-mounted rails work better than random hooks because they keep wet fabric spread open.
- A fan and dehumidifier zone. Moving air is what shortens dry time, especially during cool North Idaho shoulder seasons.
- A clean storage wall. Once gear is fully dry, it moves to labeled bins, shelves, and loose sleeping-bag storage.
- A separated fuel and stove area. Keep propane bottles, white-gas gear, and other fuels away from soft goods and away from the drying zone. Propane and fuel storage, ventilation, and separation concepts is worth reading before you lock that piece in.
One of the best upgrades is vertical height. Taller sidewalls or a modest lofted storage strategy give you a better place to hang tents and tarps without eating the whole floor. Another strong upgrade is good lighting. Wet gear usually gets processed late in the day, and bad lighting makes it too easy to miss damp corners, muddy damage, or broken zipper pulls.
Organization matters too. Camping gear organization system: bins, zones, and labels is especially relevant here because drying works best when the room has a clear “not dry yet” zone and a separate “ready for storage” zone. Otherwise, everything blends together and damp gear gets packed away early.
Avoid these common mistakes:
- Storing sleeping bags long-term in compression sacks.
- Hanging wet tents so close together that air cannot move between layers.
- Using the same shelves for wet gear and finished dry storage.
- Leaving stove fuel, propane, or oily maintenance gear in the same corner as soft goods.
- Designing only for bins and forgetting the temporary space wet gear needs on day one.
On-site construction is the differentiator here because the shed can be set near the driveway, mudroom path, or unloading apron that makes wet-trip recovery realistic. That is a lot more useful than a bigger generic shed in the wrong part of the property.
Cost, timing, and build-planning factors
Drying-oriented camping sheds are usually simpler than plumbing-heavy or power-heavy detached rooms, but they still gain cost when you add the features that actually matter: better ventilation, dedicated circuits, more wall height, stronger lighting, insulation, and cleaner shelving systems.
If you add outlets, fans, a dehumidifier, or heat, Idaho DOPL's electrical FAQ still applies: a permit is required when electrical, plumbing, or HVAC work is performed. Kootenai County's building page also notes county oversight for residential storage buildings over 200 square feet in county jurisdiction. That does not make the project complicated by default, but it does mean the cleanest path is to decide early whether this is a simple dry shell or a true four-season gear room.
Timing matters because the need for the shed spikes right as weather worsens. If you want the room ready for hunting season, shoulder-season camping, or winter overlanding, build before wet weather becomes constant. On-site construction helps because the shed can be fitted to the actual property access and slope without being limited by prefab delivery geometry.
Budget first for the features that protect expensive gear: airflow, hanging space, a durable floor, labeled storage, and separation between fuels and fabrics. Those are what turn the building into a real recovery room instead of just another place to stack bins. If you want the drying setup built around your gear list, start with a free estimate.
Popular sizes and layouts for overlanding / camping gear shed
A 10x12 works for disciplined campers with a lighter gear load and one main drying lane.
A 10x16 is often the best all-around layout because it can support a true wet-to-dry sequence without crowding the storage wall.
A 12x16 is the better fit when the shed supports multiple campers, family gear, larger tents, or a stronger separation between drying and long-term storage.
The winning layout is the one that lets wet gear come in, dry fully, and move into organized storage without collapsing the rest of the room. If the shed can do that, it will save you gear and frustration every season.
One other sizing reality is ceiling and wall length. Four-person tents, bigger rainflies, cots, awnings, and hammock tarps take much more hanging space than people picture when they only think in floor square footage. If the room has to dry a family-size tent while still leaving access to bins and shelves, the extra length and a clear overhead rail become more valuable than another stack of totes. That is why many owners who start by pricing a small room end up happier once they sketch the full spread-out footprint of wet gear on the wall instead of only the packed footprint in storage.
After the drying cycle, plan one final reset step before the gear goes away. Sleeping bags should move into loose storage sacks or a hanging closet rod, tent poles should be wiped down before being bagged, and repair items such as patch kits, seam sealer, zipper lubricant, and spare stakes should go into one labeled bin so the next trip does not begin with missing parts. The more the shed supports that reset process, the less often wet-trip cleanup turns into a rushed midnight pile of gear that never really gets finished.
Frequently asked questions about overlanding / camping gear shed
What size overlanding / camping gear shed works best for drying tents and sleeping bags after wet trips: shed setup ideas?
For many North Idaho buyers, 10x12 and 10x16 are the best starting sizes because they balance usable floor space with realistic placement on the property. We then size up or down based on snow load, storage volume, and how much dedicated work or seating area you need. Compare 10x12 and see 10x16.
How do I dry tents and sleeping bags after a wet camping trip?
Hang from ceiling hooks or a clothesline inside the shed with a fan running. Never store damp camping gear in stuff sacks — mold sets in fast, especially in North Idaho's shoulder seasons. See gear drying options.
Frequently asked questions
What size overlanding / camping gear shed works best for drying tents and sleeping bags after wet trips: shed setup ideas?
For many North Idaho buyers, 10x12 and 10x16 are the best starting sizes because they balance usable floor space with realistic placement on the property. We then size up or down based on snow load, storage volume, and how much dedicated work or seating area you need. Compare 10x12 and see 10x16.
How do I dry tents and sleeping bags after a wet camping trip?
Hang from ceiling hooks or a clothesline inside the shed with a fan running. Never store damp camping gear in stuff sacks — mold sets in fast, especially in North Idaho's shoulder seasons. See gear drying options.
Ready to plan your build?
Tell us your site, your dimensions, and the use case. We'll come out and price it.