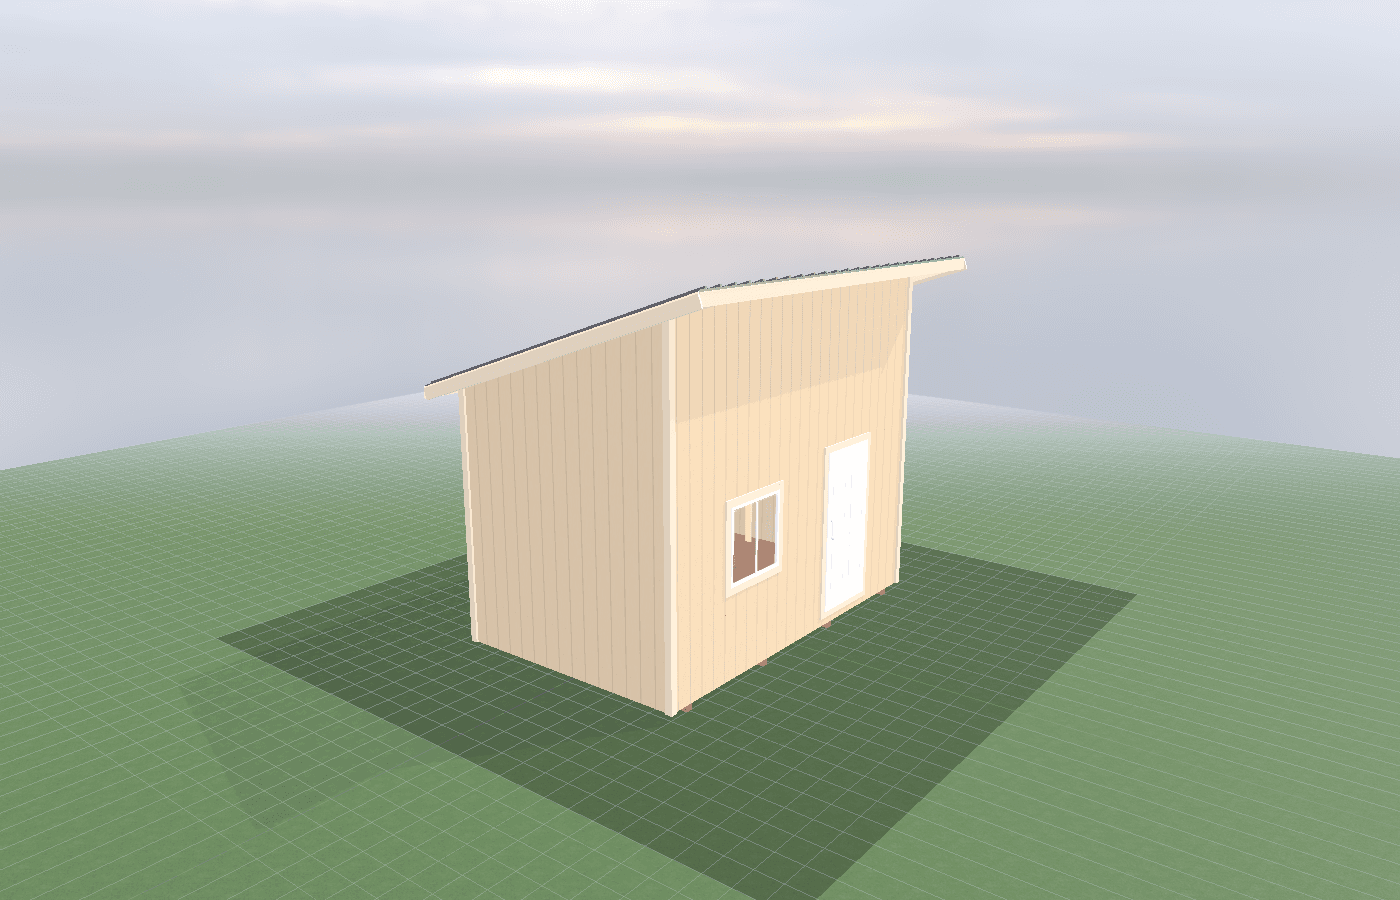
Keeping critters out: rodent-proofing a garden shed
Rodent-proofing a garden shed starts with the shell, not the trap aisle. In North Idaho, seed packets, bagged soil amendments, potting mix, gloves, and soft nesting material all attract unwanted visitors if doors, vents, thresholds, and storage habits leave easy openings.
Keeping Critters Rodent-Proofing in North Idaho
Rodent problems in North Idaho garden sheds usually start small. A few chewed seed packets, one bag of fertilizer nibbled open, some nesting material pulled out of a box. By the time the owner sees droppings on a shelf, the shed has already become part pantry, part shelter, and part highway for mice or other small pests.
Rural and edge-of-town properties around Athol are especially prone to this because fields, brush, woodpiles, and compost zones are often close to the shed. That does not mean a garden shed is doomed to attract rodents. It means the shed has to be planned like a controlled storage space instead of a loose overflow box.
Good rodent-proofing is also tied directly to garden tool storage systems that survive mud season and season extension basics: how a shed supports seed starting. The wetter and more cluttered the room becomes, the easier it is for pests to find cover, food, and unnoticed entry points. Clean organization is part of pest control.
The most effective strategy is layered. Tighten the shell, protect the floor and threshold details, store anything attractive in sealed containers, and manage the site outside so the shed is not the easiest protected stop on the property. Traps can help, but they should be backup, not the foundation of the plan. Rodent pressure also changes by season. Fall pushes animals toward shelter and spring reveals what they did while snow and mud made the shed less frequently inspected. A room that is easy to sweep, light, and read at a glance is far more resilient than one that depends on memory alone.
What size garden shed do you need?
A 6x8 can be easier to inspect because there is less square footage and fewer hidden corners. That is a real advantage if the owner is disciplined about storage and does not overload the room. But smaller does not automatically mean safer. Once bags, boxes, and unused pots get stacked on the floor, visibility disappears fast.
An 8x8 or 8x10 often works better for rodent resistance because it gives the owner room to get items off the floor and away from the walls. That extra space allows for better shelving, sealed bins, and a more obvious aisle that makes droppings, gnaw marks, or disturbed materials easier to spot.
Bigger sheds only help if the layout stays deliberate. If the extra footage becomes a place to dump tarp bundles, cardboard, birdseed, or old sacks of potting mix, the rodent problem simply gets a larger hiding area. The right size is the one that supports visibility and sealed storage, not the one that creates more dead corners.
A good rule is that the owner should be able to sweep and inspect every floor edge, threshold, and lower wall without moving a mountain of gear. If that is not possible, the shed is already too cluttered to stay reliably rodent-resistant.
Best layouts and features for garden sheds
Start with thresholds, corners, and penetrations
Rodents do not need a dramatic opening. They exploit door gaps, loose trim, vent penetrations, and any place where the lower shell was finished casually. Tight door sweeps, solid thresholds, properly screened vents, and attention to pipe or wire penetrations make a big difference. These are small details, but they are often the difference between a tight shed and one that gets visited every night.
Get food-like materials into sealed storage
Seed, feed, fertilizer blends, soft paper products, and anything that smells edible should not live in torn bags on the floor. Use sealed bins, lidded containers, or cabinets that close positively. Even if the contents are not true food, the scent and texture can still attract pests. Good containment is easier than constant cleanup. Cardboard boxes are especially risky because they absorb scent, trap moisture, and give rodents both cover and chewable nesting material in one package.
Keep the floor readable and the walls usable
Rodent-proofing improves when the bottom 12 to 18 inches of the shed stay relatively clear. That makes sweeping easier and gives fewer hidden nesting spots behind piles of pots or cardboard. Wall-mounted storage and shelves are not just organizational tools. They also improve inspection and reduce the dark, protected spaces that pests prefer.
Manage the outside of the shed too
A perfectly organized interior can still lose if grass, brush, lumber scraps, spilled seed, and clutter collect around the foundation. Rodent pressure drops when the shed perimeter stays cleaner, the approach is visible, and tempting materials are not stored right against the walls. Woodpiles, nursery pots, and spare boards should not touch the shed skin or hide the base. The site is part of the shell.
Cost, timing, and build-planning factors
The cheapest time to improve rodent resistance is during construction. Better door details, tighter lower-wall trim, more thoughtful vent screens, and cleaner threshold design cost much less before the building is finished than after pests have already found the weak spots. Storage hardware also matters because sealed bins and shelving only work if the room has enough structure and wall space to support them.
Timing matters because pest issues tend to show up when weather changes. Fall pushes rodents toward shelter, and spring exposes damage that built up over winter. If the shed is being planned now, it makes sense to build the defensive details in before those cycles start instead of waiting for evidence of a problem.
Permit timing can matter if the footprint grows or the site work becomes more involved. Kootenai County and Bonner County do not use identical thresholds or siting processes for accessory structures, and those details should be checked early if the project is near a common review line. Even below those sizes, drainage, pad height, and shed placement still affect how dry and inspectable the lower shell stays.
If you want the shed built around sealed storage and a tighter shell from the start, request a free estimate before the package is finalized. It is easier to deny entry than to keep fixing the aftermath of repeated visits. A simple monthly inspection routine also helps. When the floor, lower walls, and bin lids are easy to see, fresh chew marks or droppings show up before the problem turns into a season-long cleanup.
Popular sizes and layouts for garden sheds
For many homeowners, a 6x8 is enough if the storage plan stays simple and the owner commits to sealed bins and wall-mounted tools. An 8x8 often feels safer and easier to maintain because it gives more room for inspection, better aisle clearance, and less pressure to stack everything at floor level.
If the shed also supports potting, propagation, or seasonal overflow, an 8x10 or larger can make sense, but only if the extra square footage is organized with the same discipline. More room should mean more control, not more hiding places.
The best layout keeps sealed bins on shelves, daily tools on the wall, and the entry area clear enough that fresh activity is obvious. The shed should tell on itself quickly if something has gotten in. That is much harder when every corner is packed with unplanned storage.
Rodent-proofing works best when it is boring. A tight shell, readable floor, clean perimeter, and consistent storage habits do not feel dramatic, but they protect the contents of the shed season after season. If the shed also stores seed potatoes, bird netting, or other seasonal overflow, give those materials dedicated sealed locations instead of letting them disappear into the back corner where repeat infestations often begin.
The long-term goal is not to win one dramatic battle with pests. It is to make the shed so clean, dry, sealed, and inspectable that rodents stop finding easy reward there. When the owner can sweep the floor edge, check the bins, confirm the threshold is still tight, and read the room in a few minutes, small problems stay small. That routine protects seed, tools, and supplies better than any one trap or bait station used by itself, and it keeps minor incursions from becoming a settled colony. Small habits are what keep the building defensible year after year through every season on busy rural working properties.
Frequently asked questions about garden sheds
What size garden shed works best for keeping critters out: rodent-proofing a garden shed?
For many North Idaho buyers, 6x8 and 8x8 are the best starting sizes because they balance usable floor space with realistic placement on the property. We then size up or down based on snow load, storage volume, and how much dedicated work or seating area you need. Compare 6x8 and see 8x8.
What is the most common mistake people make when planning a garden shed shed for my property?
Underestimating space needs is the most common error. Measure your equipment and add 25-30% for workspace and future growth. In North Idaho, also factor in snow gear and seasonal storage demands. Get a free estimate.
Frequently asked questions
What size garden shed works best for keeping critters out: rodent-proofing a garden shed?
For many North Idaho buyers, 6x8 and 8x8 are the best starting sizes because they balance usable floor space with realistic placement on the property. We then size up or down based on snow load, storage volume, and how much dedicated work or seating area you need. Compare 6x8 and see 8x8.
What is the most common mistake people make when planning a garden shed shed for my property?
Underestimating space needs is the most common error. Measure your equipment and add 25-30% for workspace and future growth. In North Idaho, also factor in snow gear and seasonal storage demands. Get a free estimate.
Ready to plan your build?
Tell us your site, your dimensions, and the use case. We'll come out and price it.