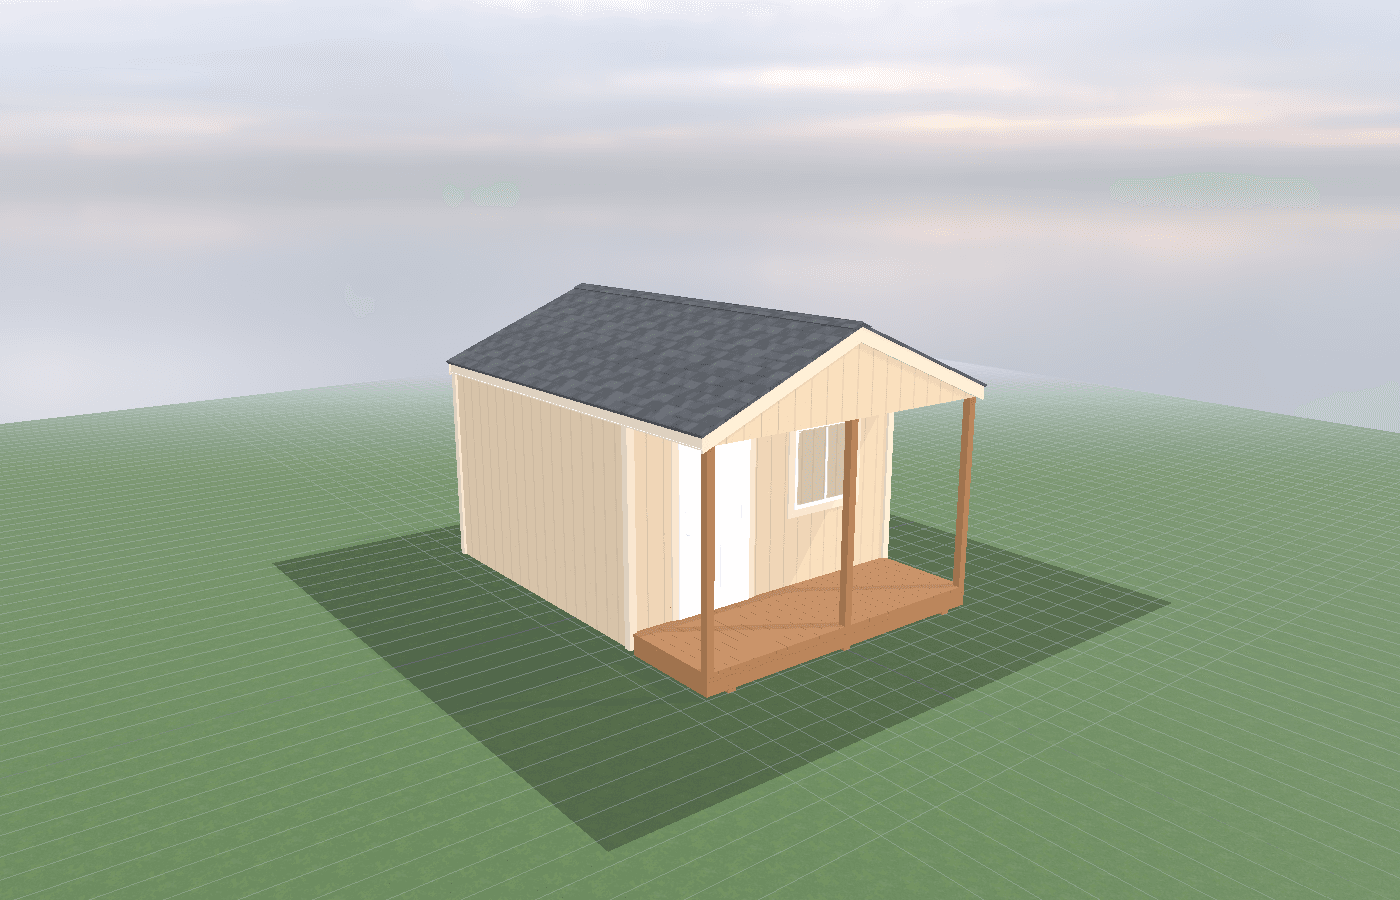
Planning a tool shed for heavy items (compressors, welders, etc.)
Heavy items change tool-shed planning fast. A portable compressor, welder, charger bank, or job-box stack can turn a basic storage shed into a floor-load, outlet, and access problem if the room is not laid out intentionally. In North Idaho, the right answer is usually a compact shed with a stronger floor, smarter door placement, and on-site construction that fits the driveway, snow pattern, and work routine on your property.
Planning Tool Shed Heavy Items in North Idaho
Heavy items make a tool shed feel smaller than its square footage suggests. A compressor, welder cart, stacked packout boxes, spare blades, a hose reel, a charger shelf, and a bucket of hardware can all fit on paper, but the real question is whether the room still works once you need to roll something out, plug something in, and move around it with winter boots on. That is why planning starts with weight, footprint, and door path before it starts with shelves.
For most North Idaho owners, the cleanest way to plan a heavy-duty tool shed is to make four decisions in order:
- List every heavy item by width, depth, and approximate weight.
- Separate true storage items from tools that need operating space.
- Decide which item must load in and out most often.
- Choose a layout that protects one clear aisle all year.
That order matters because compressors and welders create point-load problems, not just clutter problems. A heavy machine in the wrong corner can eat the best wall, block the only useful outlet run, and force you to drag cords across the doorway every time you work. Add snow gear, muddy boots, and a wet spring approach, and the shed becomes frustrating fast.
This is also where on-site construction helps. A delivered prefab has to fit truck and road constraints first. A shed built on-site can be sized to the actual pad, door swing, and work path you need on your lot near Athol. That flexibility matters when you want the shed close to a driveway, tucked beside a shop, or aligned with a gravel lane so heavy gear moves in and out without fighting the site. It also pairs naturally with tool shed organization for contractors and DIYers and security upgrades for tool sheds: doors, locks, lighting, and placement, because a heavy-item shed still has to load cleanly and lock up well.
What size tool shed do you need?
Start with the one item that cannot be folded, nested, or hung. If that item is a portable compressor on wheels, a 6x8 can work if the room is truly storage-first and the walls do most of the organizational work. A 6x8 is a reasonable starting point when the owner wants one heavy machine, one shelf wall, and one short grab-and-go aisle. It is not generous, but it can stay useful if the floor is kept clear and the machine count stays disciplined.
An 8x8 is the better baseline for most heavy-item plans. The extra width makes it easier to set one heavy item on a side wall instead of directly opposite the door, and that keeps the entry from becoming a bottleneck. It also gives room for low storage under a bench or shelf without forcing every charger, hose, and hand tool into the same corner. For many owners, 8x8 is the size where the shed starts feeling intentional instead of improvised.
An 8x10 is often the smartest answer when the shed must hold both storage and a working zone. If a compressor, welder, or large tool chest needs to stay inside full time, the extra length pays for itself in access and safety. It lets you keep one clean aisle, set one heavier machine near a structural wall, and still preserve room for a charger shelf, consumables, and a narrow bench. The room stops being a pile of heavy objects and starts acting like a small equipment room.
A simple field test helps. Draw the heaviest two items to scale, add a 30- to 36-inch working aisle, then add the door swing and one storage wall. If the room is already full on paper, it is too small in real life. That is especially true in North Idaho, where winter gloves, snow tools, and seasonal gear often share the same building for part of the year.
Best layouts and features for tool sheds
Once the size is honest, use a builder-style layout checklist:
- Put the heaviest item on the strongest, simplest wall. Avoid centering it in front of the main door.
- Keep low, dense storage below waist height. Heavy tools stored high are hard to handle safely.
- Protect one straight loading aisle from the door to the main machine or shelf zone.
- Separate charging, cords, and smaller power tools from wet floor areas and fuel storage.
- Design the electrical plan around real use, not around one generic outlet.
For heavy-item sheds, door size matters almost as much as room size. A narrow single door turns every compressor move into a wrestling match. Double doors, a low threshold, and a predictable ramp or gravel transition save time every week. If the shed will hold a welder cart or larger shop vacuum, measure the actual wheelbase and handle sweep before the opening is chosen.
Floor planning matters too. A heavy-item shed should not assume that any standard floor will feel solid enough. Ask the builder to size the floor system around the actual point loads you expect, especially if one side of the room will hold a full air tank, stacked metal boxes, batteries, or dense fastener storage. The goal is not luxury. The goal is to stop bounce, soft spots, and awkward settling before the shed is full.
Electrical planning is where many small heavy-item sheds get sloppy. If you know the room needs lights, chargers, and one or more dedicated tool circuits, plan that before the shell is finished. Idaho DOPL says a permit is required when electrical, plumbing, or HVAC work is performed, and homeowners doing their own work on their residence or related outbuildings still need permits. OSHA also warns that flexible cords are not a substitute for fixed wiring in a structure. In plain terms: do not design the shed around extension cords and power strips and hope it behaves like a wired room later.
Finally, do not ignore security and daily flow. Heavy items are valuable, hard to replace, and often used early in the morning or late in the evening. If the shed is hard to see, badly lit, or disorganized, the owner loses time twice: once while loading and once while keeping the room secure. That is why the best heavy-item sheds feel simple. The large gear sits low, the door path stays clear, the outlets are where the work happens, and the room closes up fast when the day is over.
Cost, timing, and build-planning factors
The cheapest way to ruin a heavy-item shed is to buy the shell first and solve the real problems later. Base prep, floor strength, door selection, and electrical planning all cost less when they are decided before the build starts. They cost more when the owner learns, after delivery or framing, that the compressor blocks the door, the floor feels soft, or the only good outlet location is on the wrong wall.
Trade permits and county process matter here. In unincorporated Kootenai County, the Building Division says residential storage buildings over 200 square feet require permits, while Bonner County uses a different planning process and a different threshold for some detached non-habitable accessory structures. If power is added, Idaho DOPL requires the trade permit side to be handled as well. If trenching is part of the electrical plan, DOPL also points permit holders to the 811 requirement before excavation.
Timing is another practical issue. Heavy-item sheds often want power, and power usually means trenching, panel coordination, and a better idea of where the room sits on the lot. Those jobs are easier before frozen ground, deep snow berms, and spring mud complicate access. This is one more reason on-site construction helps in North Idaho: the building can be fitted to the real sequence of base work, trench routes, and driveway movement instead of forcing the site to accept a delivered box.
If your plan includes more than a few shelves and a lockset, price the whole system instead of the shell only. A realistic quote should consider the pad, floor strength, doors, lighting, outlets, and whether the room is for simple storage or actual daily-use gear staging. If you want that layout scoped before the wrong size gets purchased, get a free estimate.
Popular sizes and layouts for tool sheds
For heavy tools and dense equipment, the most practical starting sizes are 6x8, 8x8, and 8x10.
A 6x8 works when the goal is one heavy anchor item plus wall storage. Think compressor, charger shelf, hose storage, and a narrow aisle. It is compact, affordable, and easy to place, but it rewards restraint. If the owner keeps adding carts and bins, it fills up quickly.
An 8x8 is the balanced option. It gives enough room to keep one side for heavier gear and another for hand tools, batteries, and consumables. For many properties, this is the best first step because it is still easy to site while giving the layout breathing room that a 6x8 does not.
An 8x10 is the layout-first answer. It handles one or two heavy items, a clear aisle, and a real organizational wall with much less compromise. If you know the shed will hold a compressor, welder, or larger tool chest long term, this is usually the smartest place to stop guessing and size the room honestly.
The best layout in any of these sizes keeps the heavy items low, the loading path straight, and the power plan intentional. A small tool shed can work very well for heavy gear, but only if the design starts with the heavy gear instead of pretending it is ordinary storage.
Frequently asked questions about tool sheds
What size tool shed works best for planning a tool shed for heavy items?
For many North Idaho buyers, 6x8 and 8x8 are the best starting sizes because they balance usable floor space with realistic placement on the property. We then size up or down based on snow load, storage volume, and how much dedicated work or seating area you need. Compare 6x8 and see 8x8.
What is the most common mistake people make when planning a tool shed shed?
Underestimating space needs is the most common error. Measure your equipment and add 25-30% for workspace and future growth. In North Idaho, also factor in snow gear and seasonal storage demands. Get a free estimate.
Frequently asked questions
What size tool shed works best for planning a tool shed for heavy items?
For many North Idaho buyers, 6x8 and 8x8 are the best starting sizes because they balance usable floor space with realistic placement on the property. We then size up or down based on snow load, storage volume, and how much dedicated work or seating area you need. Compare 6x8 and see 8x8.
What is the most common mistake people make when planning a tool shed shed?
Underestimating space needs is the most common error. Measure your equipment and add 25-30% for workspace and future growth. In North Idaho, also factor in snow gear and seasonal storage demands. Get a free estimate.
Ready to plan your build?
Tell us your site, your dimensions, and the use case. We'll come out and price it.