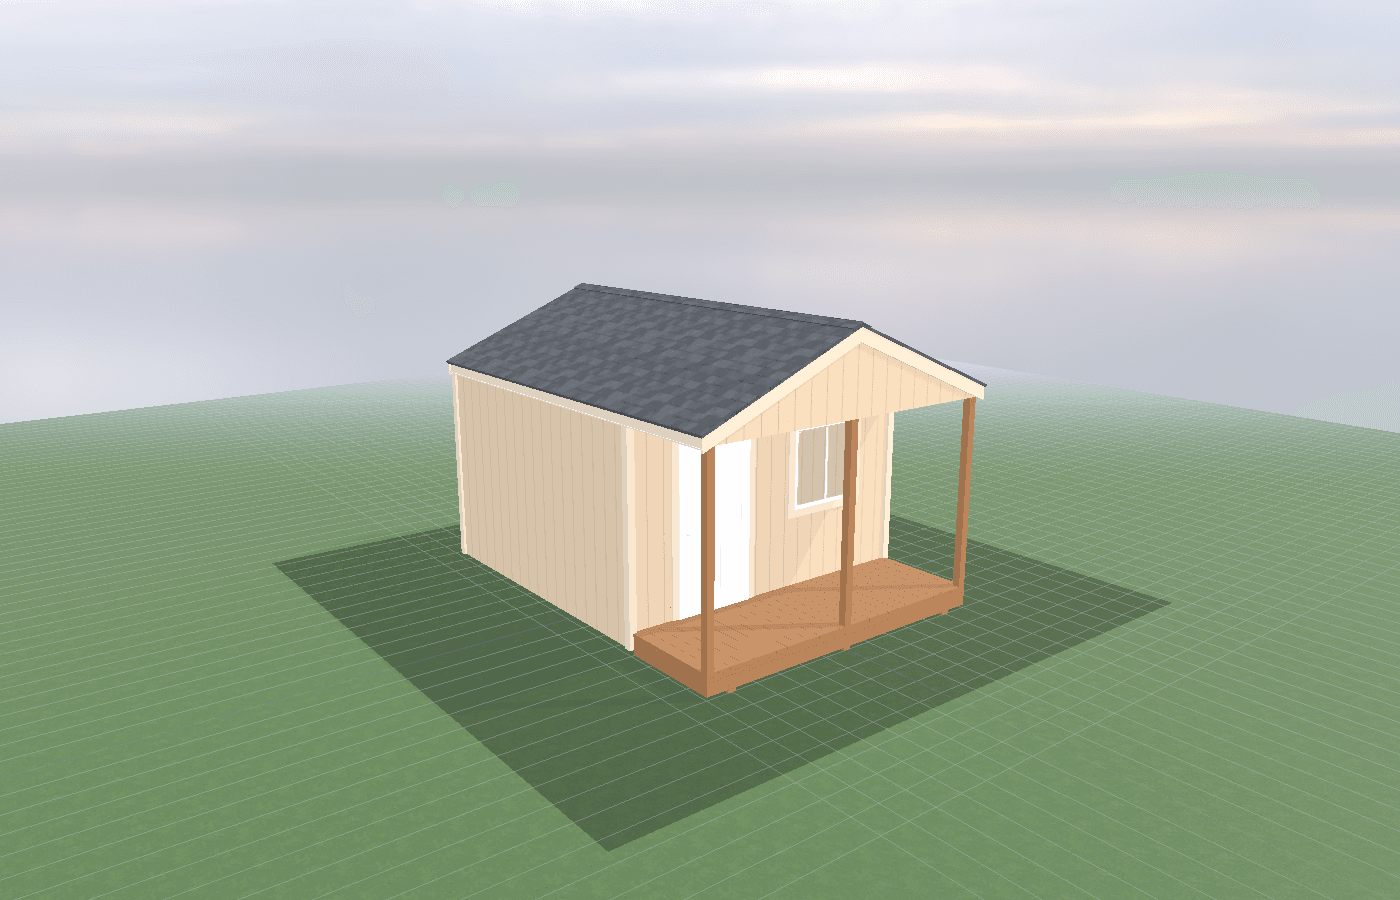
Tool shed organization for contractors and DIYers
Tool shed organization is really about workflow. Whether the shed supports weekend DIY jobs or daily contractor starts, the space works best when tools are stored by use frequency, heavy items have a stable home, and the owner can load out fast without digging through random piles.
Tool Shed Organization in North Idaho
Tool sheds stop working the moment everything becomes one big category called equipment. Contractors and serious DIYers do not just need storage volume. They need predictable access to drills, blades, fasteners, extension cords, saw cases, battery chargers, levels, layout tools, and the awkward heavy gear that never fits cleanly on a standard shelf.
In North Idaho, that access problem gets worse when the shed also has to handle wet boots, snow-season gear, or spur-of-the-moment loading before daylight. On lots around Athol, a good tool shed often serves as a small equipment crib between the house, driveway, and work truck. If the layout is cluttered, every job starts slower than it should.
That is why organized tool sheds are built around workflow instead of just square footage. The most-used tools need a fast-grab zone. Consumables need labeled bins. Heavy items need stable low storage. Security-sensitive tools need to pair with the overall hardening plan in security upgrades for tool sheds: doors, locks, lighting, and placement.
Organization also overlaps with structural planning. If the owner expects compressors, welders, stacked packout systems, or bulky rolling chests, the shed should be thought through with planning a tool shed for heavy items, compressors, welders, etc. Good organization is easier when the floor, door width, and wall backing were built for the real load. Organization also pays off differently for contractors and DIYers. Contractors need repeatable loadouts because wasted minutes stack up every morning. DIYers need the room to stay intuitive after a week away from the project. In both cases, the shed should tell the owner where things belong instead of asking them to remember a pile pattern from last month.
What size tool shed gives you enough usable room?
A 6x8 works for a focused homeowner tool collection or a satellite storage shed that only holds core gear. It can support a clean wall system, a few upper shelves, and one low zone for a vacuum, small compressor, or tote stack. For light DIY use, that can be plenty.
For mixed contractor or serious hobby use, 8x10 and 8x12 often feel more honest. The extra room allows a center aisle, a better split between wall storage and bin storage, and enough floor area that long items and bulky kits do not crowd the entry. That matters because a shed that takes too long to load out encourages clutter instead of preventing it. If the shed supports more than one trade or more than one person, room disappears even faster. Electrical kits, plumbing supplies, painting gear, and framing tools do not stack neatly together, so a little extra width often buys much better separation by task.
Once welders, larger compressors, table saws, or heavy-duty packout stacks enter the plan, moving up again usually pays off. Bigger footprints support safer circulation and reduce the temptation to stack too much weight on one wall or block access to the tools needed every day.
The right size is not just the one that fits the inventory today. It is the one that lets the owner return tools to assigned spots without playing storage Tetris at the end of a long workday.
Best layouts and features for tool sheds
Organize by frequency of use first
Start with daily-grab tools, not the rarest specialty items. Bits, hand tools, layout gear, chargers, and the small cases used on almost every job should sit between knee and shoulder height where they can be seen and reached quickly. Weekly or seasonal tools can move higher, deeper, or farther from the door.
Build strong wall systems and label the consumables
Pegboard can work, but heavier cleat systems, slat walls, or backed hook rails usually hold up better for real tool use. Fasteners, anchors, abrasives, and electrical supplies belong in clearly labeled bins that stay together by trade or workflow. The goal is not a showroom wall. It is instant recognition at a glance.
Give heavy items a protected low zone
Compressors, welders, rolling boxes, and other dense equipment should not live where they have to be wrestled over hoses and random totes. Low, stable storage near the door reduces strain and keeps load-in and load-out cleaner. If the heavy gear is always blocking something else, the shed is organized on paper but not in practice.
Reserve one charging and prep area
Even small tool sheds benefit from a defined bench or shelf run for batteries, chargers, spare blades, and maintenance supplies. Without that zone, half-charged batteries drift all over the room and damaged accessories disappear into mixed bins. A tiny prep station is often what keeps the whole organization system from backsliding. Mobile loadout matters too. Many owners work out of totes, packout stacks, or rolling boxes rather than fixed cabinetry. The organization system should let those units dock in predictable locations without blocking the aisle or hiding wall tools behind them.
Cost, timing, and build-planning factors
The main cost drivers are size, floor strength, door configuration, shelving hardware, electrical rough-in, and whether the owner wants bench space or dedicated charging support. Many organization problems trace back to trying to solve a structural issue with accessories. More bins do not fix a shed that needed a wider door or stronger low-wall storage to begin with. Weather also affects organization. Snow-season boots, tarps, site heaters, and extension cords can temporarily swell the inventory, and a shed with no reserve capacity usually turns chaotic every winter even if it looked perfect in July.
Timing matters because the best organizational features want framing support. Wall backing, outlet placement, bench depth, and door swing all work better when chosen before the shed package is finalized. Retrofitting labels is easy. Retrofitting the workflow is not.
Permit review may also enter the picture depending on footprint and county. Kootenai County and Bonner County use different review paths for accessory structures, and that matters if the shed grows beyond a very small tool box building into a more serious work-support space. Even below the common trigger lines, the pad, path to the driveway, and snow-season access should be planned like they matter because they do.
If you want the organization plan priced into the build instead of improvised after move-in day, request a free estimate before the shelving and power needs are guessed at. A tool shed is much easier to keep organized when the shell was built for the inventory.
Popular sizes and layouts for tool sheds
A 6x8 is usually best for disciplined DIY use, backup tool storage, or a narrow set of trade tools. An 8x10 often becomes the sweet spot because it supports a meaningful wall system, a low heavy-item zone, and enough aisle space to load out without dismantling the room every morning.
An 8x12 or 10x12 starts making more sense when the shed carries contractor kits, rolling storage, chargers, and heavier equipment that need real clearance. Those sizes also give more freedom to separate clean small-tool storage from dirty or heavy gear.
The strongest layouts keep daily tools near the entry, heavy items low and stable, consumables grouped by task, and the charging zone away from traffic. When those relationships are clear, cleanup happens faster and missing tools become easier to spot.
A well-organized tool shed saves time twice every day: once when work begins and again when it ends. That is why the layout deserves the same level of planning as the tool inventory itself. The best sheds also make periodic resets easy. When every zone is obvious, the owner can walk through once a month, consolidate consumables, return loaned tools, and clear out broken extras before the system slides back into clutter.
The strongest organization systems also survive busy weeks. When tools come back dirty, late, or out of sequence, the shed should still make reset easy instead of punishing the owner with another hour of sorting. That is why clear aisles, obvious zones, and a little reserve capacity matter so much. Good organization is not about perfection. It is about recovering quickly after a hard workday and being ready again tomorrow morning. If the room only works when everything is spotless, it is underplanned. Real tool sheds need margin for real workdays, messy returns, and steady weekly resets.
Frequently asked questions about tool shed organization
What size tool shed works best for tool shed organization for contractors and diyers?
For many North Idaho buyers, 6x8 and 8x8 are the best starting sizes because they balance usable floor space with realistic placement on the property. We then size up or down based on snow load, storage volume, and how much dedicated work or seating area you need. Compare 6x8 and see 8x8.
What is the best way to organize a tool shed for quick access?
Group tools by frequency of use — daily items at eye level, seasonal items on upper shelves. Pegboard walls, French cleat systems, and labeled bins beat cluttered shelves every time. See tool shed options.
Frequently asked questions
What size tool shed works best for tool shed organization for contractors and diyers?
For many North Idaho buyers, 6x8 and 8x8 are the best starting sizes because they balance usable floor space with realistic placement on the property. We then size up or down based on snow load, storage volume, and how much dedicated work or seating area you need. Compare 6x8 and see 8x8.
What is the best way to organize a tool shed for quick access?
Group tools by frequency of use — daily items at eye level, seasonal items on upper shelves. Pegboard walls, French cleat systems, and labeled bins beat cluttered shelves every time. See tool shed options.
Ready to plan your build?
Tell us your site, your dimensions, and the use case. We'll come out and price it.