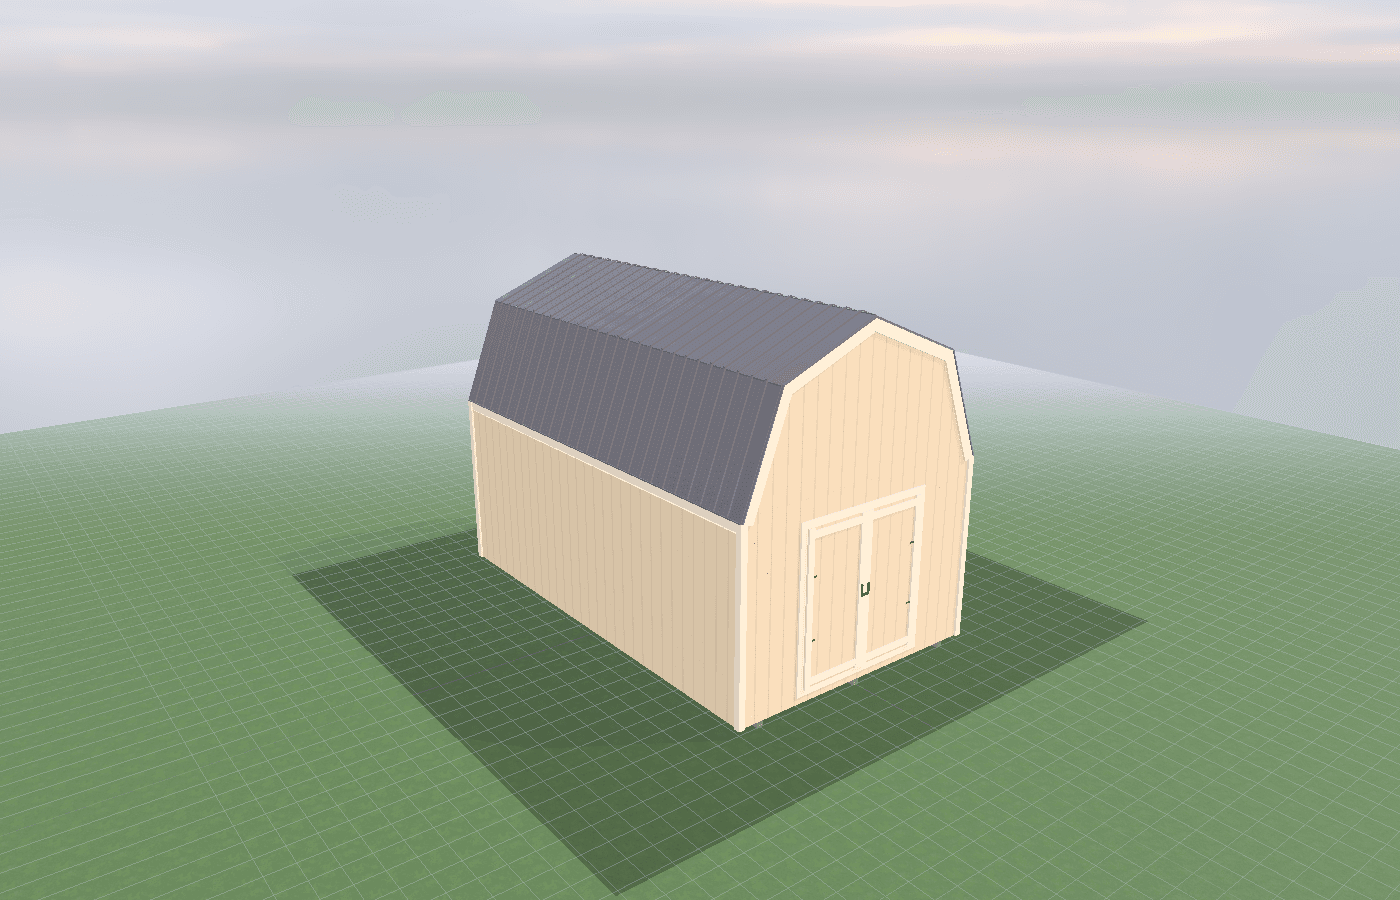
Rodent-proof feed storage: design choices that pay off
Feed storage only stays affordable when moisture and pests are controlled before they get into the building. In North Idaho, rodent-proof design means more than traps: it means tighter thresholds, sealed containers, cleaner wall and floor details, and a layout that makes spills, stale grain, and hidden nesting spots less likely in the first place.
Rodent-Proof Feed Storage in North Idaho
Rodent-proof feed storage is not a luxury detail on a working property. It is one of the main ways to stop feed loss, contamination, and chore frustration from compounding. Mice and rats do not need a dramatic opening. They need small gaps, spilled grain, dark corners, and enough clutter that no one notices them early. Once they find those conditions, every bag, scoop, supplement bucket, and mineral tub in the room gets harder to trust.
The CDC's rodent-control guidance is blunt about the basics: keep grains and animal feed in thick plastic or metal containers with tight lids and clean up food spills right away. Idaho Fish and Game gives the rural North Idaho version of the same warning by reminding residents to store livestock food where bears cannot access it. That bigger-wildlife point matters because a feed room on acreage is not just managing mice. It may also be managing raccoons, birds, and larger attractant pressure that starts from exactly the same mistake: food left accessible.
That is why a dedicated feed storage shed should be treated as a controlled room, not just a place to stack bags. Good rodent resistance comes from the shell, the storage system, and the housekeeping pattern all reinforcing each other. This guide pairs naturally with organizing feed, supplements, and tools by animal and ventilation vs sealing: keeping feed dry without inviting pests because organization and airflow both change how easy it is for pests to establish themselves.
What size feed storage shed gives you enough usable room?
A 10x12 is often the smallest size that can support a true rodent-resistant layout. It can hold a limited number of sealed bins, some shelving, and a usable aisle if the property is not buying feed in large volume.
A 10x16 is often the best all-around choice because it gives more room to separate feed types, supplements, and chore tools without stacking everything floor-to-ceiling. That separation matters for pest control. Cluttered rooms are harder to inspect, harder to clean, and easier for rodents to exploit.
A 12x16 becomes the better choice when multiple species are involved, when bulk purchases are more common, or when the owner wants enough space to rotate stock and sweep thoroughly behind storage zones. More square footage is helpful here not because the feed needs luxury space, but because inspection and cleanup need room to happen.
The sizing question is really about whether the room can stay inspectable. If every bag has to be piled against every wall, the owner loses sight lines, cleaning access, and confidence in the space.
That inspectability point is what many smaller feed rooms miss. A room can technically hold enough feed and still fail because no one can see behind the stacks, rotate older stock forward, or tell when one torn bag has been leaking fines for a week. Rodent-proofing starts to fail the moment the room becomes visually unmanageable.
Best layouts and features for feed storage sheds
The best rodent-resistant rooms are boring in the right ways. They have fewer hidden gaps, fewer dark nesting corners, and fewer reasons for spilled feed to linger. That usually starts with simple shell details: better thresholds, tighter door closures, screened or protected openings, and fewer rough floor-to-wall transitions that trap fines and dust.
Storage choices matter just as much. CDC guidance supports using thick plastic or metal containers with tight lids rather than depending on original paper or woven feed bags alone. That is the core principle. The room should make sealed storage the default instead of treating sealed bins as an optional upgrade.
Rotation matters too. Older feed should stay visible and easy to bring forward so it does not become forgotten inventory in the back corner. A rodent-resistant room is almost always a room with better inventory discipline, because the same layout that helps you see what is oldest also helps you see where pests are testing the building.
Features that usually pay off include:
- a layout built around sealed bins and cans rather than stacked loose bags
- storage kept off the floor where practical so sweeping and inspection stay easy
- cleaner, tighter thresholds and door bottoms that reduce easy entry points
- shelves or wall storage for supplements and tools so the floor is not hiding crumbs and nests
- deliberate cleanup space for scoops, spills, and opened bags
A practical rule is to design the room so five minutes with a broom reveals almost everything. If the floor disappears under loose bags, broken-open corners, and unassigned tools, the room is already drifting away from rodent resistance.
It also helps to avoid treating the original bag as the final storage system. Once feed is opened, the bag should be thought of as temporary packaging rather than protection. The more quickly opened feed moves into tight-lid containers, the less scent, dust, and chewable material the room leaves exposed.
Cost, timing, and build-planning factors
Rodent-proofing is cheaper when it happens before the room fills with feed. Better closures, deliberate bin planning, and easier-to-clean surfaces do not add nearly as much cost as ongoing feed loss, contamination, baiting, and the time spent chasing a problem after it is established.
North Idaho build realities still apply. The room still needs snow-ready framing, a dry base, and site drainage that does not bring dampness to the threshold. Kootenai County notes that larger buildings and some site-disturbance work may require review. Idaho DOPL notes that separate trade permits may apply for electrical, plumbing, or HVAC work. If the shed adds powered lighting, a dehumidifier, or more formal climate control, that should be planned early.
Timing matters because heavy feed rooms become hard to reorganize once the routine is in place. It is far easier to choose bin counts, shelf layout, and sweepable floor space before the building is full. The first season of use should confirm that spills are easy to see, doors shut tightly, and stock rotation is simple enough that old feed is not left in forgotten corners.
On properties around Athol, that planning often includes a wildlife lens as well as a rodent lens. If the building sits on acreage, the best “rodent-proof” design is usually the same design that better contains larger attractants too. If you want the layout reviewed before the footprint is fixed, get a free estimate.
That may influence door hardware, the strength of the latch side, whether feed is stored in heavier cans instead of lighter bins, and how close the building sits to tree cover or open animal areas. Rural North Idaho feed storage succeeds when it assumes more than one kind of animal will test the room.
Popular sizes and layouts for feed storage sheds
A 10x12 works for smaller animal counts and tighter feed rotation, especially when most product can move quickly into sealed bins and the room is not trying to hold too many unrelated tools.
A 10x16 is the strongest all-around size for many North Idaho properties because it leaves room for a practical aisle, clearer category separation, and more inspectable floor space.
A 12x16 becomes the better choice when more species, more supplements, or more bulk buying mean the owner needs true organization rather than just stacked volume.
The layouts that usually stay most rodent-resistant are the ones that keep the floor visible, the storage sealed, and the traffic pattern simple. Rodent-proofing is not one magic material. It is the accumulated effect of dozens of small decisions that make the room harder to exploit and easier to maintain.
That is why design choices really do pay off. Every better seal, clearer aisle, and easier cleanup surface reduces the number of nights the room can support pests without you noticing.
Once the room can be checked quickly and closed tightly, feed storage becomes a controlled routine instead of an ongoing guess.
That kind of predictability is what keeps pest control from becoming another chore that quietly slips behind the rest.
It keeps the room honest.
That is also why simpler rooms usually outperform cluttered clever ones. A room you can inspect quickly, sweep fully, and restock cleanly is much harder for rodents to turn into a long-term food source. On a working property, that consistency protects not just feed value, but chore time and confidence in everything stored there.
Frequently asked questions about rodent-proof feed storage
What size feed storage shed works best for rodent-proof feed storage: design choices that pay off?
For many North Idaho buyers, 10x12 and 10x16 are the best starting sizes because they balance usable floor space with realistic placement on the property. We then size up or down based on snow load, storage volume, and how much dedicated work or seating area you need. Compare 10x12 and see 10x16.
What layout maximizes usable space in a feed & grain storage shed?
Start with your largest item and build the layout around it. Wall-mounted storage, overhead racks, and French cleat systems make the most of vertical space. Get a free estimate.
Frequently asked questions
What size feed storage shed works best for rodent-proof feed storage: design choices that pay off?
For many North Idaho buyers, 10x12 and 10x16 are the best starting sizes because they balance usable floor space with realistic placement on the property. We then size up or down based on snow load, storage volume, and how much dedicated work or seating area you need. Compare 10x12 and see 10x16.
What layout maximizes usable space in a feed & grain storage shed?
Start with your largest item and build the layout around it. Wall-mounted storage, overhead racks, and French cleat systems make the most of vertical space. Get a free estimate.
Ready to plan your build?
Tell us your site, your dimensions, and the use case. We'll come out and price it.