Setting up a small moto workshop: must-have circuits and lighting
A small moto workshop works best when power and lighting are sized around the actual maintenance routine, not just around the idea of having a few outlets on the wall. In North Idaho, the useful layout is the one that supports chargers, compressors, bench tools, and bright task light without turning a narrow shed into an extension-cord trap.
Setting Up a Small Moto Workshop in North Idaho
A moto workshop does not need to be huge to be effective, but it does need to be intentional. The common failure pattern is predictable: one machine fits, one bench fits, and then everything else gets solved with extension cords, dim lights, and whatever outlet happens to be closest to the battery charger. That works for a weeknight oil change. It gets old fast when the shed is expected to handle tire swaps, chain service, carburetor work, suspension tuning, or cold-weather repairs after a muddy ride.
A purpose-built dirt bike or moto workshop should be planned around the maintenance sequence. Where does the bike roll in? Where does it sit on a stand? Where is the main bench? Which wall carries the charger, compressor, and small-tool power? Where does the brightest light fall when the bike is centered in the room? Once those answers are clear, the circuits and lighting plan starts looking obvious.
This is especially true in markets like Silver Valley, where shoulder-season mud, winter snow, and rougher access roads mean bikes come back dirty and late. A workshop that looks acceptable on a calm summer afternoon can feel underpowered and dim when the owner is wrenching after dark, running a fan, battery tender, and compressor while trying not to overload one convenience circuit.
The main goal is not to build an industrial shop. It is to make a small room perform predictably. That usually means a realistic subpanel plan, brighter and more layered lighting than first-time buyers expect, and a layout that does not force every powered tool into the same corner.
What size dirt bike / moto workshop do you need?
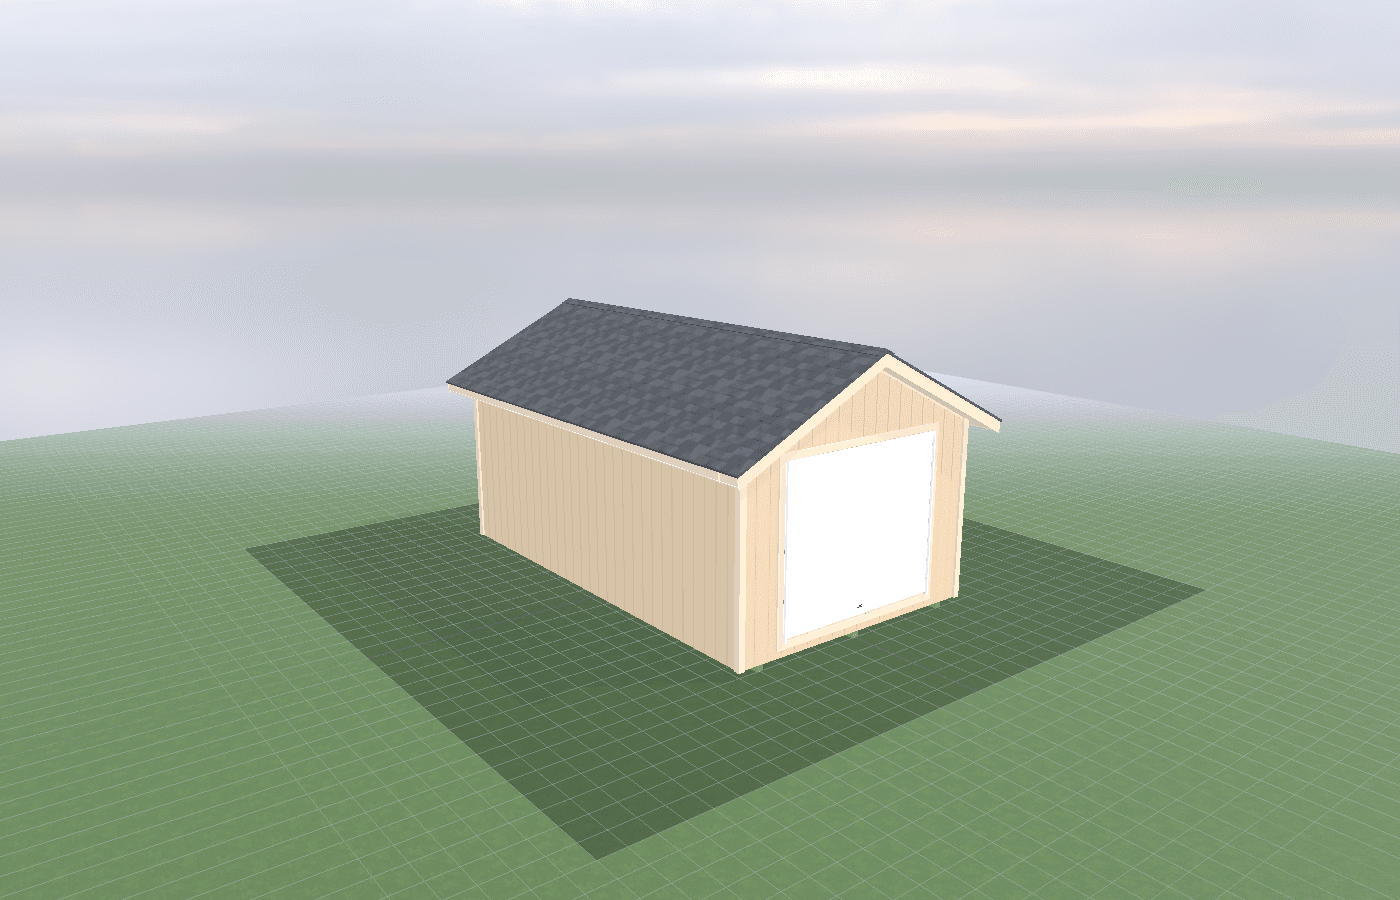
A 10x16 is often the smallest honest moto-workshop footprint because it can support one bike, one real bench, and enough wall length for outlets and storage without completely sacrificing the center aisle. If the owner keeps the room disciplined, this size can feel efficient rather than cramped.
A 12x20 is where the room starts getting more forgiving. It allows a stronger separation between the service wall and the bike lane, and it makes it easier to place outlets and task lights where they are actually useful instead of where framing convenience happened to leave space. For many buyers, this is the size where the building starts to feel like a workshop instead of a storage shed with a bench.
A 12x24 is better when the shop wants multiple functions at once: one main workbench, one dedicated bike space, more parts storage, or room for a compressor and charger zone without constant overlap. It also gives more freedom to keep the brightest task lighting on the true work side while the rest of the room carries more general illumination.
The right size is the one that still works after the bench, tool storage, and electrical needs are added. If the bike technically fits but the bench corner becomes the only place anything with a cord can run, the workshop is undersized or poorly planned.
Best layouts and features for dirt bike / moto workshop
Start with one serious service wall
Small workshops usually work best when one long wall does the heavy lifting. That wall can carry the main bench, the most-used outlets, task lighting, chargers, and parts organization. Grouping these elements keeps the room from becoming a random collection of powered stations that each need their own workaround.
In a narrow footprint, the best approach is often a workbench-first layout that protects the service wall and leaves the opposite side cleaner for bike movement, parts staging, or lighter storage. That is why workbench-first layout templates for narrow sheds belongs in the same conversation as this guide.
Think in circuits, not just outlets
The workbook FAQ points in the right direction: once the workshop gets serious, a dedicated subpanel is often the right backbone. Kootenai County notes that electrical inspections are handled by state inspectors, which is a useful reminder that real workshop power should be planned with a licensed electrician instead of improvised after the fact.
In practical terms, owners should think about at least three categories of electrical demand. First is general-use wall power for chargers, bench tools, and small accessories. Second is lighting, which should not be tied to the same circuit that every high-draw tool shares. Third is specialty demand, which might include a compressor, heater, welder, larger saw, or future 240V tool. A small workshop becomes easier to live with when those loads are separated before the walls are finished.
Use layered lighting instead of one bright center fixture
Good workshop lighting is not one big fixture in the middle. It is a combination of general overhead light, brighter task light at the bench, and enough coverage around the bike that shadows do not turn basic maintenance into guesswork. Chain inspection, spoke work, carb tuning, wiring repairs, and reading wear marks all get harder in a room with poor side light.
Narrow sheds benefit from linear overhead lighting that runs along the useful work path instead of clustering everything over the center. Then add targeted bench lighting where small parts, wiring, and fluids are actually handled. The owner should be able to open a parts bin, read labels, and inspect fasteners without carrying a flashlight in their teeth.
Plan for air movement, not just heat
Moto workshops also create odors and fumes, so circuits and lighting should not be planned in isolation from ventilation. Chargers, heaters, fans, and any small-engine work all change the air strategy. That is why oil, fuel, and odors: ventilation basics for small engine spaces is a direct companion page here. A powerful well-lit shed is still a poor workshop if the air gets stale or risky the moment the bike runs indoors.
Cost, timing, and build-planning factors
The biggest budget drivers are usually size, panel capacity, number and placement of circuits, lighting quality, and whether the room also wants insulation or year-round comfort. A simple bike shed with a bench and a few outlets is one project. A true workshop with a subpanel, layered lighting, future 240V capacity, and a more finished bench wall is another.
Timing matters because electrical rough-in and lighting placement are easiest to solve before insulation and interior finish go in. If the owner already knows that a bench will live on one wall and a charger station on another, there is no reason to leave those decisions until after drywall or interior liner panels are up. Small workshops become messy when they are wired like blank storage boxes and then expected to act like service rooms.
North Idaho structural realities still apply. The building still needs to be designed for snow loads that can range from around 40 psf into the 50s and 60-plus psf depending on the site, and the support system still has to respect the common 24-inch frost-depth conversation. Those structural decisions matter because the owner is often adding more permanent utilities and heavier use than a simple storage shed would see.
Local review matters too. Kootenai County routes many storage-building permits through its Building Division, Bonner County requires Building Location Permits for many structures over 400 square feet, and Shoshone County says most construction requires permits and compliance with county building rules. Once power, lighting, and workshop use become part of the plan, the project should be treated like a real build, not a casual add-on.
If you want the workshop to run cleanly from day one instead of growing into a cord-and-shadow problem, request a free estimate before finalizing the footprint. It is much easier to get circuits and lights right before the shell is closed in.
Popular sizes and layouts for dirt bike / moto workshop
A 10x16 works best for the owner who wants one serious bench wall, one bike lane, and a compact but honest power plan. A 12x20 is often the sweet spot because it gives more room for bench depth, tool storage, and clearer separation between general-use power and the main bike zone.
A 12x24 is the better choice when the owner wants more than one active work area, or enough room for chargers, compressor space, and parts storage without crowding the center. In a longer layout, lighting can also be zoned more intelligently, with stronger task light on the service side and more general overhead light elsewhere.
The best layout usually keeps the brightest light where the smallest parts are handled, the most useful outlets above or beside the bench, and the bike movement path clear of cords. If the room can support a repair session without extension cords crossing the floor and without deep shadows at the work surface, the plan is doing its job.
Frequently asked questions about dirt bike / moto workshop
What size dirt bike / moto workshop works best for setting up a small moto workshop: must-have circuits and lighting?
For many North Idaho buyers, 10x16 and 12x20 are the best starting sizes because they balance usable floor space with realistic placement on the property. We then size up or down based on snow load, storage volume, and how much dedicated work or seating area you need. Compare 10x16 and see 12x20.
Do I need a dedicated subpanel for a workshop shed in North Idaho for my property?
For 240V tools like welders and table saws, yes. A 60-100 amp subpanel run from your main panel is standard for serious workshops. We coordinate with licensed electricians. See workshop options.
Frequently asked questions
What size dirt bike / moto workshop works best for setting up a small moto workshop: must-have circuits and lighting?
For many North Idaho buyers, 10x16 and 12x20 are the best starting sizes because they balance usable floor space with realistic placement on the property. We then size up or down based on snow load, storage volume, and how much dedicated work or seating area you need. Compare 10x16 and see 12x20.
Do I need a dedicated subpanel for a workshop shed in North Idaho for my property?
For 240V tools like welders and table saws, yes. A 60-100 amp subpanel run from your main panel is standard for serious workshops. We coordinate with licensed electricians. See workshop options.
Ready to plan your build?
Tell us your site, your dimensions, and the use case. We'll come out and price it.