Small engine shop layout: bench, parts, and tool wall planning
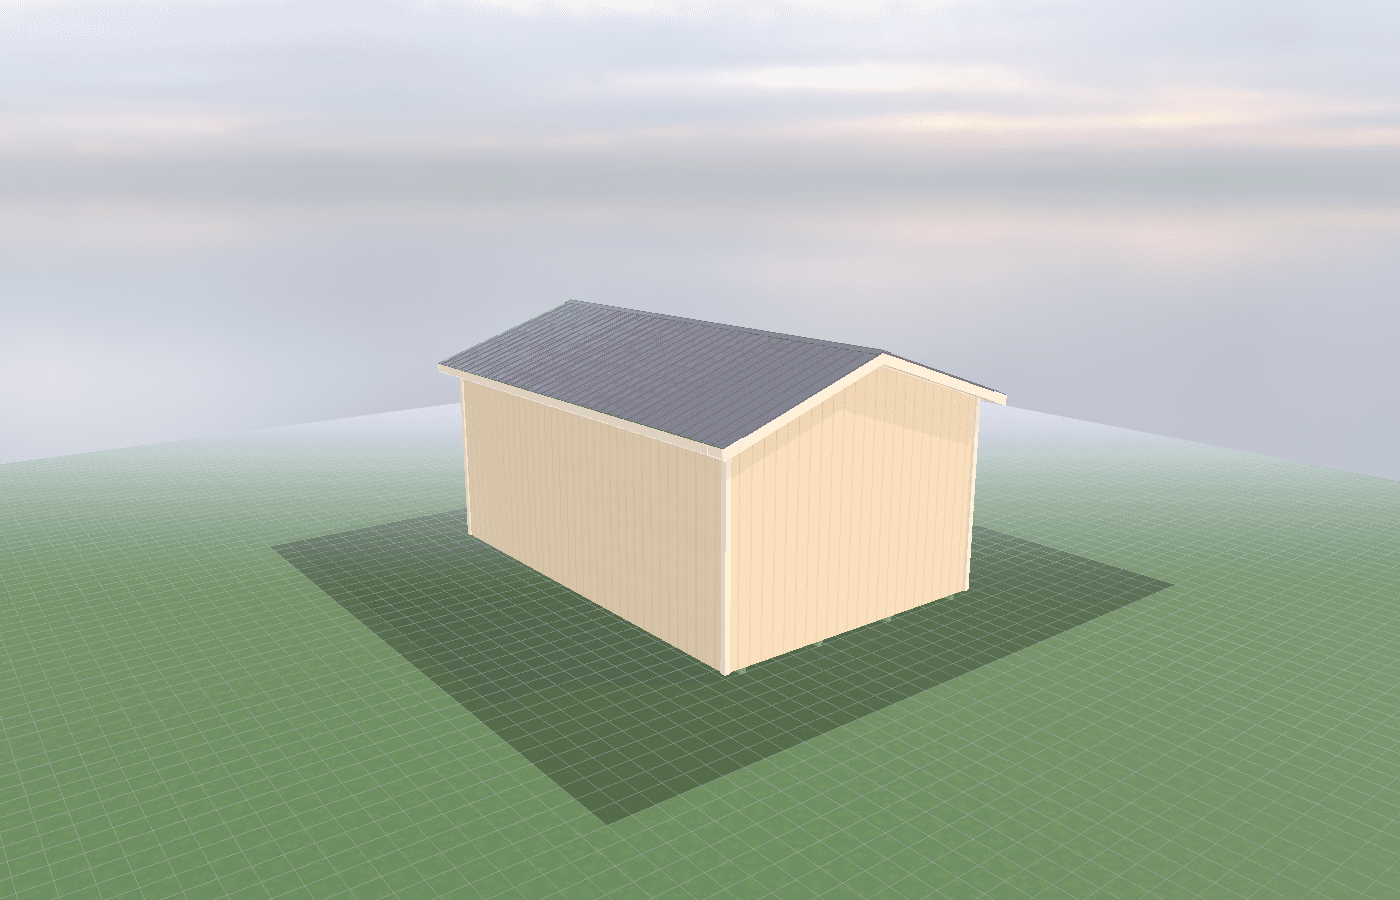
A small engine repair shed works best when the room is laid out around the real sequence of work: intake, teardown, cleaning, parts staging, reassembly, and outdoor test-running. In North Idaho, mud season, snow equipment, and long winters make that workflow even more important because fuel, oily parts, and wet machines all end up in the same footprint. Because NIOS builds on-site, the shell can be sized around your bench length, storage wall, and service aisle instead of forcing a repair workflow into a generic shed.
Small Engine Shop Layout in North Idaho
A small engine shop does not need to be huge, but it does need to be intentional. Homeowners around North Idaho often want one building to cover lawn equipment, chainsaw work, generator maintenance, dirt-bike service, and the annual wave of spring tune-ups. That mix creates conflicting needs: you want a clean bench for carburetor parts and small fasteners, but you also need a dirty zone for oily components, wet tires, and seasonal clutter. If the room is not zoned early, the workbench becomes storage and the repair flow breaks down.
The cleanest way to plan a small engine repair shed is to walk the job in order and assign each stage to a wall or corner. A practical sequence looks like this:
- Roll the machine in and park it near the door without blocking the bench.
- Move removable parts to a teardown bench with bright task lighting.
- Shift cleaned parts to labeled shelving or bins instead of leaving them on the bench.
- Keep fluids, cleaners, and oily waste in a dedicated storage area away from ignition sources.
- Reassemble at the main bench with tools on the wall, not piled on the work surface.
- Push the machine back outside for any real warm-up or test-running.
That last step matters. CDC and NIOSH warn that small gasoline-powered engines can produce dangerous carbon monoxide levels quickly, even in spaces that do not feel closed up. In practice, a repair shed should support service work, short inspections, and parts handling, but not become a place where engines idle indoors while the door is cracked. Likewise, OSHA's flammable-liquids rule is a reminder that fuel and solvents deserve deliberate storage rather than living on open shelves beside extension cords and chargers.
North Idaho weather adds its own pressure. Snow-covered equipment comes in dripping, shoulder-season mud gets tracked across the floor, and a spring repair backlog can make every square foot feel smaller. That is why layout beats raw square footage. A well-planned shop in Post Falls or a rural acreage outside town can work extremely well if the bench, parts wall, and dirty-zone storage are arranged before the shell is built.
What size small engine repair shed gives you enough usable room?
The right size depends less on the words "repair shed" and more on what must happen at the same time inside the room. If the bench, parts wall, and machine parking lane all fight for the same ten feet, the shop will always feel cramped.
A 10x16 is usually the best starting point for homeowners who want one serious workbench, one main machine in the room at a time, and strong wall storage. It works best when the long wall carries the bench and tool system, while the opposite wall stays relatively shallow for bins, chargers, and shelves. With that approach, the center stays open for maneuvering a mower, snowblower, or small bike.
A 12x16 is the better answer once the shop needs more than one active zone. The extra width makes it easier to keep a full walking lane while still fitting a deeper bench, a compressor corner, or a dedicated parts cabinet wall. If you expect one person to be at the bench while another machine is staged inside, 12x16 is where the room usually starts to feel comfortable instead of merely workable.
A 12x20 is where a home repair shed begins to act like a real service room. It gives enough length to separate intake and teardown from reassembly and storage. This footprint also works well if one end of the room needs winter storage for attachments or tires while the bench stays fully usable all year.
A 12x24 is appropriate when the shed must combine shop use and storage without constant reshuffling. This is the size where you can justify more specialized zones: a bench wall, a small parts-cleaning area, a rolling-tool bay, and a dedicated parking position for one machine without crowding the aisle.
A good rule is to keep at least one uninterrupted walking lane from the door to the back of the room and to size the shell around your largest machine with extra working room around it. If the machine barely fits, the shop is not laid out yet. It is just packed.
Best layouts and features for small engine repair shed
The most reliable layout starts with the longest uninterrupted wall. That is where the primary bench should live. A long bench does more than hold tools; it creates a default work zone that prevents every repair from taking over the whole building. Wall-mounted storage above that bench keeps tools visible and off the surface. French cleats, pegboard sections, shallow shelves, and labeled bins all work, but the key is consistency. The same wrench, spark tester, and carb tool should go back to the same place every time.
Across from the bench, keep storage shallow unless you have a wide building. Deep shelving on both sides is how shops lose their usable center aisle. For most home shops, one side should do the heavy work and the opposite side should handle light storage: parts bins, oil racks, battery chargers, manuals, and small-case tools.
A strong small-engine layout usually includes these features:
- one dominant bench wall with bright overhead and task lighting
- a separate parts wall with labeled bins and drawer units
- a dirty corner for oils, fuel, absorbents, and waste handling
- floor space that allows one machine to sit inside without pinning the operator to the wall
- ventilation that clears fumes quickly during brief service checks and cleanup
- durable floor and wall finishes that do not punish you for doing mechanical work
Ventilation deserves extra planning. The right answer is not "a big fan somewhere." Air should move across the room in a way that clears fumes and heat without turning the bench into a wind tunnel. A fresh-air path near the door and exhaust at the opposite end usually works better than one fan mounted randomly. If you are still deciding how to handle fumes, ventilation basics when fuel and solvents are present is worth reading before the wiring and wall finishes are locked in.
Floors matter just as much. Mechanical work is easier when the floor can handle drips, sweeping, and muddy traffic without becoming permanently stained or slick. That is why oil-resistant floors and easy-cleanup finishes pairs naturally with this guide. In a North Idaho shop, easy cleanup is not cosmetic. It is what keeps spring mud, sawdust, and oily residue from turning the whole room into a maintenance project of its own.
Another smart move is to keep any routine test-running outside on a short apron or pad rather than trying to create an indoor run bay. That gives you safer exhaust conditions, less noise in the room, and a clearer split between repair space and operating space.
Cost, timing, and build-planning factors
A small engine shed usually becomes expensive for one of two reasons: the owner undersizes it and immediately needs more work to make it usable, or the owner delays systems decisions until after the shell is built. Benches, outlet placement, compressor location, lighting, insulation, and exterior apron planning all cost less when they are settled early.
In North Idaho, build timing also matters. Snow season changes site access, and spring is when repair shops are most valuable, which means the room should be planned before the seasonal rush. If the shed needs a new feeder, extra circuits, or trenching, Idaho DOPL's permit and inspection process matters, and the trench route should be coordinated before the site gets busy. Their guidance to call 811 before excavation is not a formality when a service line or drain is crossing an already tight yard.
Budget decisions should follow workflow, not vice versa. Spend first on the shell size that preserves a usable aisle, then on the electrical plan, then on the floor and wall finishes that help the room stay clean. Decorative trim and secondary storage can wait. A shop that works every week is worth more than a prettier room that fights you on every repair.
If you already know the type of equipment you service most often, it is easier to turn that list into an actual plan. Bring that inventory to a builder early and get a free estimate before guessing at the footprint.
Popular sizes and layouts for small engine repair shed
A 10x16 layout works best for homeowners who want one long bench, one active machine in the room, and wall storage for routine maintenance tools and parts. It is the classic tune-up footprint and often the most cost-efficient answer.
A 12x16 layout is ideal when you want the same basic shop concept but need more breathing room between the bench and the machine. This is the easiest footprint to recommend for buyers who know they will keep parts cabinets, chargers, and rolling toolboxes inside year-round.
A 12x20 layout works when the room needs real separation between service space and storage. It is strong for a bench-first plan where seasonal equipment, attachments, or tire storage live on one end while the bench remains open on the other.
A 12x24 layout is the most flexible option in this Phase 73 group. It supports a true intake-to-reassembly flow and gives enough room for future additions like more shelving, a dedicated compressor niche, or a cleaner assembly table.
The strongest layout in any of these sizes starts with the machine path first, the bench wall second, and storage last. Most cramped shops are designed in the opposite order.
Frequently asked questions about small engine shop layout
What size small engine repair shed works best for small engine shop layout: bench, parts, and tool wall planning?
For many North Idaho buyers, 10x16 and 12x16 are the best starting sizes because they balance usable floor space with realistic placement on the property. We then size up or down based on snow load, storage volume, and how much dedicated work or seating area you need. Compare 10x16 and see 12x16.
What layout maximizes usable space in a small engine repair shed?
Start with your largest item and build the layout around it. Wall-mounted storage, overhead racks, and French cleat systems make the most of vertical space. Get a free estimate.
Frequently asked questions
What size small engine repair shed works best for small engine shop layout: bench, parts, and tool wall planning?
For many North Idaho buyers, 10x16 and 12x16 are the best starting sizes because they balance usable floor space with realistic placement on the property. We then size up or down based on snow load, storage volume, and how much dedicated work or seating area you need. Compare 10x16 and see 12x16.
What layout maximizes usable space in a small engine repair shed?
Start with your largest item and build the layout around it. Wall-mounted storage, overhead racks, and French cleat systems make the most of vertical space. Get a free estimate.
Ready to plan your build?
Tell us your site, your dimensions, and the use case. We'll come out and price it.