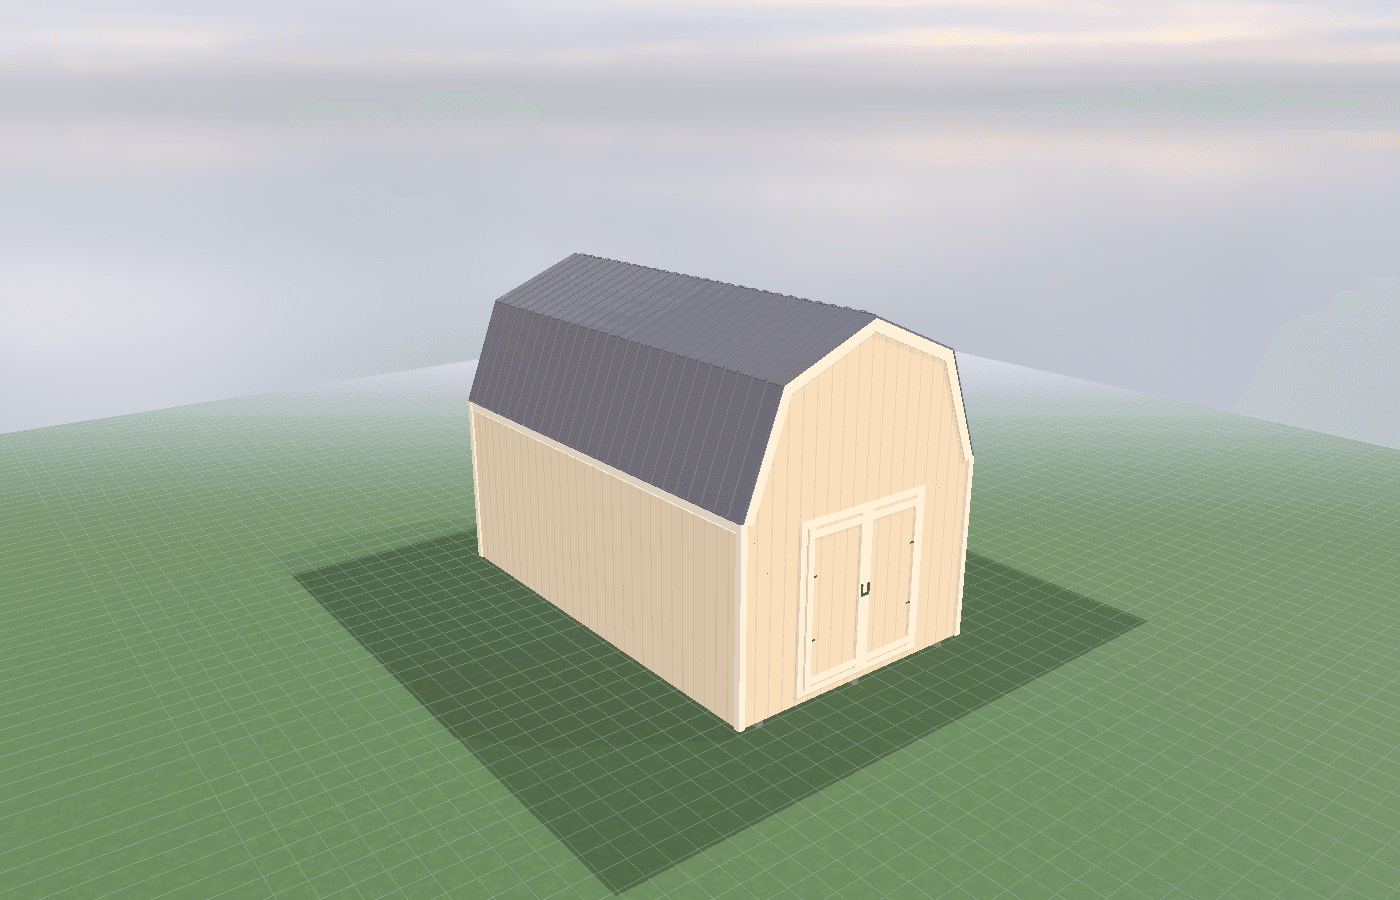
Tack room sizing: saddle racks, bridle storage, and drying
A tack room that looks big on paper can still feel cramped once saddles, pads, blankets, and boots start projecting off the walls. In North Idaho, tack-room sizing works best when storage depth, drying space, and winter chore traffic are planned together, because gear only stays organized when there is enough room for circulation after the racks and hooks are installed.
Tack Room Sizing Saddle Racks in North Idaho
Tack room sizing is really a clearance problem disguised as a square-footage problem. Saddles push into the aisle. Bridles want protected hanging space. Pads and blankets need somewhere to dry without being folded damp into a corner. Boots, helmets, grooming totes, medicine bins, and rider outerwear all compete for the same walls. If you size the room only by floor area and forget what the equipment does to the usable aisle, the room will feel crowded almost immediately.
Oregon State's 4-H horse project guide is helpful because it talks about tack storage in terms of how the gear should actually live. Saddles should be stored on proper racks or supports, bridles should hang on wide rounded hooks rather than thin nails, and blankets or pads should be hung so air can circulate and dry them. That advice points straight at the sizing issue. A room is not truly large enough unless those storage methods can happen while still leaving enough circulation to walk, sort gear, and put items away without knocking something else over.
North Idaho adds more pressure because the tack room usually becomes a transition space during bad weather. Muddy boots come in. Wet pads need to dry. Heavy winter blankets take up more volume than light summer sheets. Frozen mornings also change behavior. People move faster, pile gear more carelessly, and need the room to work with fewer steps. That is why this topic pairs naturally with moisture and mold: protecting leather and textiles and security and access: designing for daily chores. A well-sized tack room supports both.
It also explains why a dedicated tack room shed performs differently than a corner cut out of a larger barn. Once the room is designed around tack first, wall depth, rack projection, and drying space can all be chosen intentionally instead of squeezed into whatever dimensions happened to remain.
What size tack room shed gives you enough usable room?
A 10x12 is the smallest footprint that usually feels honest for a true tack room. It can support a basic saddle wall, bridle storage, some shelf space, and a modest open aisle if the gear count stays controlled. For one or two riders, this can work very well, especially if blankets and bulky seasonal items rotate elsewhere.
A 10x16 is often the best all-around answer because it gives the room a little breathing space. The extra length helps separate the bulkier drying and blanket side from the more compact bridle, helmet, and grooming-storage side. It also makes it easier for two people to use the room at once without constantly waiting for the other person to move.
A 12x16 is where the room starts acting like a real work space instead of a gear closet. That added width helps when you have several saddles, multiple riders, deeper trunks, or simply want the room to stay orderly during winter. It is easier to keep drying gear from crossing into the everyday grab-and-go zone.
A 12x20 makes sense when the room supports multiple riders, more saddle inventory, or a dedicated bench, boot area, or veterinary-supply cabinet. Larger is not automatically better, but once the room must hold bigger seasonal loads, the extra space often pays back in daily efficiency.
That added length also helps properties that want a cleaner split between chore-side storage and cleaner show or lesson tack. When one half of the room can stay more stable and less crowded, the whole room usually stays tidier.
Best layouts and features for tack room sheds
The strongest tack rooms usually start with a wall plan instead of a floor plan. Decide where saddles live, where bridles live, where pads and blankets can dry, and where boots or chore gear land first. Once that is clear, the circulation path becomes much easier to protect.
A common mistake is putting all tack on one wall and then using the opposite wall for whatever does not fit elsewhere. That tends to collapse into clutter because the room never develops clear zones. A better layout usually has one heavier storage wall for saddles and trunks, one hanging wall for bridles, reins, halters, and smaller items, and one controlled drying or textile side where wet blankets and pads can hang with real airflow around them.
Features that usually pay off include:
- proper saddle-rack spacing so skirts and fenders are not constantly rubbing
- wide rounded bridle hooks or rails instead of narrow improvised hardware
- blanket bars, drying rails, or other hanging solutions that leave air around damp textiles
- a bench or low cabinet near the door for boots, gloves, and fast daily-use gear
- enough blank wall left over for future additions instead of designing the room to 100 percent capacity on day one
This is also where moisture and access come back into the picture. If the drying side is too close to leather storage, damp gear will keep creating humidity problems. If the tack room is sized correctly but the door placement makes it awkward to move saddles in and out, the room will still feel too small in practice. That is why the sizing conversation should include not just storage counts, but how the user actually walks the room every day.
Cost, timing, and build-planning factors
Sizing mistakes get expensive because they are hard to undo cleanly. Once the shell is built, a tack room that needed another four feet of length or a little more width usually does not have an elegant fix. Owners respond by stacking blankets too tightly, hanging bridles on whatever hardware is available, or pushing trunks into the aisle. None of those are good long-term outcomes for expensive gear.
North Idaho build realities still apply. A tack room still needs roof framing sized for regional snow loads, a base that handles freeze-thaw conditions, and site drainage that keeps the entrance from becoming a mud pocket. Kootenai County notes that buildings over 200 square feet in county jurisdiction often trigger permit review, and site disturbance work such as grading or runoff control may need review as well. Idaho DOPL notes that trade permits may still be needed for electrical, plumbing, or HVAC work even where the building permit comes from a different local authority. If your tack room wants power for lighting or a more finished conditioned interior, that matters early.
Timing matters for practical reasons too. Most owners understand the room best after laying out their actual saddles, blanket count, trunks, and winter gear. Doing that exercise before the build is much cheaper than discovering mid-season that one added saddle rack erased the turning space in the aisle.
On properties around Athol, site layout also changes the value of size. A slightly larger room close to the barn often works better than a perfectly sized room farther away, because every extra step increases the odds that damp gear gets dropped somewhere less suitable. If you want the footprint reviewed against your real gear list, get a free estimate.
Popular sizes and layouts for tack room sheds
A 10x12 works best for smaller tack collections and disciplined storage, especially when the property already has another place for feed, medicines, or bulk supplies.
A 10x16 is the strongest all-around size for many North Idaho horse properties because it adds just enough length to create a clearer split between daily grab-and-go gear and the bulkier drying or blanket side.
A 12x16 is the better answer when multiple riders use the room, when saddle count is higher, or when the owner wants more breathing room around trunks, shelves, and seasonal outerwear.
A 12x20 becomes worthwhile when the tack room is expected to handle higher volume, more waiting-to-dry gear, or a bench and supply zone without sacrificing the central aisle.
The layouts that age best are the ones that keep the middle of the room open and let the walls do the work. Tack rooms feel smaller year after year when the aisle becomes storage. They feel bigger when the storage plan respects what saddles, blankets, and people actually need in motion.
That is especially true on properties where winter blankets, rain sheets, and extra pads swell the room seasonally. The right footprint gives those short-term spikes a place to land without permanently stealing the aisle.
That extra breathing room is often the difference between organized storage and a room that always feels one storm behind.
Frequently asked questions about tack room sheds
What size tack room shed works best for tack room sizing: saddle racks, bridle storage, and drying?
For many North Idaho buyers, 10x12 and 10x16 are the best starting sizes because they balance usable floor space with realistic placement on the property. We then size up or down based on snow load, storage volume, and how much dedicated work or seating area you need. Compare 10x12 and see 10x16.
What shed dimensions work best for a tack room shed in North Idaho?
The ideal size depends on your specific equipment and workflow. For most tack room shed projects in North Idaho, start by measuring your largest items and adding 30% for workspace and circulation. Get a free estimate.
Frequently asked questions
What size tack room shed works best for tack room sizing: saddle racks, bridle storage, and drying?
For many North Idaho buyers, 10x12 and 10x16 are the best starting sizes because they balance usable floor space with realistic placement on the property. We then size up or down based on snow load, storage volume, and how much dedicated work or seating area you need. Compare 10x12 and see 10x16.
What shed dimensions work best for a tack room shed in North Idaho?
The ideal size depends on your specific equipment and workflow. For most tack room shed projects in North Idaho, start by measuring your largest items and adding 30% for workspace and circulation. Get a free estimate.
Ready to plan your build?
Tell us your site, your dimensions, and the use case. We'll come out and price it.