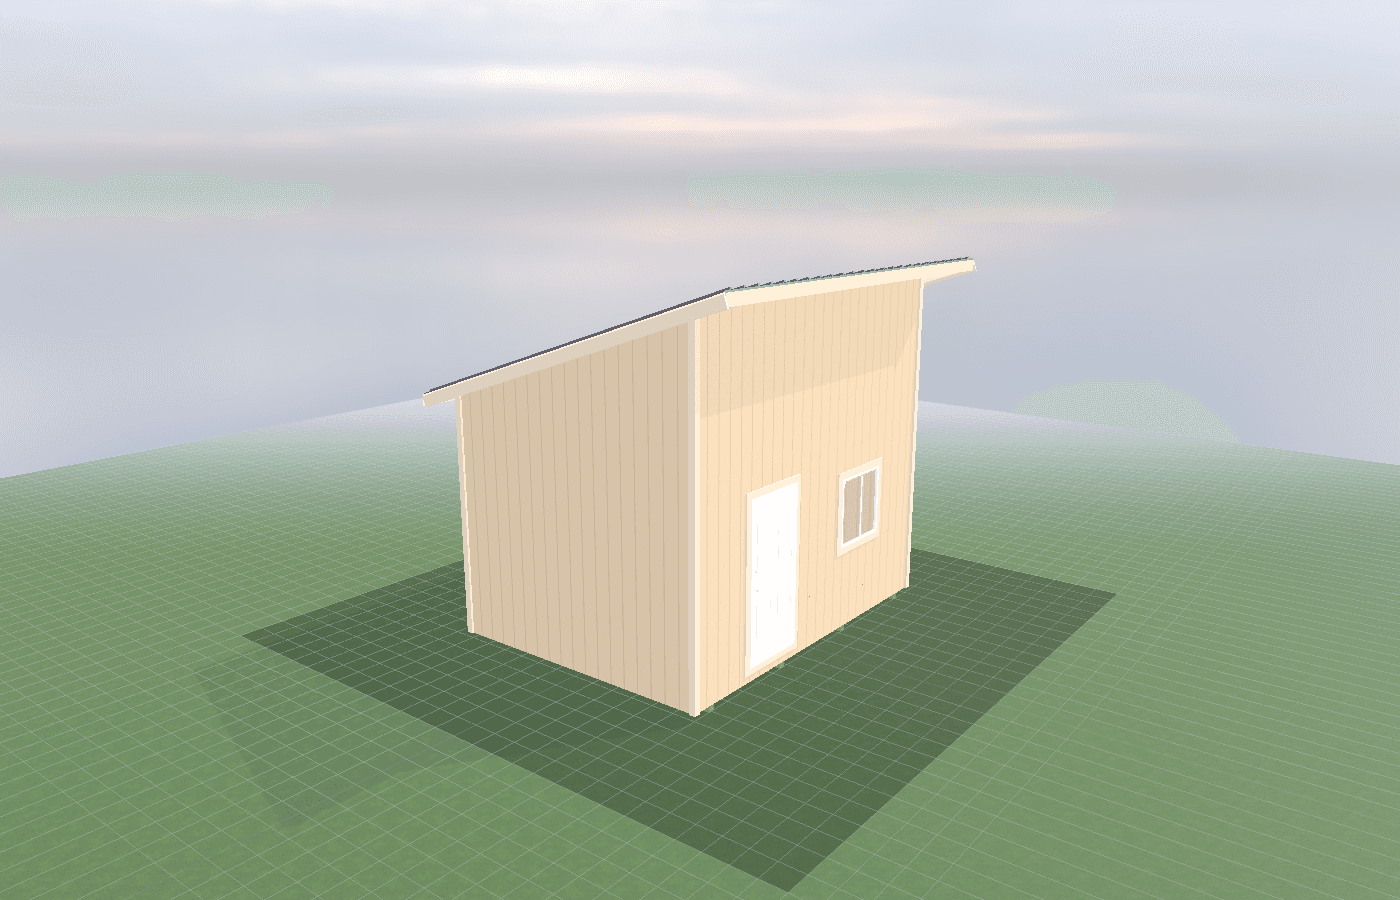
Winter washing realities: keeping a wash bay usable
A winter-capable wash bay is really a moisture-management and recovery room with enough heat, drainage, and airflow to stay usable after slush-covered vehicles come through. In North Idaho, the hard part is not getting water into the bay. It is getting the room dry, warm, and safe again before the next job starts.
Winter Washing Realities in North Idaho
Winter is where a wash bay either proves itself or exposes every shortcut in the plan. A detailing shed can feel fine in July and miserable in January. The difference is not just temperature. It is what arrives with the vehicle: packed snow in the wheel wells, muddy meltwater, road grit, heavy humidity, frozen hoses, and a constant cycle of wetting and refreezing around the door.
That is why winter washing has to be planned as a full building behavior, not just a heater selection. The bay needs to recover after the wash, not only survive during it. Water must move off the floor. Warm air must help surfaces dry. The entry must not turn into an ice edge. The room has to handle the fact that winter work imports more liquid and more contamination than the owner usually expects.
In North Idaho, the climate makes this more pronounced because the season is long enough that “I only wash when it warms up” often becomes unrealistic. Daily drivers, work trucks, side-by-sides, and contractor vehicles still need attention. If the bay is meant to work in real winter conditions, the shell, drainage, lighting, and utility plan need to support that use from the beginning.
This guide builds directly on the main auto detailing shed page and the related planning guides for drainage and moisture control: what makes a wash bay work and lighting for detailing: how to avoid shadows. Winter use is basically those two topics under stress: more water, less forgiveness, shorter daylight, and less natural drying time.
A successful winter wash bay is not the room that can get a vehicle wet. It is the room that can get back to a safe, dry working condition quickly enough to stay practical all season.
What size detailing shed do you need?
A 14x20 is usually the minimum workable size for a true winter wash bay. It can handle one vehicle and a modest amount of drainage and drying support, but the room has less margin once snow banks, hose reels, towels, carts, and winter gear start occupying floor space.
A 14x24 is often the best all-around answer because it provides more recovery room. That extra length lets the owner manage slush, staging, drying tools, and safer walking paths without every task happening on the same wet rectangle of concrete.
A 16x24 becomes more attractive for larger vehicles, more side-work volume, or owners who want a clearer split between the active wash area and the cleaner detailing or drying side. Winter use rewards that separation because wet work lingers longer and spreads farther than it does in warm weather.
The sizing question is whether the room can hold the vehicle and still leave a dry enough path for the person working around it. In winter, circulation space is part of the safety system, not just a convenience.
Best layouts and features for detailing sheds
The strongest winter detailing sheds are built around recovery. That usually starts with a good shell, deliberate drainage, and a heating approach that supports drying instead of merely making the operator less miserable. A warm room with a wet floor that never clears is still a bad winter bay.
For many North Idaho wash bays, the most useful winter features include:
- an insulated shell that reduces condensation and helps the room rebound after a wash cycle
- a floor plan that sends water toward drains instead of letting it freeze along the traffic path
- entry details that limit how much slush and runoff escape the wash lane
- hose and tool storage that allows wet items to drain and dry instead of puddling in corners
- lighting that still works when the day is dark and the walls are wet
Heating deserves honest tradeoff discussion. The workbook baseline of R-19 walls, R-38 ceiling, and mini-split comfort planning is a useful starting point, but wash bays also need airflow and surface drying. In practice, the bay performs best when the heat strategy and moisture strategy are designed together. A room that holds temperature but traps humidity can feel clammy, foggy, and slow to reset between vehicles.
Door planning matters more than most buyers expect. Every winter bay needs to think about where snow comes off the tires, how runoff behaves at the threshold, and whether the door area becomes a slippery bottleneck. A clean trench or collection detail near the entry often does more for day-to-day usability than one more shelf or cabinet inside the room.
The room should also be easy to reset at the end of a cold-weather wash. Squeegees, mats, towel racks, hose reels, and wet-gear storage need real homes. Winter detailing gets chaotic when the room has nowhere to put damp things except the same floor that is supposed to dry out.
Utilities deserve winter-specific planning too. Hose bib placement, shutoff access, drain cleanout access, and where thaw-sensitive supplies are stored all affect whether the bay is truly usable when temperatures drop. The best rooms make it easy to isolate water when needed, keep vulnerable equipment out of the coldest corners, and avoid routing wet hoses or extension cords across the main walking line.
A winter bay also benefits from realistic expectations about throughput. One vehicle may leave behind enough moisture to affect the room for hours if airflow and drainage are weak. Owners who intend to wash several vehicles back to back should plan for longer recovery, more drying tools, and more disciplined wet-item storage than a fair-weather setup would ever need.
Cost, timing, and build-planning factors
Winter-capable wash bays cost more than “summer-only but maybe heated later” bays because the details have to work together. Drainage, insulation, lighting, heating, and site grading all matter more once the room is asked to perform in subfreezing weather and repeated wet-dry cycles.
Kootenai County building and site-review considerations still apply, along with the practical North Idaho issues of snow-ready framing and the common 24-inch frost-depth discussion. Idaho DOPL also remains part of the planning picture when the project includes dedicated electrical, mechanical, or plumbing work. Winter wash bays tend to accumulate utility scope quickly: more lighting, more outlets, better heating, frost-aware hose connections, and sometimes more elaborate ventilation.
Timing matters because the first winter is when the shed will reveal whether the entry, drains, and airflow actually work. If the owner waits to solve those issues after the room is already in use, retrofits often involve wet concrete work, utility moves, or more lost time than expected. It is usually cheaper to over-plan winter recovery than to repair a room that never really dries.
Around Post Falls, where many buyers want a building that can support both home vehicles and side jobs, winter usability often determines whether the bay earns its keep or becomes a shoulder-season-only room. If you want the shed sized and detailed for four-season use, get a free estimate.
The winter question is always the same: can the room recover before the next vehicle arrives? If the answer is no, the bay is underbuilt for real cold-weather use even if it technically has heat and a drain. That recovery speed is the real benchmark for winter detailing bays in practice.
Popular sizes and layouts for detailing sheds
A 14x20 works when the bay serves one vehicle at a time and the owner keeps the layout disciplined, especially around the entry and wet-gear storage.
A 14x24 is the strongest all-around size for many North Idaho winter wash bays because it offers more drying space, safer circulation, and a cleaner split between the wettest work and the support side of the room.
A 16x24 becomes the better answer when larger vehicles, more equipment, or more year-round throughput require additional recovery space and better separation between functions.
The layouts that usually win are the ones where winter water has an obvious path out, the operator has an obvious path around, and the room can return to working order without a long waiting period after every wash.
That usually means the room is sized not just for the vehicle but for the snow and slush that arrive with it. Winter-capable bays need more buffer than warm-weather bays because every wet item takes longer to stop affecting the space.
Frequently asked questions about winter washing realities
What size detailing shed works best for winter washing realities: keeping a wash bay usable?
For many North Idaho buyers, 14x20 and 14x24 are the best starting sizes because they balance usable floor space with realistic placement on the property. We then size up or down based on snow load, storage volume, and how much dedicated work or seating area you need. Compare 14x20 and see 14x24.
What drainage system does a detailing wash bay shed need for my property?
A sloped floor to a center drain with a sediment trap handles washwater. Use a trench drain at the bay entrance to contain runoff. Check local codes for wastewater disposal rules. See detailing shed options.
Frequently asked questions
What size detailing shed works best for winter washing realities: keeping a wash bay usable?
For many North Idaho buyers, 14x20 and 14x24 are the best starting sizes because they balance usable floor space with realistic placement on the property. We then size up or down based on snow load, storage volume, and how much dedicated work or seating area you need. Compare 14x20 and see 14x24.
What drainage system does a detailing wash bay shed need for my property?
A sloped floor to a center drain with a sediment trap handles washwater. Use a trench drain at the bay entrance to contain runoff. Check local codes for wastewater disposal rules. See detailing shed options.
Ready to plan your build?
Tell us your site, your dimensions, and the use case. We'll come out and price it.