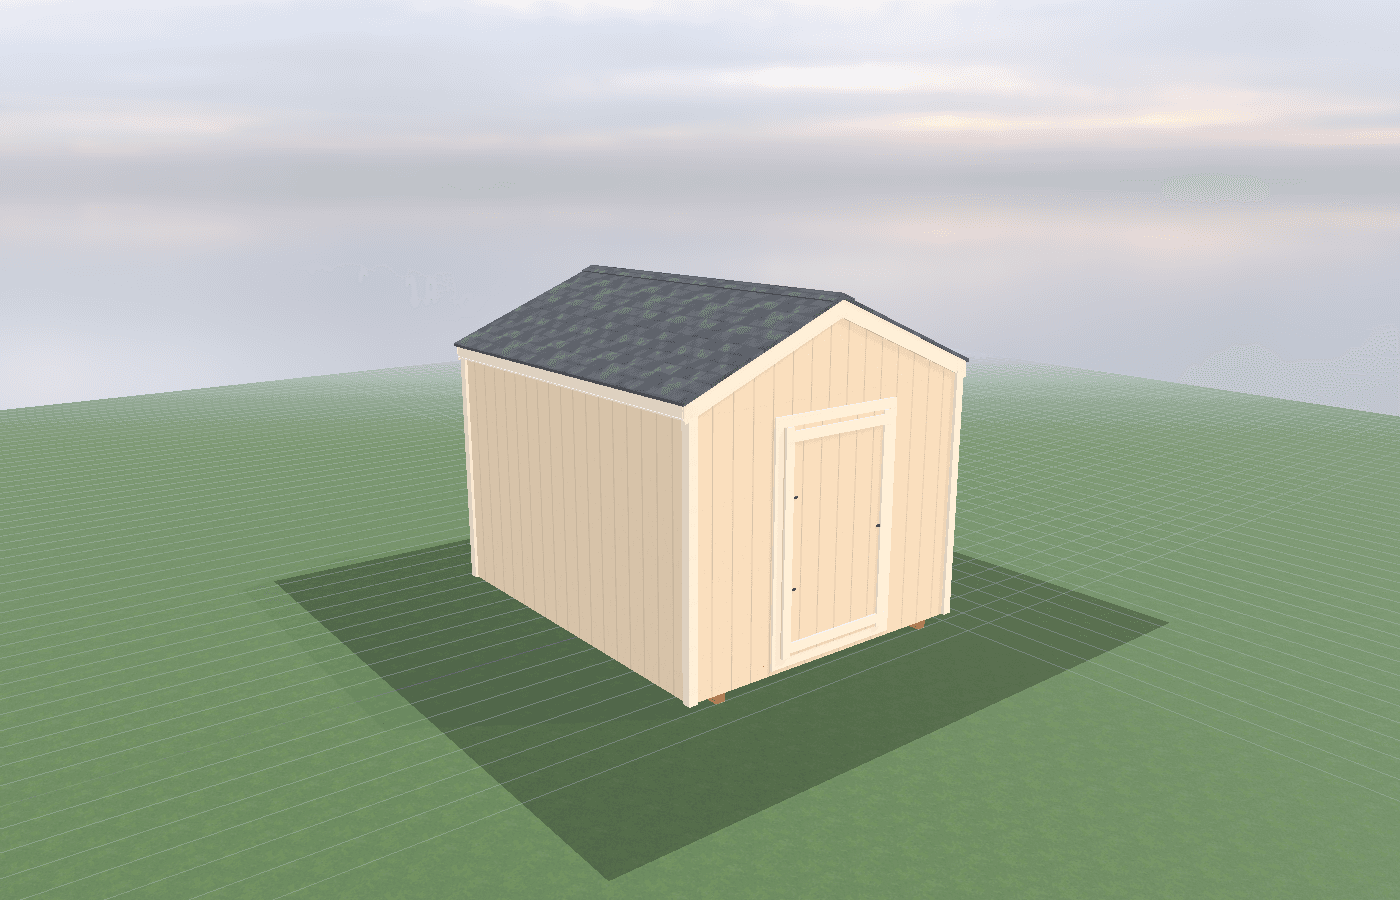
Charging in winter: cord management and access planning
Winter charging only feels easy when the shed, charger, and driveway layout are all working together. In North Idaho, the challenge is rarely just electrical capacity; it is snow piles, icy footing, stiff cords, dark mornings, and the simple annoyance of managing a charging routine in bad weather. Because NIOS builds on-site, an EV charging shed can be placed around the real parking angle, charger reach, and protected access path instead of making you work around a generic utility room.
Charging Winter Cord Management in North Idaho
A winter-ready charging setup should reduce hassle, not simply move the hassle under a roof. If the cord still drags through slush, if snow storage blocks the charger wall, or if the user has to step onto glare ice to plug in, the charging shed is not solving the real problem.
The right planning sequence starts with the vehicle routine:
- Park the vehicle the way it will actually sit during winter, not the way it fits best in summer.
- Mark the charging-port side and the shortest realistic cable path.
- Decide where snow from plowing or shoveling will be piled.
- Plan a dry standing area for the user and a protected home for the cable head.
- Confirm the charger, breaker, and wiring plan before the wall locations are finalized.
AFDC guidance on home charging is a useful baseline because it explains the practical difference between Level 1 and Level 2 home charging, the relationship to available electrical service, and the need to comply with local codes and permitting. In real North Idaho use, most homeowners planning a dedicated charging shed are trying to make Level 2 feel easier and cleaner in winter, not just possible.
The charger hardware matters too. Tesla's current Wall Connector documentation, for example, lists a 24-foot cable and a Type 3R outdoor-rated enclosure with an operating range down to -22 F. Those product details do not replace layout planning, but they do affect it. Cable length determines where the car can reasonably park. Weather rating helps, but it does not solve poor access, poor lighting, or poor snow management.
Safety around batteries and chargers still matters. CPSC continues to warn consumers not to use unapproved universal chargers for micromobility products and to follow manufacturer charging instructions. That is especially relevant if your charging shed is also storing battery tools, e-bikes, or secondary chargers. A tidy winter charging room needs clean separation between the vehicle charger, accessory chargers, and general storage.
For a true utility room approach, a dedicated EV charging shed makes sense because the room can be sized around charger reach, cord handling, and protected workflow instead of acting like a random storage shed with one charger bolted on.
What size ev charging shed do you need?
The right size is not defined by the charger box alone. It is defined by cable reach, the standing zone, storage needs, and whether the room is also handling related equipment.
An 8x10 is the compact baseline. It works when the room's main purpose is a charger wall, a tidy cord-management strategy, and a small amount of secure supporting storage. This size can be excellent if the parking geometry is clean and the charge port location lines up naturally with the charger wall.
An 8x12 gives more breathing room for winter access. It can make it easier to include a better cable staging wall, a dry utility nook, or a slightly wider standing area where boots, snow, and cords are not competing for the same spot.
A 10x10 works well when you want a more balanced square layout or when the room needs to support both vehicle charging and a second utility use, such as accessory charging or protected storage for related gear.
The practical test is simple: can you park, step out, plug in, coil or hang the cable, and step away without crossing the wettest or iciest part of the setup? If not, the room is too cramped or the layout is wrong.
Charge-port variation between vehicles is part of sizing too. Front-corner, rear-corner, and side-port layouts all change how the cord moves through the space. A shed that works perfectly for one vehicle can feel clumsy for the next if the owner changes models later, so it is usually smart to leave enough wall area and cable reach flexibility to tolerate at least one future vehicle change.
Best layouts and features for ev charging sheds
Winter charging works best when the cord path is short, protected, and obvious. The charger wall should not make the user think every time they arrive.
A strong layout usually does the following:
- Places the charger on the side that naturally matches the vehicle's charge port and parking orientation.
- Keeps the cord off the ground when not in use through hooks, reels, or a dedicated docking position.
- Reserves a plow-safe and shovel-safe path so snow piles do not bury the standing area.
- Protects the charging wall and conduit from tire contact, slush, and incidental yard-tool damage.
- Separates the EV charger from other charging equipment and storage clutter.
Good winter charging sheds often include:
- bright exterior lighting at the plug-in side
- a dry standing surface that drains and can be cleared quickly
- a charger position sized to the actual cable length and vehicle reach
- a dedicated place for gloves, snow brush, or charging accessories
- conduit and wiring routes protected from impact and moisture exposure
- enough room that the cord can be handled without dragging through snow or mud
This is also why the related guides matter. Home EV charging basics: what Level 2 charging means for your panel helps frame the electrical side. Designing a secure charging storage zone for tools and batteries helps when the room is doing double duty as a protected charging and storage space.
The cord itself deserves intentional handling. Repeatedly dropping a wet charging handle into snow or slush is hard on the routine and on the user's patience. A better setup gives the handle a predictable dry parking spot and enough wall space that the cable can hang without kinking, tangling, or becoming a trip hazard.
Visibility matters almost as much as cable storage. Winter arrivals often happen in the dark, with gloves on, while snow is still melting off the vehicle. Good task lighting at the plug side and a simple, repeatable parking reference line can do more for daily usability than adding extra square footage in the wrong place.
Cost, timing, and build-planning factors
Charging sheds often cost more because of electrical and site work, not because of the shell. Subpanel decisions, trenching, conduit, charger location, winter lighting, and safe access usually define the real budget.
A strong planning order is:
- Confirm the vehicle charging habits and charge-port side.
- Resolve electrical service, breaker size, and charger choice.
- Plan trenching and conduit before surfaces are finished.
- Design cord storage, lighting, and snow management around the actual parking move.
- Add secondary storage only after the charging workflow is clean.
Idaho DOPL's permit and inspection guidance matters here because this is real electrical work, not plug-and-play yard furniture. Their excavation notice and the state's 811 damage-prevention process matter too if the project includes conduit or trenching. That is especially true on larger rural properties around Athol, where charger placement may be more convenient away from the existing panel but farther from existing utilities.
Timing matters because the best time to test the parking angle and cable reach is before winter, not after the first storm. A quick mock-up with the real vehicle, or at least a tape-measured charge-port path, often saves people from building a beautiful shed that still requires awkward parking every night. It is also worth planning where meltwater goes once the vehicle comes in with packed snow on the tires and wheel wells. The easier it is to clear that water and keep it away from the walking zone, the safer the setup stays through the whole season.
If you want the charging wall, cable path, and winter entry to feel intentional instead of improvised, get a free estimate before the shell and trench route are finalized.
Popular sizes and layouts for ev charging sheds
An 8x10 works best as a focused charging room with one clean charger wall and a disciplined storage plan.
An 8x12 is the stronger all-around choice for many North Idaho properties because it provides more breathing room for winter boots, cord handling, and protected utility storage.
A 10x10 works well when the owner wants a more balanced square plan or expects the room to support both vehicle charging and a small secondary utility role.
Across all three sizes, the best layout keeps the cable off the ground, the user off glare ice, and the parking move simple enough that charging feels easy even on the worst winter mornings.
Frequently asked questions about ev charging sheds
What size ev charging shed works best for charging in winter: cord management and access planning?
For many North Idaho buyers, 8x10 and 8x12 are the best starting sizes because they balance usable floor space with realistic placement on the property. We then size up or down based on snow load, storage volume, and how much dedicated work or seating area you need. Compare 8x10 and see 8x12.
What is the most common mistake people make when planning a ev charging shed shed for my property?
Underestimating space needs is the most common error. Measure your equipment and add 25-30% for workspace and future growth. In North Idaho, also factor in snow gear and seasonal storage demands. Get a free estimate.
Frequently asked questions
What size ev charging shed works best for charging in winter: cord management and access planning?
For many North Idaho buyers, 8x10 and 8x12 are the best starting sizes because they balance usable floor space with realistic placement on the property. We then size up or down based on snow load, storage volume, and how much dedicated work or seating area you need. Compare 8x10 and see 8x12.
What is the most common mistake people make when planning a ev charging shed shed for my property?
Underestimating space needs is the most common error. Measure your equipment and add 25-30% for workspace and future growth. In North Idaho, also factor in snow gear and seasonal storage demands. Get a free estimate.
Ready to plan your build?
Tell us your site, your dimensions, and the use case. We'll come out and price it.