Home EV charging basics: what level 2 charging means for your panel
Level 2 charging sounds simple until you start tracing what it means for the panel, the conduit run, and the daily charging routine on a North Idaho property. A charging shed works best when the electrical side, weather exposure, and vehicle access are planned together from the start. On-site construction matters because charger location, subpanel placement, and winter cable access can be matched to the actual driveway and the actual service layout instead of guessed at after the shed is standing.
Home EV Charging Basics in North Idaho
Level 2 charging is the point where a home EV setup stops being a convenience plug and starts becoming real infrastructure. In most cases it means 240-volt charging with substantially faster refill than a standard household receptacle. That is the appeal. The catch is that the electrical service, breaker space, conduit path, and physical charger location all have to be good enough to support it.
For a lot of North Idaho homeowners, the panel question is the real first step. DOE and AFDC guidance both frame home Level 2 charging around a dedicated 240-volt circuit sized for the charger and the vehicle. That does not automatically mean a full service upgrade, but it does mean someone needs to look honestly at the main panel, spare capacity, load calculation, and the distance from the panel to the charging location. If the charger is going in or near a detached building, that planning matters even more.
Weather changes the answer too. Cold mornings, snow piles, icy approaches, and muddy spring conditions all make location and cable handling more important than they feel in a flat garage install. If the charger is awkward to reach or the cord has to drag through snow and slush, daily use gets old fast. That is why many owners compare a wall-mounted charger on the house with a more deliberate EV charging shed concept that protects equipment and organizes the routine.
On-site construction gives you a practical advantage here. Instead of forcing the shed to adapt to leftover conduit and leftover driveway geometry, the building can be placed around the vehicle path, the charger reach, and the cleanest route back to the service. That is especially useful on rural or semi-rural properties around Athol, where trench length and parking approach may matter more than they do in a town lot.
What size ev charging shed do you need?
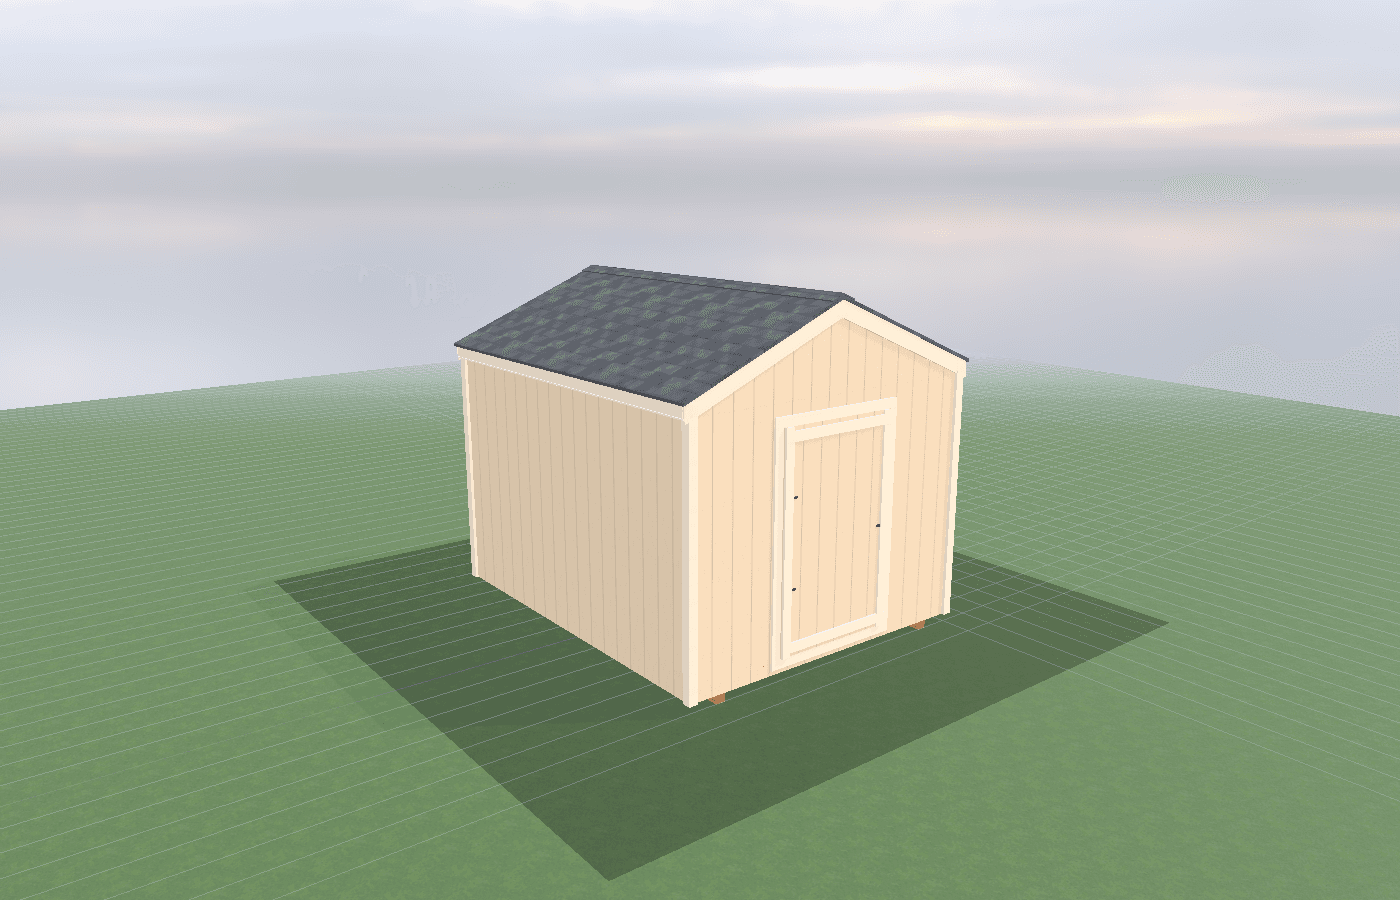
A compact 8x10 is enough for many dedicated charging setups. It gives you a protected wall for equipment, a little room for cord handling and accessories, and enough enclosed space to keep the routine organized. If the goal is primarily to protect the charging zone and keep gear out of the weather, this size often works well.
An 8x12 becomes attractive once the room also needs tool storage, a more comfortable entry, or better separation between the charger equipment and the rest of the gear. The extra two feet often makes the difference between a room that merely contains the charger and a room that actually supports daily use in winter.
A 10x10 is the square-layout option. It is useful when the charger location, entry door, and storage wall all need to coexist without the room feeling like a narrow hallway. If the shed also needs to support batteries, chargers, or light shop use, that extra width can make the space far more practical.
Size alone does not solve the electrical problem, but it does determine whether the charging side stays clear enough to use safely. If the room is too tight, cords, shelves, chargers, and the approach path start fighting each other. A good size is the one that leaves one calm wall for the charging equipment and one clean path for the user.
Best layouts and features for ev charging sheds
The best layout starts with the panel relationship. If the charger is fed from the main house panel, keep the conduit route direct and protected. If a subpanel is part of the detached structure, place it where it is accessible for service but not in the way of the main charging wall. Idaho DOPL's permit and inspection guidance matters here because EV charging work is not just a décor decision. Once electrical work is involved, permitting and inspection enter the picture.
Level 2 charging also changes expectations around wiring and breaker space. The charger usually wants a dedicated 240-volt circuit sized to the equipment rating and the continuous-load rules that apply to EV charging. That does not need to turn the article into an electrical-code manual, but it does mean owners should stop thinking in terms of "just adding an outlet" and start thinking in terms of real load planning. If the panel is already tight, it is better to discover that before the room is built than after conduit is buried.
Layout features should protect the daily routine. That means a charger wall that keeps the connector off the floor, a storage plan that does not interfere with the charging cable, and enough weather protection at the door so people are not standing in slush while handling electrical gear. This guide also pairs naturally with charging in winter: cord management and access planning and designing a secure charging + storage zone for tools and batteries, because winter usability and secure storage often shape the shed more than the charger itself.
Good rooms also leave margin for the future. Many owners start with one EV and later add more battery equipment, tool charging, or upgraded service needs. A charging shed that is built on-site can absorb that growth much more gracefully than a makeshift exterior installation.
Cost, timing, and build-planning factors
The biggest cost variables are not the size of the charger box. They are service capacity, trench length, panel work, conduit, and how the room is integrated into the site. A short direct run from a capable panel is a very different project from a long trench to a detached shed that needs a subpanel and broader site work. That is why EV shed estimates can look more site-specific than people expect.
Timing matters because the electrical route should be solved before finishes and before exterior access gets complicated. If trenching is part of the job, frozen ground and muddy shoulder seasons can slow progress or at least change sequencing. It is also easier to reserve wall space for disconnects, conduit entry, and charger backing before interior finishes are chosen.
Permitting is not optional window dressing. Idaho DOPL states that permits are required for electrical work, and EV charging almost always falls in that bucket. If the shed itself crosses building-permit thresholds in county jurisdiction, Kootenai County's building guidance comes into play as well. The cleanest projects are the ones where the building footprint, charger wall, conduit route, and inspection path are all considered together from the start.
The practical cost question is daily convenience. A charger that technically works but is annoying in winter or awkward for the vehicle path is poor value. The better investment is usually the one that makes every charging session simpler, cleaner, and more weather-protected. Another reason to plan early is future capacity. Many households add a second EV, a battery backup project, or more tool charging once the first charging routine is dialed in, and a shed with spare wall space and a realistic subpanel plan handles that growth much better than a one-off outlet on an exterior wall. If you want to sort those tradeoffs around your property, get a free estimate.
Popular sizes and layouts for ev charging sheds
The 8x10 layout is the compact daily-driver favorite. It gives you a clean equipment wall, cord storage, and enough room to support charging without turning the shed into a general storage closet. It also keeps the core Level 2 equipment visible enough that routine checks stay simple instead of becoming another buried maintenance chore.
The 8x12 layout is the strongest all-around choice for many homeowners because it adds just enough room for accessories, safer movement, and a more flexible winter entry. This is often the point where the room stops feeling like a charger enclosure and starts feeling like a real utility building.
The 10x10 layout is popular when the room needs a more balanced shape and a little more adaptability for batteries, tools, or future electrical growth. It is especially useful when the driveway geometry or parking angle means the charging wall and the door both need generous clearance.
In all three sizes, the best layout keeps the charger accessible, the conduit path efficient, and the day-to-day charging zone free of clutter. That is exactly the kind of site-specific design that on-site construction makes easier.
Frequently asked questions about home ev charging basics
What size ev charging shed works best for home ev charging basics: what level 2 charging means for your panel?
For many North Idaho buyers, 8x10 and 8x12 are the best starting sizes because they balance usable floor space with realistic placement on the property. We then size up or down based on snow load, storage volume, and how much dedicated work or seating area you need. Compare 8x10 and see 8x12.
What is the most common mistake people make when planning a ev charging shed shed?
Underestimating space needs is the most common error. Measure your equipment and add 25-30% for workspace and future growth. In North Idaho, also factor in snow gear and seasonal storage demands. Get a free estimate.
Frequently asked questions
What size ev charging shed works best for home ev charging basics: what level 2 charging means for your panel?
For many North Idaho buyers, 8x10 and 8x12 are the best starting sizes because they balance usable floor space with realistic placement on the property. We then size up or down based on snow load, storage volume, and how much dedicated work or seating area you need. Compare 8x10 and see 8x12.
What is the most common mistake people make when planning a ev charging shed shed?
Underestimating space needs is the most common error. Measure your equipment and add 25-30% for workspace and future growth. In North Idaho, also factor in snow gear and seasonal storage demands. Get a free estimate.
Ready to plan your build?
Tell us your site, your dimensions, and the use case. We'll come out and price it.