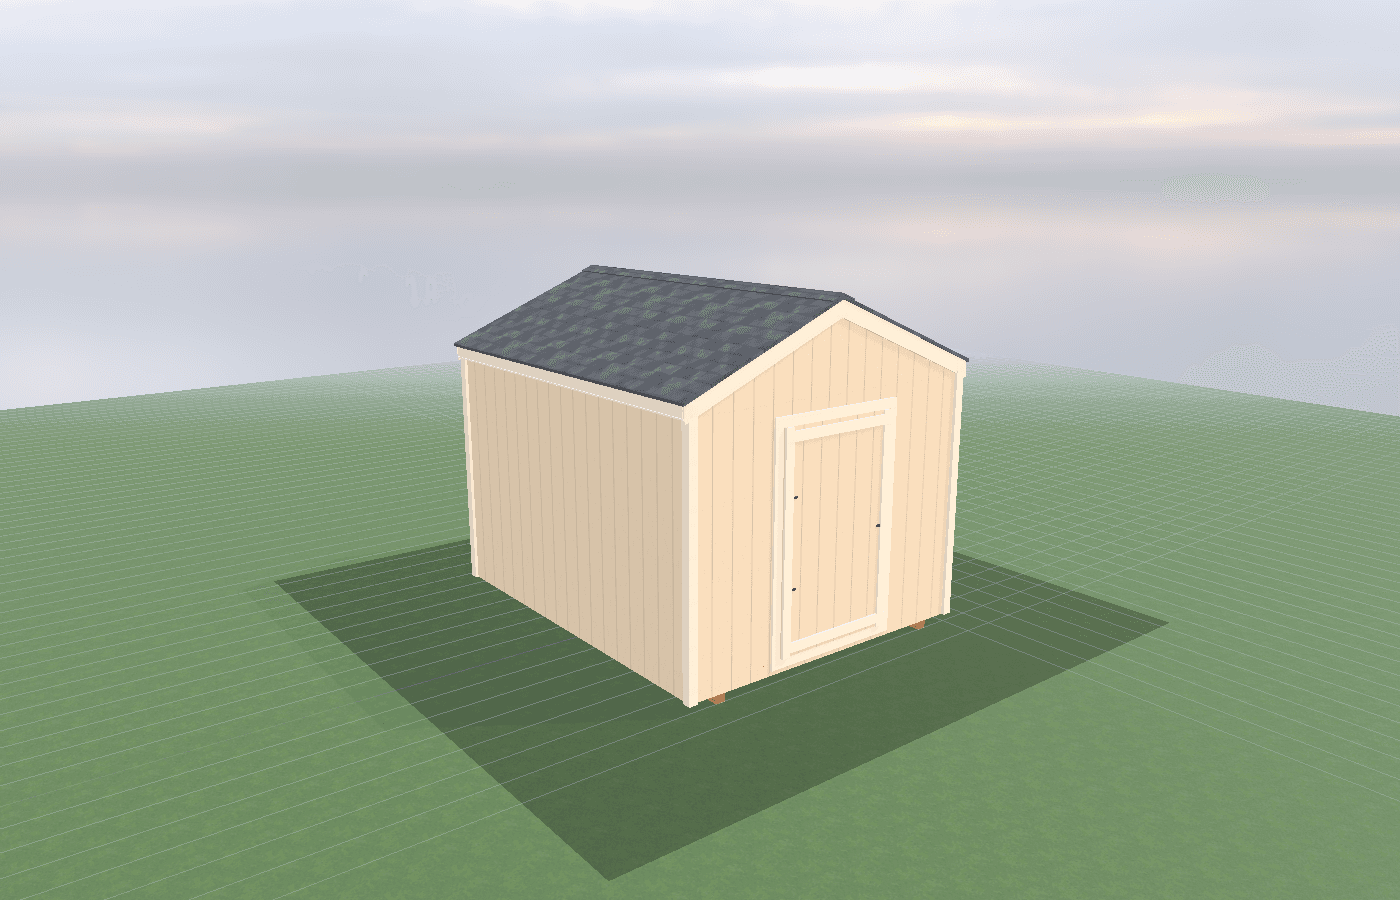
Designing a secure charging + storage zone for tools and batteries
Charging tools and batteries safely is partly an electrical question and partly a layout question. In North Idaho, the right room has to manage winter access, theft risk, cord clutter, and the reality that batteries, chargers, and expensive tools all want secure, dry, organized storage. Building on-site helps because the shed can be oriented for visibility, locking strategy, and cleaner charging workflow instead of treating battery storage as whatever space is left over.
Designing Secure Charging in North Idaho
A charging shed that holds tools and batteries has two jobs at once. It needs to keep the charging process orderly and it needs to keep the gear secure. If either side is weak, the room becomes frustrating. Loose chargers and cables create clutter, heat, and trip hazards. Weak doors or poor visibility make the room a more attractive target than the garage you were trying to free up in the first place.
North Idaho adds a practical layer to that because many properties use detached spaces for year-round tools, snow-season gear, and battery charging at the same time. That means the room may see wet boots, muddy shoulder seasons, cold-weather charging, and long dark evenings when convenience and security both matter more. A cleanly designed EV charging shed can solve those problems, but only if the charging wall, storage wall, and entry path are planned together.
Battery safety is part of the conversation too. CPSC guidance around rechargeable batteries consistently pushes toward using the manufacturer's charger, keeping charging out of exit paths, and avoiding clutter or combustibles around charging equipment. That translates well to a dedicated charging shed. The room should not feel like a pile of extension cords and random shelves. It should feel like a managed zone with clear stations, good spacing, and a way to inspect what is charging.
On-site construction matters here because security is always site-specific. Visibility from the house, proximity to the driveway, the direction the door faces, and whether the shed is tucked behind fencing all influence how secure the room actually feels. An on-site build can be placed around those realities instead of accepting a generic layout that ignores them. On properties around Athol, that often means balancing open sightlines with snow-season access so the room stays easy to monitor without forcing you to walk across the iciest part of the lot every time you need a battery or tool.
What size ev charging shed gives you enough usable room?
An 8x10 is enough for a compact charging room if the storage load is controlled. One charging wall, one shelf system, and one clear aisle can work very well at this size. It is a good fit when the room is mainly serving hand tools, a few batteries, and a simple EV-adjacent utility role.
An 8x12 gives the room much more practical flexibility. You can reserve one area for chargers and battery inspection, another for tool storage, and still leave enough movement room that the door and the cords are not fighting the same square feet. For many owners, this is where the room becomes truly usable instead of merely adequate.
A 10x10 can also make sense when the square layout fits the site better or when the storage system needs more lateral wall length. Wider rooms are often easier to secure because you are not forced to stack everything in one tight vertical cluster just to keep an aisle open.
Usable room comes down to separation. Batteries should not be charging directly under hanging lumber, next to soaked snow shovels, or behind a pile of totes. The right footprint is the one that leaves enough clean space for charging, enough wall for organized storage, and enough circulation that you can check and unplug equipment safely.
Best layouts and features for ev charging sheds
The strongest layout usually starts with one dedicated charging wall. Chargers, battery docks, cord management, and any EV-related equipment should be grouped so the room can be scanned at a glance. That makes it easier to tell what is plugged in, what is done charging, and whether anything is sitting too close to combustibles. Good lighting matters for the same reason.
The second wall is usually the storage wall. This is where the workbook's FAQ answer about building around the largest item actually helps. Start with the bulkiest tool or battery case, then design the shelves and hooks around that reality. Wall-mounted storage, overhead racks, and French cleat systems are useful because they free the floor and keep the charging area visible. Just do not put heavy frequently used items so high that they become awkward to retrieve over a live charging zone.
Security features should be practical rather than theatrical. A strong door, quality latch hardware, visibility from the house or driveway, and exterior lighting often do more than decorative gadgets. In some layouts, fewer windows are the more secure choice. In others, one well-placed window that gives you sightline from the house is worth more than a blank side wall. This is exactly why on-site planning matters. The best security strategy depends on the actual lot and the actual line of sight.
This guide also pairs closely with home EV charging basics: what level 2 charging means for your panel and charging in winter: cord management and access planning. The charging wall, the electrical plan, and the winter entry all need to support each other. If they are planned separately, the room usually ends up awkward in at least one of those categories.
Cost, timing, and build-planning factors
The cost drivers are usually electrical work, door and lighting quality, wall backing for storage systems, and whether the room needs upgraded moisture control or a more robust envelope. The shelves themselves are rarely the expensive part. The expensive part is making sure the room can support organized charging and secure storage without turning into a hazard or an easy target.
Timing matters because charger locations, backing, outlet placement, and sightlines should be decided before the wall finishes and before exterior access paths are locked in. If the charger wall is still moving after the shed is built, the storage system usually gets compromised. If the door swing is an afterthought, the clean charging aisle is often the first thing sacrificed.
Idaho DOPL permitting also matters here because the electrical side is not optional. Once dedicated charging circuits, outlets, or EV-support equipment are added, the permit and inspection path becomes part of the project. That should be handled up front instead of treated like a late add-on after the storage wall is already full of hooks and cabinets.
There is also a practical winter cost. A room that is hard to open in snow, hard to light, or hard to keep organized after mud season tends to drift back into clutter. Good planning helps the room stay secure because it stays usable. If you want to sort out that balance around your own site, get a free estimate.
One detail owners appreciate later is being able to quarantine problem gear. A secure charging room should leave one shelf or one tray area for batteries that are done charging, batteries that need inspection, and chargers that should stay unplugged until needed again. That sounds small, but it keeps the room from turning into a pile of mystery packs and half-used adapters. It also makes seasonal transitions easier when snow tools, lawn equipment, and everyday cordless tools all rotate through the same space at different times of year.
Popular sizes and layouts for ev charging sheds
The 8x10 layout is the compact option for owners who want one disciplined charging wall and one organized storage wall. It works best when the gear list is controlled and the room is truly focused on batteries, chargers, and a modest tool kit.
The 8x12 layout is the strongest all-around answer for most households because it provides room for a real aisle, one secure storage side, and better separation between the entry and the charging stations. This is usually the size where the room starts feeling intentionally designed instead of tightly managed.
The 10x10 layout is popular when the site wants a squarer footprint or when the storage plan benefits from wider walls. It can be especially helpful if the room also supports seasonal vehicle accessories or one larger charging cabinet.
In all three sizes, the best layouts keep the charging zone visible, the storage zone orderly, and the entrance clear enough that you are not stepping around live cords in winter boots. That is exactly the kind of real-world workflow problem an on-site shed can solve well.
Frequently asked questions about designing secure charging
What size ev charging shed works best for designing a secure charging + storage zone for tools and batteries?
For many North Idaho buyers, 8x10 and 8x12 are the best starting sizes because they balance usable floor space with realistic placement on the property. We then size up or down based on snow load, storage volume, and how much dedicated work or seating area you need. Compare 8x10 and see 8x12.
What layout maximizes usable space in a ev charging shed shed?
Start with your largest item and build the layout around it. Wall-mounted storage, overhead racks, and French cleat systems make the most of vertical space. Get a free estimate.
Frequently asked questions
What size ev charging shed works best for designing a secure charging + storage zone for tools and batteries?
For many North Idaho buyers, 8x10 and 8x12 are the best starting sizes because they balance usable floor space with realistic placement on the property. We then size up or down based on snow load, storage volume, and how much dedicated work or seating area you need. Compare 8x10 and see 8x12.
What layout maximizes usable space in a ev charging shed shed?
Start with your largest item and build the layout around it. Wall-mounted storage, overhead racks, and French cleat systems make the most of vertical space. Get a free estimate.
Ready to plan your build?
Tell us your site, your dimensions, and the use case. We'll come out and price it.