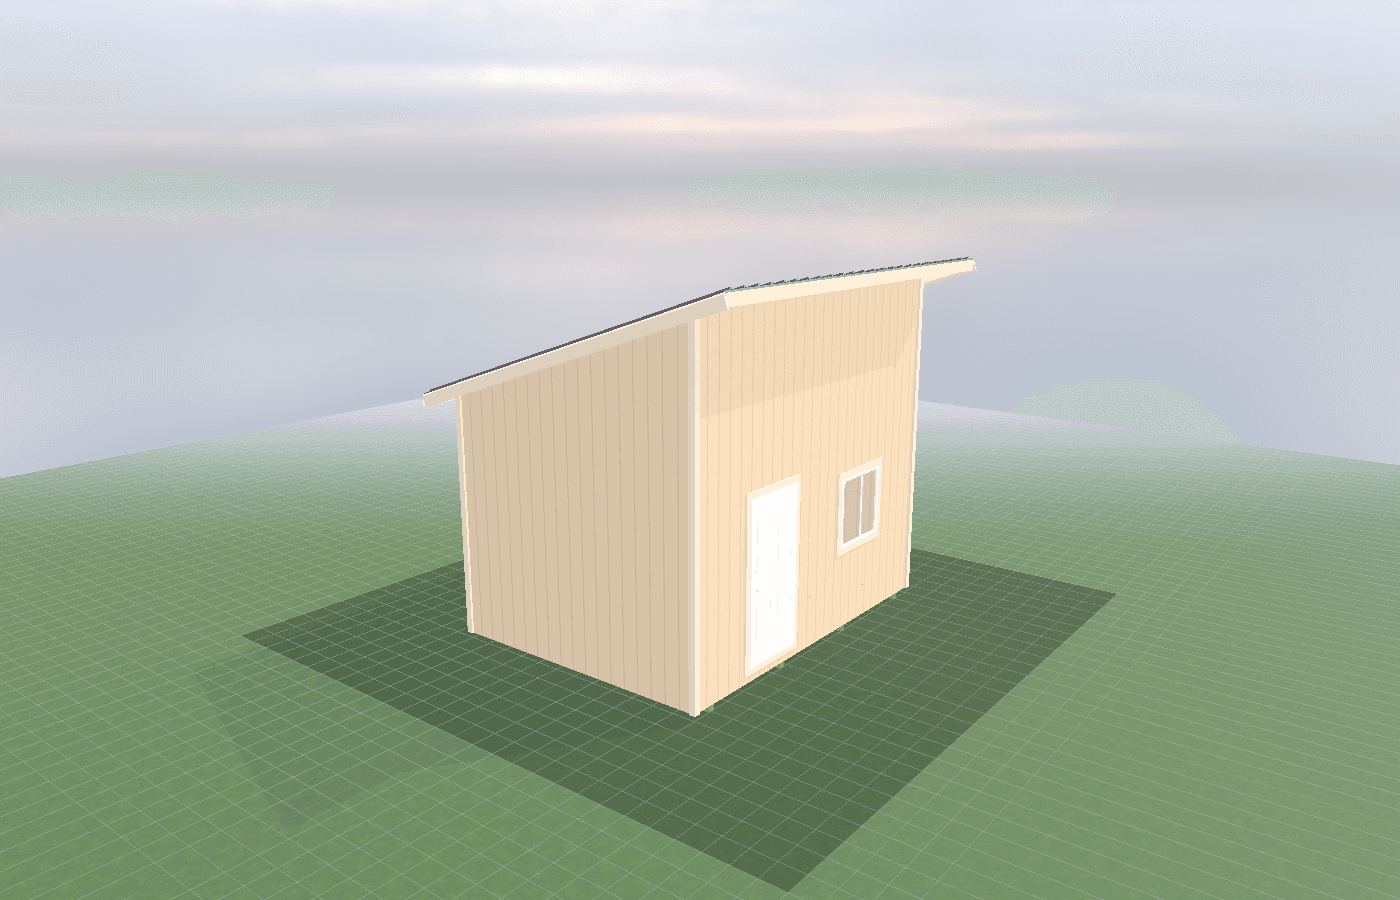
Gym shed HVAC: controlling humidity and condensation
A gym shed feels great until moisture shows up on windows, dumbbells start sweating, and the room smells stale after hard workouts. In North Idaho, humidity control matters because cold winters, tight insulated walls, and fast body-heat spikes make condensation much easier to trigger than people expect. On-site construction helps because the HVAC layout, exhaust path, and insulation package can be matched to the real room and how you plan to train in it.
Gym Shed HVAC Controlling in North Idaho
Gym sheds create a different moisture load than most backyard buildings. A hard workout can dump heat and humidity into a small room quickly through breathing, sweat, wet shoes, and snow-covered outerwear. If the shell is tight enough to hold heat but not planned well enough to remove moisture, the result is fogged windows, damp equipment, and that clammy feeling that never quite goes away.
That matters more in North Idaho because winter workouts happen in a cold outdoor environment. You open the door with subfreezing air outside, close it, start moving, and the room temperature and humidity spike in a short period of time. Warm moist indoor air then looks for cold surfaces. Windows, poorly insulated corners, and metal hardware become the first condensation points.
A good gym shed plan treats HVAC as part of the structure, not an accessory you add after the flooring is down. Heating, cooling, dehumidification, insulation, air sealing, and where the equipment sits all interact. Around Coeur d'Alene, a small gym on a shaded lot may hold moisture longer than the same shed on a sunnier site simply because the shell dries out slower after each session.
This is one of those cases where on-site construction has a real performance benefit. The indoor head location, wall framing, vent paths, and window package can be arranged around the actual workout layout so the system is not fighting the room every day.
How does shed size affect heating and airflow?
Size changes gym HVAC planning because the room volume, equipment density, and human moisture load all change together.
A 10x12 gym shed can work extremely well for cardio, free weights, or a compact all-purpose setup, but it is the least forgiving for condensation. Two people training hard in a 10x12 will raise both heat and humidity quickly. That means the mini-split size, fan speed, and exhaust strategy have to be more deliberate. If the room is under-insulated or short-cycling, it can feel muggy even when the thermostat reads fine.
A 10x16 gives the air more room to move and makes zoning easier. You can keep the cardio side a little clearer, put the indoor head where it is not blowing directly on a bench, and leave a cleaner path for return airflow. This size is often the best balance between training space and manageable HVAC cost.
A 12x12 sits in the middle. It has better width for racks and movement than a 10x12, but if the ceiling is not tall and the room is packed with rubber flooring and equipment, it can still trap humidity after intense sessions. The lesson is not that bigger is always better. It is that the room should be large enough for the airflow pattern to work with the equipment layout instead of fighting it.
DOE guidance on ductless mini-splits is useful here: incorrectly sized or poorly placed air handlers can short-cycle and miss humidity control even when they are technically heating and cooling the room. In a gym shed, that matters because moisture control is often the real comfort issue, not raw temperature alone.
Systems planning for gym sheds
Use the right heating and cooling strategy
A ductless mini-split is usually the best starting point for a four-season gym shed because it can heat, cool, and dehumidify in one system. It also avoids floor-mounted heaters that fight for wall space or become hazards near equipment. The indoor unit needs to be placed where air can circulate across the room instead of blasting directly at one station. The outdoor unit should also be protected from snow buildup and kept clear for airflow, which DOE specifically calls out for heat-pump performance in winter conditions.
Insulate and air-seal to prevent cold surfaces
Condensation does not start because the room is humid. It starts because humid air hits surfaces that are cold enough to collect water. That is why insulated walls and ceiling, well-sealed penetrations, and better-performing windows do so much to improve a gym shed. If the shell is thin, drafty, or full of thermal weak spots, no HVAC setting will fully fix the moisture problem.
Add ventilation for real workout use
A gym shed is not a bedroom. It benefits from dedicated air exchange after hard training, especially when more than one person uses the room or when wet gear comes inside in winter. That can be as simple as a well-placed exhaust fan used during and after sessions, or more advanced if the build supports it. Ventilation should also be coordinated with the flooring and noise plan, which is why flooring options for gym sheds (rubber, platform, reinforced subfloor) and noise and vibration: how to avoid annoying neighbors are companion reads for the same project.
Control humidity after the workout, not just during it
A lot of condensation problems happen after training stops. The room cools, the equipment stays warm, and the remaining moisture has nowhere to go. Running the fan-only mode, using the mini-split dry mode when conditions support it, and keeping filters clean all help the shed recover faster between sessions.
Cost, timing, and build-planning factors
The main HVAC budget items are the mini-split itself, electrical rough-in, insulation and air sealing, and whatever ventilation strategy you need to clear moisture after workouts. Better windows and a more thoughtful shell usually save money over time because the HVAC system works less aggressively and the room stays more stable.
Timing matters too. If the trench path, line-set route, condensate drain, and wall penetrations are planned while the shell is being built, the installation stays cleaner and cheaper. If the gym is finished first and the HVAC plan comes later, contractors often end up working around mirrors, flooring, and equipment placement.
Most of the footprints in this prompt sit under the common 200-square-foot Kootenai County storage threshold, but that does not mean the systems should be treated casually. Once the shed becomes insulated, wired, and conditioned, the planning quality matters a lot more than the square footage. In Bonner County, larger future gym footprints can trigger different review thresholds as well. Early clarity always costs less than retrofitting mechanical systems into a fully finished shell.
The other cost that gets overlooked is equipment wear. A room that stays damp is harder on mats, fasteners, wall finishes, and electronics. A gym that clears moisture fast after each session stays cleaner and lasts longer. Moisture control also affects motivation. People use the shed more when it smells dry, mirrors stay clear, and cold-weather workouts do not leave the room feeling swampy for the next user.
If you want the room laid out so HVAC, flooring, and noise control all support each other from the start, request a free estimate before the final shell and rough-in are set.
Popular sizes and layouts for gym sheds
For most North Idaho gym sheds, the smartest starting sizes are 10x12, 10x16, and 12x12 because they give different answers to the same comfort problem.
A 10x12 is efficient and easier to heat, but it needs the cleanest HVAC planning because the air changes fast when you train hard. A 10x16 is the most forgiving all-around footprint for one or two users because it separates equipment zones and gives the air handler more room to work. A 12x12 can be a strong middle option when you want better width for a rack, rower, or lifting lane without stepping up to a longer building.
Layout matters as much as tonnage. Do not hide the indoor head above the one place you need for a rack. Do not place the cardio machine where condensate lines and airflow become awkward. Leave wall space for future accessories such as fans, mirrors, and storage, and keep the door path clear so winter gear does not pile up right where the air needs to circulate.
A dry gym usually feels bigger, cleaner, and more motivating than a larger gym with poor moisture control. When the HVAC plan is right, the shed recovers faster between sessions and the room feels ready to use instead of stale.
That is the advantage of planning a gym shed as a real environment instead of just an insulated box with a heater. The room should warm up, dry out, and recover quickly enough that the next session starts comfortable instead of already fighting moisture.
Frequently asked questions about gym shed hvac controlling
What size gym shed works best for gym shed hvac: controlling humidity and condensation?
For many North Idaho buyers, 10x12 and 10x16 are the best starting sizes because they balance usable floor space with realistic placement on the property. We then size up or down based on snow load, storage volume, and how much dedicated work or seating area you need. Compare 10x12 and see 10x16.
How do I prevent condensation in a gym shed during winter workouts?
A mini-split with dehumidification mode handles most gym condensation. Insulating walls and ceiling prevents cold surfaces where moisture condenses. Exhaust fans help during intense sessions. See gym shed options.
Frequently asked questions
What size gym shed works best for gym shed hvac: controlling humidity and condensation?
For many North Idaho buyers, 10x12 and 10x16 are the best starting sizes because they balance usable floor space with realistic placement on the property. We then size up or down based on snow load, storage volume, and how much dedicated work or seating area you need. Compare 10x12 and see 10x16.
How do I prevent condensation in a gym shed during winter workouts?
A mini-split with dehumidification mode handles most gym condensation. Insulating walls and ceiling prevents cold surfaces where moisture condenses. Exhaust fans help during intense sessions. See gym shed options.
Ready to plan your build?
Tell us your site, your dimensions, and the use case. We'll come out and price it.