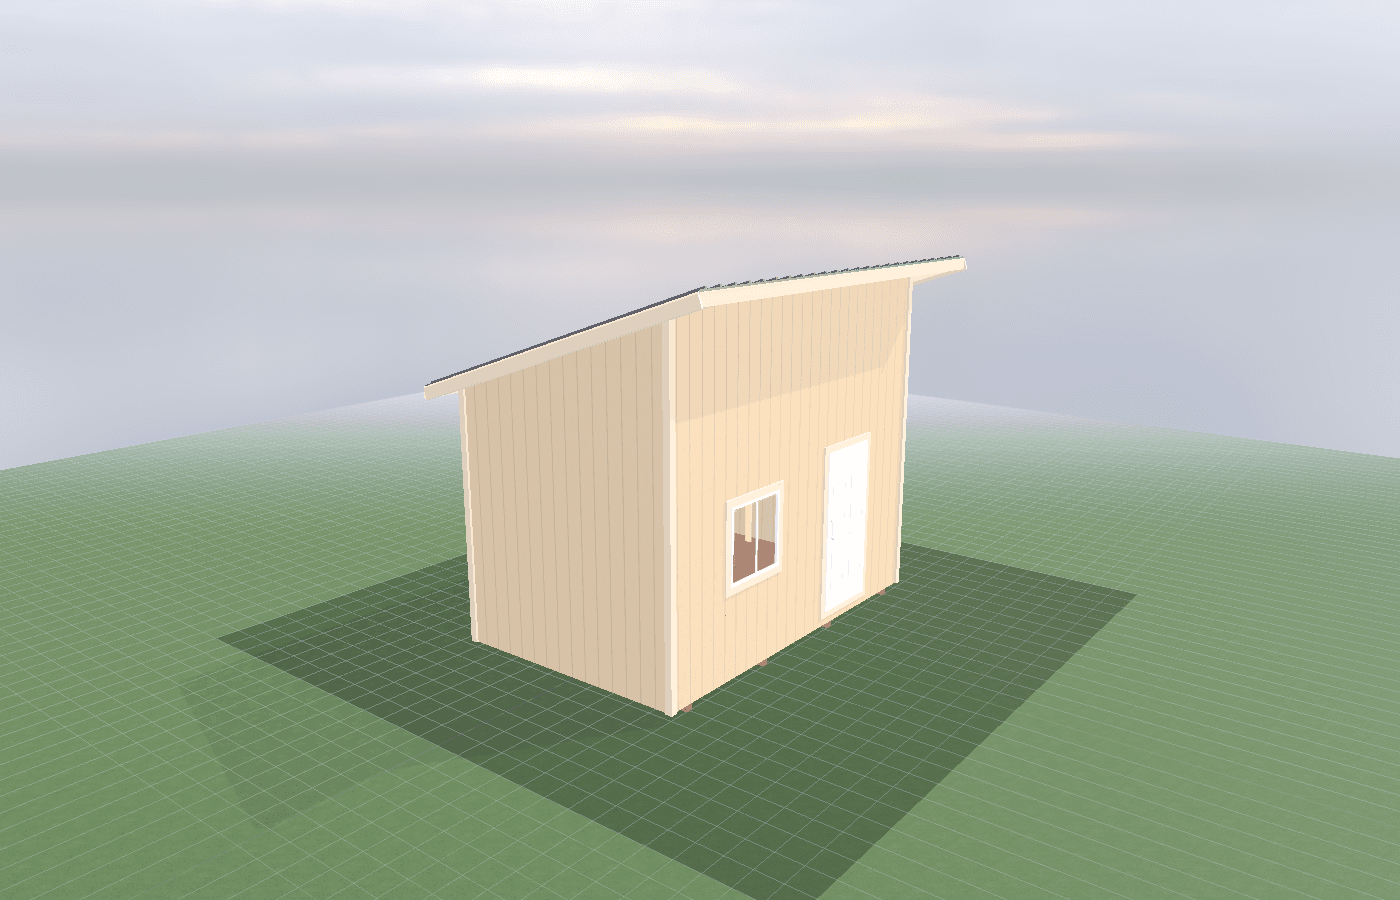
Humidity management to prevent mold in a starter shed
Starter sheds fail when the air stays damp longer than the room can recover. In North Idaho, seed trays, domes, bottom watering, and cold nights can build condensation fast, so a good propagation shed needs airflow, vent strategy, and moisture discipline from the start if you want healthy seedlings instead of algae, damping-off, and moldy corners.
Humidity Management Prevent Mold in North Idaho
Seed starting needs moisture, but starter sheds do not survive on moisture alone. The same humidity that helps seeds germinate can become the reason the room smells musty, trays grow algae, and mold appears on framing or wall surfaces. In North Idaho, this problem shows up quickly because late-winter and early-spring propagation often happens while nights are still cold and the room is opened and closed in big temperature swings. Warm trays plus cool surfaces equal condensation, and condensation is how a starter shed quietly becomes a cleanup problem.
The science behind mold control is simple. EPA’s mold guide says mold will not grow without water or moisture, that the key to mold control is moisture control, and that wet materials should be dried within 24 to 48 hours. That applies directly to a propagation room. You do not need a flood for mold; you just need repeated damp surfaces and not enough airflow. University of Minnesota’s seed-starting guidance reinforces the plant side of that equation by recommending covers only for germination, removing them after seedlings appear, keeping the mix moist but not soggy, and using a small fan for gentle airflow. Those are not optional “nice to have” tricks in a cold-climate shed. They are the line between productive humidity and stagnant dampness.
Purdue Extension’s high-tunnel environment guide makes the same point from the greenhouse side. It notes that humidity builds quickly in enclosed growing spaces from transpiration and evaporation, that high humidity can lead to disease issues, and that venting, increased airflow, heat, and restricting excess moisture are the main tools for reducing relative humidity. That logic applies just as well to a seed-starting shed with trays and lights as it does to a covered growing structure. The building needs a plan to get moisture out after it has done its job.
How does shed size affect heating and airflow?
An 8x10 is often the easiest size to manage if the propagation setup is compact. There is less air volume to heat, less surface area to sweat, and fewer hidden corners where damp still air can settle. For many North Idaho growers, this is the simplest size to keep balanced.
An 8x12 offers a little more forgiveness for bench layout, but the airflow pattern becomes more important. The extra length is useful only if the room is zoned intentionally. Otherwise one end becomes warm and damp while the far end stays cooler and underused.
A 10x12 is better when the room needs clear separation between germination, grow-on, and potting or supply space. That added size can help humidity management because you are not stacking every wet tray in one corner, but it also demands more deliberate fans and venting so the room does not develop stale pockets.
The common mistake is assuming that a larger room automatically solves mold risk. It does not. A larger room with poor circulation can create more cold surfaces and more uneven humidity than a smaller room with a good airflow path. What matters is whether the room can move moisture off vulnerable surfaces before it condenses there repeatedly.
Systems planning for seed starting sheds
The first system is watering. Overwatering is the fastest route to chronic humidity trouble. UMN says the mix should stay moist but not soggy and specifically warns that it is easy to wet only the top layer while the container below stays dry. That is a useful reminder that the room needs a watering routine, not just a hose nearby. Bottom watering, drain trays, and a place for excess moisture to go all matter.
The second system is air movement. A small fan for gentle airflow, as UMN recommends, does more than strengthen stems. It breaks up the motionless humid layer that forms over trays and around plant canopies. Purdue’s high-tunnel guidance goes further and notes that horizontal airflow fans help reduce humidity and that venting is the most common way to lower RH. In a starter shed, that means you want both room-level air movement and a way to exchange damp inside air for drier outside air when conditions allow.
The third system is heat. Heat can reduce relative humidity, but Purdue is clear that raising temperature should not be the main method for controlling RH. That is an important planning point. In a North Idaho seed-starting shed, heat should stabilize the environment, not try to dry out a bad watering and ventilation strategy. If the room is chronically wet, more heat usually just turns the room into a warmer mold problem.
Condensation is the warning sign
Condensation on glazing, windows, covers, or colder wall panels is not just a cosmetic issue. Purdue notes that condensation reduces light transmission, and EPA reminds us that moisture is the enabling condition for mold. If the room is frequently wet on interior surfaces by morning, the environment is already telling you it needs better venting, less water, more airflow, or more consistent temperatures.
This is also why seed starting in cold climates and power planning for grow lights are related topics. Lights, mats, fans, and timers are not separate systems. They work together. A room with excellent lighting but poor moisture removal will still produce weak plants and a dirty-growing environment.
Cost, timing, and build-planning factors
Mold prevention is almost always cheaper than mold cleanup. EPA says mold problems return if the water problem is not fixed, and that principle applies perfectly to seed-starting sheds. If the room relies on wiping condensation off the wall every week instead of fixing the airflow and moisture pattern, the problem is not solved.
The build budget should therefore prioritize the shell and the control systems that make moisture manageable: a reasonably insulated room, a straightforward vent strategy, proper electrical planning for fans and lighting, and finishes that can tolerate occasional wet cleanup without feeding mold. If the room is going to support lights, fans, or mini-split equipment, Idaho DOPL says electrical, plumbing, or HVAC work requires permitting. Kootenai County’s building page also notes permit review for residential storage buildings over 200 square feet in county jurisdiction and for some grading, excavation, and run-off control work.
Timing matters because the riskiest months for starter-shed mold often overlap with the months people are in the biggest hurry. February and March are exactly when growers want the room running, and also when cold nights and shut doors make humidity hardest to purge. That means the room should be tested before the tray count peaks, not after. A week of monitoring with a thermometer and hygrometer can reveal a lot before the seedlings are wall to wall.
For properties near Athol, it also helps to think about approach and snow management. If the door is hard to open in winter or the room tends to stay shut for long stretches because access is annoying, moisture problems usually get worse simply because the grower avoids using the space the way it was meant to be used.
Popular sizes and layouts for seed starting sheds
An 8x10 is the compact humidity-control option. It is easier to keep evenly warm and easier to ventilate when the tray count is moderate.
An 8x12 is the strongest all-around size for many North Idaho growers because it allows clearer separation between the wettest propagation benches and the drier work or storage side.
A 10x12 makes sense when the room needs multiple active bench zones, but only if the venting and airflow plan are honest enough to keep moisture from gathering in the low-use corners.
The layouts that usually prevent mold best include:
- one watering or drain-ready side so wet tasks are predictable
- one airflow path that keeps air moving above and across the trays
- one monitoring point for temperature and humidity, not just guesswork
- one storage edge that keeps cardboard, seed packets, and dry supplies out of the dampest zone
In practical terms, a mold-resistant starter shed is not the driest possible room. It is the room that gets humid when needed and then recovers quickly.
This is why the room should be treated as a true seed starting shed instead of a generic outbuilding with trays added later. Once the walls, benches, and vents are planned around recovery time after watering and overnight condensation, the building stays easier to clean and much easier to trust through late winter. That extra planning is what separates a productive propagation room from one that smells damp by April.
Frequently asked questions about seed starting sheds
What size seed starting shed works best for humidity management to prevent mold in a starter shed?
For many North Idaho buyers, 8x10 and 8x12 are the best starting sizes because they balance usable floor space with realistic placement on the property. We then size up or down based on snow load, storage volume, and how much dedicated work or seating area you need. Compare 8x10 and see 8x12.
What climate control does a seed starting shed shed need in North Idaho?
At minimum, insulate to R-19 walls and R-38 ceiling for year-round use. A mini-split heat pump handles heating and cooling efficiently. Add ventilation specific to your use case. Get a free estimate.
Frequently asked questions
What size seed starting shed works best for humidity management to prevent mold in a starter shed?
For many North Idaho buyers, 8x10 and 8x12 are the best starting sizes because they balance usable floor space with realistic placement on the property. We then size up or down based on snow load, storage volume, and how much dedicated work or seating area you need. Compare 8x10 and see 8x12.
What climate control does a seed starting shed shed need in North Idaho?
At minimum, insulate to R-19 walls and R-38 ceiling for year-round use. A mini-split heat pump handles heating and cooling efficiently. Add ventilation specific to your use case. Get a free estimate.
Ready to plan your build?
Tell us your site, your dimensions, and the use case. We'll come out and price it.
Built from Athol across North Idaho