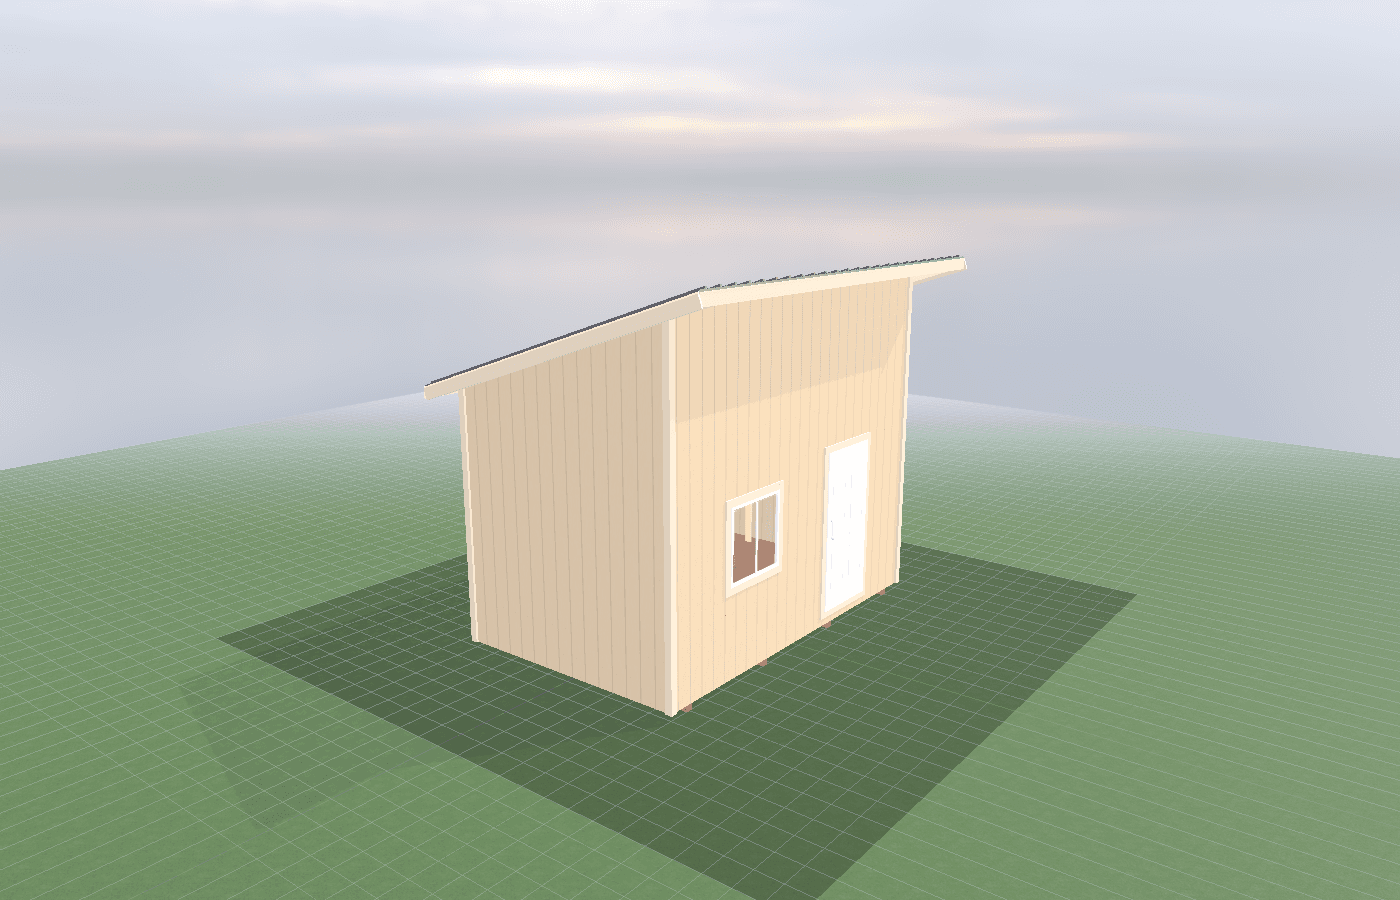
Seed starting in cold climates: lighting, heat mats, and insulation
Seed starting in North Idaho works best when the shed is treated like a controlled spring environment instead of a sunny box with a few trays. The right lighting, optional bottom heat, and honest insulation strategy matter because late-winter starts fail more often from inconsistent temperature and weak light than from any lack of seed-starting enthusiasm.
Seed Starting in Cold Climates in North Idaho
In North Idaho, seed starting is really about borrowing time from a climate that does not offer much of it in late winter. The goal is to give tomatoes, peppers, brassicas, flowers, and other starts a controlled head start while outdoor conditions are still swinging between sunny afternoons and freezing mornings. That only works if the room behaves predictably. A tray table near a window might be enough for a few herbs, but it is rarely enough for a real propagation workflow.
University of Minnesota Extension is direct about what seedlings need. UMN says most seedlings do better under fluorescent or LED lights than with natural light alone, recommends keeping lights very close to the tops of the seedlings, and notes that seedlings generally need 16 to 18 hours of light per day. It also says bottom heat can help seeds germinate sooner and produce healthier roots, because the potting mix in containers can run cooler than the surrounding room. That is exactly why a purpose-built seed starting shed makes sense in North Idaho: it gives you a stable space for light, warmth, and airflow instead of asking one corner of the house or garage to do all three badly.
UMN’s recent cold-climate seed-starting guidance also reinforces a few practical rules builders care about. Skip the drafty windowsill. Use stable room temperatures. Keep the growing medium moist but not soggy. Remove humidity covers once seedlings emerge. Add a small fan for gentle airflow. Those are growing tips, but they are also room-design tips. They tell you the shed needs consistent electrical access, reasonable insulation, a place for shelving and lights, and a moisture strategy that does not turn the room into a mold problem the minute the trays multiply.
How does shed size affect heating and airflow?
An 8x10 is often enough for a focused seed-starting room if the owner wants one or two lighted bench runs and a clear aisle. It is small enough to heat efficiently and simple enough to ventilate without big dead zones. For many North Idaho growers, this is the first size that feels honest rather than improvised.
An 8x12 gives more flexibility, especially when the room needs both propagation benches and storage for trays, mix, labels, and potting supplies. The extra length also helps keep the warmest germination area from competing with the door and workbench area.
A 10x12 becomes useful when the operation wants more than one active zone at a time. One side can handle germination with heat mats and close lighting, while another handles larger trays or hardening transitions. That extra space also makes it easier to keep airflow moving around the room rather than straight across the first row of seedlings.
The size question is not only about how many trays fit. It is about whether the room can hold temperature evenly enough that the trays at the far end do not behave differently from the trays near the door. In cold climates, undersized and poorly zoned spaces often create the worst of both worlds: they are expensive to heat and still drafty where it matters.
Systems planning for seed starting sheds
Lighting is the backbone of the room. UMN’s seed-starting and indoor-lighting guidance says standard LED or fluorescent setups can work well, and it emphasizes keeping the lights close enough to prevent stretching. That matters for shed planning because the room should be designed around adjustable shelves or hanging systems rather than a fixed ceiling light plus hope. If the grow lights cannot move with the plant height, the seedlings will tell you immediately.
Bottom heat is the second system, but it should be treated as targeted equipment, not whole-room heating. UMN notes that heat mats are helpful for many crops because the potting mix often stays several degrees cooler than the room. That is useful for germination, but it does not remove the need for a stable air temperature. A good seed-starting shed uses bottom heat where it helps and room heat where it stabilizes the environment, rather than trying to force one tool to do both jobs.
Airflow is the third system. UMN’s current seed-starting guidance includes a small fan for gentle airflow, and that one detail solves several common problems at once. It helps reduce stagnant humidity around leaves, encourages sturdier stems, and makes the room less likely to develop the wet still air that favors disease. That is why humidity management in a starter shed belongs in the same planning conversation as bench layout and lighting.
Insulation is not optional if the room needs to perform early
In North Idaho, insulation is what turns a light rack into a propagation room. The building still has to deal with snow loads in the 40 to 60-plus psf range depending on location, and the base still has to respect freeze-thaw behavior and the common 24-inch frost-depth discussion. But inside the shell, insulation determines whether the room loses all the daytime heat by dawn.
The practical question is not whether the room can be heated. It is whether it can be heated without wild swings. A lightly built structure may hit the right temperature for a few hours and then swing cold overnight or overheat in the first sunny spell. A properly insulated shell makes the lights, mats, and small heaters more effective because they are no longer trying to condition the entire outdoors. If you are also thinking about circuits, timers, and load separation, power planning for grow lights should be part of the design now rather than later.
Cost, timing, and build-planning factors
Seed-starting sheds get expensive when the room tries to overcome a weak shell with more equipment. A better insulated room with clear bench planning is usually a better investment than a draftier shell with more heaters, more lights, and more frustration. The same is true for electrical planning. Multiple light racks, timers, seedling heat mats, fans, and occasional supplemental heat add up. It is better to plan the circuits for the real load than to daisy-chain everything into one convenience outlet.
Idaho DOPL says permits are required when electrical, plumbing, or HVAC work is performed. Kootenai County’s building page says residential storage buildings over 200 square feet require permits in county jurisdiction and that grading, excavation, and run-off control may also need review. Those facts matter because many propagation sheds look modest at first and then quietly become utility-heavy once the lighting, fans, and heat are specified honestly.
Timing matters too. A propagation shed needs to be ready before the season feels urgent. In North Idaho, that means the shell, power, and basic bench layout should be finished before the late-winter seed-starting rush begins, not halfway through it. The room also benefits from at least a short test run. It is better to learn how quickly the space cools on a February night before the trays are full.
For properties around Athol, there is also a site-use question: where does snow stack, where does the winter sun hit, and how practical is it to carry trays in and out during shoulder season? Those access issues sound minor until the room is in daily use.
Popular sizes and layouts for seed starting sheds
An 8x10 works well for a focused setup with one main light wall or two compact bench runs. It is the efficient option when the goal is earlier starts, not a full year-round production room.
An 8x12 is the best all-around answer for many North Idaho gardeners because it gives more space for bench depth, supplies, and airflow without making the room much harder to heat.
A 10x12 is the more forgiving option when the room wants separate germination and grow-on zones or enough open space to keep potting and propagation from happening in the same square feet.
The best layouts usually include:
- one adjustable lighting side with shelves or bench tiers
- one warm germination zone where heat mats are concentrated
- one small fan or airflow path that does not blast directly across young starts
- one storage edge for trays, mix, labels, and tools so the benches stay for plants
If the room can hold steady light, steady warmth, and manageable humidity, it will outperform a much larger but sloppier setup.
That is also the point where a site-specific review saves money. A grower who knows the room will carry several lit shelves, timers, mats, and one or two backup heat strategies should settle the bench and power plan before the shell is finished. If you want the layout checked against your property and crop calendar, get a free estimate before the first rack height and outlet locations are locked.
Frequently asked questions about seed starting sheds
What size seed starting shed works best for seed starting in cold climates: lighting, heat mats, and insulation?
For many North Idaho buyers, 8x10 and 8x12 are the best starting sizes because they balance usable floor space with realistic placement on the property. We then size up or down based on snow load, storage volume, and how much dedicated work or seating area you need. Compare 8x10 and see 8x12.
Which window orientation is best for natural light in a studio shed?
North-facing windows provide consistent, diffused light without harsh shadows or glare — ideal for painting and drawing. South-facing light is warmer but changes throughout the day. See art studio options.
Frequently asked questions
What size seed starting shed works best for seed starting in cold climates: lighting, heat mats, and insulation?
For many North Idaho buyers, 8x10 and 8x12 are the best starting sizes because they balance usable floor space with realistic placement on the property. We then size up or down based on snow load, storage volume, and how much dedicated work or seating area you need. Compare 8x10 and see 8x12.
Which window orientation is best for natural light in a studio shed?
North-facing windows provide consistent, diffused light without harsh shadows or glare — ideal for painting and drawing. South-facing light is warmer but changes throughout the day. See art studio options.
Ready to plan your build?
Tell us your site, your dimensions, and the use case. We'll come out and price it.