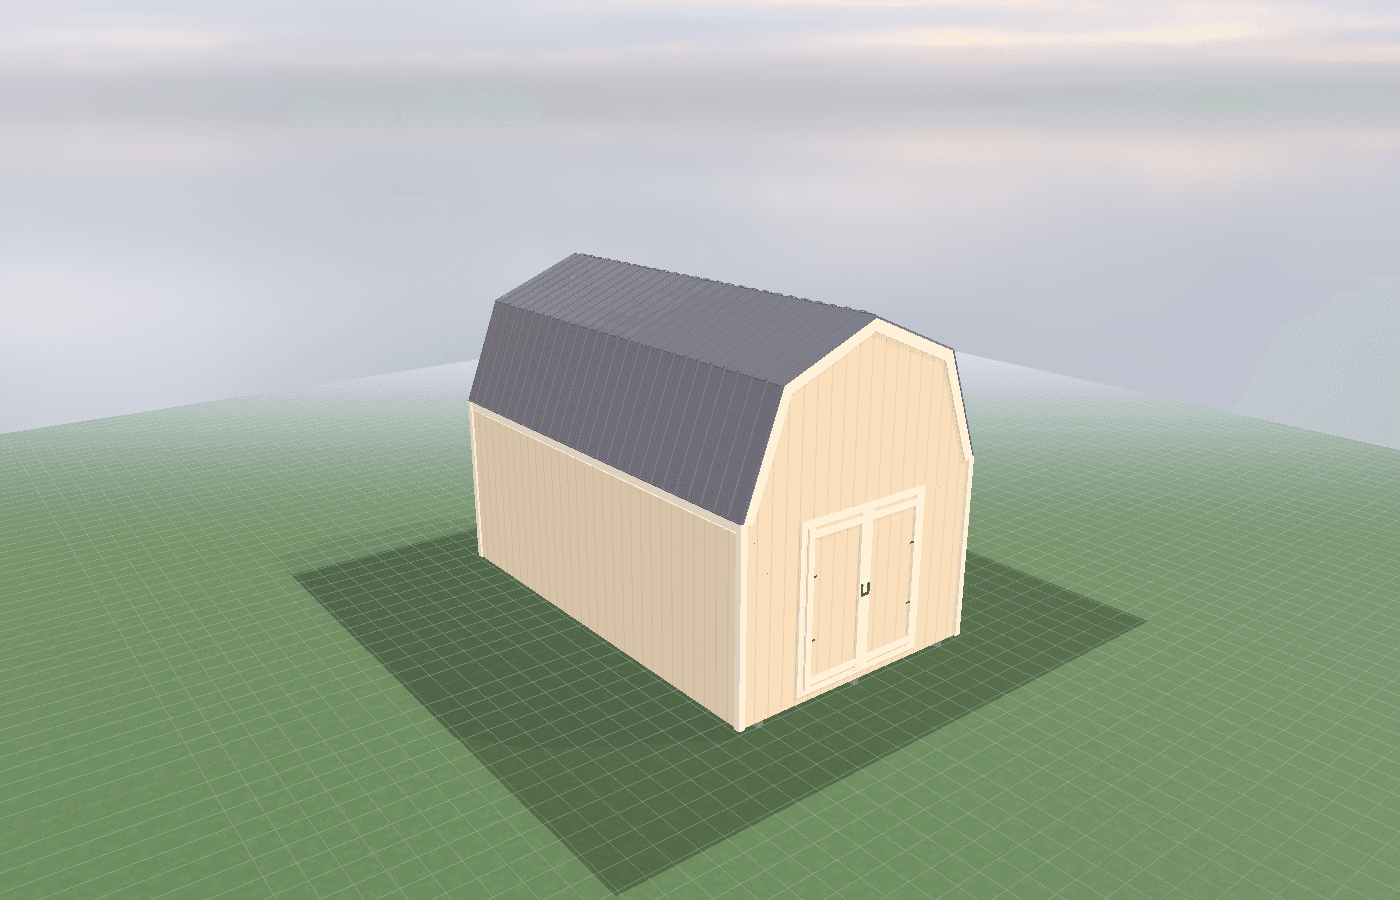
Predator-proofing your coop: hardware cloth, aprons, and door latches
A predator-proof coop starts with the hard truth that North Idaho predators look for the easiest weak point, not the prettiest one. A good coop shell has to stop digging, grabbing, prying, and night-time testing at vents, doors, and run edges without turning daily chores into a hassle. On-site construction helps because apron lines, latch placement, run attachment, and sightlines can be matched to your actual yard instead of forced into a generic coop footprint.
Predator-Proofing Your Coop in North Idaho
A chicken coop is only as secure as its weakest opening. In North Idaho that usually means something more persistent than people expect: raccoons working latches, dogs testing fence lines, hawks and owls exploiting open-top runs, and digging predators following the first soft corner they can find. A coop that looks sturdy from ten feet away can still fail if the lower openings are wrapped in the wrong mesh or if the door hardware is simple enough for a raccoon to work at night.
This is where people confuse keeping chickens in with keeping predators out. Chicken wire is fine for defining a run or discouraging birds from wandering, but it is not strong enough to be your main predator barrier at vulnerable points. Extension poultry guidance consistently separates chicken wire from hardware cloth for that reason. Hardware cloth at lower walls, around vents, and at dig-prone edges gives much better resistance to chewing, reaching, and tearing. If you are building a true chicken-coop-shed, the predator plan belongs in the framing conversation from the start, not as a retrofit after the first loss.
North Idaho weather changes the risk pattern too. Snow can push animals closer to the coop, freeze-thaw cycles open up soft ground near corners, and dark winter evenings make it easier to miss a latch that did not fully catch. Around Athol, where many properties sit near timber, pasture edges, or open space, the predator conversation is rarely theoretical. Good coop security has to stand up through mud season, frozen ground, and summer digging alike.
On-site construction helps because predator-proofing is partly a site problem. The most vulnerable wall might be the one facing brush, the one nearest the fence line, or the one with the easiest drifting snow pile beside it. When the shed and run are built on-site, the apron layout, run tie-in, and human access path can all respond to the real property instead of a generic standard plan.
What size chicken coop shed gives you enough usable room?
Size matters because cramped coops are harder to secure cleanly. An 8x10 gives enough room for many backyard flocks, but it demands discipline. When feed bins, nesting boxes, roosts, and the human entry path all crowd the same area, it becomes easier to leave one lower corner cluttered, one vent underprotected, or one latch harder to operate correctly in the dark. Compact can still work well, but only if the security details are simple and easy to inspect.
An 8x12 gives you more margin. That extra length often makes it easier to keep the main door clear, preserve one uninterrupted wall for roosting and venting, and maintain a cleaner transition to the run. More importantly for this guide, it gives you room to reach and inspect the lower walls and corners without moving half the coop every time you want to check for digging or damage.
A 10x10 makes sense when a squarer layout works better on the site or when the run connection needs more flexibility. Width helps when you want stronger separation between feed storage and bird traffic, which matters because feed clutter often creates the exact blind spots where rodents and opportunistic predators take advantage.
The right size is the one that leaves enough room for maintenance. Predator-proofing is not just what you install. It is what you can still see, inspect, and repair six months later. If the coop is so tight that checking the lower run wall or re-fastening mesh becomes a project, the security plan will degrade faster than you want.
Best layouts and features for chicken coop sheds
Start with the lower shell. Vulnerable run walls, vent openings, and the lower perimeter should use hardware cloth rather than relying on chicken wire. Oregon State and Minnesota extension poultry materials both reinforce the idea that hardware cloth is the stronger material where ground predators can reach or dig. On a fixed coop, that usually means protecting lower walls and any opening large enough for paws, noses, or teeth to exploit.
Next comes the apron. A horizontal apron that extends outward from the run edge is one of the simplest ways to slow digging predators, and the prompt's FAQ language is directionally right here: a 12-inch outward apron is a common starting point. Some owners go wider, but the main win is forcing the predator to dig farther from the wall instead of directly under it. That matters most at gates, corners, and any spot where the soil stays softer after rain or snowmelt.
Latches are the other failure point. Raccoons are not guessing; they are testing. Simple hook-and-eye hardware, loose barrel bolts, or a pop door with one flimsy catch can be surprisingly easy to work open. Better coop layouts use two-step or more secure latch hardware on the main access points and keep the door frames rigid enough that seasonal swelling does not leave gaps. A well-built door that shuts squarely is as much a predator feature as the mesh itself.
Layout also matters. Keep feed and bedding from blocking your inspection path. Do not bury the most vulnerable lower wall behind stacked totes. If the run has a roof or top netting, make sure the tie-in points are reachable without ladder acrobatics. This guide pairs naturally with winterizing your chicken coop: insulation, ventilation, and heat lamp safety and coop sizing guide: how much space per bird for happy chickens, because overcrowded coops and poorly ventilated winter setups often force owners to prop doors or improvise changes that weaken security.
Lighting can help too, but only as a support feature. Motion lighting is useful for visibility and may deter some nocturnal traffic, yet it is not a substitute for strong mesh and latches. Think of it as a way to help you notice problems sooner, not a force field around the birds.
Cost, timing, and build-planning factors
The cheapest predator-proofing moves happen before the coop is finished. Adding the right mesh while the walls and run are open is easier than tearing out weak chicken wire later. Planning the apron before the run is tied into finished landscaping is easier than trenching around established posts or decorative edging after the fact. The same goes for door hardware. A better latch and stiffer door frame cost far less during construction than after a warped door has already taught you a lesson.
Timing also matters because the site behaves differently across the year. Spring mud reveals soft spots. Summer growth shows you which side of the coop becomes hidden from view. Winter snow creates ramps and access points you did not notice in August. When the shed is planned on-site, you can orient the run and the human access around those realities instead of discovering them one season too late.
Permit issues for a simple coop may still be modest, but the broader building rules do not disappear. Kootenai County's building guidance becomes more relevant once the structure grows, and utilities can trigger more review. Even if the permit path stays simple, the real planning work is still worth doing because predator-proofing is easiest when the shell, the run, and the site layout are being decided together.
One other cost to remember is flock loss and replacement. Cheap mesh, weak latches, and hard-to-maintain layouts look inexpensive until one breach costs you birds, time, and confidence in the whole building. A stronger predator package usually pays for itself by making the coop boring to test and easy to inspect. If you want help sorting those decisions around your property, get a free estimate.
Popular sizes and layouts for chicken coop sheds
The 8x10 layout is popular because it fits many backyard flocks and keeps the project manageable on tighter lots. The best predator-proofed version uses one clear run tie-in, high vent placement with secure mesh, and lower-wall protection that is easy to inspect all the way around.
The 8x12 layout is often the better all-around answer because it gives you more reach, more organization, and more separation between birds, feed, and the human path. That makes security maintenance easier and lowers the odds that one cluttered corner becomes the blind spot every predator eventually finds.
The 10x10 layout is a good choice when the site wants a squarer footprint or when the run layout needs more flexibility. Extra width also helps preserve cleaner corner geometry, which matters because corners are where digging pressure and sloppy fastening often show up first.
In each of these sizes, the best layout is the one that leaves the vulnerable edges visible, the latches easy to use correctly, and the apron and lower mesh details reachable enough that you will actually maintain them. That is what makes a coop reliably secure instead of theoretically secure.
Frequently asked questions about chicken coop sheds
What size chicken coop shed works best for predator-proofing your coop: hardware cloth, aprons, and door latches?
For many North Idaho buyers, 8x10 and 8x12 are the best starting sizes because they balance usable floor space with realistic placement on the property. We then size up or down based on snow load, storage volume, and how much dedicated work or seating area you need. Compare 8x10 and see 8x12.
What predator-proofing features matter for a pet shelter shed in rural North Idaho for my property?
Use hardware cloth (not chicken wire) over all openings. Bury an apron of cloth 12 inches out from the base. Use heavy-duty latches that raccoons cannot open. A motion-sensor light deters nocturnal predators. See pet shelter options.
Frequently asked questions
What size chicken coop shed works best for predator-proofing your coop: hardware cloth, aprons, and door latches?
For many North Idaho buyers, 8x10 and 8x12 are the best starting sizes because they balance usable floor space with realistic placement on the property. We then size up or down based on snow load, storage volume, and how much dedicated work or seating area you need. Compare 8x10 and see 8x12.
What predator-proofing features matter for a pet shelter shed in rural North Idaho for my property?
Use hardware cloth (not chicken wire) over all openings. Bury an apron of cloth 12 inches out from the base. Use heavy-duty latches that raccoons cannot open. A motion-sensor light deters nocturnal predators. See pet shelter options.
Ready to plan your build?
Tell us your site, your dimensions, and the use case. We'll come out and price it.