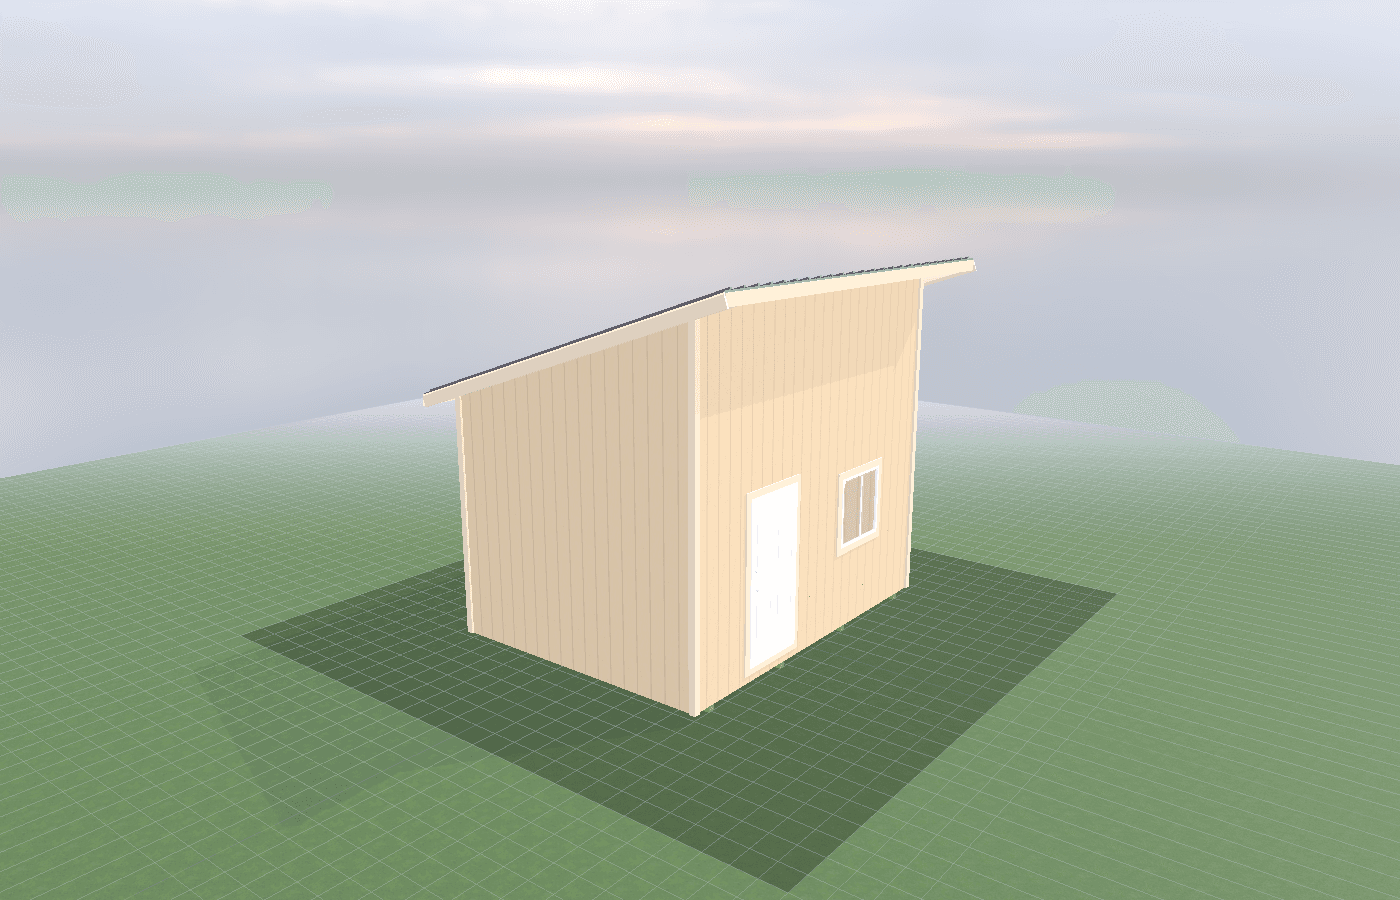
Rodent-proofing and drainage in utility enclosures
Utility enclosures fail faster when water and pests are allowed to work together. In North Idaho, a good well house or pump house starts with drainage that moves runoff away from the base, plus tight penetrations, durable flashing, and rodent-proof details around every pipe, vent, and bottom-of-wall seam.
Rodent-Proofing Drainage Utility in North Idaho
Water problems and rodent problems usually show up in the same utility buildings for a reason. A damp, loosely sealed enclosure is attractive to pests, harder to heat, and rougher on the equipment inside. In a well house, that combination is expensive. Mice chew insulation, nest near warm controls, and work through tiny gaps. Bad drainage keeps the floor damp, softens wood, and increases freeze-thaw damage around the base. If you want a utility enclosure that lasts in North Idaho, you have to solve both issues together.
CDC's current rodent-control guidance is useful because it is so specific. It says mice can fit through a hole the width of a pencil, about one-quarter inch. It recommends filling small holes with steel wool plus caulk or foam, and using metal, hardware cloth, lath screen, cement, or sheet metal for larger openings. CDC also says outbuildings and garages need the same treatment, not just the house. That advice fits well with well houses because the vulnerable points are obvious: around pipes, conduit, bottom plates, vents, and door corners.
Drainage is the other half of the equation. Kootenai County's current site-plan checklist requires owners to show streams, culverts, wetlands, drainage ways, and slopes, while the county building page says permits may be required before site disturbance, grading, excavation, or run-off control work. That is a reminder that site drainage is not a cosmetic afterthought. On a North Idaho utility shed, it is part of the performance of the building. If meltwater or roof runoff settles around the well house, the enclosure stays colder, the floor stays wetter, and the details around the base get tested harder every season.
This is where on-site construction helps. A custom on-site well house shed can be placed and detailed for the real slope, snow drift, access lane, and well-head location on the property. That matters because a utility room sitting six inches too low or facing the wrong runoff path can become a maintenance problem for years.
What size well house shed do you need?
A 6x8 is often enough for a simple well system if the owner is disciplined about layout and the site work is clean. In a small footprint, there are fewer hidden corners for nests, fewer unnecessary penetrations, and less roof runoff to manage. But the room can also get crowded quickly, which makes rodent-proofing harder if pipes and tank fittings are jammed against the wall.
An 8x8 gives more room to keep penetrations visible and to separate the equipment from the bottom-of-wall details that often cause trouble. That extra clearance helps both drainage inspection and pest inspection. If you can actually see around the tank and along the base of the wall, you can catch problems earlier.
An 8x10 is worth it when the system is more involved or when the site is harder. On a property with slope, snow stacking, or more filtration and controls, a little more room gives you better options for keeping the service aisle dry and the penetrations readable. It is usually easier to build a drier, tighter room when you are not trying to force every component into the smallest possible shell.
The real sizing question is whether you can inspect the whole room without moving equipment. If the answer is no, pests and drainage problems will stay hidden longer than they should.
Site prep and foundation choices
Good utility-shed drainage starts outside the walls. The grade should move water away from the building, not toward it. Roof runoff should not dump at the same point where the utility line enters the enclosure. If the room sits in a shallow bowl or downhill from a concentrated runoff path, the base will stay wetter and colder than the rest of the lot.
Crushed rock, raised pads, and stem-wall or skidded approaches can all help depending on the site. What matters is keeping the floor system above chronic splashback and keeping water from ponding at the perimeter. In North Idaho, that perimeter also has to handle snowmelt, shoulder-season mud, and freeze-thaw movement. A building that looks dry in August can still be a January problem if roof shed, down-slope runoff, and plowed snow all converge at one corner.
Bottom-of-wall detailing is equally important. Flashing, treated materials where appropriate, and tight closures at the base help keep rodents and moisture from entering at the same seam. Pipe and conduit penetrations should be cut tight and finished with durable materials, not left with oversized foam-filled gaps that invite chewing and air leakage.
This is also where the related well-house guides matter. Freeze protection for wells: well house insulation basics explains why air leaks and damp floors work against temperature control. Well house layouts: access clearances and maintenance-friendly designs shows why you need enough room to actually inspect and maintain those details over time.
Inside the room, keep feed, seed, cardboard, and cloth storage out of the enclosure if possible. Utility sheds that turn into general storage become more attractive to pests. If you absolutely need supplies in the room, follow CDC's advice and use thick plastic or metal containers with tight lids. That matters even around a private well because rodents are not just a nuisance. They can contaminate surfaces, damage wiring, and turn a clean service room into a health problem.
Cost, timing, and build-planning factors
The cheapest drainage and rodent-proofing details are the ones installed before the building is finished. It costs very little to set the room slightly higher, add better flashing, or size penetrations correctly during the build. It costs much more to jack up a building, replace chewed insulation, or correct runoff after one wet winter showed where the water actually wanted to go.
Permit and timing issues matter here too. Kootenai County's building page says permits may be required for grading, excavation, and stormwater or run-off work before the building even goes up. Idaho DOPL's current FAQ says permits are required when electrical, plumbing, or HVAC work is performed. If the enclosure needs wiring for heat, trenching for utilities, or more substantial site preparation, it is smarter to handle those conversations early rather than treat the utility shed like a purely decorative accessory building.
Seasonal timing also changes the cost. Trying to diagnose drainage during the dry season can hide the real problem, while trying to fix it after everything freezes is inconvenient and expensive. On-site construction gives you the advantage of tailoring the room to the conditions you actually have instead of guessing based on a flat-lot template.
If you are unsure whether your site needs a simple crushed-rock base or something more deliberate, get a free estimate. Drainage and pest resistance are both easiest to solve before the first wet winter tests the room.
Popular sizes and layouts for well house sheds
A 6x8 is a strong compact choice for simple systems where the goal is to keep everything visible, dry, and easy to inspect. It works especially well when the site itself is straightforward.
An 8x8 is often the best all-around answer because it gives more inspection room and makes it easier to keep wall penetrations, base details, and service space from overlapping. Many owners find this is the size where utility-room maintenance stops feeling cramped.
An 8x10 is the better fit when the site is wetter, the room is more complex, or the owner wants more separation between the tank and the entry side. That extra room can make drainage fixes and pest inspection much easier for the life of the building.
The best layout is the one where water leaves the site cleanly, penetrations stay visible, and no one has to guess whether mice are getting in around the back side of the tank. If the room stays dry, tight, and readable, the rodent-proofing and drainage plan is doing what it should.
This becomes more obvious on semi-rural sites around Athol, where wooded edges, ditch lines, and drifting snow create more pressure on the enclosure than a flat suburban lot. A size that looks generous on paper can feel cramped once you add splash protection, better skirts, visible pipe penetrations, and clearance to inspect corners for droppings or chew marks. In those settings, the best layout is rarely the one that uses every inch. It is the one that leaves inspection space around the vulnerable edges so drainage and pest issues get noticed before they become repair bills.
Frequently asked questions about well house sheds
What size well house shed works best for rodent-proofing and drainage in utility enclosures?
For many North Idaho buyers, 6x8 and 8x8 are the best starting sizes because they balance usable floor space with realistic placement on the property. We then size up or down based on snow load, storage volume, and how much dedicated work or seating area you need. Compare 6x8 and see 8x8.
What is the most common mistake people make when planning a well house shed?
Underestimating space needs is the most common error. Measure your equipment and add 25-30% for workspace and future growth. In North Idaho, also factor in snow gear and seasonal storage demands. Get a free estimate.
Frequently asked questions
What size well house shed works best for rodent-proofing and drainage in utility enclosures?
For many North Idaho buyers, 6x8 and 8x8 are the best starting sizes because they balance usable floor space with realistic placement on the property. We then size up or down based on snow load, storage volume, and how much dedicated work or seating area you need. Compare 6x8 and see 8x8.
What is the most common mistake people make when planning a well house shed?
Underestimating space needs is the most common error. Measure your equipment and add 25-30% for workspace and future growth. In North Idaho, also factor in snow gear and seasonal storage demands. Get a free estimate.
Ready to plan your build?
Tell us your site, your dimensions, and the use case. We'll come out and price it.