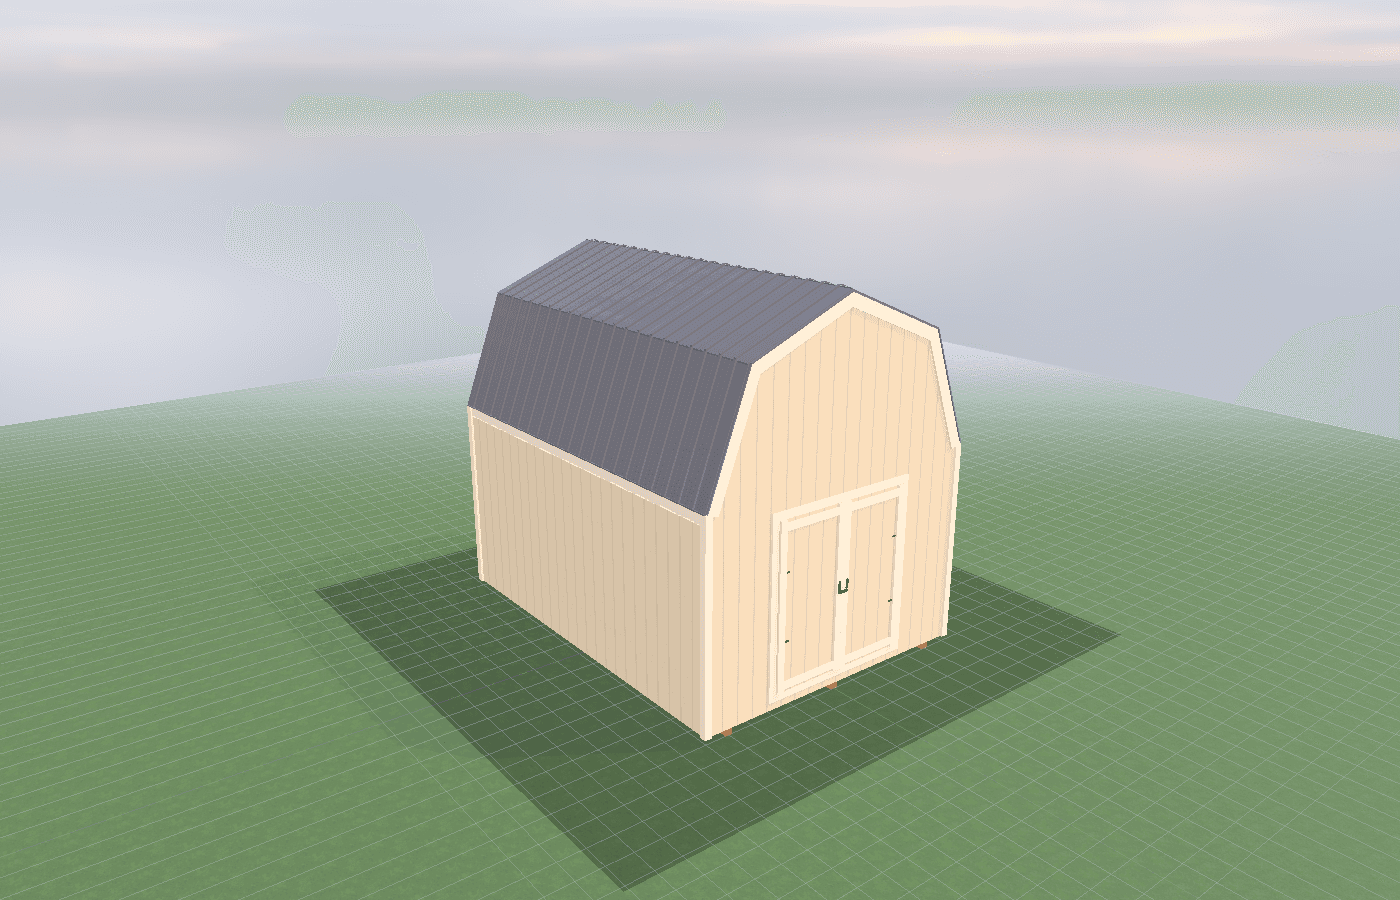
Ski gear drying: preventing stink and mold all winter
In a North Idaho ski shed, drying speed is the real comfort system. If boots, gloves, liners, and helmets still feel damp the next morning, the room needs a better airflow and storage plan, not just more hooks.
Ski Gear Drying Preventing Stink in North Idaho
Ski gear gets gross when the room treats wet gear like ordinary storage. Boot liners trap moisture deep inside the foam, gloves stay damp in the fingertips, helmet pads hold sweat, and bibs or jackets can feel almost dry while still carrying enough moisture to sour the whole room. In North Idaho, where winter use is constant and the next ski day may be less than 24 hours away, a drying failure becomes a routine failure very quickly.
That is why a real ski tuning shed should be planned as a drying room as much as a wax room. The room needs enough air movement, enough warmth, and enough physical separation that yesterday's wet gear does not poison next week's storage.
EPA's current mold guidance is useful here because it keeps the principle simple: moisture control is the key to mold control, humidity and condensation need active management, and damp surfaces should be dried within 24 to 48 hours. That applies directly to ski gear. If liners and gloves keep going back into a room damp, the room is telling you it is under-ventilated, under-heated, or badly organized.
That problem shows up quickly in colder service areas like Silver Valley, where wet gear comes in during storms and the outside air alone is not enough to finish the drying job. Cold dry air helps some days, but packed, humid winter gear still needs a room designed to reset it.
What size ski tuning shed do you need?
An 8x12 works when the room is primarily a one-wall tuning bench with a compact but honest drying zone near the door. It is enough for one or two users if the room stays disciplined and the owner avoids overloading every hook and shelf.
A 10x12 is the more forgiving size. It gives the drying wall more room, makes it easier to keep boots and liners away from the cleanest wax surface, and usually improves circulation around the wettest items. For many households, this is the point where the room begins to feel properly usable every day instead of just adequate.
A 10x16 works better for family ski setups, multi-sport households, or owners who want a stronger split between the wet zone and the tuning zone. That extra length matters because a drying room fails quickly when helmets, jackets, socks, and bags spill into the bench area.
The right size is the one that still leaves room for air to circulate around the gear. If every glove and liner is crammed together on one rack, the room may hold the equipment but it is not actually drying it well.
Best layouts and features for ski tuning sheds
Create a true intake zone near the door
The best drying rooms start with a receiving posture. Wet jackets, pants, gloves, and boot bags should come into the easiest-clean corner first, not get tossed onto the nearest bench. A simple intake zone near the door keeps snow, slush, and drips away from the cleanest side of the shed.
That zone does not need to be fancy. It needs to be easy to wipe down, easy to hang on, and close enough to the door that the owner will actually use it on a tired cold night.
Boots and liners need separation, not a pile
One of the most common mistakes is treating boots as a single item. The shell, liner, and footbed dry differently. If the liner stays buried inside a wet shell night after night, odor and mildew become much more likely. Good ski sheds make it easy to pull liners, spread boots apart, and keep the dampest pieces from touching each other.
That is why underestimating size is such a common planning error. A room that looks big enough for the boots themselves may not be big enough for the boots plus the drying posture they actually need.
Drying and waxing should cooperate without overlapping too much
Many owners want one room to do both jobs, which is reasonable. The problem starts when the wettest gear lives directly over the wax bench or the fan setup serving the drying wall blows humidity straight across the tuning station. That is why ski waxing ventilation and fumes: what to plan for is a direct companion page here.
A good room keeps the bench feeling like the cleaner, more stable part of the shed and lets the drying side do the messier work. That separation improves both odor control and everyday usability.
Layout details matter in compact rooms
In small footprints, inches matter. The boot-drying area, glove hooks, helmet shelf, and tuning bench all compete for the same walls. That is why small tuning room layouts: bench depth, storage, and lighting belongs in this same guide cluster. If the room is too tight for wet gear to hang without touching the bench or blocking the aisle, it is too tight to feel good all season.
Air movement matters more than more hardware
A crowded wall of hooks is not a drying system. Drying speed depends on spacing, mild heat, and airflow. Even a simple room can perform well if the wet gear is spread out, humidity is controlled, and surfaces are easy to reset. A more expensive room can still fail if everything is packed too tightly and the only strategy is to hope it dries by morning.
Cost, timing, and build-planning factors
Drying-focused ski sheds usually cost more because the room needs a better envelope and a more thoughtful interior plan. Heat, airflow, wall organization, easy-clean finishes, and enough space to separate gear all matter more here than they do in a simple storage shed.
Timing matters because drying rooms benefit from early decisions about where the intake zone, hooks, shelves, and any boot-drying support will live. If the room is finished first and the owner tries to invent the drying system afterward, wet gear usually ends up wherever there is blank wall left.
North Idaho site factors still shape the project. The shell still has to be ready for snow loads in the 40-60+ psf range depending on the parcel, and the base still needs to fit the local frost-depth and drainage reality. On steeper or snowier parcels, a room that is slightly harder to access will also get used less effectively, which makes good drying habits harder to maintain.
Local review matters too. Kootenai County and state trade inspectors still control the permitting path once the room gets larger or more utility-heavy, and the Silver Valley side of the market also brings Shoshone County's stepped snow-load schedule and permit package requirements into play. If the shed is getting more finished, more heated, or more permanent, scope that honestly.
If you want the room to dry a full family gear load instead of just storing it damp, request a free estimate before the layout is fixed. Drying performance is mostly decided by room design, not by whatever hook system gets added later.
Another practical rule is to leave one small overflow posture for the storm day when everyone comes home soaked at once. That can be a second hook rail, a removable drying bar, or a temporary rack near the intake zone. Without that extra margin, the room works on average days but fails exactly when the snow is best and the gear load is highest.
Popular sizes and layouts for ski tuning sheds
An 8x12 works best for a lean two-person setup with one compact tuning bench and one disciplined drying wall. It can work very well if the room is used consistently and kept uncluttered.
A 10x12 is the more balanced everyday choice because it gives the drying side more air space and makes it easier to keep wet gear from overtaking the workbench. This is often the sweet spot for small families.
A 10x16 becomes the better choice when the room has to absorb multiple boots, more outerwear, or several users returning from the mountain on the same evening. The longer footprint lets the room breathe and makes overnight drying much more realistic.
The best layout is the one that gets wet gear dry enough to reset within a day or two and keeps the odor-heavy pieces from colonizing the whole shed. If the room still smells neutral by midseason, the plan is probably working.
Frequently asked questions about ski tuning sheds
What size ski tuning shed works best for ski gear drying: preventing stink and mold all winter?
For many North Idaho buyers, 8x12 and 10x12 are the best starting sizes because they balance usable floor space with realistic placement on the property. We then size up or down based on snow load, storage volume, and how much dedicated work or seating area you need. Compare 8x12 and see 10x12.
What is the most common mistake people make when planning a ski tuning shed shed?
Underestimating space needs is the most common error. Measure your equipment and add 25-30% for workspace and future growth. In North Idaho, also factor in snow gear and seasonal storage demands. Get a free estimate.
Frequently asked questions
What size ski tuning shed works best for ski gear drying: preventing stink and mold all winter?
For many North Idaho buyers, 8x12 and 10x12 are the best starting sizes because they balance usable floor space with realistic placement on the property. We then size up or down based on snow load, storage volume, and how much dedicated work or seating area you need. Compare 8x12 and see 10x12.
What is the most common mistake people make when planning a ski tuning shed shed?
Underestimating space needs is the most common error. Measure your equipment and add 25-30% for workspace and future growth. In North Idaho, also factor in snow gear and seasonal storage demands. Get a free estimate.
Ready to plan your build?
Tell us your site, your dimensions, and the use case. We'll come out and price it.