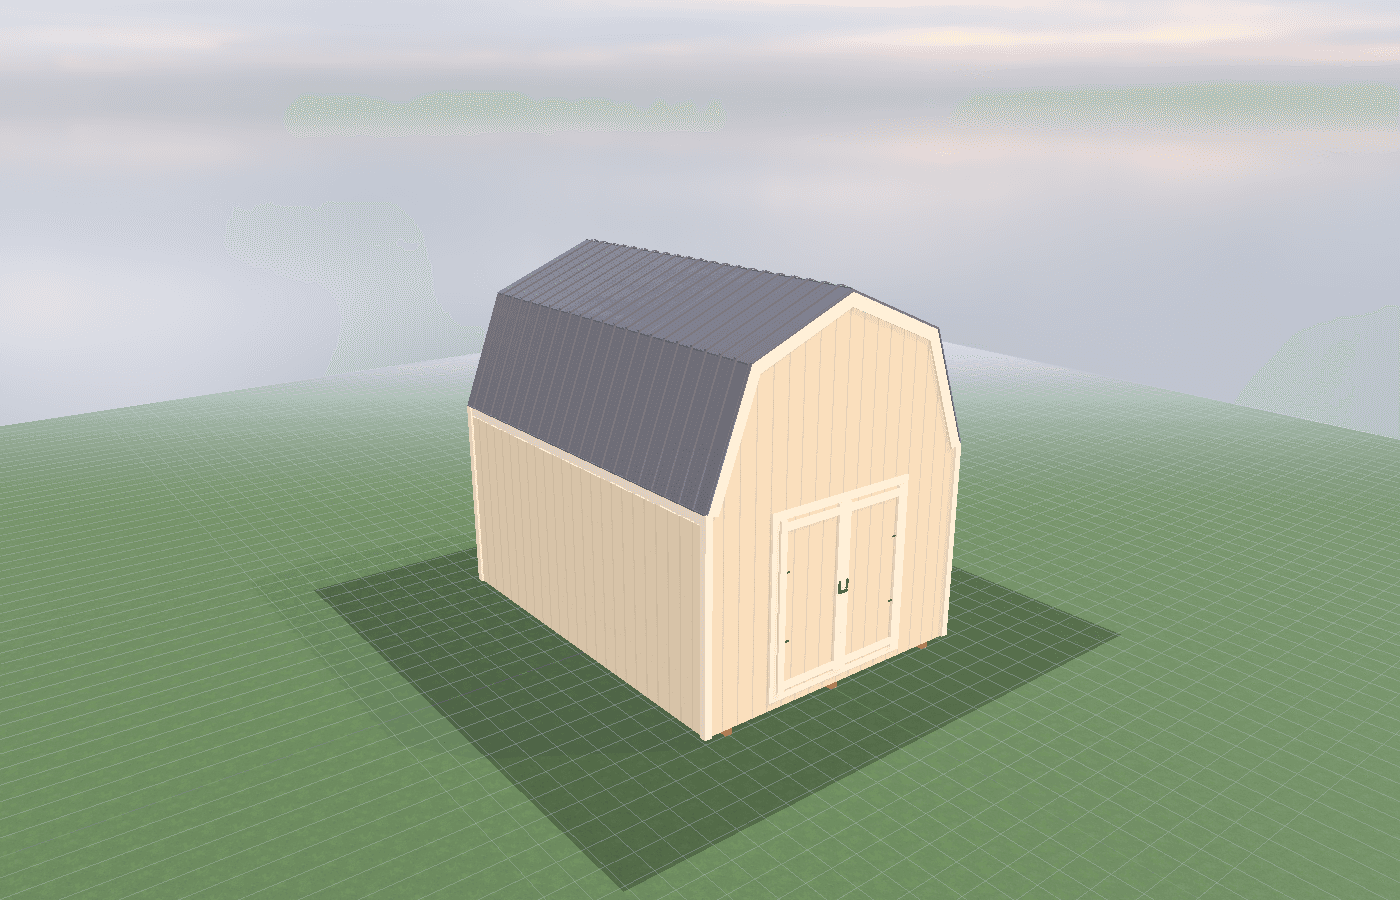
Storage layout for helmets, tires, and tools
A good powersports shed layout keeps high-use gear visible, heavy items stable, and the machine lane clear enough that storage does not become the obstacle course. In North Idaho, that usually means building for mud season and winter gear at the same time.
Storage Layout Helmets Tires in North Idaho
Storage layout in a powersports shed fails when every category is treated like generic clutter. Helmets do not want the same storage as spare tires. Tool access should not compete with the machine path. Chargers, fluids, tie-downs, goggles, filters, and riding layers all have different weights, frequencies of use, and tolerance for dirt. If they all land on one shelving wall, the shed gets slower to use every month.
A well-planned ATV or UTV shed should organize by use pattern first. The most frequently grabbed items should be the easiest to reach. Heavy items should stay low and stable. Seasonal tire sets should have a dedicated zone that does not interfere with the machine turn. Tools should live where they can be used without dragging the whole room apart. That is how a compact building starts behaving like a real shop.
This matters most on the properties where the shed works hard, including mountain-access areas like Silver Valley. Mud, slush, and winter gear bulk up the storage problem fast. A layout that looks perfectly reasonable in July can become chaotic in October once helmets, gloves, chains, recovery gear, and wet riding layers all show up at once.
Layout also depends on machine size. Before finalizing shelves or cabinets, it helps to review UTV shed sizing: common side-by-side dimensions and clearance planning. The storage wall only works if it leaves the right turning and door-clearance path around the actual machine.
What size atv and utv shed gives you enough usable room?
A 10x16 can work very well for one machine and disciplined storage. Helmets can live on one protected wall, tools can sit in a compact chest or cabinet, and tires can be stored high or on a dedicated end wall if the machine path stays honest. The key is not overbuilding the furniture inside the room.
A 12x20 is where storage starts getting easier. There is more room for a real helmet and gear station, a safer tire rack, and a tool wall that does not immediately crowd the machine. For many owners, this is the size where the layout starts feeling deliberate instead of improvised.
A 12x24 gives more flexibility for mixed storage categories. It can support better separation between clean gear and dirty machine accessories, and it is more forgiving if the owner wants a bench or charger station without losing the center aisle. That extra length also helps when seasonal tire sets and larger repair tools start multiplying. In practical terms, it gives the owner more chances to assign one wall to riding gear and another to heavier service items instead of trying to make every shelf do every job.
A 14x24 becomes attractive when the shed needs to support multiple machines, more tire inventory, or a stronger service corner. The gain is not just more stuff. It is more circulation around the stuff, which is what keeps the room usable.
Best layouts and features for atv and utv sheds
Build one clear gear wall
Helmets, goggles, gloves, chest protectors, and smaller riding gear work best when they share a dedicated wall or station. Open cubbies, protected shelves, hooks for drying, and labeled bins tend to outperform one giant cabinet because people can see what needs to be grabbed or dried quickly. The goal is fast reset after a ride, not museum-quality concealment.
Keep tires heavy, stable, and out of the machine swing
Spare tires and wheels are bulky and easy to store badly. They should live low and stable or on a well-supported rack that does not encroach into the turning lane. One of the most common mistakes is hanging tire storage where the bars, mirrors, or doors need to swing. The tires fit, but the room stops functioning.
Put tools where work actually happens
Tool storage should follow the service surface, not just the emptiest wall. If the owner does most repairs beside one bench or near one work light, the tool chest and smaller fasteners should live there. Wandering back and forth across the machine lane every time a socket is needed is what makes a decent shed feel frustrating. Consumables like oil, cleaners, rags, funnels, and spare fasteners should usually live just above or beside that same work zone so the owner is not storing everyday service items three walls away from the only usable bench.
Separate clean storage from mud recovery
This guide also overlaps with mud management: floors and wash-friendly finishes for powersports sheds. Helmets and clean riding gear should not sit in the same splash zone as mud trays, washdown tools, or the dirtiest tire path. Even if the shed is compact, one side should stay noticeably cleaner than the other.
Wall-mounted systems, overhead storage, and French cleats can all be useful, but the main principle is consistency. Every category needs a home that matches its weight, how often it is used, and how clean it should stay. Seasonal bins should be labeled clearly enough that the owner can rotate from summer trail use to winter recovery gear without re-sorting the whole shed every few months.
Cost, timing, and build-planning factors
Storage layout affects cost mostly through wall systems, shelving, cabinetry, bench space, charger locations, and how much clear floor area the owner is willing to protect. The more serious the storage system becomes, the more important it is to preserve usable machine movement instead of filling every wall with furniture.
Timing matters because blocking, outlet placement, lighting, and bench locations are easier to plan before the shell is finished. Many storage problems are really framing and electrical problems discovered too late. If the owner knows a tire rack, cabinet run, or charger station is coming, the structure should be ready for it. A small intake bench by the main door for keys, gloves, radios, and ride-day clutter can also keep the rest of the room from slowly turning into a drop zone.
The same regional build realities still apply. Snow loads in the 40 to 60+ psf range, depending on location and exposure, still shape the shell. The base still needs to deal with the common 24-inch frost-depth discussion when more permanent support systems are used. Those structural realities are what keep the storage plan from shifting, sagging, or becoming misaligned after a few hard winters.
Local permitting should still be handled honestly, especially as buildings get larger or more utility-ready. Kootenai, Bonner, and Shoshone counties all maintain their own approval paths for many detached structures, and Shoshone County notes that most construction requires permits and must comply with county building rules. A good storage layout depends on a real building, not a loosely planned shell.
Popular sizes and layouts for atv and utv sheds
A 10x16 works best for one-machine layouts with a disciplined gear wall and a compact tool zone. A 12x20 is often the most balanced size because it supports one clear machine lane, one cleaner gear wall, and a more comfortable tool or tire station without everything touching everything else.
A 12x24 is a stronger option when the owner wants more future flexibility, more tire inventory, or a better bench area. A 14x24 starts to make sense when two machines, seasonal accessories, and a more serious service setup all need to coexist. At that size, even simple zones like a parts shelf, charger corner, and spare-wheel wall become easier to keep distinct instead of overlapping. That separation usually means less damage to gear, fewer lost tools, and much faster end-of-day reset. It also makes shared use between riders far easier to maintain.
The best storage layout usually keeps helmets and small gear at eye level, tires low or on dedicated racks, tools at the work zone, and the machine path free from deep shelving. If the owner can unload, reset gear, and find the next needed item without moving half the room, the layout is doing its job. That kind of clarity also makes it easier to notice when gear is missing, damaged, or still wet, which is one of the quiet advantages of a shed that is organized by real use instead of by leftover shelf space. Clear layout is not only about neatness. It directly affects how quickly the owner can prep for the next ride.
Frequently asked questions about atv and utv sheds
What size atv and utv shed works best for storage layout for helmets, tires, and tools?
For many North Idaho buyers, 10x16 and 12x20 are the best starting sizes because they balance usable floor space with realistic placement on the property. We then size up or down based on snow load, storage volume, and how much dedicated work or seating area you need. Compare 10x16 and see 12x20.
What layout maximizes usable space in a atv / utv storage shed?
Start with your largest item and build the layout around it. Wall-mounted storage, overhead racks, and French cleat systems make the most of vertical space. Get a free estimate.
Frequently asked questions
What size atv and utv shed works best for storage layout for helmets, tires, and tools?
For many North Idaho buyers, 10x16 and 12x20 are the best starting sizes because they balance usable floor space with realistic placement on the property. We then size up or down based on snow load, storage volume, and how much dedicated work or seating area you need. Compare 10x16 and see 12x20.
What layout maximizes usable space in a atv / utv storage shed?
Start with your largest item and build the layout around it. Wall-mounted storage, overhead racks, and French cleat systems make the most of vertical space. Get a free estimate.
Ready to plan your build?
Tell us your site, your dimensions, and the use case. We'll come out and price it.