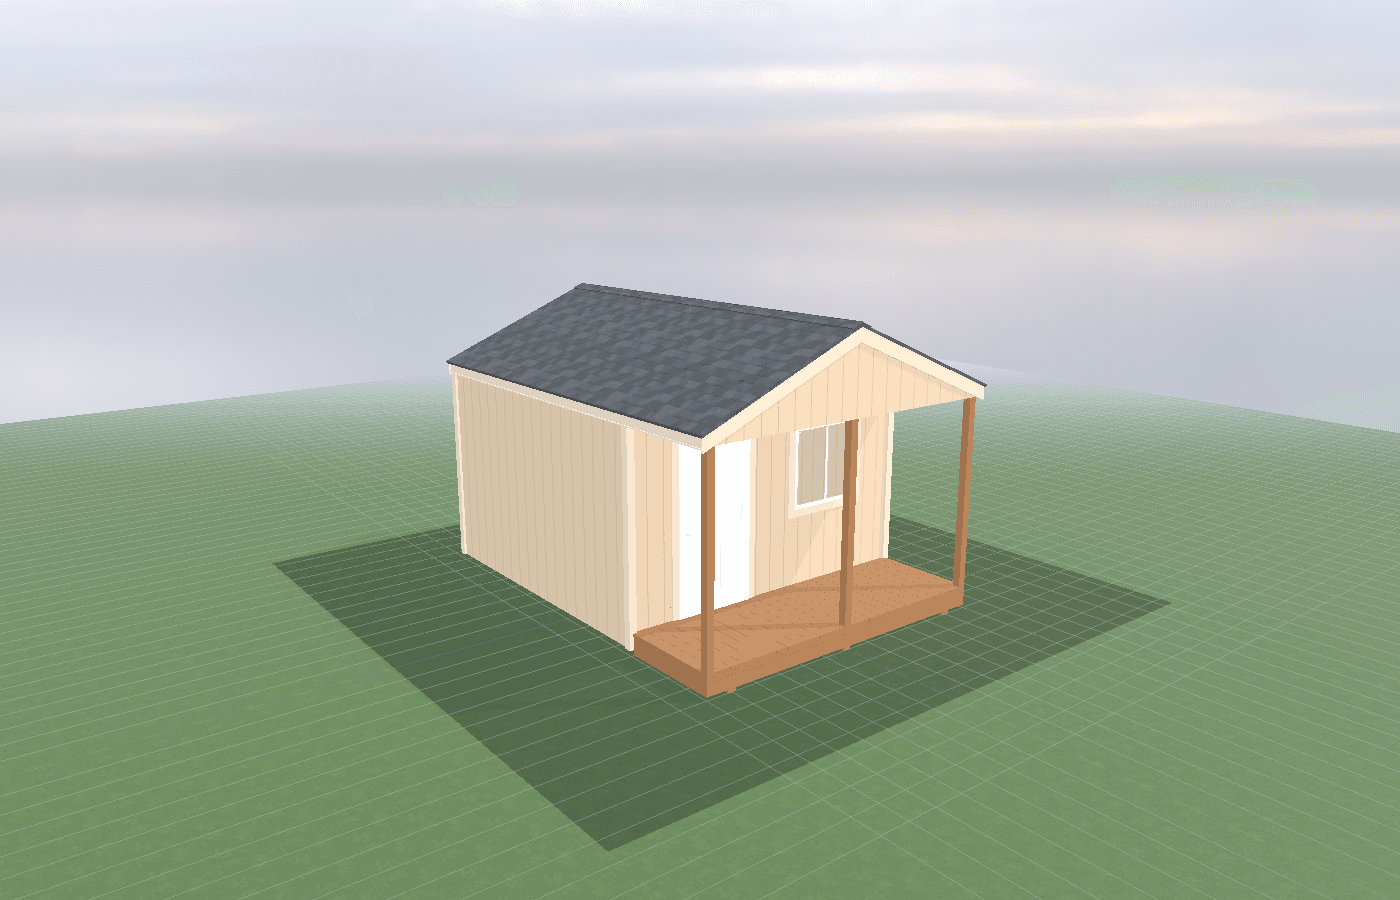
How to prepare your property for an on-site shed build
Property prep is what turns an on-site shed build from a rough idea into a buildable project. In North Idaho, the most important prep work usually happens before lumber arrives: setbacks, access, utilities, drainage, soil conditions, and choosing a foundation that matches the size and use of the shed.
Prepare Property on-Site Shed in North Idaho
On-site shed construction solves a lot of North Idaho problems that prefab delivery cannot. It avoids many trailer-width limits, makes steep or wooded lots more workable, and lets the building be sized for the actual parcel instead of for a delivery route. But it still requires the site to be ready.
The simplest way to think about site prep is to break it into five steps:
- Pick the real footprint and orientation.
- Confirm setbacks, easements, and permit path.
- Make sure the crew and materials can reach the location.
- Choose the foundation approach that matches the shed's size and use.
- Prepare drainage and staging so the build can move without rework.
That sequence matters because the most common project delays do not come from framing. They come from avoidable site issues: the access path is too tight, the utility line was not marked, the pad area still has topsoil and roots, or the chosen foundation does not match the size of the shed.
Kootenai County's site-plan checklist is a useful model even outside county-only projects because it forces the right questions early: show the whole parcel, existing and proposed structures, utilities, easements, roads, drainage features, slopes, and the area disturbed by construction. That is exactly the information that decides whether an on-site build will feel simple or painful once the crew shows up.
When the project is a true custom shed, those early choices matter even more because you are not fitting a standard box onto the lot. You are deciding how the specific size, roofline, entry location, and use case should interact with the actual property.
How does shed size change site prep and foundation needs?
Size changes almost everything about prep. The pad, access path, excavation volume, material staging, and foundation detail that work for a small storage shed may not be enough for a larger conditioned or equipment-heavy building.
An 8x10 is usually the easiest footprint to fit. It often works on tighter side yards or small backyard corners and typically requires less excavation and less disturbed area. It is still large enough to need honest drainage and compaction, but it is the most forgiving starting point.
A 10x12 is where site prep becomes more deliberate. The pad gets larger, the amount of base material increases, and the access path for materials and crew movement matters more. This is also the size where many owners start asking the shed to do real work, which means the foundation and floor system matter more too.
A 12x16 is not huge by construction standards, but it is large enough that lot fit, slope, and foundation choice can change the whole project. More square footage means more roof load, more runoff, more base preparation, and more reason to settle the site strategy before the building design is finalized.
The right way to think about size is not only "will it fit inside the property lines?" It is also "can the site support the foundation, drainage, material staging, and working room this footprint needs?" A footprint that barely fits on paper can still be a bad build site if the crew has no way to access it cleanly or if the shed crowds drainage paths and existing structures.
Site prep and foundation choices
Good site prep starts with removal and verification, not with dropping rock on top of grass. In most cases, the build area needs organics stripped, roots removed, slopes understood, and the final pad or foundation established on stable material.
A practical preparation checklist looks like this:
- Mark the exact shed corners and door orientation.
- Call 811 before any digging or trenching and pre-mark the work area.
- Identify overhead issues such as branches, eaves, fences, or power clearances that could interfere with framing.
- Strip topsoil and soft material from the building area.
- Build the pad or foundation with drainage in mind, not just level in mind.
Idaho's damage-prevention guidance matters here because utility marking is free and waiting the legal notice period is cheaper than hitting a buried line. The same is true for access. On-site building reduces delivery constraints, but the crew still needs enough room for tools, lumber, ladders, and roof framing work. A narrow gate, steep side slope, or soft backyard path can change how long the project takes and whether the chosen footprint is still practical.
Foundation choice should match use:
- compact gravel-pad builds are often enough for lighter storage sheds
- heavier-use sheds may need more robust floor systems or concrete
- vehicle, machine, or washdown use pushes many projects toward slab or more permanent foundation logic
- steep sites can make stepped or more engineered support approaches smarter than trying to force a simple pad
North Idaho's common 24-inch frost-depth assumption matters once permanent foundations and footings enter the conversation. That is why the foundation decision should happen before the site is fully graded and before the shell design is finalized. The right answer depends on the size, the load, and the site itself, which is why the existing guide on garage shed slab vs stem wall foundation basics is a useful follow-on read.
Drainage is the other half of site prep. Water should move away from the shed, not settle at the skirt line or under the floor. Gutters, roof runoff, slope, driveway drainage, and snowmelt all matter. In many North Idaho builds, a slightly larger prepared area around the building is worth it because it gives runoff a cleaner path and keeps mud from creeping back to the doors. It is also worth deciding where excavated soil, extra gravel, and staging pallets will sit during the build. A site can be technically buildable and still become chaotic if there is no planned place for materials, spoil piles, and saw-cutting space once framing starts.
Cost, timing, and build-planning factors
Most site-prep costs come from conditions, not from the shed itself. Slope, access distance, soil softness, tree removal, trenching, drainage work, and the chosen foundation type are what usually change the number.
That is why a smart planning order looks like this:
- Choose the use case and target size.
- Sketch the footprint on the real lot with setbacks and access in mind.
- Decide whether the site needs simple pad prep or more involved foundation work.
- Resolve utilities, drainage, and staging before the build date is set.
- Price the shell only after the site assumptions are honest.
This guide pairs naturally with how much does a custom shed cost in North Idaho? because pricing is often impossible to discuss accurately until the site conditions are known. It also connects directly to on-site built vs prefab: why custom wins in snow country, because the advantage of on-site construction is strongest precisely when the lot is awkward, narrow, sloped, or weather-sensitive.
Timing matters just as much as cost. Spring thaw can soften access paths. Summer wildfire smoke can affect work tempo. Fall weather can shrink the comfortable window for excavation and compaction. In neighborhoods around Post Falls, tighter lots and closer neighbors can also make staging and driveway use part of the conversation earlier than owners expect.
If you want the site, size, and foundation choice evaluated together before the crew shows up, get a free estimate while the project is still on paper. That is when the cheapest corrections are available.
Popular sizes and layouts for custom sheds
An 8x10 is the easiest starting point for compact lots, lighter storage uses, and simpler site prep.
A 10x12 is the most common step-up size because it adds noticeably more usability without pushing every property into a major foundation conversation.
A 12x16 is where lot fit and prep quality matter much more, because the size begins to magnify runoff, excavation, and staging issues that smaller sheds can sometimes tolerate. It is also the point where many owners realize a rough sketch is no longer enough and a true site layout saves money.
Across all three sizes, the best layout is the one that fits the lot honestly. That means enough room for drainage, foundation prep, roof overhangs, working space during the build, and clear access to the finished doors and walls.
Frequently asked questions about custom sheds
What site prep steps matter most before an on-site shed build in North Idaho?
Yes. Smaller sheds such as 8x10 can often work well on a compact gravel base, while 10x12 and larger footprints usually need more careful excavation, drainage, and compaction. The right choice depends on soil, access, and whether the shed will carry heavy equipment or year-round loads. Compare 8x10 and see 10x12.
What foundation type works best for a general in North Idaho?
It depends on size and use. Gravel pads work for lighter sheds; concrete slabs are better for heavy equipment or vehicles. North Idaho's 24-inch frost depth means permanent foundations need deep footings. Learn more.
Frequently asked questions
What site prep steps matter most before an on-site shed build in North Idaho?
Yes. Smaller sheds such as 8x10 can often work well on a compact gravel base, while 10x12 and larger footprints usually need more careful excavation, drainage, and compaction. The right choice depends on soil, access, and whether the shed will carry heavy equipment or year-round loads. Compare 8x10 and see 10x12.
What foundation type works best for a general in North Idaho?
It depends on size and use. Gravel pads work for lighter sheds; concrete slabs are better for heavy equipment or vehicles. North Idaho's 24-inch frost depth means permanent foundations need deep footings. Learn more.
Ready to plan your build?
Tell us your site, your dimensions, and the use case. We'll come out and price it.