Golf Simulator Shed Built On-Site in North Idaho
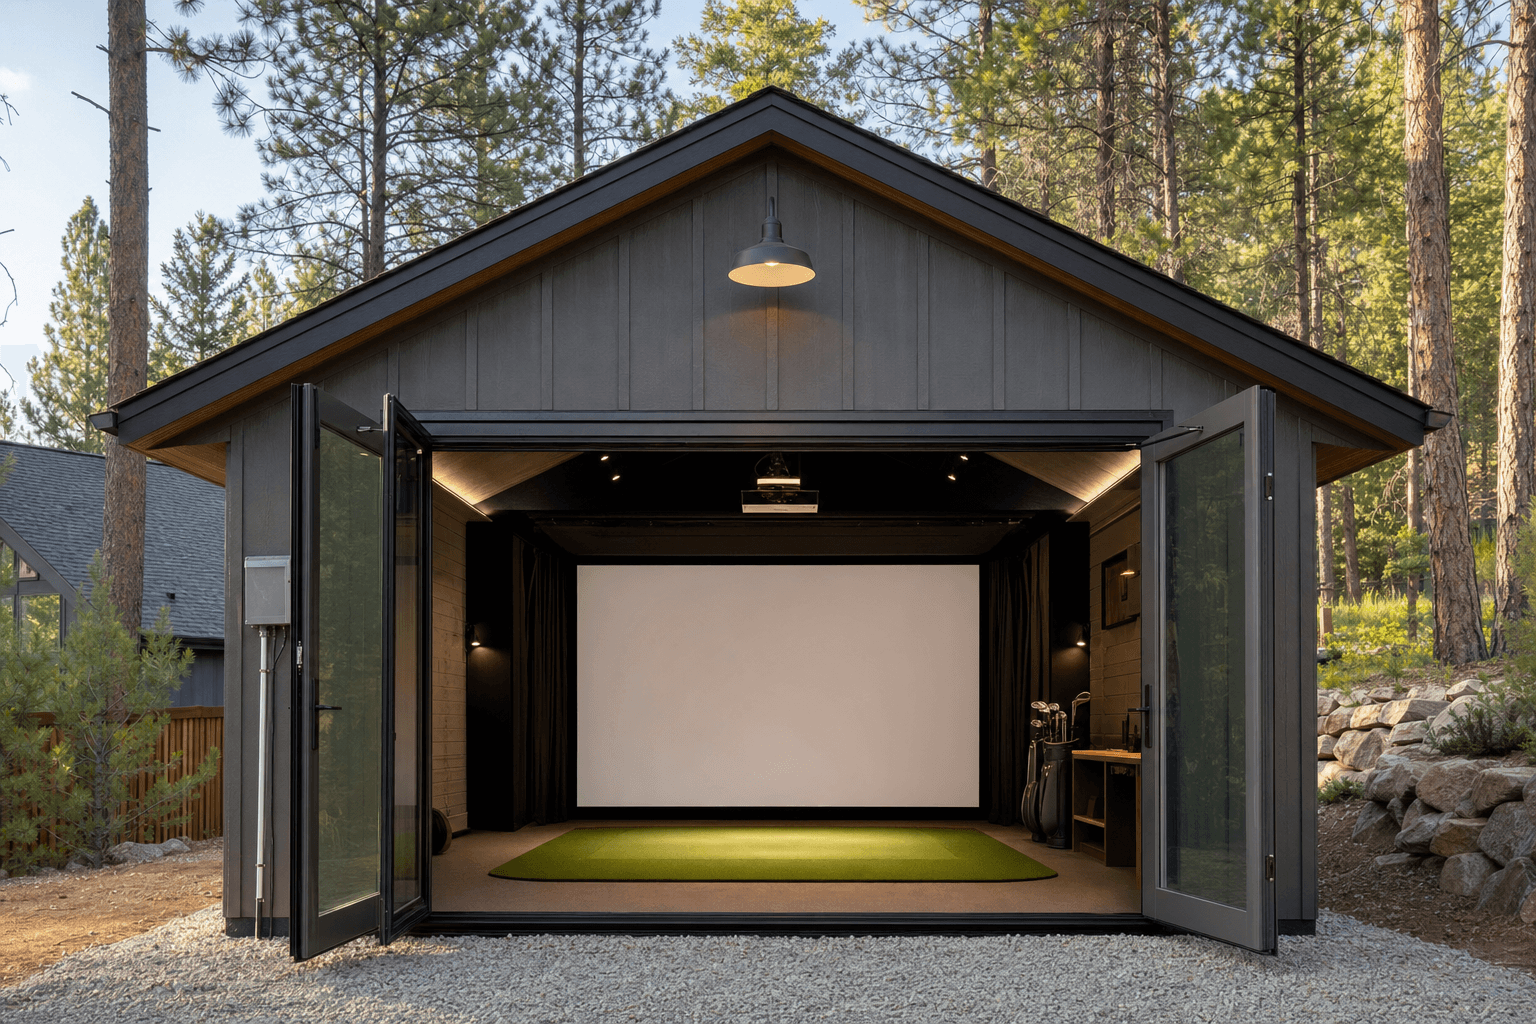
A golf simulator shed only works if the dimensions, ceiling, comfort package, and equipment wall are all planned before the first board is framed. We build simulator sheds on-site so height, width, HVAC, power, and access can be matched to your actual launch monitor setup and your North Idaho lot instead of forcing a high-performance room into a shell that was never designed for it.
Golf Simulator Shed Built for North Idaho Weather
A golf simulator shed in North Idaho has to be more than a fancy shell with tall walls. If the goal is year-round practice, projector use, and comfortable winter sessions, the structure has to behave like a real conditioned outbuilding. Roof framing still has to respect local snow loads, the shell has to manage condensation, and the room needs to stay stable enough that the simulator equipment feels protected rather than seasonal.
The envelope matters because simulator rooms depend on consistency. Temperature swing, moisture, drafts, and floor movement all work against screen tension, projector performance, and the basic comfort of spending an hour inside hitting balls. A golf simulator shed that actually feels usable in January usually starts with better insulation, better air sealing, cleaner HVAC planning, and a foundation approach that respects freeze-thaw cycles.
Height and span considerations also affect the roof and wall package. These are not tiny rooms. Once ceiling clearance, projector depth, impact screen placement, and swing path are all part of the brief, the structure wants a more deliberate framing approach than a plain storage shed. That is one reason on-site building is such a good fit for simulator projects.
Electronics make climate control even more important. Launch monitors, projectors, hitting mats, and impact screens all last longer and perform better when the room is not cycling from frozen to humid. A simulator shed that is comfortable for the golfer is usually also kinder to the technology.
Golf Simulator Shed Features & Build Options
What separates a golf simulator shed from a general recreation shed is precision. A plain hangout room can tolerate a little inefficiency in the layout. A simulator room cannot. Ceiling height, usable width, screen wall depth, projector position, hitting area, and entry layout all have to cooperate or the room starts feeling compromised immediately.
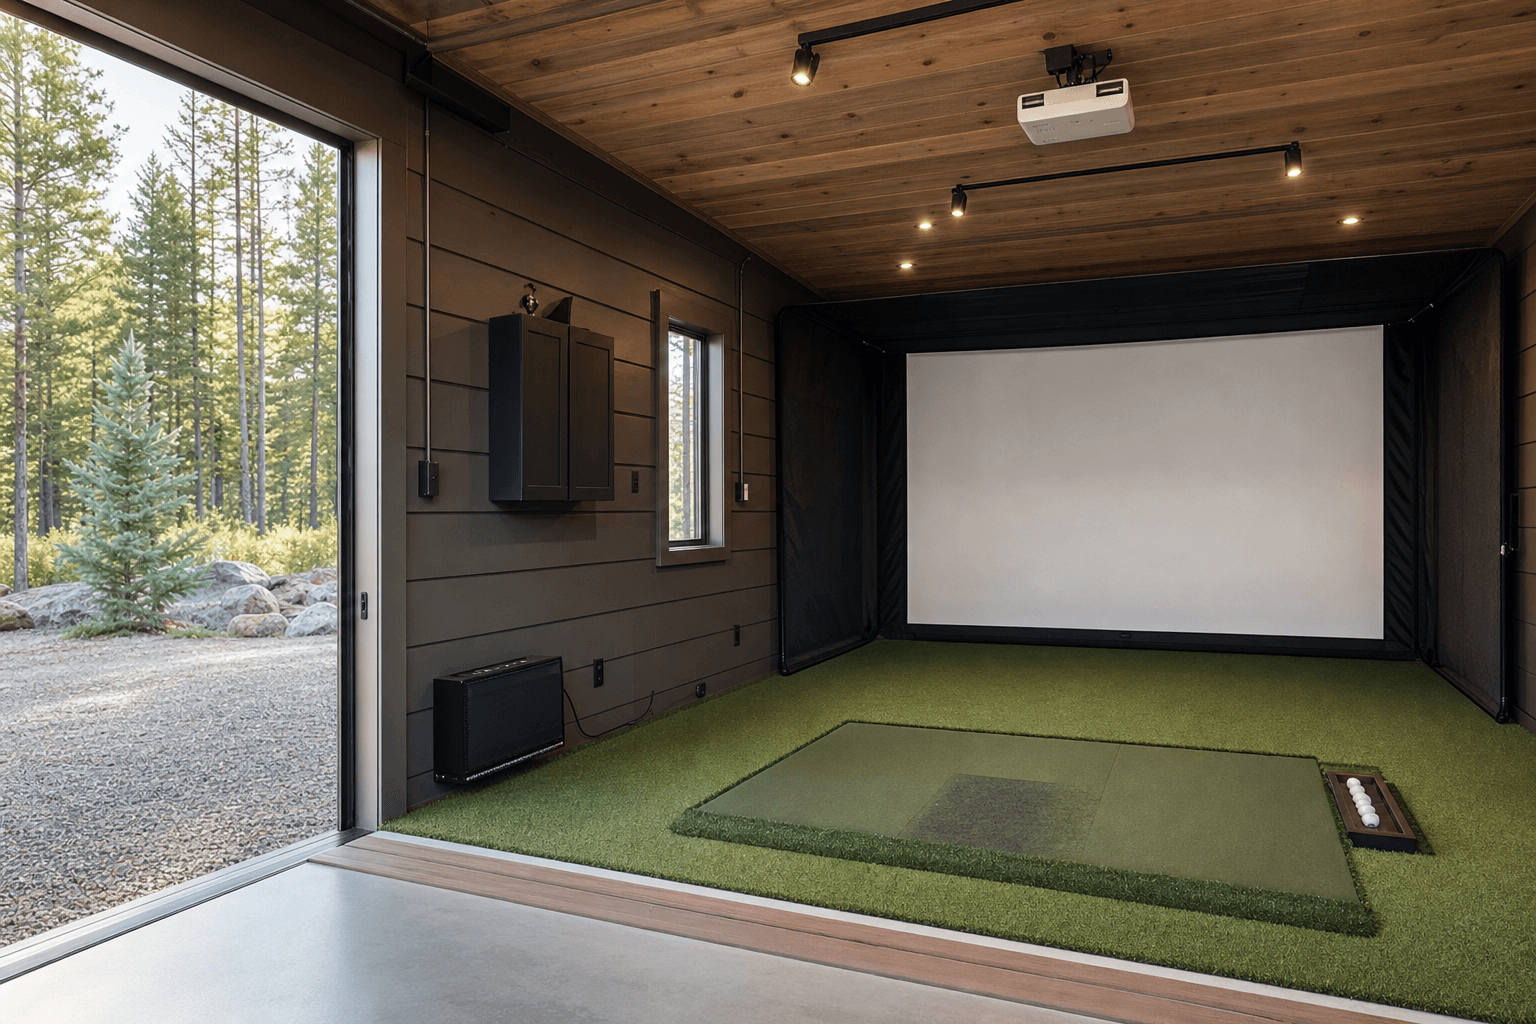
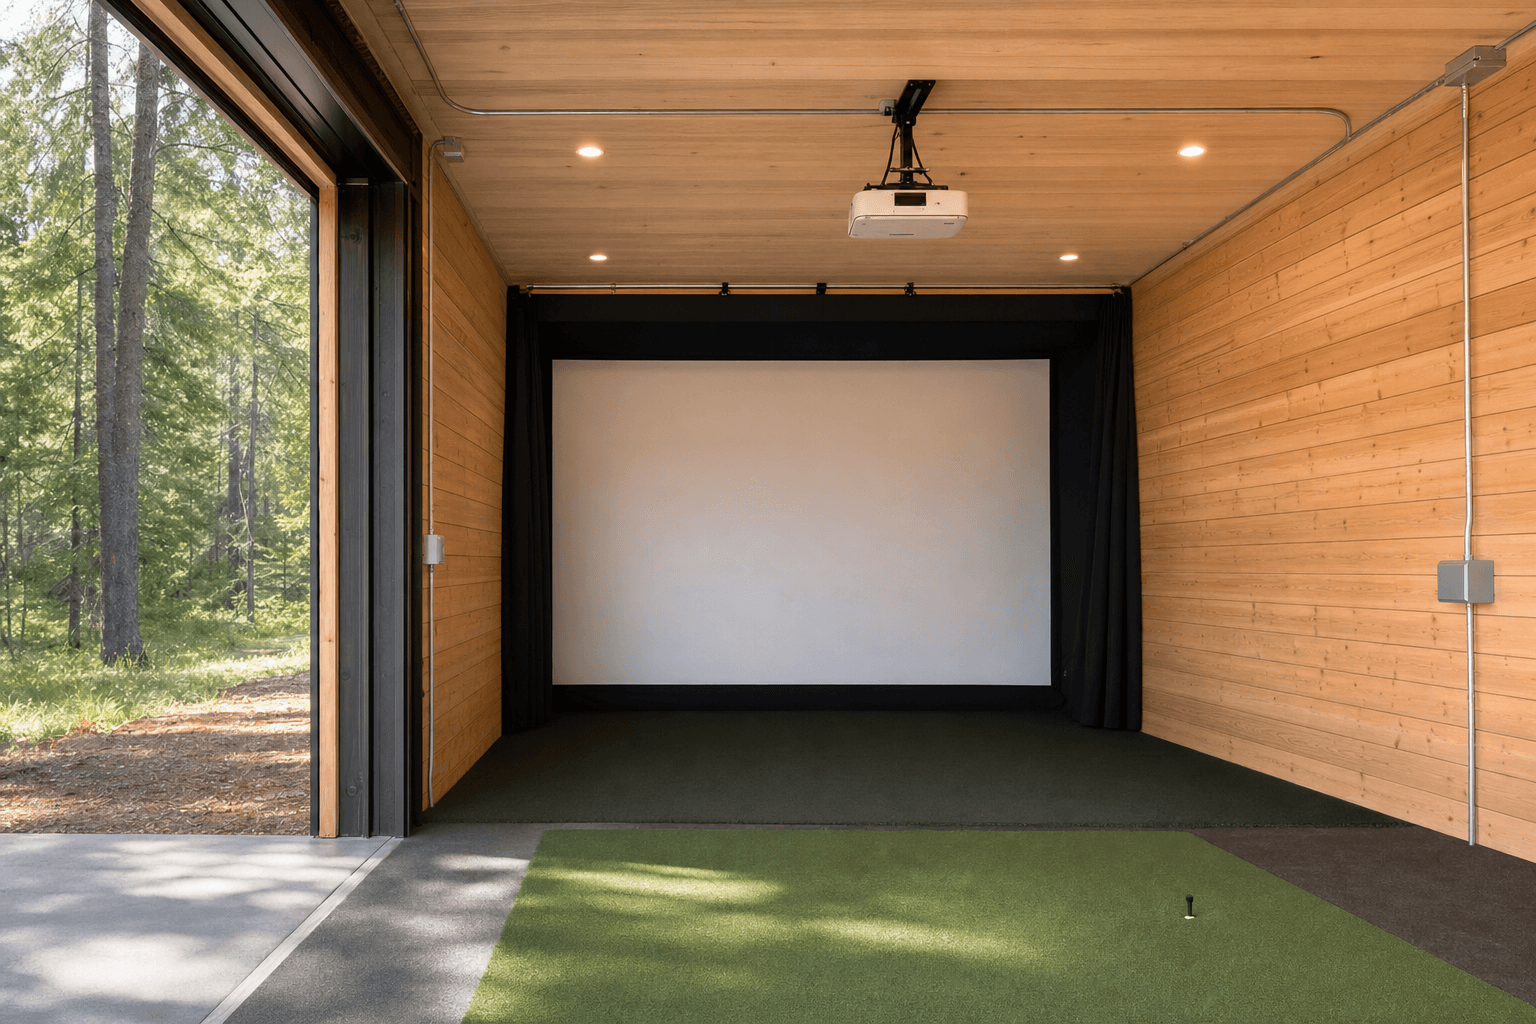
The screen wall is usually the first big conversation because it drives the depth of the room and the clean zone around it. The hitting area, side clearance for right- and left-handed golfers, and the placement of support framing or storage all follow from that. Lighting and electrical planning matter just as much. Projectors, launch monitors, hitting mat zones, climate equipment, and entertainment add-ons all want power in very specific places.
Customers also need to think about acoustics, flooring, and comfort. A simulator room benefits from a quieter shell, a stable level base, and HVAC that keeps the room pleasant without blasting directly onto the hitting area or screen. Our golf simulator dimensions guide is usually the best starting point if you are still trying to decide what size range even makes sense for your swing and equipment plan.
Simulator rooms also reward careful light control. Window placement, fixture type, and the orientation of the hitting bay all influence screen visibility and projector performance. Good rooms feel deliberately dim where the image needs it and bright enough elsewhere to move safely, set clubs down, and clean up after a session.
Mechanical planning matters too. If the room will host long winter practice sessions, electronics, and more than one player at a time, it is worth thinking through HVAC for simulator sheds and managing heat from electronics before the walls are closed.
Popular Golf Simulator Shed Sizes & Layouts
Most golf simulator sheds start where the room can truly behave like a simulator room. A 12x20 is a practical baseline for some compact setups. A 12x24 is one of the strongest all-around sizes because it gives more depth and better layout freedom.
A 14x20 can make sense when width matters more than extra depth. A 14x24 is a very common sweet spot for a more forgiving, finished simulator room, while 16x24 starts making sense when the room is becoming a real recreation environment and not just a focused hitting bay.
The best layout depends on the golfer, the screen size, the handedness pattern in the household, and the technology package. A slightly smaller room with the right proportions often works better than a larger room with awkward entry placement or poor screen geometry.
Once you start adding a club rack, a small seating edge, or storage for simulator gear, the room size jumps quickly. The hitting envelope may only be one bay, but the supporting circulation around it is what keeps the shed from feeling cramped after the novelty wears off.
What Size Golf Simulator Shed Works Best?
The right size starts with the simulator requirements, not the price tag. Club path clearance, ceiling height, screen distance, and safe circulation all matter before you start talking about lounge space or storage. If the room is mainly a hitting bay, 12x20 or 12x24 may be enough. If it needs better side clearance, seating, or a fuller recreation feel, 14-foot widths start making more sense.
Customers also need to think about how the shed fits on the lot. These projects are usually larger and taller than average backyard buildings, so setbacks, roofline, and access all shape what is practical. A big simulator room that creates site problems is rarely better than a slightly smaller one that is comfortable, quiet, and easy to use.
In practice, most customers compare 12x20, 12x24, and 14x20 first, then step larger if their swing envelope or the intended interior experience truly requires it. Some also compare the concept against adjacent recreation services like outdoor bar sheds or more finished detached rooms like guest houses and ADUs when they are defining how social or how performance-focused the building should be.
Households with both right- and left-handed players need to be especially careful here. A room that technically fits one swing path can still feel compromised when the hitting position has to shift or when side-wall clearance is too tight. That is one reason many serious builds jump from minimum workable sizing to a more forgiving footprint.
How Does On-Site Golf Simulator Shed Building Work?
On-site golf simulator shed building begins with the equipment envelope and the site. We look at where the larger shell can live, how materials and crews access the location, what foundation approach makes sense, and how the shell needs to be prepared for power, HVAC, and a level hitting environment. That up-front planning is what keeps the finished room from being expensive but compromised.
The build itself is usually more involved than a plain storage project because the room wants more height, more comfort, more electrical planning, and more precision in the finished geometry. On-site framing is especially helpful on larger simulator sheds because it avoids the transport limitations that can distort the footprint or roofline before the project even reaches the property.
That matters on North Idaho lots where fences, trees, winter access, or grade changes can make delivery awkward fast. Materials can be brought in stages, and the room can be framed where it actually belongs instead of where a transport route would have preferred it.
On-site work also makes it easier to coordinate ceiling height, beam layout, and the precise placement of doors and windows around the screen wall. Those details are hard to fix later, and they are exactly the kind of details that prefab-first planning tends to treat as secondary.
That is just as important when a household wants a dual-purpose room with both training and hangout space. The simulator may be the reason for the project, but the final room still has to feel balanced when people are setting clubs down, watching a round, or simply moving around the bay.
Golf Simulator Shed Service Areas Across North Idaho
We build golf simulator sheds across North Idaho, including Coeur d'Alene, Hayden, Post Falls, Rathdrum, and the broader regional service area where customers want a detached year-round golf room without giving up garage bays. On-site construction is especially useful here because simulator rooms tend to be larger, taller, and more sensitive to access constraints than an average backyard shed.
The service-area question matters because the same 12x24 behaves differently on a compact neighborhood lot than it does on a broader rural parcel. Snow exposure, drive approach, setbacks, and how the larger shell sits relative to the home all change the smartest design. That is why simulator projects almost always benefit from a real site-specific conversation early.
If you are still comparing options, our pricing guide and free estimate page are usually the best next step. Simulator sheds usually need a quick reality check on dimensions, roofline, and lot fit before the footprint is locked.
In tighter neighborhoods around Coeur d'Alene, Hayden, or Post Falls, the project often comes down to height, setbacks, and how the larger shell sits behind the house. On broader rural sites in Bonner or Boundary counties, access and winter staging can become the bigger constraint.
Frequently Asked Questions About Golf Simulator Shed
The FAQ section below covers the short answers on price, permits, timeline, and size. That is usually enough to narrow the project between a focused hitting bay and a more complete detached recreation room.
A golf simulator shed works best when the envelope, the dimensions, and the comfort package all support the real equipment plan. If you want help matching the footprint and structure to your simulator setup, request a free estimate.
Built for North Idaho weather
Engineered for snow load
Roofs framed for North Idaho's 70+ psf ground snow load.
Wind-rated
Anchored and braced for the gusts that funnel down our valleys.
Sealed for freeze-thaw
Detailed drip edges, sealed penetrations, and breathable wraps.
12-year warranty
Bumper-to-bumper coverage on materials and workmanship.
What you get
10ft+ ceiling
HVAC
sound control
power + data
screen layout
How it works
- Step 1Site visit
We come to you, listen to how you want to use the shed, and read the site.
- Step 2Free estimate
You get a single, all-in price — no surprises, no upsell.
- Step 3Build day
We build it on your property in a single visit. No delivery permits, no crane fees.
- Step 4Walkthrough
We hand it over with a walkthrough of materials, doors, and aftercare.
Frequently asked questions
How much does a golf simulator shed cost in North Idaho?
Most golf simulator shed projects in North Idaho start around $11,100 and can reach $24,400 depending on size, foundation, utilities, insulation, and finish level. Site access, snow loads, and feature upgrades can move pricing higher. See our pricing guide or request a free estimate.
What size golf simulator shed works best in North Idaho?
Do I need a permit for a golf simulator shed in North Idaho?
Often yes. Many golf simulator shed projects land at or above 200 square feet or include utilities, which makes permit review more likely in North Idaho. Even when a simpler footprint follows the under-200-sq-ft path, setbacks, HOA rules, and intended use still matter. Review permit basics and request a site-specific estimate.
How long does it take to build a golf simulator shed on-site in North Idaho?
Most golf simulator shed projects take about 5-8 on-site days once the site is ready and materials are staged. Larger footprints, slab work, insulation, wiring, plumbing, and muddy or tight North Idaho access can extend the schedule. See how our build process works.
Ready to get started?
Plan Your Simulator Shed