A small engine repair shed is where the mower comes in running rough and leaves running right. It is the bench where you pull a carburetor off a chainsaw, the shelf where the spare spark plugs and air filters live, and the corner where the leaf blower waits for a new pull cord. Plenty of North Idaho homeowners and side-business mechanics end up doing this work in a corner of the garage, breathing gas fumes next to the family car and chasing dropped bolts under a vehicle. A dedicated small engine repair shed fixes all of that: a sturdy bench at the center, fuel and fumes handled safely, and a floor you can actually clean when oil hits it. This guide walks through how to plan one for a real property — the shed style, the size, the bench, the floor, the ventilation, and the power and light that make diagnostics quick instead of frustrating.
North Idaho On Site Sheds builds every shop on your property, so the plan answers to your real grade, your gravel driveway, and how a riding mower actually gets through the door. Start with the biggest machine you will service and the way you work — engine on the bench, or the whole machine rolled inside — then size, power, and lay out the building around that. Get the bench, the floor, and the ventilation right and you have a shop that earns its keep for years, the same way a focused backyard workshop does. Get them wrong and you are back to fighting fumes and slick concrete every time a small engine lands on the bench.
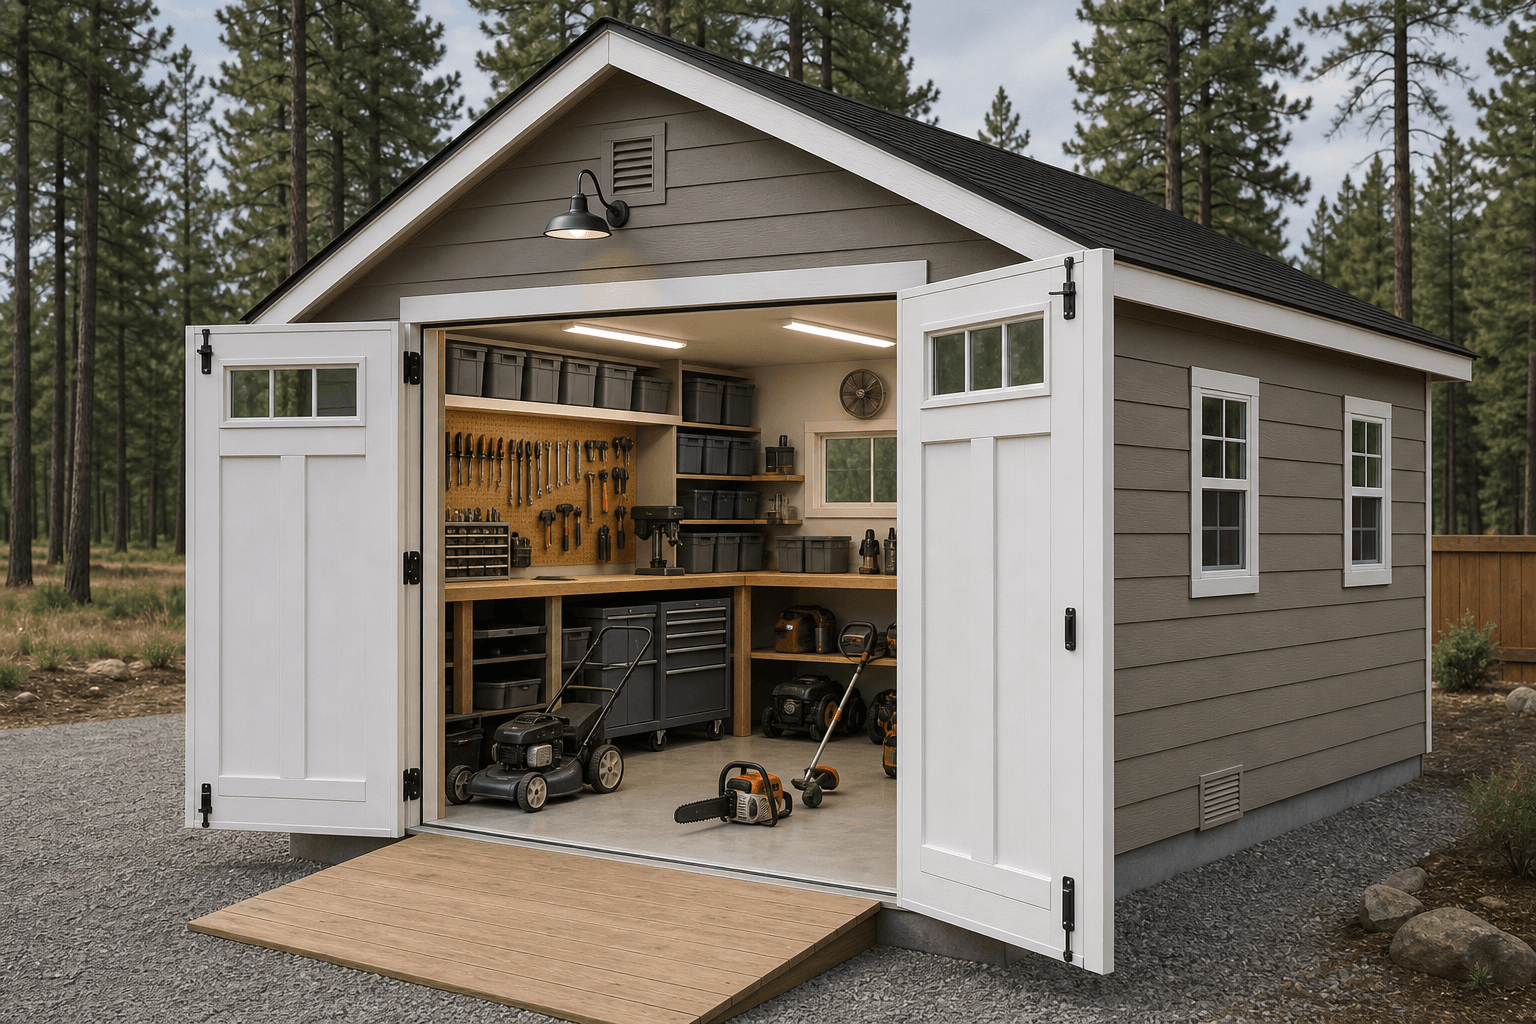
A real repair shop starts with the shell: a wide door for machines, a sturdy bench, and ventilation planned before the first carburetor comes off.
A repair shed wants a sturdy floor, a solid bench wall, and a door wide enough to roll a machine through, more than it wants soaring height. A standard gable is the honest starting point — tall enough at the ridge to stand and swing a wrench, simple to insulate and ventilate, and easy to line with plywood walls you can hang a tool board or a parts shelf on anywhere. A lofted barn (gambrel) buys you an overhead loft for slow-season storage, bulky boxes, and the seasonal machines you are not working on, which keeps the floor and the bench clear. A lean-to or modern single-slope sheds North Idaho snow predictably to one side and gives you a tall front wall to fill with windows and a high vent — useful when you want daylight on the bench and a clear path for fumes to leave.
If you are deciding between a storage-first building and a true shop, lean toward the shop spec every time: a stick-built feel, a real floor, and room to wire, light, and ventilate. A small engine repair shed sits much closer to a project workshop than to a plain storage shed, and it overlaps with a tool shed when organized parts and tool storage lead the brief. Decide whether you mostly pull engines and components onto the bench, or roll entire mowers and tillers inside, because that one call drives your door width, your floor spec, and how much clear aisle you protect around the bench.
A 10x12 holds a sturdy workbench with a vise, a wall of parts storage, and floor room to work on handheld gear like chainsaws, blowers, and trimmers.
A 10x16 or 12x16 gives you a bench wall plus clear floor to roll a push mower or tiller fully inside and walk around it with tools in hand.
A 12x20 fits a riding mower or two, a long bench, a parts wall, and a clean aisle so you can service one machine while another waits.
Footprint decides whether the shop feels like a real shop or a cramped closet, so compare the actual dimensions before you commit — a couple of feet is the difference between walking around a mower and squeezing past it. A 10x12 is a comfortable bench-first shop for handheld equipment, where engines and components come to the bench and the floor stays mostly open. Step up to a 10x16 or 12x16 and you can roll a push mower, snow blower, or tiller fully inside, set it on the floor, and still walk a complete loop around it with a wrench and a drain pan. The extra width on a twelve-foot building is what keeps the bench depth honest while a machine sits on the floor in front of it. If you service riding mowers, run a small repair side business, or want one machine on the bench and another staged on the floor, size up to a 12x20 so a rider clears the door and the aisle stays open. Depth matters as much as width in a repair shop — length is what lets a machine roll straight in, park, and roll back out without a three-point turn.
These overlap, and the right call comes down to what leads the work. A tool shed is about access and organized storage — wall systems, bins, and gear you grab most weeks — so it favors shelving and floor space over a heavy bench and fuel handling. A backyard workshop is built for hours of project work with tall walls and big stationary tools, which a small engine shop borrows from but does not need in full. A small engine repair shed is its own thing: a sturdy bench and vise come first, then a durable cleanable floor, then deliberate fuel-and-fume ventilation, because you are routinely draining gas, spinning engines, and wiping up oil.
Plenty of buyers want one building that pulls double duty, and that works — just decide which job leads. If repairs and a bench lead, build a repair shed and add a tool wall for organized storage. If you also store a snow blower and seasonal machines that you service in the same space, plan the floor and door for the biggest one and keep a winter-ready bay clear. Naming the priority up front keeps you from a building that does neither job well, and it sets your bench, your floor, and your ventilation before the walls go up — the three things that are expensive to change later.
Zone the shop: a heavy bench-and-vise wall, a parts-and-tool wall, a clear machine floor, and a fuel-safe corner for gas and solvents.
Think of the repair shed as four working zones instead of one open box, and lay them out so a machine flows in, gets worked, and rolls back out without backtracking. A bench-and-vise wall runs along one long side, anchored by a heavy bench with a solid vise for clamping engines, blades, and components, with outlets and good light right above it. A parts-and-tool wall holds your wrenches, sockets, pullers, and labeled bins of spark plugs, filters, belts, and fasteners so the right part is an arm's reach away. A machine floor stays deliberately open in the center so you can roll a mower or tiller in, set it down, and walk around it.
The fourth zone is the one a general shop skips and a repair shed cannot: a fuel-and-fluids corner for gas cans, two-stroke mix, oil, and solvents, kept away from anything that sparks and sited near a vent and the door. Good zoning means you never set a hot muffler next to a gas can or trip over a drain pan to reach a socket. Leave a clear path from the wide door to the machine floor so a rider never has to pivot, and keep a couple of feet of working aisle around the bench so you can step back from a running engine. A repair shop that flows is one where the next tool, the next part, and the next drain pan are all a step away — not a pile to dig through.
A braced workbench that does not walk when you torque a bolt, topped with a heavy bench vise for holding engines, blades, and carburetors while you work both hands.
Plywood-lined walls take a pegboard or French-cleat rail for wrenches and pullers, with labeled bins for spark plugs, air filters, belts, and fasteners.
A dedicated cabinet or sealed shelf for gas, two-stroke mix, and solvents, plus oil drain pans and a parts-washer tray so fluids stay contained and labeled.
Outlets every few feet along the bench at counter height for chargers, an impact, and a battery tender, with even LED light right over the work surface.
This is where a bare building becomes a working shop, and it is worth naming exactly what lives inside so you size the bench, the floor, and the ventilation around it. The diagnostic and hand tools are the anchors: a full socket and wrench set, screwdrivers and pliers, a torque wrench, a spark tester and a multimeter, a compression gauge, a flywheel and bearing puller set, a carburetor cleaning kit, and a fuel-line and clamp assortment. Add an impact driver, a battery charger and tender for mower and ride-on batteries, and a small parts washer or solvent tray for cleaning carburetors and greasy components.
Around the tools you stock the consumables that keep machines moving: spark plugs, air and fuel filters, mower blades, drive and deck belts, pull-cord rope, primer bulbs, fuel lines, gaskets, and shear pins, all in labeled bins so a Saturday repair does not turn into a parts-store run. Then the fluids and shop supplies — fresh gas in a marked can, two-stroke oil and pre-mix, engine oil, chain bar oil, grease, carb and brake cleaner, penetrating oil, shop rags, and an oil-absorbent like cat litter or pads for the inevitable spill. Round it out with the safety and storage gear: a sharp-blade and chain station, a secure, well-organized tool wall so nothing walks off, an anti-fatigue mat at the bench, an ABC fire extinguisher rated for fuel within reach, and a flammables cabinet for everything that burns. Naming the list up front is what tells you how deep the bench, how many shelves, and how much ventilation the shop really needs.

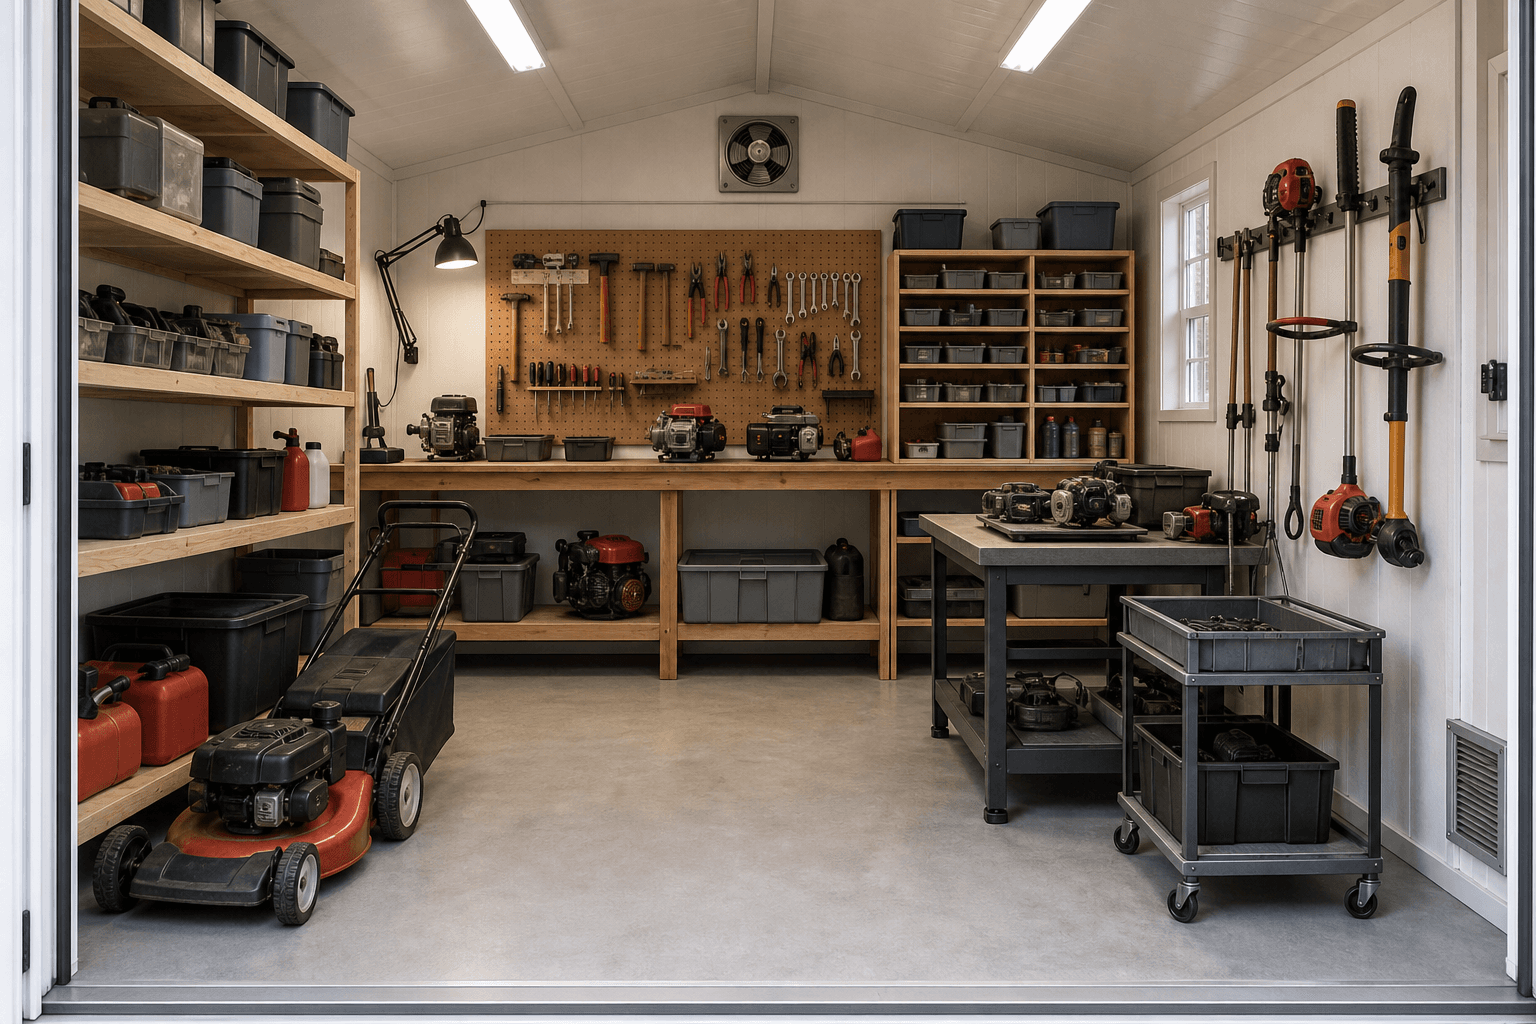
A solid vise, tools on a board, parts in labeled bins, and an oil-resistant floor under it all — the details that keep a repair shop moving.
| Small engine repair shed planning checklist | |
|---|---|
| Bench and vise | A braced, heavy workbench along one wall with a solid bench vise for holding engines, blades, and components |
| Floor | A durable, sealed, oil-resistant floor (epoxy-coated slab or a coated, cleanable surface) that wipes up gas and oil |
| Ventilation | Cross-ventilation with a low intake and a high vent or exhaust fan to clear gas fumes, exhaust, and solvent vapor |
| Fuel storage | A flammables cabinet or sealed shelf for gas, mix, and solvents, sited away from heat, sparks, and the bench |
| Power | Several 120V bench circuits for chargers, an impact, lights, and a parts washer, with outlets at counter height |
| Lighting | Bright, even LED task light over the bench and machine floor, plus daylight from windows where you can |
Fuel safety is the part a small engine repair shed cannot get wrong, because you are routinely draining tanks, priming carburetors, and running engines indoors. Plan cross-ventilation from the start: a low intake on one wall and a high vent or a wired exhaust fan on the opposite side, so gas fumes and exhaust have a clear path out instead of pooling at the floor where gasoline vapor settles. If you ever fire a machine inside to test it, treat engine exhaust as the priority and vent it directly or run the machine in the open doorway — carbon monoxide is the silent risk, and a small shed fills fast. Store gas, two-stroke mix, and solvents in a flammables cabinet or a sealed, labeled shelf away from the bench, any heater, and any spark, and keep that storage near a vent so a loose cap never builds vapor in a closed corner.
The floor is the other half of fuel and fluid safety. Spilled gas and dripped oil make a bare slab slick and stain a wood floor, so plan a durable, sealed, oil-resistant floor — an epoxy-coated concrete slab is the gold standard because it shrugs off fuel and oil, wipes clean, and gives sure footing, while a coated or sealed cleanable surface is the next best thing on a lighter build. Keep oil drain pans, an absorbent like cat litter or spill pads, and a covered waste container for oily rags right where the fluids come out, since oily rags can self-heat if they pile up. Pair the venting, the contained fuel storage, and the cleanable floor and you have a shop where a fuel leak is a quick wipe-up, not a hazard you live with.
Power and light are what make diagnostics quick instead of a fumble in the dark. Plan several 120V circuits so the bench outlets, the lighting, and a parts washer or compressor are not all fighting over one breaker, and space outlets every few feet along the bench at counter height so a charger, an impact, a battery tender, and a trouble light all plug in without an extension cord snaking across the floor. A small engine shop rarely needs 240V the way a woodworking workshop does, but a dedicated subpanel fed from the house keeps everything on its own breakers and leaves room to grow. Add a switched outlet near the door and a couple of outlets out on the machine floor so you can plug a charger or a light into a mower wherever it sits.
Lighting and heat decide whether the shop gets used in January. Layer bright, even LED light across the whole floor so there are no shadows under a mower deck or behind an engine, then add focused task light directly over the bench and the vise where the fine work happens — reading a gap on a spark plug or a number on a carburetor jet is a lot easier in good light. Insulate the walls and ceiling and add a heat source, since cold-soaked engines are miserable to diagnose and frozen hands drop small parts. A mini-split, an electric heater, or in-floor heat on a slab all work, but keep any open-flame or hot-surface heater well away from the fuel-and-fluids corner, and never store gas next to a heat source — a sealed cabinet and a few feet of separation are cheap insurance in a heated shop.
A repair shed earns a real floor, because the work is heavy and the fluids are unforgiving. A compacted gravel pad drains well and works under a lighter, bench-first build, but most repair shops want a concrete slab — it carries a riding mower and a heavy bench, gives a dead-flat surface for rolling machines and drain pans, and takes an epoxy coating that makes fuel and oil wipe right up. Plan the approach so a riding mower or a 300-pound machine can come straight off a trailer and through the door without a muddy uphill fight on a gravel driveway. Read how to prep a shed site before delivery day so the pad, the drainage, and the access are ready.
North Idaho winters drive several choices: a roof and anchoring rated for local snow load, insulation that keeps the shop workable through a long freeze, and a clear, plowed path so the door opens after a storm and a snow blower can roll in for a tune-up. Repair sheds with electrical work and the larger footprints that fit riding mowers can trigger local rules — many small sheds skip a permit, but added wiring and bigger buildings often do not. Confirm what your town and county require on the service areas pages, and factor any electrical permit into the plan before you finalize the size and where the shop will sit.
Plan ventilation from the start, not as an afterthought. Put a low intake on one wall and a high vent or a wired exhaust fan on the opposite side so gasoline vapor, which settles low, and engine exhaust have a clear path out. If you start a machine to test it, vent the exhaust directly or run it in the open doorway, because carbon monoxide builds fast in a small shed. Store gas and solvents in a flammables cabinet near a vent and away from any heater or spark.
A heavy, braced bench that does not shift when you torque a bolt, topped with a solid bench vise. Small engine work is two-handed — you are holding a carburetor steady while you clean a jet, or clamping a mower blade to sharpen it — so the vise is the most-used tool on the bench. Run the bench along one long wall with outlets and bright light above it, and leave the bench top deep enough to set an engine block down with tools beside it.
Put tools on a pegboard or French-cleat wall above the bench so wrenches, sockets, and pullers stay in sight and within reach, and keep the floor and bench top clear. Stock the fast-moving consumables in labeled bins — spark plugs, air and fuel filters, belts, blades, pull cord, primer bulbs, and fasteners — so a Saturday repair does not turn into a parts-store run. Group parts by machine type or job so the right shelf is obvious when a mower or chainsaw lands on the bench.
A durable, sealed, oil-resistant floor that you can wipe clean. An epoxy-coated concrete slab is the gold standard because it shrugs off gasoline and oil, mops up easily, and gives sure footing when a drip lands underfoot. On a lighter build, a coated or sealed cleanable surface is the next best option. Keep drain pans and an oil absorbent like cat litter or spill pads at the bench, and avoid a bare wood floor that soaks up fuel and stains permanently.
Enough that you never work in a shadow and never share one breaker. Plan several 120V circuits so bench outlets, lighting, and a parts washer or compressor are separate, with outlets every few feet along the bench at counter height for chargers, an impact, and a battery tender. Layer bright, even LED light across the floor, then add task light right over the bench and vise so reading a spark-plug gap or a carburetor number is easy. A small subpanel from the house keeps it all tidy and leaves room to grow.
It depends on whether engines come to the bench or whole machines roll inside. A 10x12 is plenty for a bench-first shop on handheld gear like chainsaws, blowers, and trimmers, where the floor stays mostly open. A 10x16 or 12x16 lets you roll a push mower, tiller, or snow blower fully inside and walk all the way around it with tools. Step up to a 12x20 if you service riding mowers or run a side business and want one machine on the bench while another waits on the floor.
A small engine repair shed in North Idaho gets used across the full calendar — chainsaws and mowers in summer, snow blowers and generators in winter. That four-season workload puts real demands on the structure: it needs enough insulation to keep a carburetor from seizing in a cold carb bench, and enough ventilation to keep fuel vapors moving when you're running an engine indoors. Both details are straightforward to incorporate during an on-site build.
Lot access is where on-site construction earns its keep for this type of shed. Coeur d'Alene and Post Falls properties with a fenced backyard, a narrow side gate, or a sloped approach often can't accept a delivered shed of useful size. A shed framed in place reaches those spots because the lumber goes in, not the finished building.
Electrical rough-in during framing is the cleanest path to a well-lit workbench, a dedicated circuit for a compressor, and a convenience outlet for a battery charger. Getting conduit in the walls at build time costs a fraction of what it takes to surface-run it after the fact. This is a particularly common oversight on smaller repair sheds where owners assume they won't need much power — and then immediately find they do.
Configure a footprint at the shed builder or start a free estimate. The pricing page breaks down what size and options affect cost.
Tell us the machines you service and where the shop should sit, and we will help size the building, the bench, the floor, the ventilation, and the power around your property — then you can build and price it online.
Keep planning your build with related North Idaho shed guides.