In North Idaho the growing season is short and the last frost is late, so the gardeners who get tomatoes, peppers, and a tray of brassicas off to a real head start are the ones who start indoors weeks before the ground is workable. A seed starting shed gives that work its own four walls — a warm, bright, draft-free room where heat mats, a grow-light rack, and steady humidity turn February and March into productive months instead of a wait. This guide walks through how to plan one for a Coeur d'Alene or Kootenai County property: which roofline and footprint fit a propagation rack, how to hold stable warmth through a cold night, what lighting and humidity the seedlings actually need, and the watering and venting setup that keeps damping-off and mold out of the room.
North Idaho On Site Sheds builds every seed starting shed on your property, so the plan can answer to your slope, your power run, and the number of trays you want going at once. The whole design hinges on three things working together — warmth, light, and humidity — because seeds germinate on bottom heat, seedlings stretch without enough light, and a room that swings between bone-dry and soaking is where fungus gnats and rot take hold. Start with the propagation rack and the heat it sits on, then size and insulate the building around it. If your ambitions run past spring starts toward year-round growing under glass, a greenhouse shed is the natural companion build, and many gardeners end up planning both.
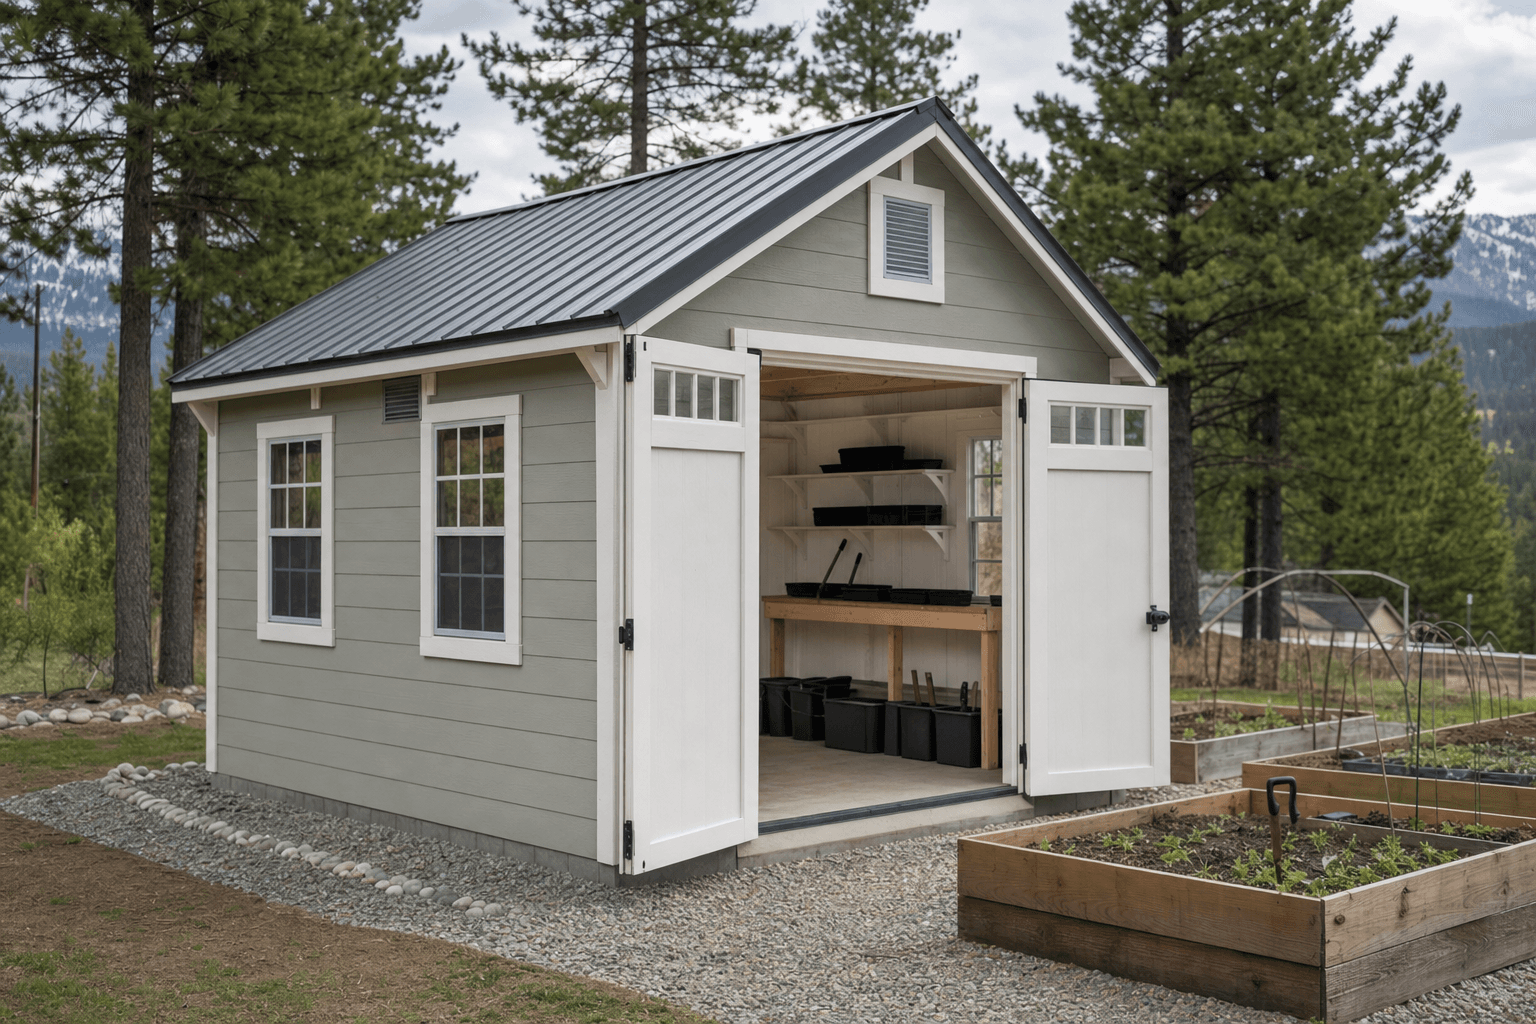
A seed starting shed plan begins with bottom heat, a grow-light rack, and a room you can keep stable and warm.
A standard gable is the workhorse for a seed starting shed. The symmetrical roof sheds snow cleanly, the straight sidewalls let you push a tall propagation rack right up against the studs, and you get even headroom over a multi-tier light shelf. Because the seedlings live under electric grow lights rather than the sun, you do not need a wall of glass — a window or two for a winter check and a little daytime warmth is plenty, and fewer, smaller windows actually make the room far easier to insulate and hold at temperature.
A lean-to or single-slope reads clean against a fence and works fine for a compact rack against the tall wall, though the low side eats into how high you can stack trays. A lofted barn (gambrel) buys an upper bay for off-season storage of empty cell trays, domes, and bagged mix, which keeps the floor clear for the rack and a small potting-up bench. If you also pot up and transplant in volume, lean the layout toward a potting shed with a real bench wall, since mixing soil and stepping up seedlings wants counter space that pure germination does not. And if the goal is harvesting greens or running nutrient film year-round rather than raising transplants for the garden, a microgreens and hydroponics shed is built around different racks, drainage, and lighting — worth distinguishing before you settle the footprint.
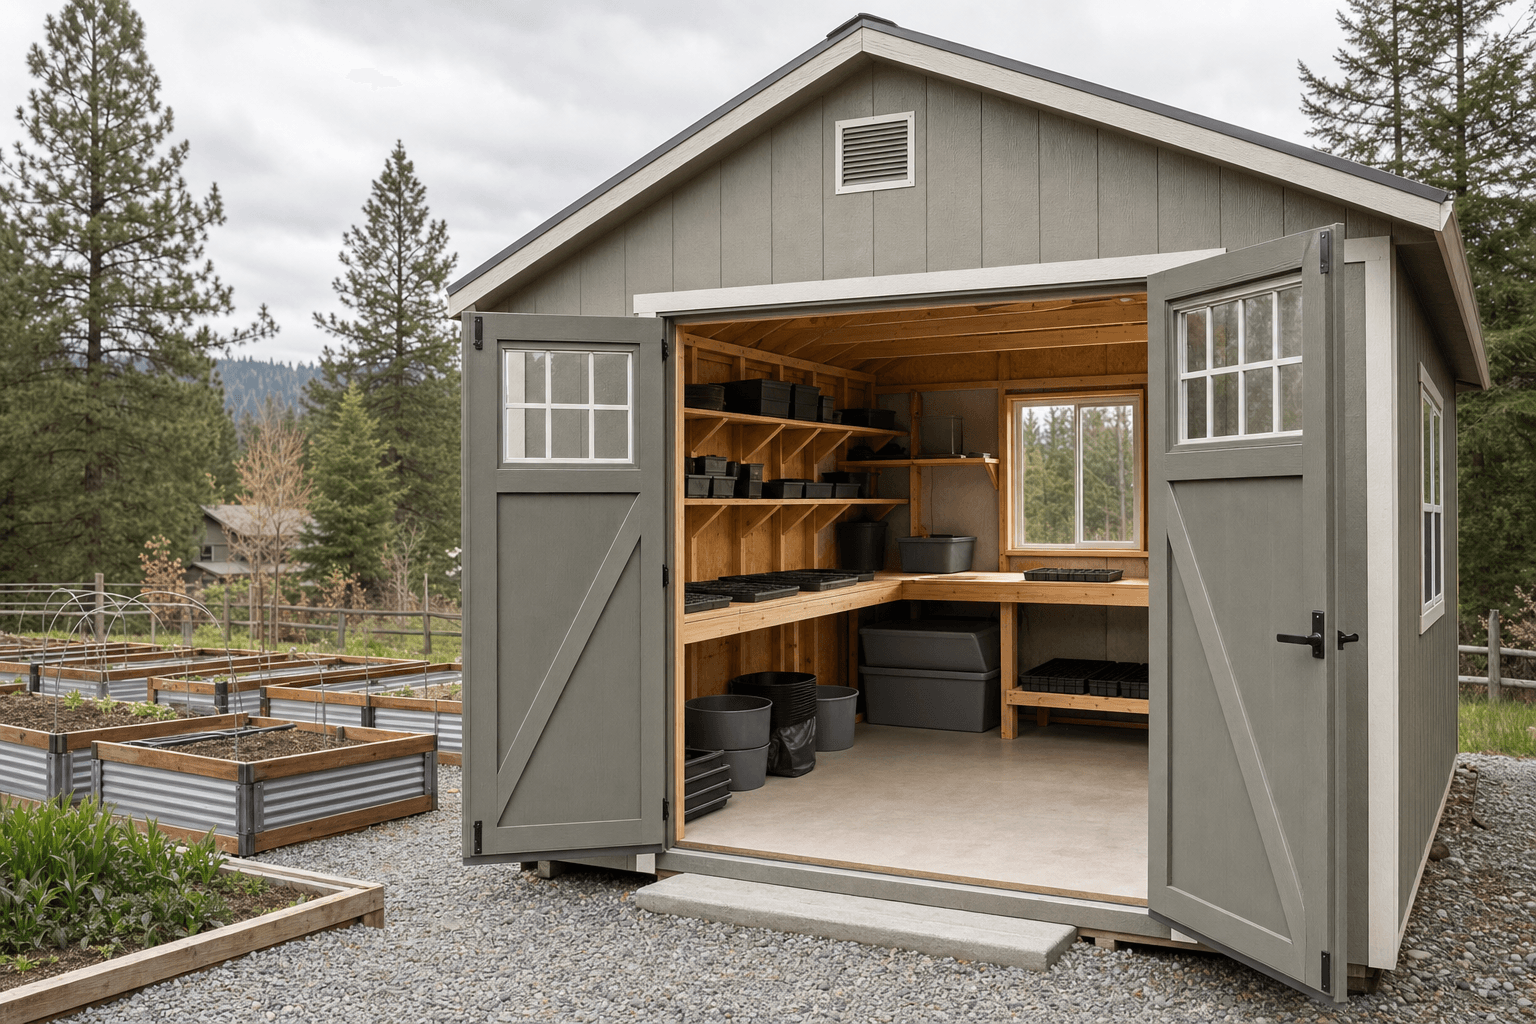
Reserve one wall for the propagation rack and its lights before anything else. A standard 4-foot wire shelf holds a tray pair per tier, so the rack length sets the footprint.
Tally how many 10-by-20 flats you run at peak. Each tier of a shelf takes two, so a four-tier rack is eight flats — roughly 1,200 cells. Size the building to that number, not a guess.
A seed starting shed is climate-controlled, so plan a tighter envelope than plain storage. Smaller footprints with good insulation are cheaper to keep warm through a cold North Idaho night.
For a focused setup — one propagation rack, a heat-mat tier, and a small stool — an 8x8 seed starting shed is the honest minimum: room for a 4-foot rack on one wall, a narrow standing aisle, and a corner for mix and watering, though it fills up the moment you add a second rack. An 8x10 gives you that second rack or a short potting-up surface beside the first, so germination and stepping-up are not fighting for the same tier. The size most serious seed starters settle on is an 8x12: two full racks or a rack plus a real bench, a clear aisle to work both, and floor space for a watering station and a tray-drying spot near the door.
If you start hundreds of plants, overwinter a few tender perennials under the lights, or want propagation plus a dedicated potting bench in the same room, step up to a 10x12. The extra width lets the racks face a center aisle so you can tend both sides without shuffling, and leaves a warm corner for hardening-off staging before trays move outdoors. The deeper footprint also gives a heater and a humidifier room to do their jobs without crowding the seedlings or the bench — and it is the same footprint that suits a hybrid build sharing duties with a potting shed.
These three get confused, and picking the right one saves you from building for the wrong job. A seed starting shed is an indoor, insulated room for germinating and raising transplants under electric light and bottom heat — closed, warm, and controlled, with the sun playing almost no role. A greenhouse shed is the opposite: built to let sunlight in through glass or polycarbonate for growing plants directly, which means it heats and cools with the weather and is harder to hold steady on a sub-zero North Idaho night. Many gardeners pair the two — start seeds in the warm, lit shed, then move hardened seedlings to the greenhouse or garden — rather than asking one structure to do both.
A potting shed tilts toward bench work: mixing soil, filling trays, and stepping up seedlings into larger pots, with counter space and a soil bin front and center. Plenty of North Idaho growers want both functions, and a single well-sized building can hold a propagation rack at one end and a potting bench at the other. If your interest is cutting microgreens or running hydroponic towers year-round instead of raising garden transplants, a microgreens and hydroponics shed is the closer match, with drainage and racking designed for constant harvest rather than a spring push.
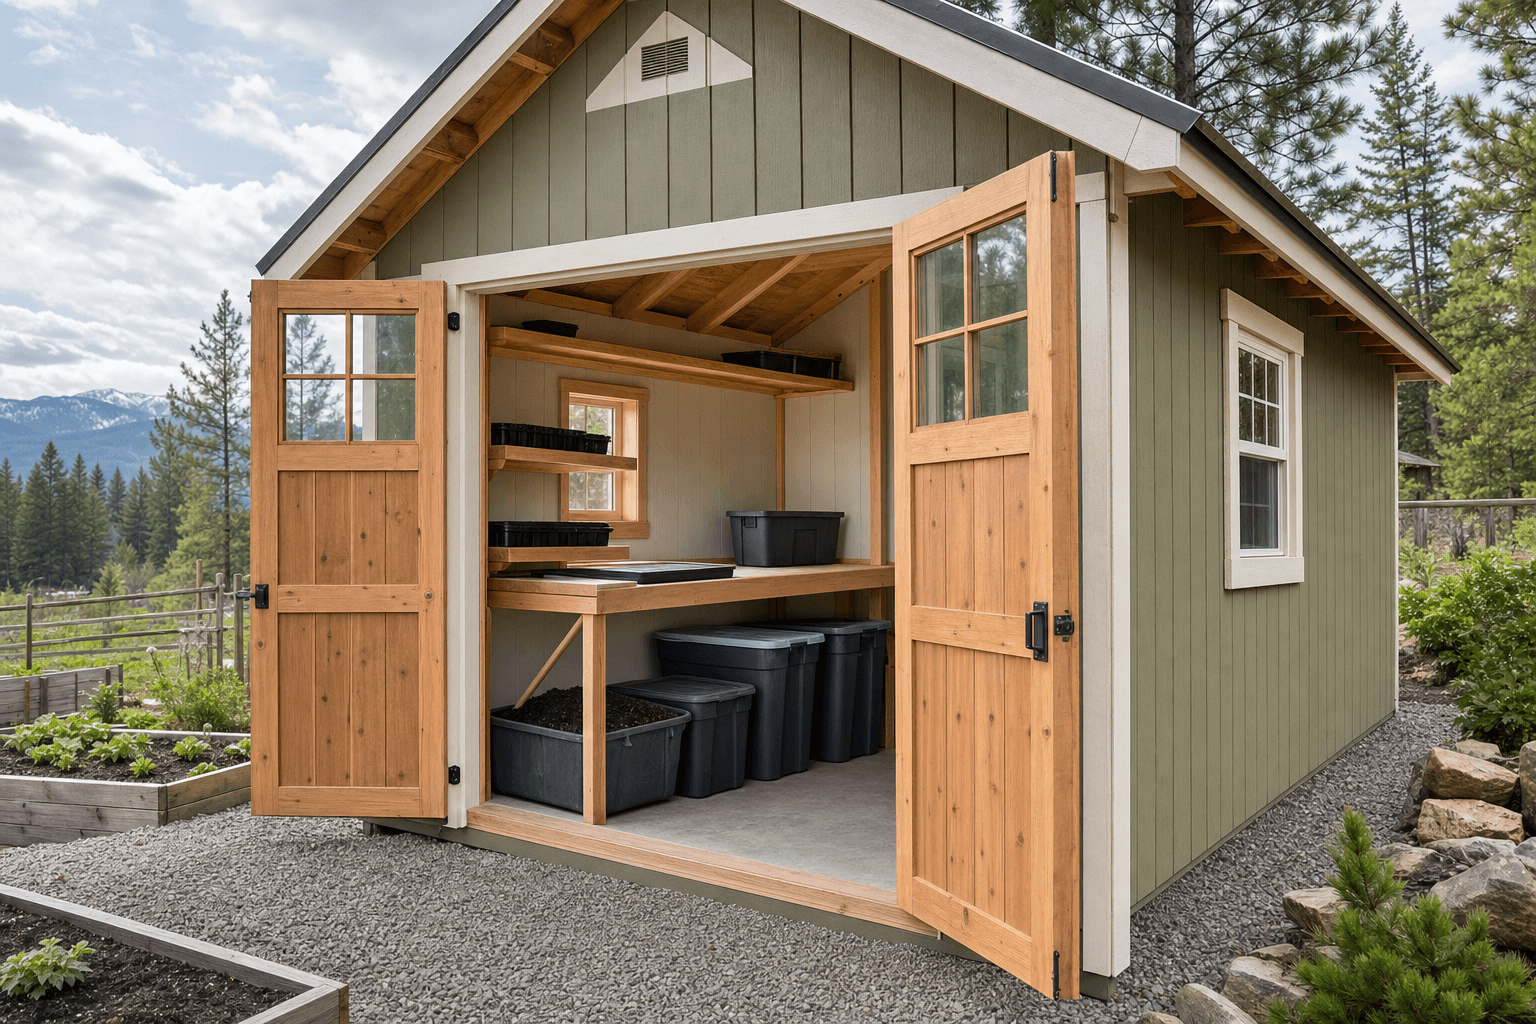
Zoning the room keeps germination on heat, growing-on under the lights, and potting-up at the bench from colliding.
A seed starting shed works when each stage of a seedling's life gets its own spot. Build it around four zones. The germination zone is the warm heart: a shelf or two fitted with heat mats and a thermostat, where trays sit under domes at 70 to 80 degrees until they sprout. Keep it low on the rack where the heat mats and their controllers are easy to reach, and group seeds by the temperature and timing they want so one mat serves a batch.
The growing-on zone is the rest of the light rack — once seeds germinate they come off the heat and move up under the grow lights, where each tier needs its own fixture a few inches above the canopy. The potting-up zone is a bench or counter for filling cells, pricking out, and stepping seedlings into larger pots, ideally near the door and a soil bin so mix and spills stay out of the seedlings. The staging and watering zone rounds it out: a spot near the door for hardening-off trays on their way outside, a watering station with a tank or jugs of room-temperature water, and a tray-drying surface you can let drip. Leave a clear aisle so you can carry a full flat from the rack to the bench to the door without turning sideways.
Waterproof seedling heat mats sized to your trays, run through a thermostat with a probe in the soil so the room holds the seed in a steady 70 to 80 degree band rather than chasing air temperature.
A multi-tier wire rack with a full-spectrum LED or T5 fixture per shelf, hung on chains so each light rides a few inches above the canopy and rises as the seedlings grow. This is the rack the whole room is built around.
Humidity domes for germination, plus a small humidifier and a clip fan for the growing-on tiers. Air movement and a vent keep humidity in range and stop damping-off and mold before they start.
A bottom-watering setup with a reservoir of tempered water, 10-by-20 flats and inserts, a fine-rose can or wand, and a draining surface so you water from below and keep foliage dry.
The accessories are where a seed starting shed earns its name, so plan storage for the exact things you reach for. On and around the rack: seedling heat mats and their thermostat, 10-by-20 standard flats, humidity domes, cell trays and plug trays in 72, 50, and 128 sizes, 4-inch and 6-cell pots for stepping up, soil-blocking tools, and a soil thermometer to confirm the mats are holding. The lighting kit is its own line item: full-spectrum LED or T5 fixtures, adjustable chain hangers, a power strip per rack, and a seed starting shed really lives or dies on a reliable light timer set to 14 to 16 hours a day.
The growing supplies need a dry, sealed home: bags of seed-starting mix, vermiculite and perlite, a tub for pre-moistening mix, plant labels and a marker, and seed packets in a sorted, dated box kept cool and dry. For climate and air: a small humidifier, a hygrometer and a max-min thermometer, a clip-on or oscillating fan to strengthen stems, and a thermostatically controlled heater for cold nights. The watering and feeding kit lives near the door — a reservoir or jugs of room-temperature water, a fine-rose watering can or wand, a spray mister for surface sowing, and diluted starter fertilizer once the first true leaves show. Round it out with a stool, a small tool tray for snips and a dibber, and a high shelf for empty domes, off-season trays, and bagged mix you only touch a few times a year.
Keep germination on a thermostatically controlled mat and growing-on under adjustable lights for steady results.
| Seed starting shed planning checklist | |
|---|---|
| Best all-round size | 8x12 for two racks or a rack plus a potting bench, a working aisle, and a watering station |
| Bottom heat | Waterproof heat mats on a thermostat with a soil probe, holding 70 to 80 degrees for germination |
| Grow lighting | A full-spectrum LED or T5 per shelf on adjustable chains, run 14 to 16 hours a day on a timer |
| Humidity and air | Domes for germination, a small humidifier, and a clip fan plus a vent to prevent damping-off and mold |
| Watering | Bottom-watering trays and a reservoir of room-temperature water with a draining surface near the door |
| Climate and insulation | Insulated walls and roof, a sealed envelope, and a thermostat heater to hold warmth on cold nights |
A seed starting shed runs on electricity from late winter on, so power is not an afterthought — it is the build. Plan a dedicated circuit with enough outlets for the light fixtures, the heat mats, a heater, a humidifier, and a fan all running at once, because you will start the heaviest months in the coldest part of the North Idaho year. Put outlets at rack height so cords do not drape across wet trays, and group the lights and mats on timers and thermostats rather than wall switches you have to remember. A couple of LED work lights overhead let you check seedlings on a dark morning without crowding the grow-light tiers.
Winter readiness is what separates a seed starting shed from a fair-weather hobby space. Insulate the walls, roof, and floor and seal the envelope so a small thermostatically controlled heater can hold the room above the seedlings' minimum on a single-digit night without running nonstop. Insulation also steadies the swings — a tight, insulated room does not crash twenty degrees the moment the sun drops, which is exactly the stability germinating seeds and tender seedlings need. Mind the floor too: an insulated or raised floor keeps cold from wicking up into the trays and the heat mats, so the bottom heat you pay for actually reaches the roots instead of fighting a frozen slab.
Because we build on your property, the pad and placement are part of the plan. A level, well-drained gravel pad is the standard base: it keeps the floor framing off wet ground, drains snowmelt away from the building, and gives an insulated floor a dry, stable footing — which matters for a heated, humid room where you do not want cold ground wicking moisture up under the trays. Set the shed where a gravel driveway or path reaches the door so you can carry flats and bags of mix in without crossing mud, and run the power line in early since the building is useless without it.
North Idaho weather drives the structure. We build for local snow load, so the roof and framing carry a heavy winter without sagging over a room full of seedlings, and we use treated and pine materials suited to the freeze-thaw swings here. Site the shed so snow sliding off the roof clears the door rather than burying it, since you will be in and out during the snowy months, and keep it off the lowest, soggiest corner of the yard. Permitting depends on size and your jurisdiction in Kootenai County or your city — most smaller seed starting sheds fall under the threshold, but confirm setbacks, any electrical permit for the dedicated circuit, and HOA rules before the build. When you are ready, get a free estimate or build and price a shed to see your size, insulation, and power options come together.
Run the mats through a thermostat with its probe pushed into the soil of a tray, not clipped to the air, so the controller holds the seed itself in the 70 to 80 degree band most vegetables want to germinate. Cluster trays that share a temperature on one mat, and cover them with humidity domes to trap the warmth and moisture until they sprout. In a North Idaho late winter the room around the mats will be cold, so an insulated, sealed building plus a small heater keeps the air from fighting the bottom heat. Set the shed on an insulated or raised floor too, so cold does not wick up and steal the warmth the mats are putting into the roots.
Use a multi-tier wire rack with a full-spectrum LED or T5 fixture on every shelf, hung from adjustable chains so the light rides two to four inches above the seedling canopy and rises as they grow — lights too far away give you leggy, stretched starts. Run them 14 to 16 hours a day on a timer, not by hand, since consistent day length matters as much as intensity. Once seeds germinate, move the tray off the heat mat and up under the lights so the seedlings get bright, close light from the first true leaves. Plan a power strip per rack and outlets at shelf height so cords stay off the wet trays.
Aim for high humidity during germination and steadily drier, moving air as the seedlings grow. Keep humidity domes on the trays until most seeds sprout, then crack and remove them so stagnant, soggy air does not invite damping-off — the fungal collapse that kills seedlings at the soil line. Add a small clip-on or oscillating fan over the growing-on tiers; the airflow strengthens stems and keeps surfaces from staying wet. Pair that with a vent or an operable window so the warm, moist air the room generates can exchange, and watch a hygrometer to keep the growing-on zone out of the swampy range where mold and fungus gnats take over.
Bottom watering is the standard, because wetting the foliage from above is what spreads damping-off and algae. Set trays in solid 10-by-20 flats, pour room-temperature water into the bottom tray, and let the cells wick up what they need before you drain the excess — cold tap water shocks warm seedlings, so keep a reservoir or jugs of water in the room to temper. Plan a watering station near the door with a tank or jugs, a fine-rose can or wand for gentle top-ups and surface-sown seeds, and a draining surface you can let drip. A spray mister handles fine seed that must stay surface-moist until it sprouts.
Treat it as a climate-controlled room, not a storage shed. Insulate the walls, roof, and floor and seal the envelope so a small thermostatically controlled heater can hold the room above your seedlings' minimum on a single-digit North Idaho night without running flat out. Insulation also damps the temperature swings, so the room does not crash the moment the sun goes down — that stability is exactly what germinating seeds and tender seedlings need. Pay attention to the floor: an insulated or raised floor stops cold from wicking up into the trays and the heat mats. Fewer, smaller windows than a greenhouse make the room far easier to keep warm and steady.
Size it to the number of 10-by-20 flats you run at peak. A standard 4-foot wire shelf holds two flats per tier, so a four-tier rack is eight flats — roughly 1,200 cells — against one wall. An 8x8 fits a single rack with a narrow aisle and a watering corner; an 8x10 adds a second rack or a short potting surface; and an 8x12 holds two full racks or a rack plus a real bench with a working aisle between them. Step up to a 10x12 if you want the racks facing a center aisle, a dedicated potting bench, and a warm corner for hardening-off staging. Leave room to carry a full flat from the rack to the door without turning sideways.
North Idaho's last frost date runs well into May across Kootenai County, and Sandpoint and Bonners Ferry can see freezing nights into early June. A dedicated seed starting shed built on site lets Coeur d'Alene and Post Falls growers extend their effective season by six weeks or more — running grow lights and a small heater from late February without dragging seedling trays through the house. The difference between a repurposed garden shed and one framed for this use is insulation: walls and ceiling that hold heat overnight against a 20-degree exterior make the space practical; uninsulated walls make it expensive to maintain.
Because NIOS builds on site, the structure can be positioned to catch the best southern exposure for passive solar warmth, or placed close to a hose bib and an existing electrical circuit to minimize rough-in cost. On a sloped wooded lot in Hayden or Rathdrum, that kind of site-specific placement is only possible when the builder is working around your actual property — not delivering a standard footprint and hoping it fits.
Ventilation is the detail most seed-starting guides leave out. Humid air from germination trays and watering cycles will lift paint, fog windows, and encourage mold in any tight structure that doesn't move air actively. An on-site build lets us frame in a ridge vent or install a low-profile exhaust fan as part of the shell rather than cutting into a finished wall later.
Use the shed builder to work through size and power options, or get a free estimate to see what a properly insulated seed starting shed costs. The Post Falls service area page has more on how we work throughout Kootenai County.
Size your rack, heat, and lighting, then get a free estimate or price it in the configurator.
Keep planning your build with related North Idaho shed guides.