
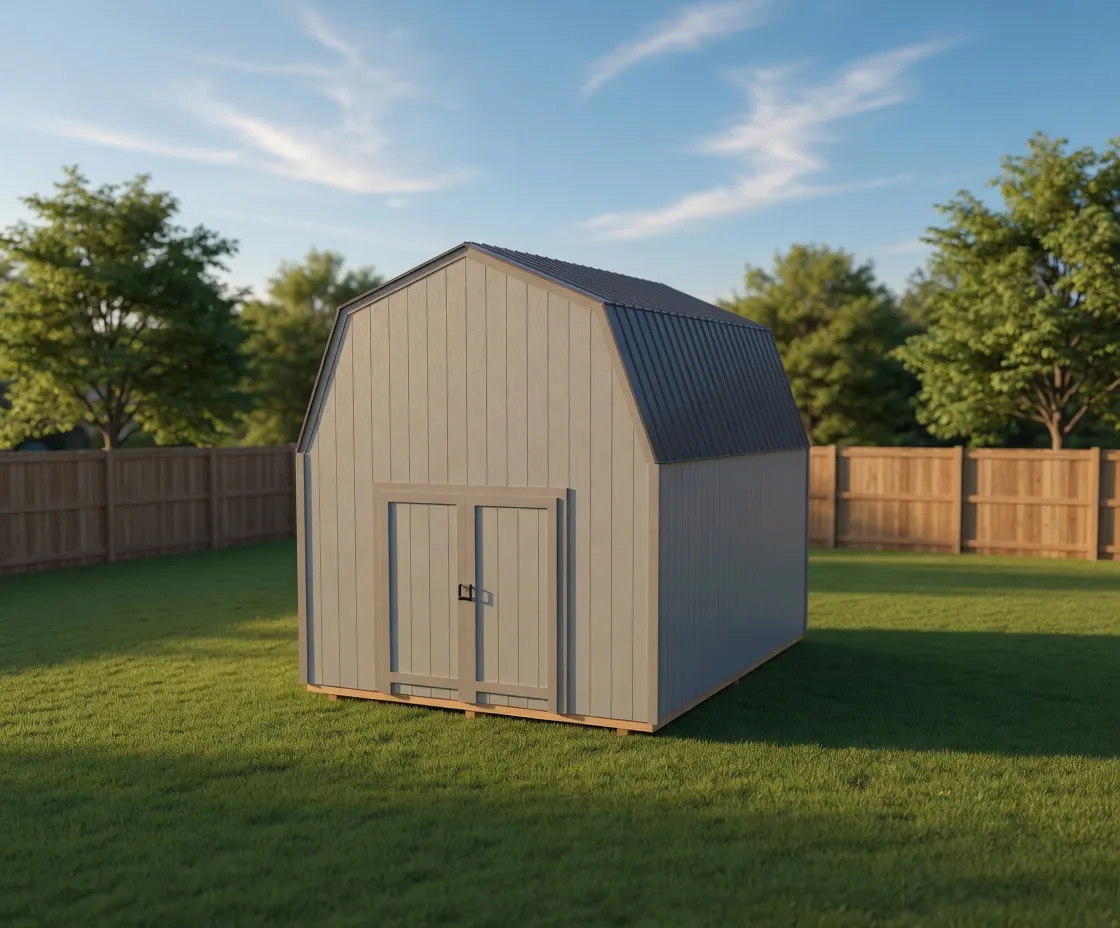
Lofted Barn
Lofted Barn
A classic barn-roof shed that adds overhead loft storage above your floor space, built on your property and sized to your lot.
Starting at $7,200 for a 12×16
Gambrel roof
Lofted Barn
A barn-style shed with overhead loft storage and a door on the long wall, framed and finished right on your property.
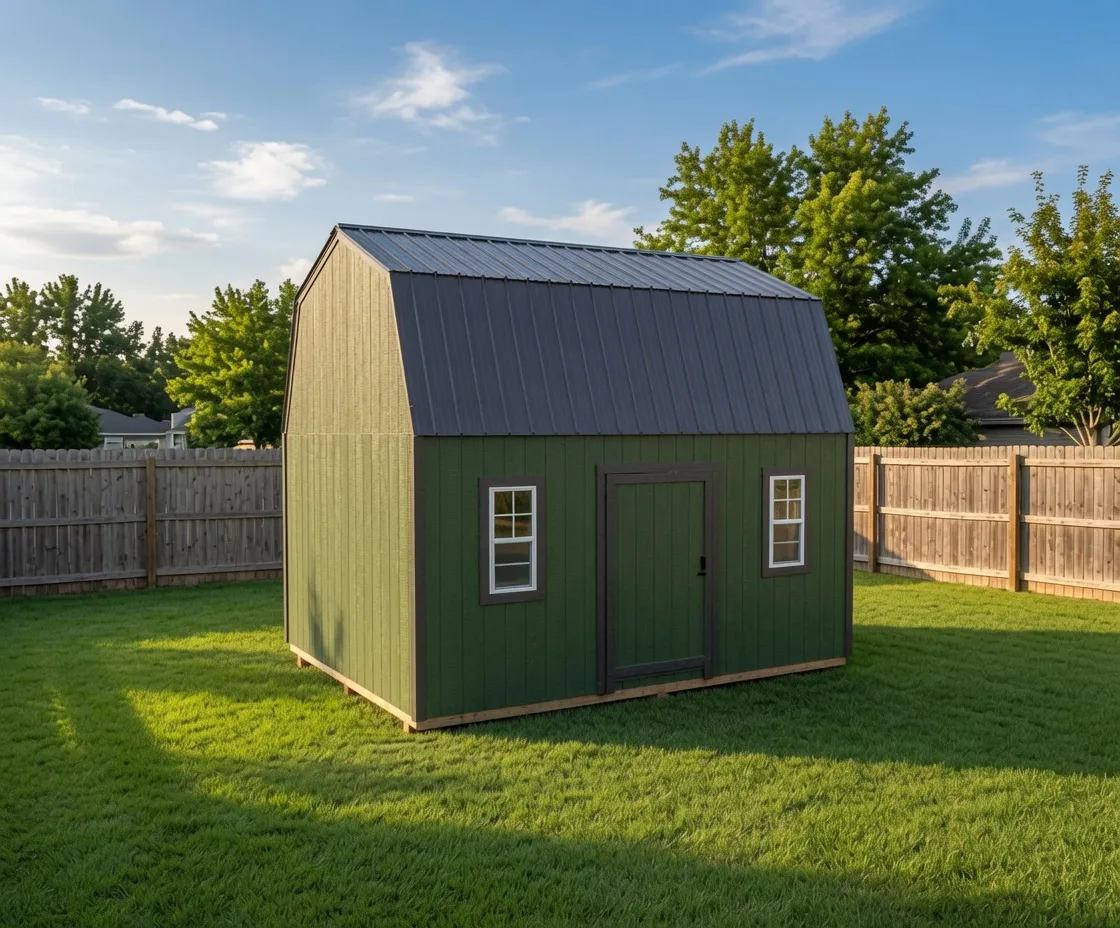
The Side Lofted Barn is North Idaho On Site Sheds' classic barn-style storage building, set apart by where you walk in. Instead of entering through the tall gable end, the Side Lofted Barn puts the main door on the long side wall. That gives you a wide, open floor and an unbroken loft running the full length of the building overhead. The gambrel roof, with its double-pitched barn shape, is what creates that tall upper volume in the first place.
This model suits anyone who wants real storage in two layers. The floor handles the bulky, everyday things: mowers, tillers, garden tools, wheelbarrows, bikes, and shop equipment you reach for often. The loft overhead takes the seasonal load: holiday bins, camping and hunting gear, lawn furniture in winter, and totes you only pull down twice a year. Because the door is on the side, you can line shelving and a workbench along the end walls and still drive equipment straight in.
The defining feature is the gambrel barn roof. Those two roof slopes per side push the ceiling up and out, so the loft has genuine headroom and standing space near the peak instead of a cramped crawl shelf. The side-wall entry keeps the floor plan flexible, and the door, windows, and loft are all things you place yourself in the 3D builder before NIOS prices the build.
Tools and gear on the floor, seasonal storage overhead, and a door where you actually need it.
Every Side Lofted Barn is framed and finished on your property, never trucked in as a finished box. The floor is built on pressure-treated 4x4 skids with 2x6 floor joists and an OSB subfloor, with a plywood subfloor upgrade available. Walls are 2x4 studs at 16 inches on center. The roof framing and gambrel trusses are sized for North Idaho snow load, and you choose architectural shingles or Tuff Rib metal roofing for the cover. Primed T1-11 siding is standard, with thicker T1-11 and premium siding upgrades available.
Side Lofted Barns build from a compact 10x10 footprint up to a long 14x36, in 10, 12, and 14 foot widths. Shorter buildings work as a dense garden and tool shed; the longer 12 and 14 foot widths give you a small barn with room for equipment down one side and a workbench down the other, plus a deep loft overhead. Walls run 92 inches on the standard widths so there's real shoulder room under the loft.
You design the Side Lofted Barn in the online 3D shed builder. Set the size, choose where the side door goes, add windows for daylight, place the loft, and pick your siding and roof finish. When the layout is the way you want it, NIOS prices the on-site build for your site in Kootenai, Bonner, Boundary, Shoshone, or Benewah County.
| Best for | Garden and tool storage, equipment and mowers, seasonal gear, small barns, two-level storage |
|---|---|
| Size range | 10x10 to 14x36 |
| Starting footprint | 10x10 |
| Roof & style | Gambrel barn roof with a built-in loft; T1-11 siding with shingle or Tuff Rib metal roofing |
| Materials | Pressure-treated 4x4 skids and 2x6 floor joists, OSB subfloor, plywood upgrade available, 2x4 wall studs at 16 inches on center, Primed T1-11 siding, premium siding upgrades available, Architectural shingle or Tuff Rib metal roofing, Snow-load-rated gambrel roof framing |
| Built | On site, on your property |
The difference is the door location. The Side Lofted Barn puts the main entry on the long side wall instead of the tall gable end. That gives you a wide, open floor and a loft that runs the full length of the building overhead, with the entrance on the side where it's easiest to reach.
The gambrel barn roof creates a tall upper volume with genuine headroom near the peak, so the loft is real storage rather than a shallow shelf. It's sized for seasonal and lighter-use items like bins, totes, camping gear, and lawn furniture, while heavier equipment stays on the floor below.
It builds from a 10x10 footprint up to 14x36, in 10, 12, and 14 foot widths. Shorter buildings work as a dense garden and tool shed, while the longer 12 and 14 foot widths give you a small barn with floor space down one side and a workbench down the other.
Every Side Lofted Barn is framed and finished on your property in North Idaho. It is never trucked in as a finished box. Building on site means the floor, walls, and snow-load-rated gambrel roof are assembled where the shed will stand, across Kootenai, Bonner, Boundary, Shoshone, and Benewah counties.
Yes. The gambrel roof framing and trusses are sized for North Idaho snow load, and you can choose architectural shingles or Tuff Rib metal roofing. The whole building is constructed on site to stand up to local snow, wind, and weather.
Yes. You set the door placement on the side wall, add windows for daylight, and position the loft in the online 3D shed builder. You also choose your siding and roof finish. Once the layout is set the way you want it, NIOS prices the on-site build.
12 × 16 · 8' walls
Open this setup in the shed builder and adjust the details around your site, access, and finish preferences.
Starting snapshot: $7,500.00
Lofted Barn
A classic barn-roof shed that adds overhead loft storage above your floor space, built on your property and sized to your lot.
Starting at $7,200 for a 12×16
Gambrel roof
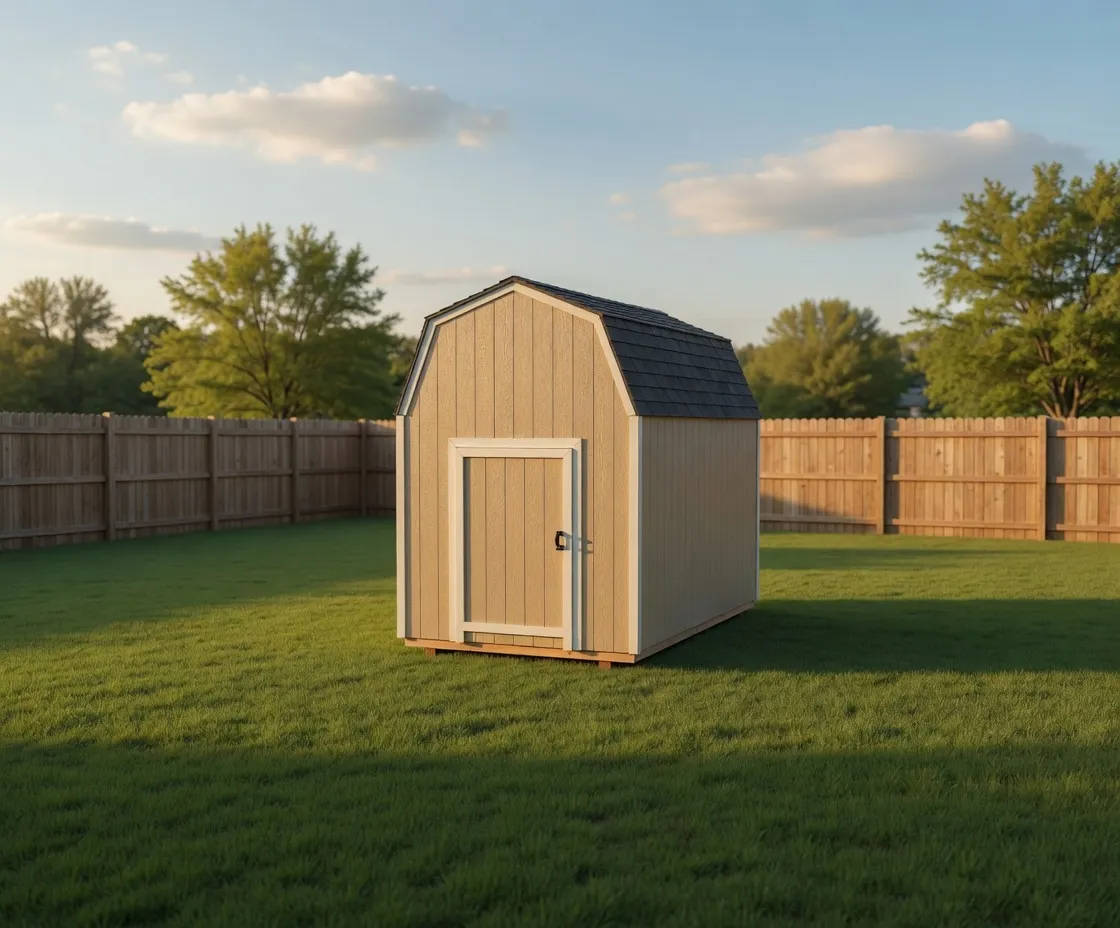
Lofted Barn
A small-footprint barn-profile shed that uses its gambrel roof to give you real overhead storage in a tight yard.
Starting at $4,700 for a 8×12
Gambrel roof
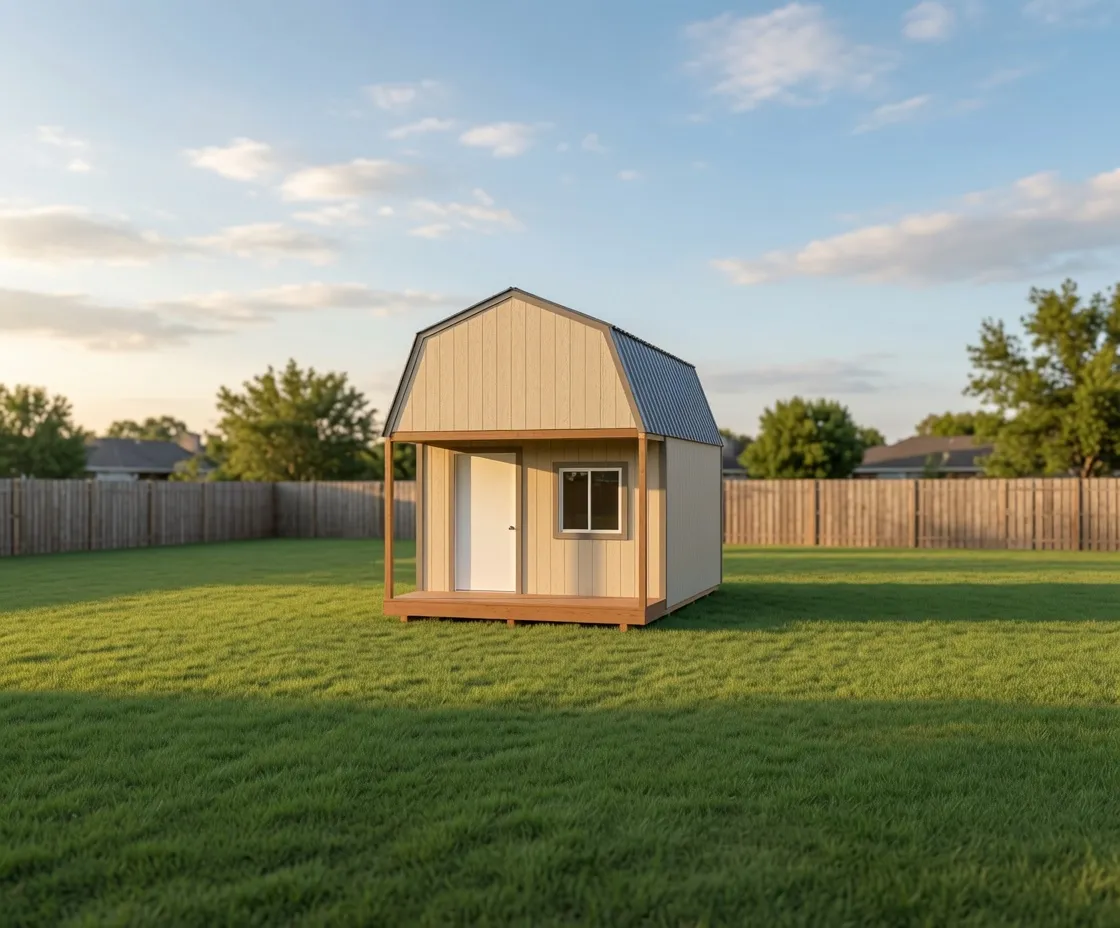
Lofted Barn
Barn loft storage and a finished cabin front, built on site here in North Idaho.
Starting at $8,350 for a 12×16
Gambrel roof
Next step